


双愚的专栏
https://zhuanlan.zhihu.com/p/268524083
双愚的笔记
https://www.yuque.com/huangzhongqing/pcl
pcl官方文档
https://pointclouds.org/
PCL点云库和opencv库一样,都是大型的学习库,实现了很多的基础方法,所以是一个学习系列.本篇文章先从pcl点云库的安装讲起.由于ubuntu系统默认是会安装pcl-1.10版本的,为了后续不冲突,我们这里的安装不安装到usr目录中,并且通过cmake来指定使用我们安装的pcl,而非默认的pcl进行编译工作.
探索
首先我们下载源码:
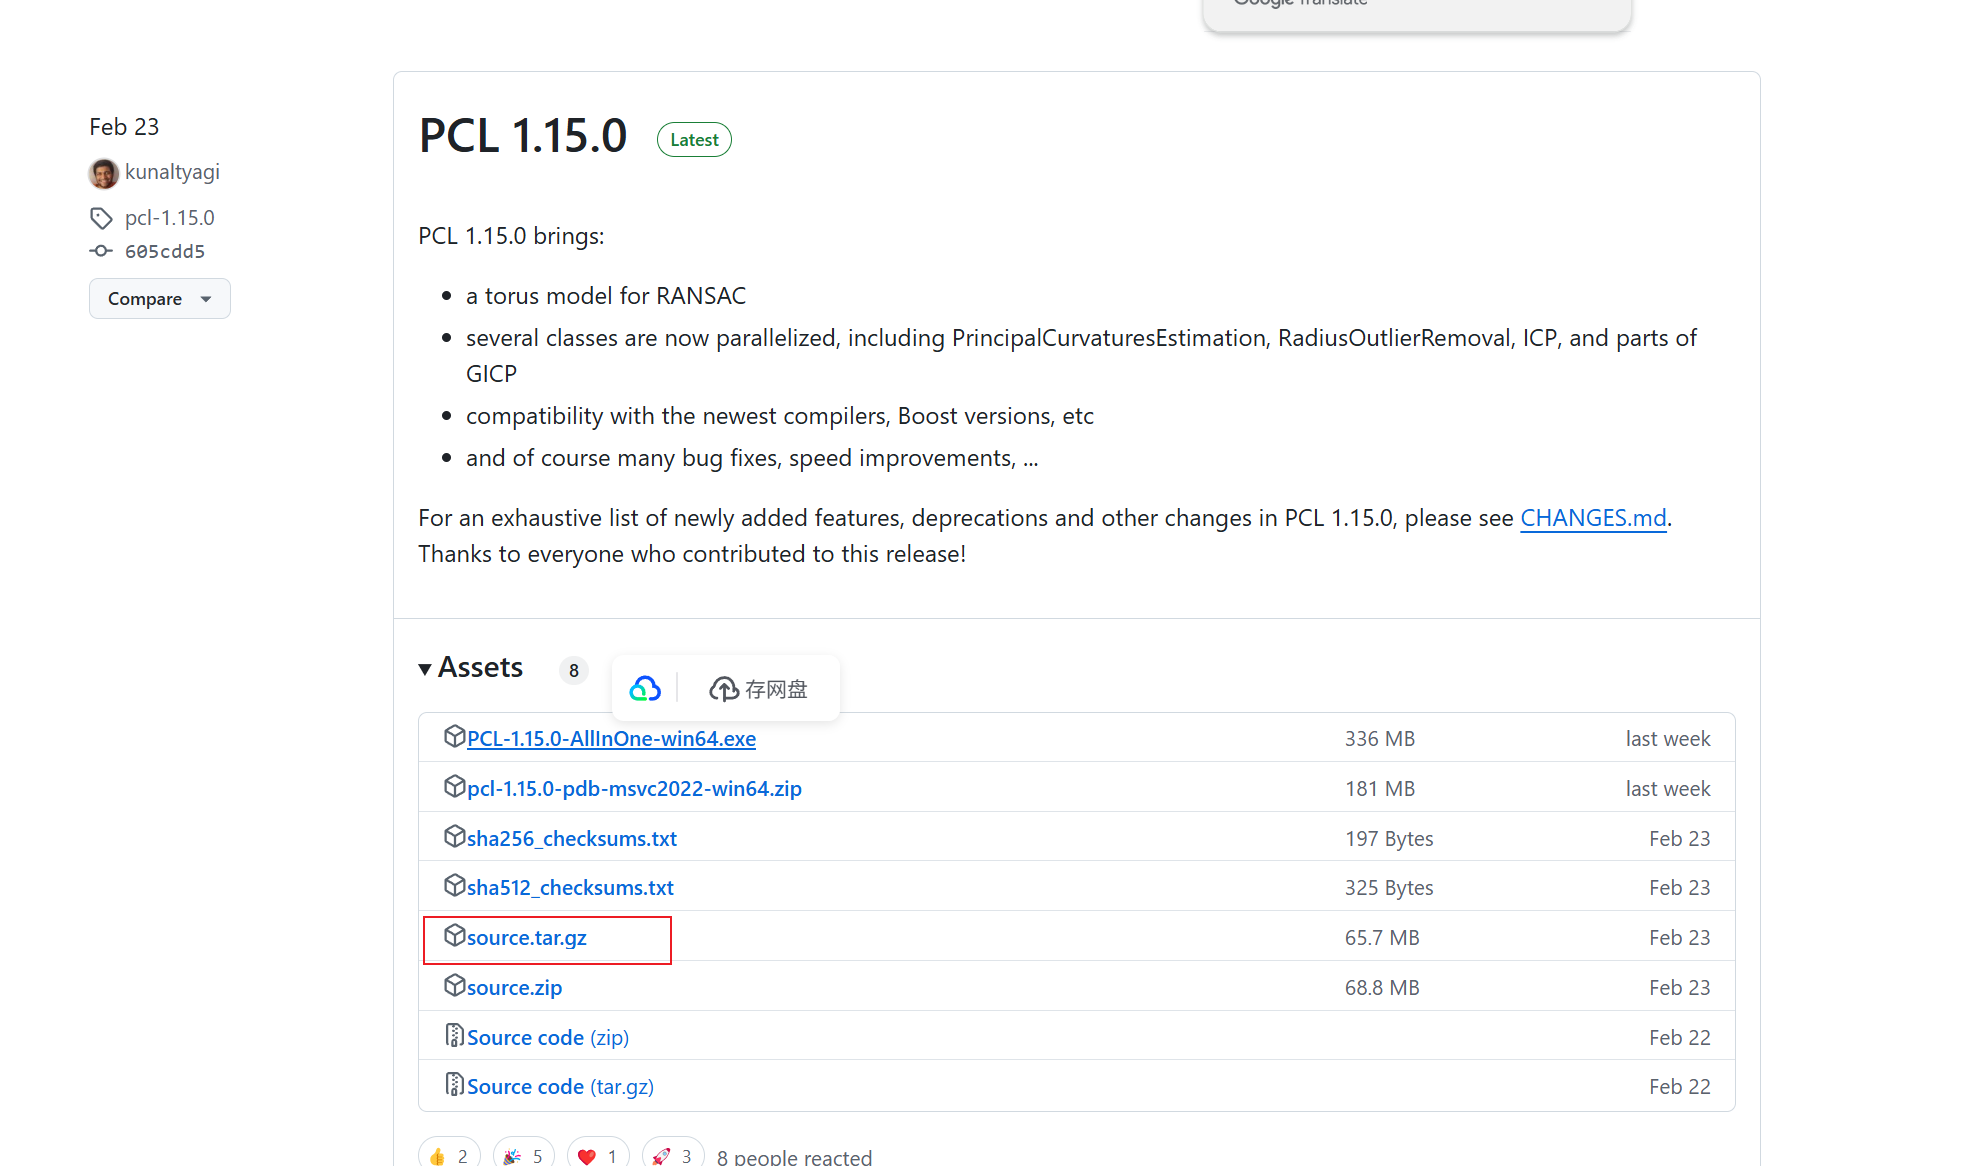
https://github.com/PointCloudLibrary/pcl/releases
直接使用最新的版本:
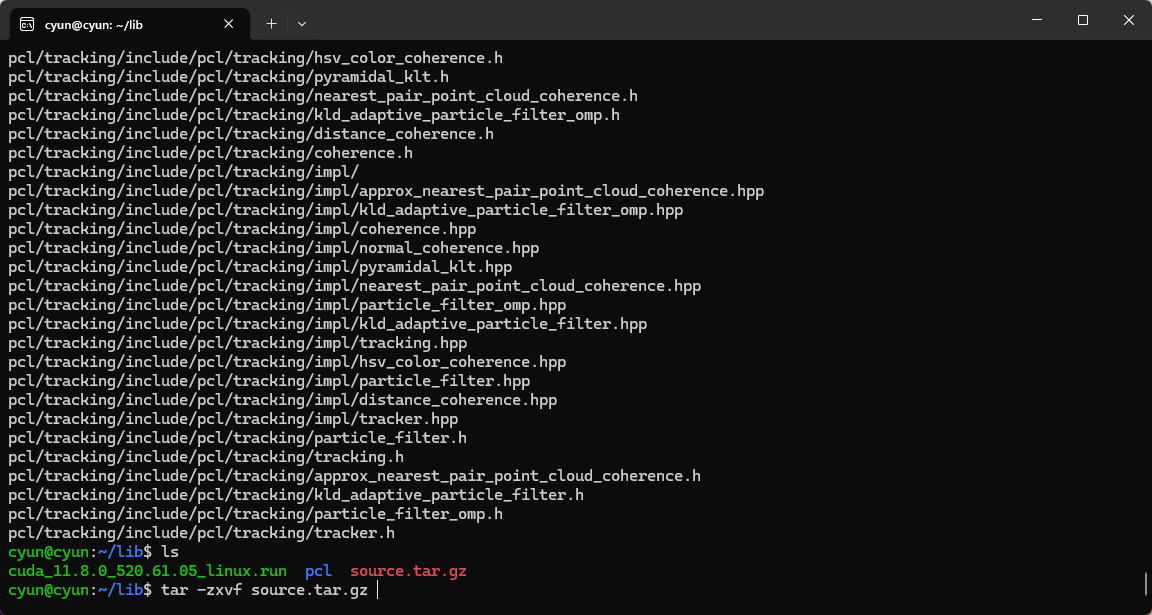
然后解压一下(我使用的是wsl)
tar -zxvf source.tar.gz
接着我们编译一下:
cd pcl
mkdir build
cd build
cmake ..
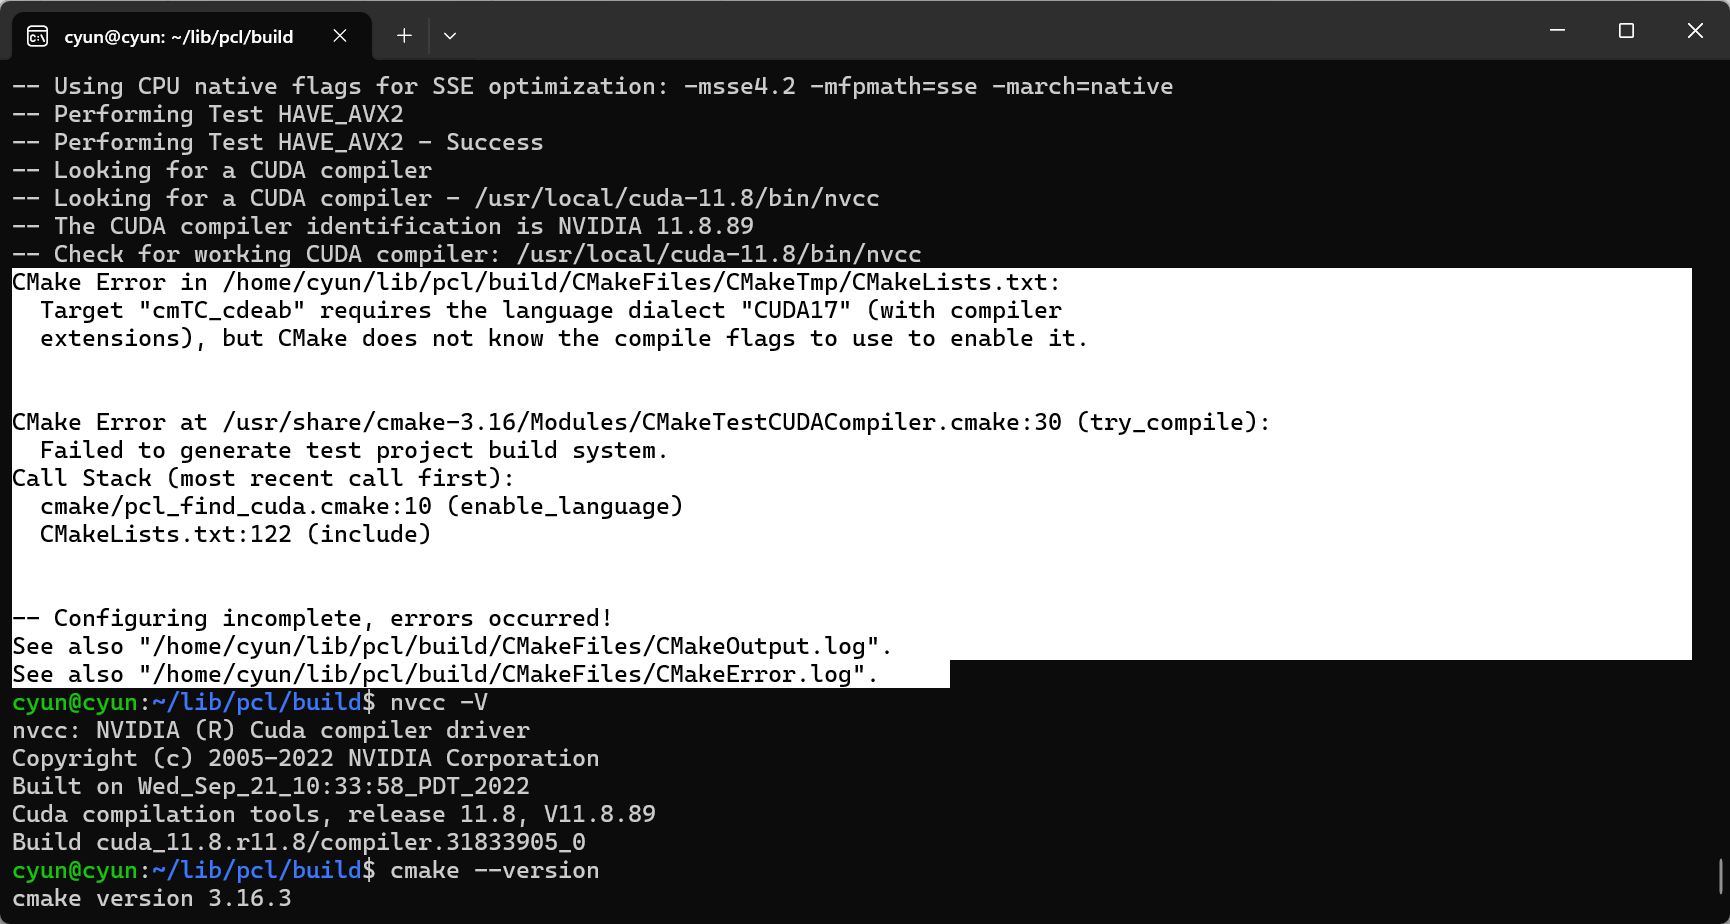
说的应该是我的cuda版本和pcl版本不对应,所以我们还要注意一下去安装自己的cuda对应的pcl版本,比如这里说的是CUDA17,应该是最多cuda11.7的版本,最新的pcl支持的cuda这么低,我们直接禁用cuda的支持就好了:
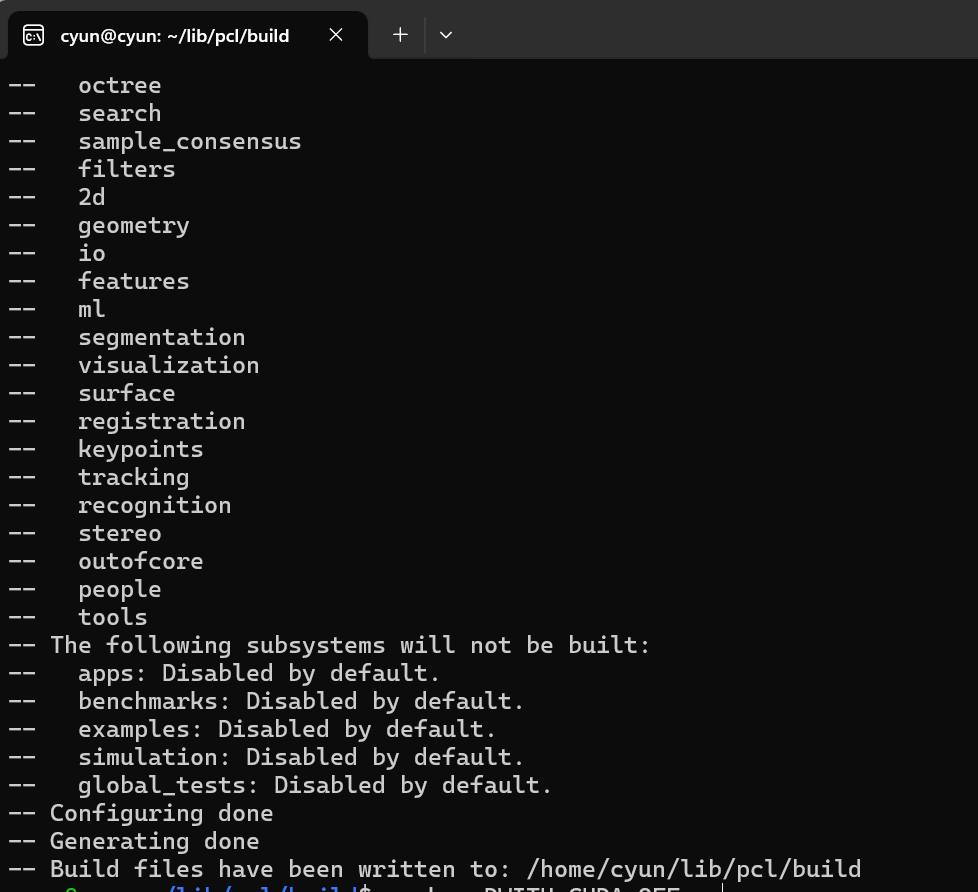
cmake -DWITH_CUDA=OFF ..
然后本地安装:
make -j8
漫长的编译过程过后就安装好了(千万不要直接就安装到usr中!)(这里的make只是在编译,如果要安装则是make install或者sudo make install,并且默认都是安装到/usr/local/中,除非你在cmake时指定了其他安装路径(-DCMAKE_INSTALL_PREFIX))
测试安装
cmake_minimum_required(VERSION 3.16)
project(PCLExample)

# 设置C++标准
set(CMAKE_CXX_STANDARD 17)
set(CMAKE_CXX_STANDARD_REQUIRED ON)

# 指定PCL的编译目录
set(PCL_DIR "/home/cyun/lib/pcl/build")
find_package(PCL 1.15 REQUIRED
    PATHS ${PCL_DIR}
    NO_DEFAULT_PATH
)

# 包含PCL头文件目录
include_directories(${PCL_INCLUDE_DIRS})

# 链接PCL库目录
link_directories(${PCL_LIBRARY_DIRS})

# 添加PCL的定义
add_definitions(${PCL_DEFINITIONS})

# 创建可执行文件
add_executable(pcl_example main.cpp)

# 链接PCL库
target_link_libraries(pcl_example ${PCL_LIBRARIES})
#include <iostream>
#include <pcl/point_types.h>
#include <pcl/point_cloud.h>
#include <pcl/visualization/pcl_visualizer.h>

// 定义点云类型
typedef pcl::PointXYZ PointT;
typedef pcl::PointCloud<PointT> PointCloudT;

int main() {
    // 创建点云对象
    PointCloudT::Ptr cloud(new PointCloudT);

    // 生成随机点云数据
    cloud->width = 1000;  // 点云宽度
    cloud->height = 1;    // 无组织点云,高度为1
    cloud->points.resize(cloud->width * cloud->height);

    for (size_t i = 0; i < cloud->points.size(); ++i) {
        cloud->points[i].x = 1024.0f * rand() / (RAND_MAX + 1.0f);
        cloud->points[i].y = 1024.0f * rand() / (RAND_MAX + 1.0f);
        cloud->points[i].z = 1024.0f * rand() / (RAND_MAX + 1.0f);
    }

    // 创建PCL可视化对象
    pcl::visualization::PCLVisualizer::Ptr viewer(new pcl::visualization::PCLVisualizer("3D Viewer"));
    viewer->setBackgroundColor(0, 0, 0);  // 设置背景为黑色
    viewer->addPointCloud<PointT>(cloud, "sample cloud");  // 添加点云
    viewer->setPointCloudRenderingProperties(pcl::visualization::PCL_VISUALIZER_POINT_SIZE, 1, "sample cloud");  // 设置点大小
    viewer->addCoordinateSystem(1.0);  // 添加坐标系
    viewer->initCameraParameters();    // 初始化相机参数

    // 主循环,显示点云
    while (!viewer->wasStopped()) {
        viewer->spinOnce(100);  // 刷新频率
    }

    return 0;
}
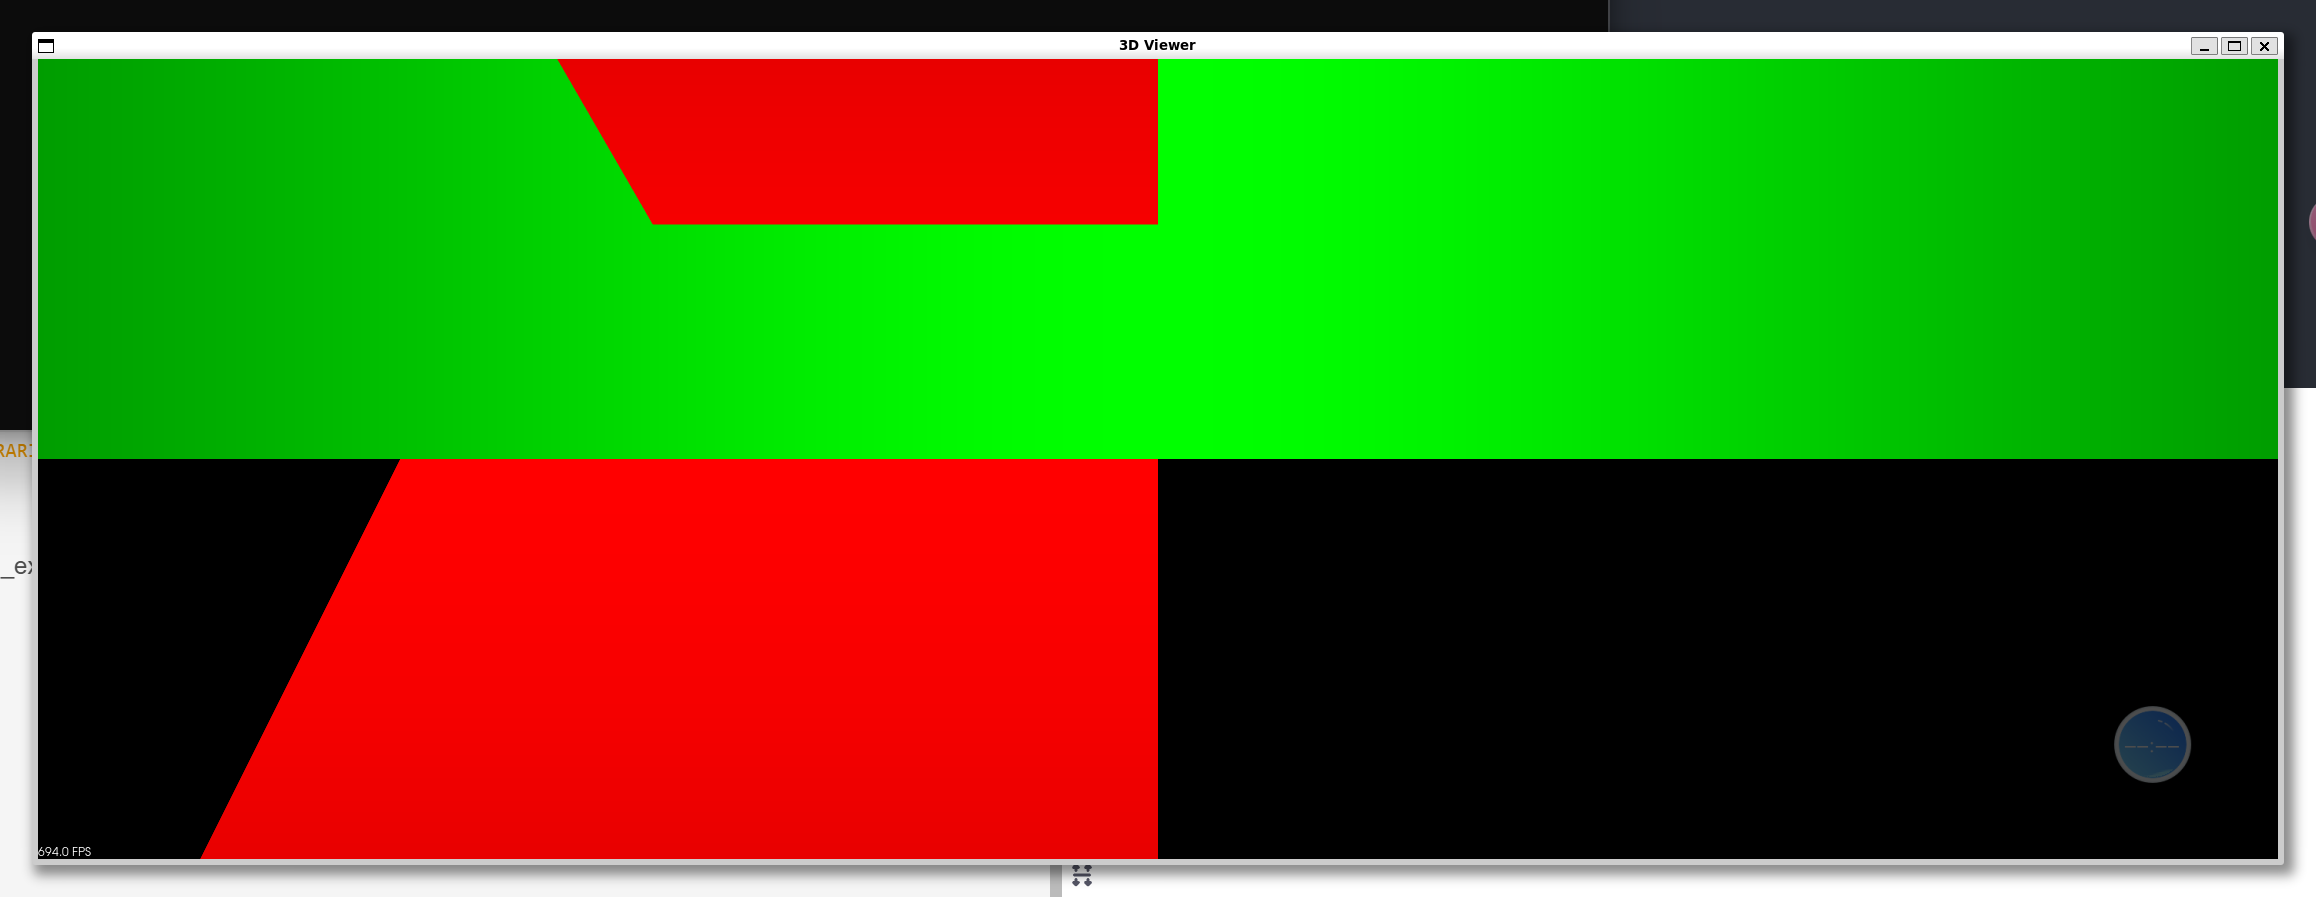
照理来说应该是没有问题的,毕竟pcl的make编译过程已经没有问题了,虽然没有insntall到usr,但是也应该可以通过build里面的lib来使用pcl点云库了,但是很遗憾,出现了这个flann的问题:
CMake Error at CMakeLists.txt:10 (find_package):
  By not providing "FindFLANN.cmake" in CMAKE_MODULE_PATH this project has
  asked CMake to find a package configuration file provided by "FLANN", but
  CMake did not find one.

  Could not find a package configuration file provided by "FLANN" with any of
  the following names:

    FLANNConfig.cmake
    flann-config.cmake

  Add the installation prefix of "FLANN" to CMAKE_PREFIX_PATH or set
  "FLANN_DIR" to a directory containing one of the above files.  If "FLANN"
  provides a separate development package or SDK, be sure it has been
  installed.


-- Configuring incomplete, errors occurred!
See also "/home/cyun/lib/pcl_example/build/CMakeFiles/CMakeOutput.log".
cyun@cyun:~/lib/pcl_example/build$ cmake ..
CMake Warning at /home/cyun/lib/pcl/build/PCLConfig.cmake:241 (find_package):
  By not providing "FindFLANN.cmake" in CMAKE_MODULE_PATH this project has
  asked CMake to find a package configuration file provided by "FLANN", but
  CMake did not find one.

  Could not find a package configuration file provided by "FLANN" with any of
  the following names:

    FLANNConfig.cmake
    flann-config.cmake

  Add the installation prefix of "FLANN" to CMAKE_PREFIX_PATH or set
  "FLANN_DIR" to a directory containing one of the above files.  If "FLANN"
  provides a separate development package or SDK, be sure it has been
  installed.
Call Stack (most recent call first):
  /home/cyun/lib/pcl/build/PCLConfig.cmake:286 (find_flann)
  /home/cyun/lib/pcl/build/PCLConfig.cmake:558 (find_external_library)
  CMakeLists.txt:10 (find_package)


CMake Error at /home/cyun/lib/pcl/build/PCLConfig.cmake:50 (message):
  kdtree is required but flann was not found
Call Stack (most recent call first):
  /home/cyun/lib/pcl/build/PCLConfig.cmake:358 (pcl_report_not_found)
  /home/cyun/lib/pcl/build/PCLConfig.cmake:558 (find_external_library)
  CMakeLists.txt:10 (find_package)


-- Configuring incomplete, errors occurred!
See also "/home/cyun/lib/pcl_example/build/CMakeFiles/CMakeOutput.log".
仔细分析一下可以发现,这个其实不是本身的cmake出问题了,而是pcl库的编译过程找不到flann,也就是上一步的cmake …和make -j8导致的.虽然make能够成功,但是在链接flann时还是出现了问题,这个挺奇怪.然后如果用原本的pcl-1.10的话就是没有问题的:
cmake_minimum_required(VERSION 3.16)
project(PCLExample)

# 设置C++标准
set(CMAKE_CXX_STANDARD 17)
set(CMAKE_CXX_STANDARD_REQUIRED ON)

# 指定PCL的编译目录
# set(PCL_DIR "/home/cyun/lib/pcl/build")
find_package(PCL REQUIRED
    PATHS ${PCL_DIR}
    # NO_DEFAULT_PATH
)

# 包含PCL头文件目录
include_directories(
    ${PCL_INCLUDE_DIRS}
    ${FLANN_INCLUDE_DIRS}
)

# 链接PCL库目录
link_directories(${PCL_LIBRARY_DIRS})

# 添加PCL的定义
add_definitions(${PCL_DEFINITIONS})

# 创建可执行文件
add_executable(pcl_example main.cpp)

# 链接PCL库和FLANN库
target_link_libraries(pcl_example
    ${PCL_LIBRARIES}
    ${FLANN_LIBRARIES}
)
然后正常执行pcl_example即可,wsl中可能会出问题,但是一般的双系统和虚拟机应该就比较正常了.
总结
总结一下,自己安装pcl库并且用cmake工具来编译,还是需要install的,但是就是不推荐安装到系统的pcl中,我们从零实现的话:
1.安装源码
git clone https://github.com/PointCloudLibrary/pcl.git
cd pcl
mkdir build
cd build
cmake .. -DCMAKE_INSTALL_PREFIX=/home/cyun/lib/pcl_install -DWITH_FLANN=ON -DWITH_CUDA=OFF
make -j8
make install
测试的项目结构如下:
pcl_example/
├── CMakeLists.txt
├── main.cpp
└── build/
cmake_minimum_required(VERSION 3.16)
project(PCLExample)

# 设置C++标准
set(CMAKE_CXX_STANDARD 17)
set(CMAKE_CXX_STANDARD_REQUIRED ON)

# 指定PCL的安装目录
set(PCL_DIR "/home/cyun/lib/pcl_install/share/pcl-1.12")
find_package(PCL REQUIRED
    PATHS ${PCL_DIR}
    NO_DEFAULT_PATH
)

# 包含PCL头文件目录
include_directories(${PCL_INCLUDE_DIRS})

# 链接PCL库目录
link_directories(${PCL_LIBRARY_DIRS})

# 添加PCL的定义
add_definitions(${PCL_DEFINITIONS})

# 创建可执行文件
add_executable(pcl_example main.cpp)

# 链接PCL库
target_link_libraries(pcl_example ${PCL_LIBRARIES})
#include <iostream>
#include <pcl/point_types.h>
#include <pcl/point_cloud.h>
#include <pcl/visualization/pcl_visualizer.h>

// 定义点云类型
typedef pcl::PointXYZ PointT;
typedef pcl::PointCloud<PointT> PointCloudT;

int main() {
    // 创建点云对象
    PointCloudT::Ptr cloud(new PointCloudT);

    // 生成随机点云数据
    cloud->width = 1000;  // 点云宽度
    cloud->height = 1;    // 无组织点云,高度为1
    cloud->points.resize(cloud->width * cloud->height);

    for (size_t i = 0; i < cloud->points.size(); ++i) {
        cloud->points[i].x = 1024.0f * rand() / (RAND_MAX + 1.0f);
        cloud->points[i].y = 1024.0f * rand() / (RAND_MAX + 1.0f);
        cloud->points[i].z = 1024.0f * rand() / (RAND_MAX + 1.0f);
    }

    // 创建PCL可视化对象
    pcl::visualization::PCLVisualizer::Ptr viewer(new pcl::visualization::PCLVisualizer("3D Viewer"));
    viewer->setBackgroundColor(0, 0, 0);  // 设置背景为黑色
    viewer->addPointCloud<PointT>(cloud, "sample cloud");  // 添加点云
    viewer->setPointCloudRenderingProperties(pcl::visualization::PCL_VISUALIZER_POINT_SIZE, 1, "sample cloud");  // 设置点大小
    viewer->addCoordinateSystem(1.0);  // 添加坐标系
    viewer->initCameraParameters();    // 初始化相机参数

    // 主循环,显示点云
    while (!viewer->wasStopped()) {
        viewer->spinOnce(100);  // 刷新频率
    }

    return 0;
}
cmake .. -DPCL_DIR=/home/cyun/lib/pcl_install/share/pcl-1.12
./pcl_example
这样就完全没有任何问题了,并且由于指定了pcl的安装路径,非常适合大家进一步理解和学习pcl点云库.


 1万+
1万+

 被折叠的 条评论
为什么被折叠?
被折叠的 条评论
为什么被折叠?
 到【灌水乐园】发言


