


前提条件:安装了Apollo EDU-Pre 发行版,且 Apollo docker容器能正常运行
一、进入 Apollo Docker 环境
bash scripts/edu_launcher.sh start
bash scripts/edu_launcher.sh enter
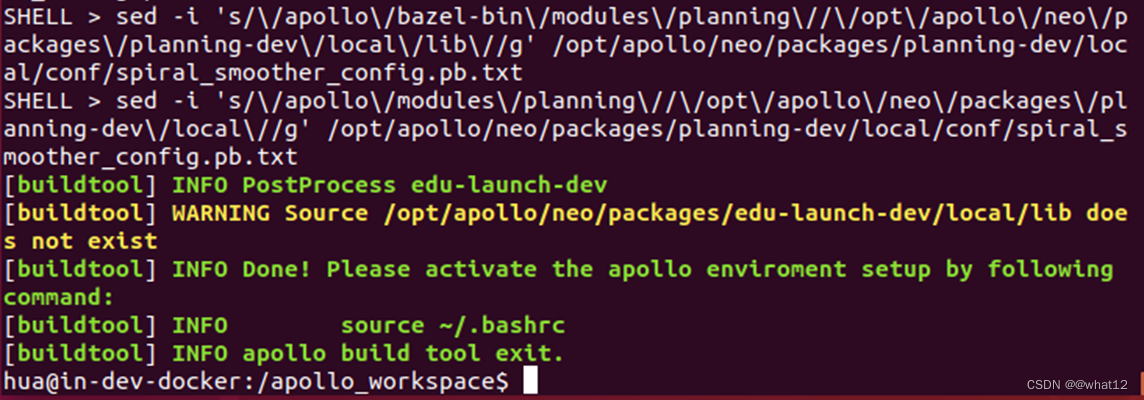
二、对planning源码包进行编译
bash scripts/edu_launcher.sh build planning
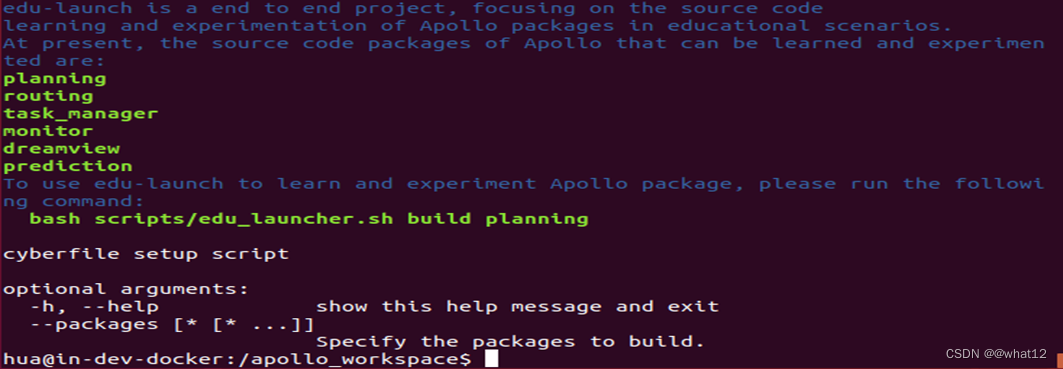
三、查看安装的模块
bash scripts/edu_launcher.sh build -h
四、编译完成后刷新环境变量
source ~/.bashrc
五、运行dreamview对planning进行调试
运行dreamview
bash scripts/apollo_neo.sh bootstrap
重启dreamview进程
bash scripts/apollo_neo.sh bootstrap restart
此时dreamview和monitor会被自动启动,可以在浏览器输入localhost:8888打开dreamview
六、进入sim control仿真模式进行调试
(1)在上方菜单栏选择 MKz Standard Debug > 车辆型号选择 MkzExample > 地图选择Sunnyvale Big Loop > 点击 Tasks > 选择 Sim Control,即可进入仿真模拟控制
(2)点击左侧 Module Control 栏,启动需要调试的模块进程
(3)设置车辆仿真行驶路径,点击左侧 Routing Editing,拖动、点击鼠标可以在地图中设置车辆行驶路径
(4)当点位设置完成后,点击 Send Routing Request。红线是routing模块在地图中搜索出的路径,浅蓝色的轨迹是 planning 模块实时规划的局部路径
(5)此时如果想对planning模块进行调试,直接修改工作空间中的planning源码即可,源码位于工作空间中的 modules/planning
修改完毕后重新运行编译脚本
bash scripts/edu_launcher.sh build planning
(6)重新运行dreamview中的planning模块即可


 1737
1737

 被折叠的 条评论
为什么被折叠?
被折叠的 条评论
为什么被折叠?
 到【灌水乐园】发言


