


 本文详细介绍如何在Unity中实现Bloom效果,包括通过Shader提取图像中最亮的区域,使用高斯模糊进行迭代处理,以及最终与原图像混合的过程。文章深入探讨了亮度阈值、模糊程度等参数的设置。
// Upgrade NOTE: replaced 'mul(UNITY_MATRIX_MVP,*)' with 'UnityObjectToClipPos(*)'

//12.5 Bloom效果
Shader "Unlit/Chapter12-Bloom"
{
	Properties
	{
		//声明属性
		_MainTex ("Base(RGB)", 2D) = "white" {}
		_Bloom("Bloom(RGB)",2D)="black"{}
		_LumianceThreshold("Luminace Threshold ",float) = 0.5
		_BlurSize("Blur Size",Float) = 1.0

	}
		SubShader
		{

				CGINCLUDE

#include "UnityCG.cginc"
				//声明变量
				sampler2D _MainTex;
				half4 _MainTex_TexelSize;
				sampler2D _Bloom;
				float _LuminanceThreshold;
				float _BlurSize;

		//1.定义提亮区域需要使用的顶点着色器和片元着色器
				struct v2f {
					float4 pos:SV_POSITION;
					half2 uv:TEXCOORD0;
				};
				//顶点
				v2f vertExtractBright(appdata_img v) {
					v2f o;
					o.pos = UnityObjectToClipPos(v.vertex);
					o.uv = v.texcoord;
					return o;
				}
				//亮度
				fixed luminance(fixed4 color) {
					return 0.2125*color.r + 0.7154*color.g + 0.0721*color.b;
				}
				//片元
				fixed4 fragExtractBright(v2f i):SV_Target {
					fixed4 c = tex2D(_MainTex, i.uv);
				//将采样的到的亮度 - 阀值,并把结果截取到0到1
					fixed val = clamp(luminance(c) - _LuminanceThreshold, 0.0, 1.0);
					//然后把上面的值和原像素值相乘,得到提取后的亮度区域

					return c * val;
				}

		//4.定义混合亮度部分图像和原图像时使用的顶点片元着色器
				struct v2fBloom {
					float4 pos:SV_POSITION;
					half4 uv:TEXCOORD0;
				};
				v2fBloom vertBloom(appdata_img v) {
					v2fBloom o;
					o.pos = UnityObjectToClipPos(v.vertex);
					//定义了两个纹理坐标并储存在同一个类型为half4的变量uv中
					o.uv.xy = v.texcoord;
					o.uv.zw = v.texcoord;

		/*判断当前平台是否是DirectX类型的平台.
		当在这样的平台下开启了抗锯齿后,主纹理的纹素值大小在竖直方向上会变成负值,以便我们对主纹理进行正确的采样*/
					#if UNITY_UV_STARTS_AT_TOP
					//因此可以通过判断_MainTex_TexelSize.y 是否小于0来检测是否开启了抗锯齿
					if (_MainTex_TexelSize.y < 0.0)
						//如果是,就需要对除主纹理外的其他纹理的采样坐标进行竖直方向上的翻转
						/*由于要同时处理多张纹理,因此在DirectX这样的平台下如果开启了抗锯齿,
						主纹理和亮度在竖直方向上的朝向就是不同的了,就需要对亮度纹理的采样坐标进行翻转*/
						o.uv.w = 1.0 - o.uv.w;
					#endif
					return o;
				}
				fixed4 fragBloom(v2fBloom i) :SV_Target{
					//uv的xy对应了_MainTex.即原图像的纹理坐标,zw对应_Bloom,即模糊后的较亮区域的纹理坐标
					return tex2D(_MainTex,i.uv.xy) + tex2D(_Bloom,i.uv.zw);
				}


			ENDCG


//定义Bloom效果的4个Pass
			ZTest Always Cull Off ZWrite Off
		//1.提取亮度
		Pass
		{
			CGPROGRAM
			#pragma vertex vertExtractBright
			#pragma fragment fragExtractBright
			ENDCG
		}
		//2.使用12.4的高斯模糊
			UsePass "Unlit/Chapter12-GaussianBlur/GAUSSIAN_BLUR_VERTICAL"
		//3.使用12.4的高斯模糊
			UsePass "Unlit/Chapter12-GaussianBlur/GAUSSIAN_BLUR_HORIZONTAL"
		//4.混合
		Pass{
			CGPROGRAM
#pragma vertex vertBloom
#pragma fragment fragBloom
			ENDCG
		}

	}
			Fallback off
}
using System.Collections;
using System.Collections.Generic;
using UnityEngine;
//12.5 Bloom 效果
public class Bloom : PostEffectsBase {
//声明效果使用的shader,并据此创建材质
public Shader bloomShader;
private Material bloomMaterial = null;
public Material material
{
get
{
bloomMaterial = CheckShaderAndCreateMaterial(bloomShader, bloomMaterial);
return bloomMaterial;
}
}
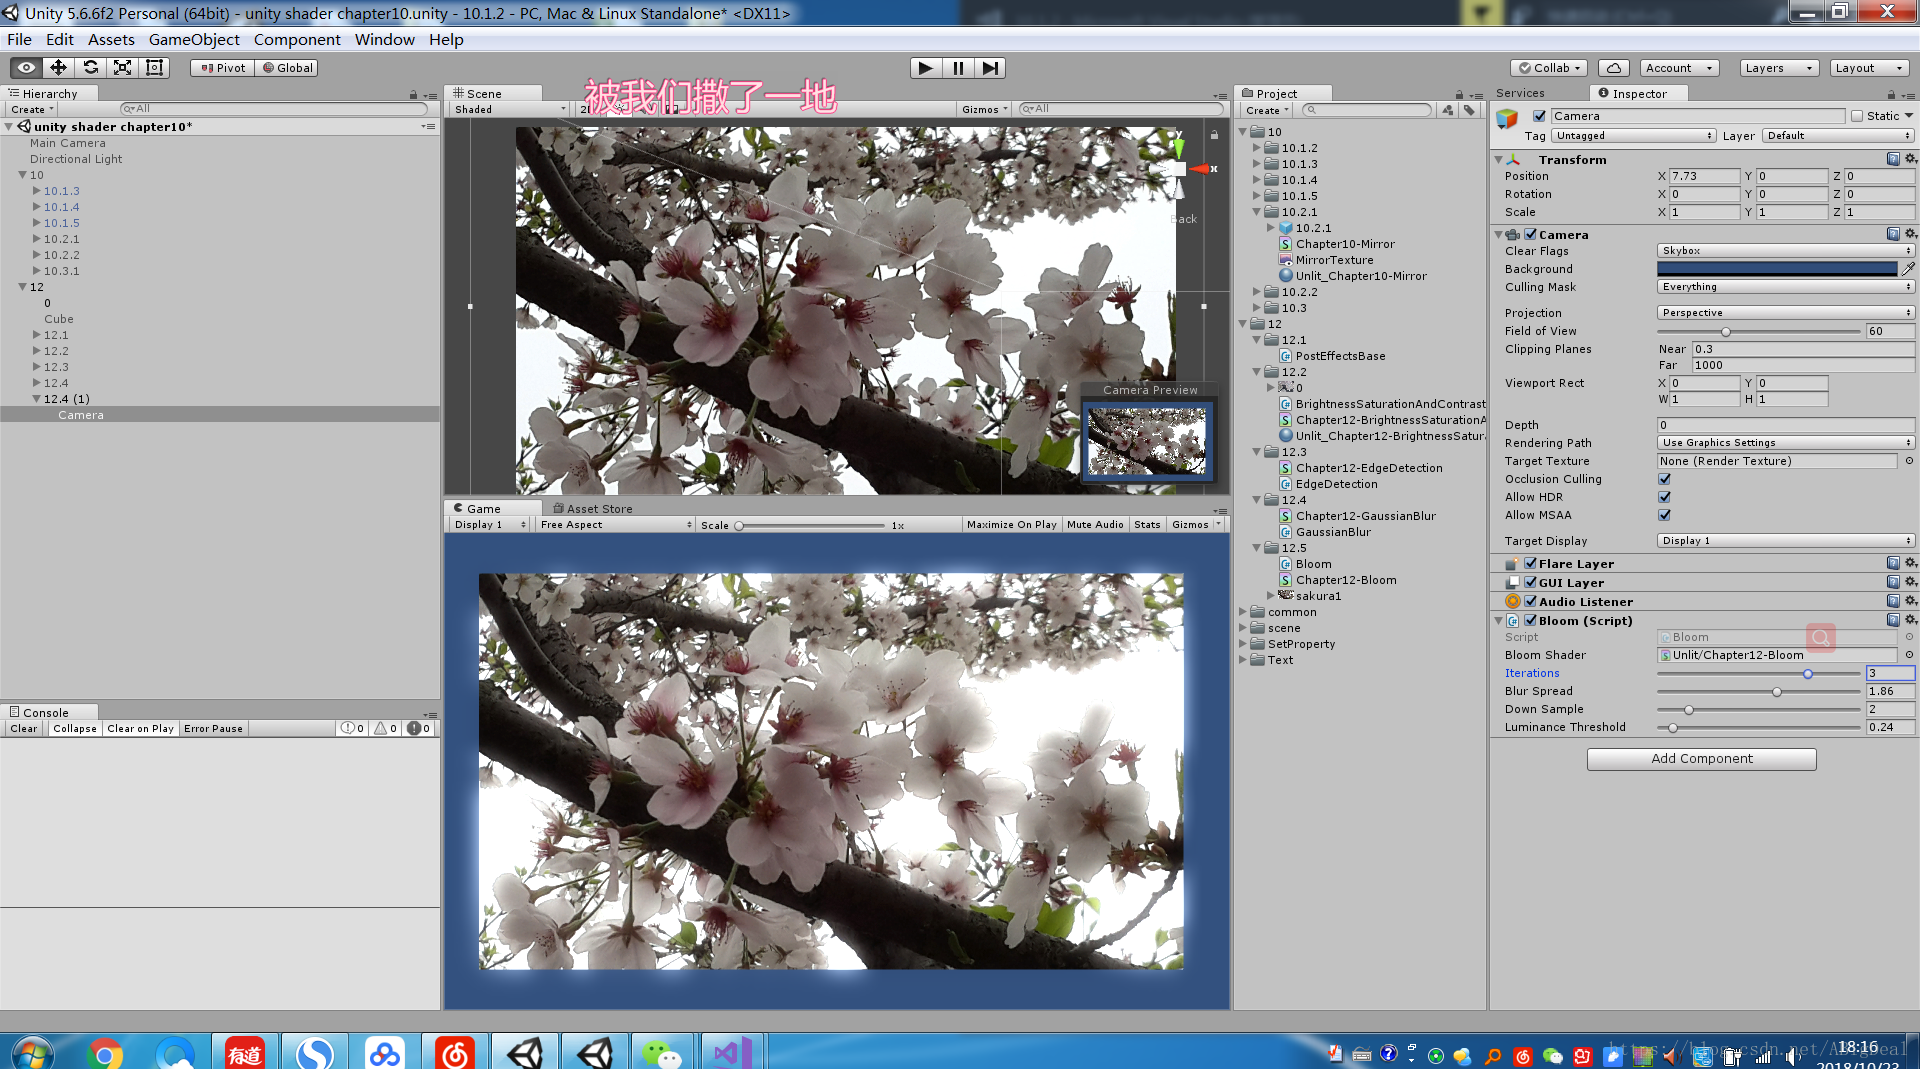
//迭代次数
[Range(0, 4)]
public int iterations = 3;
//模糊程度
[Range(0.2f, 3.0f)]
public float blurSpread = 0.6f;
//采样次数
[Range(1, 8)]
public int downSample = 2;
//亮度阈值
[Range(0.0f, 4.0f)]
public float luminanceThreshold = 0.6f;
/*绝大多数情况下,图像的亮度值不会超过一。
但如果开启了HDR,硬件会允许我们把颜色值储存在一个更高精度范围的缓冲中,此时像素的亮度值可能会超过1*/
/*bloom需要三个步骤
1:提取图像中最亮的区域,
2:高斯模糊迭代处理
3:混合*/
private void OnRenderImage(RenderTexture src, RenderTexture dest)
{
if (material !=null )
{//1:
material.SetFloat("_LuminanceThreshold", luminanceThreshold);
int rtW = src.width / downSample;
int rtH = src.height / downSample;
RenderTexture buffer0 = RenderTexture.GetTemporary(rtW, rtH, 0);
buffer0.filterMode = FilterMode.Bilinear;
//使用Shader中的第一个Pass提取图像中较亮的区域,将提取到的储存在buffer中
Graphics.Blit(src, buffer0, material, 0);
for (int i = 0; i < iterations; i++)
{
//2:
material.SetFloat("_BlurSize", 1.0f + i * blurSpread);
RenderTexture buffer1 = RenderTexture.GetTemporary(rtW, rtH, 0);
//shader的第二个pass
Graphics.Blit(buffer0, buffer1, material, 1);
RenderTexture.ReleaseTemporary(buffer0);
buffer0 = buffer1;
buffer1 = RenderTexture.GetTemporary(rtW, rtH, 0);
//shader的第三个pass
Graphics.Blit(buffer0, buffer1, material, 2);
RenderTexture.ReleaseTemporary(buffer0);
//将模糊后的区域储存在buffer0 中
buffer0 = buffer1;
}
//3:
//将buffer0传递给材质中的_Bloom纹理属性
material.SetTexture("_Bloom", buffer0);
//使用第四个pass进行混合,储存在目标渲染纹理dest中
Graphics.Blit(src, dest, material, 3);
//释放临时缓存
RenderTexture.ReleaseTemporary(buffer0);
}else
{
Graphics.Blit(src, dest);
}
}
}
从今天开始注重效率,学习每一门都开始计时!这一章用时3小时!


 1595
1595

 被折叠的 条评论
为什么被折叠?
被折叠的 条评论
为什么被折叠?
 到【灌水乐园】发言


