


 本文详细介绍如何在Ubuntu虚拟机中使用PlanningSceneROSAPI,通过ROS API实现添加、删除物体及机器人上安装拆卸物体的操作,配合RViz进行实时可视化。
Planning Scene ROS API
在本教程中,我们将检查使用规划场景差异来执行两个操作:
在世界中添加和删除对象
在机器人上安装和拆卸物体
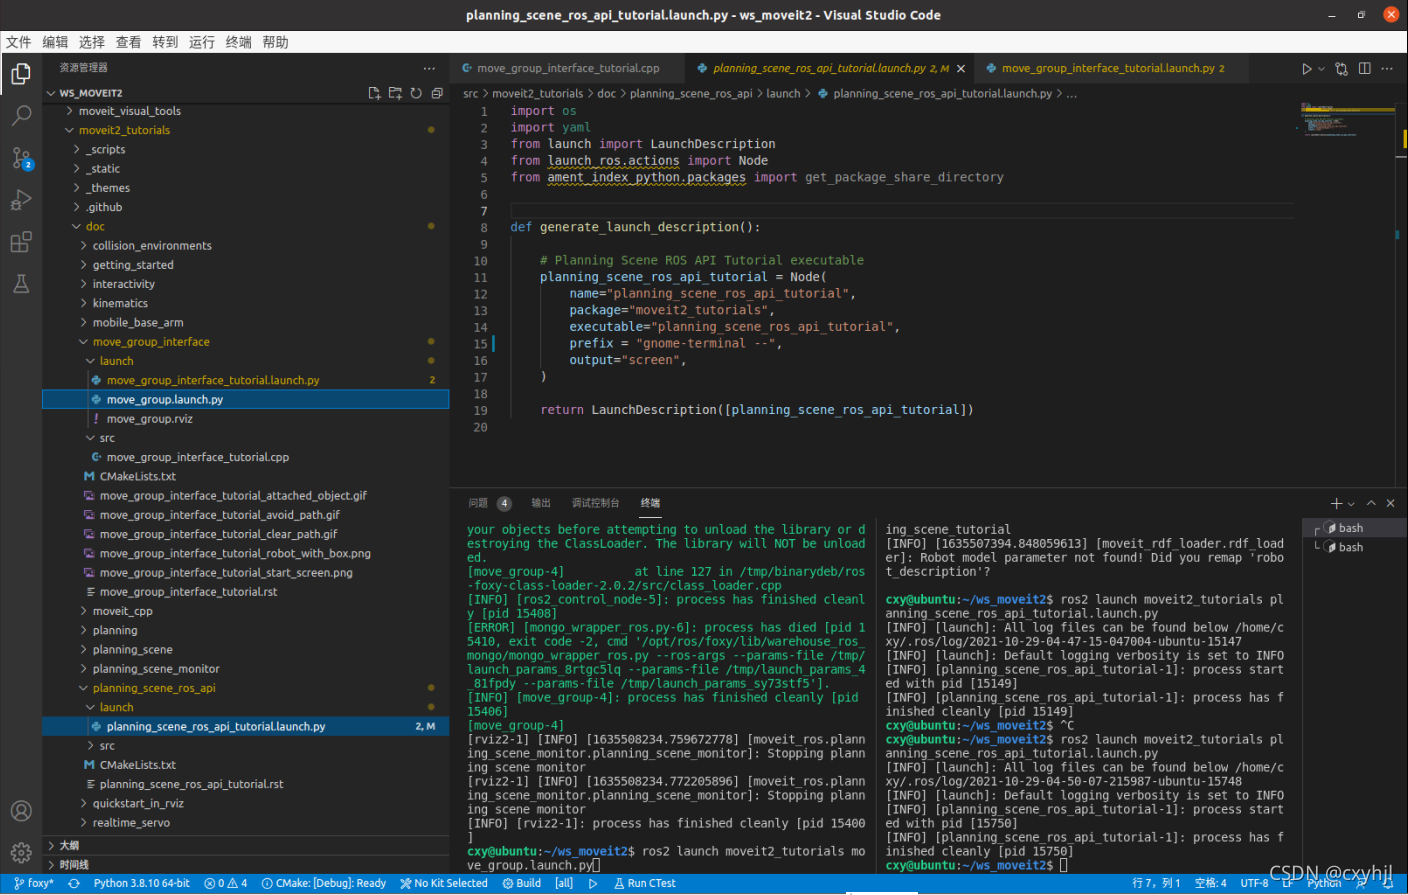
Ubuntu 虚拟机 VSCode界面
Running the code
打开两个终端。 在第一个 shell 中启动 RViz 并等待一切完成加载:
ros2 launch moveit2_tutorials move_group.launch.py
在第二个 shell 中,运行此演示的启动文件:
ros2 launch moveit2_tutorials planning_scene_ros_api_tutorial.launch.py
片刻之后,RViz 窗口应该会出现,看起来类似于可视化教程。 要完成每个演示步骤,请按屏幕底部 RvizVisualToolsGui 面板中的下一步按钮或选择屏幕顶部工具面板中的关键工具,然后在 RViz 聚焦时按键盘上的 N。
Expected Output
在 RViz 中,您应该能够看到以下内容:
对象出现在规划场景中。
物体附着在机器人上。
对象与机器人分离。
从规划场景中移除对象
planning_scene_ros_api_tutorial
完整代码:
#include <rclcpp/rclcpp.hpp>
#include <geometry_msgs/msg/pose.hpp>

// MoveIt
#include <moveit_msgs/msg/planning_scene.hpp>
#include <moveit_msgs/msg/attached_collision_object.hpp>
#include <moveit_msgs/srv/get_state_validity.hpp>
#include <moveit_msgs/msg/display_robot_state.hpp>
#include <moveit_msgs/srv/apply_planning_scene.hpp>

#include <moveit/robot_model_loader/robot_model_loader.h>
#include <moveit/robot_state/robot_state.h>
#include <moveit/robot_state/conversions.h>

/* #include <moveit_visual_tools/moveit_visual_tools.h>  This has not been ported to ros2 yet */
#include <rviz_visual_tools/rviz_visual_tools.hpp>
/* this is a standin for moveit_visual_tools prompt */
#include <moveit/macros/console_colors.h>

void prompt(const std::string& message)
{
  printf(MOVEIT_CONSOLE_COLOR_GREEN "\n%s" MOVEIT_CONSOLE_COLOR_RESET, message.c_str());
  fflush(stdout);
  while (std::cin.get() != '\n' && rclcpp::ok())
    ;
}
static const rclcpp::Logger LOGGER = rclcpp::get_logger("planning_scene_ros_api_tutorial");

int main(int argc, char** argv)
{
  rclcpp::init(argc, argv);
  rclcpp::NodeOptions node_options;
  node_options.automatically_declare_parameters_from_overrides(true);
  auto node = rclcpp::Node::make_shared("planning_scene_ros_api_tutorial", node_options);

  rclcpp::executors::SingleThreadedExecutor executor;
  executor.add_node(node);
  std::thread([&executor]() { executor.spin(); }).detach();
  // BEGIN_TUTORIAL
  //
  // Visualization
  // ^^^^^^^^^^^^^
  // The package MoveItVisualTools provides many capabilities for visualizing objects, robots,
  // and trajectories in RViz as well as debugging tools such as step-by-step introspection of a script.
  rviz_visual_tools::RvizVisualTools visual_tools("panda_link0", "planning_scene_ros_api_tutorial", node);
  visual_tools.deleteAllMarkers();

  // ROS API
  // ^^^^^^^
  // The ROS API to the planning scene publisher is through a topic interface
  // using "diffs". A planning scene diff is the difference between the current
  // planning scene (maintained by the move_group node) and the new planning
  // scene desired by the user.
  //
  // Advertise the required topic
  // ^^^^^^^^^^^^^^^^^^^^^^^^^^^^
  // We create a publisher and wait for subscribers.
  // Note that this topic may need to be remapped in the launch file.
  rclcpp::Publisher<moveit_msgs::msg::PlanningScene>::SharedPtr planning_scene_diff_publisher =
      node->create_publisher<moveit_msgs::msg::PlanningScene>("planning_scene", 1);
  while (planning_scene_diff_publisher->get_subscription_count() < 1)
  {
    rclcpp::sleep_for(std::chrono::milliseconds(500));
  }
  prompt("Press 'Enter' to continue the demo");
  /* visual_tools.prompt("Press 'next' in the RvizVisualToolsGui window to continue the demo"); */

  // Define the attached object message
  // ^^^^^^^^^^^^^^^^^^^^^^^^^^^^^^^^^^
  // We will use this message to add or
  // subtract the object from the world
  // and to attach the object to the robot.
  moveit_msgs::msg::AttachedCollisionObject attached_object;
  attached_object.link_name = "panda_hand";
  /* The header must contain a valid TF frame*/
  attached_object.object.header.frame_id = "panda_hand";
  /* The id of the object */
  attached_object.object.id = "box";

  /* A default pose */
  geometry_msgs::msg::Pose pose;
  pose.position.z = 0.11;
  pose.orientation.w = 1.0;

  /* Define a box to be attached */
  shape_msgs::msg::SolidPrimitive primitive;
  primitive.type = primitive.BOX;
  primitive.dimensions.resize(3);
  primitive.dimensions[0] = 0.075;
  primitive.dimensions[1] = 0.075;
  primitive.dimensions[2] = 0.075;

  attached_object.object.primitives.push_back(primitive);
  attached_object.object.primitive_poses.push_back(pose);

  // Note that attaching an object to the robot requires
  // the corresponding operation to be specified as an ADD operation.
  attached_object.object.operation = attached_object.object.ADD;

  // Since we are attaching the object to the robot hand to simulate picking up the object,
  // we want the collision checker to ignore collisions between the object and the robot hand.
  attached_object.touch_links = std::vector<std::string>{ "panda_hand", "panda_leftfinger", "panda_rightfinger" };

  // Add an object into the environment
  // ^^^^^^^^^^^^^^^^^^^^^^^^^^^^^^^^^^
  // Add the object into the environment by adding it to
  // the set of collision objects in the "world" part of the
  // planning scene. Note that we are using only the "object"
  // field of the attached_object message here.
  RCLCPP_INFO(LOGGER, "Adding the object into the world at the location of the hand.");
  moveit_msgs::msg::PlanningScene planning_scene;
  planning_scene.world.collision_objects.push_back(attached_object.object);
  planning_scene.is_diff = true;
  planning_scene_diff_publisher->publish(planning_scene);
  prompt("Press 'Enter' to continue the demo");
  /* visual_tools.prompt("Press 'next' in the RvizVisualToolsGui window to continue the demo"); */

  // Interlude: Synchronous vs Asynchronous updates
  // ^^^^^^^^^^^^^^^^^^^^^^^^^^^^^^^^^^^^^^^^^^^^^^
  // There are two separate mechanisms available to interact
  // with the move_group node using diffs:
  //
  // * Send a diff via a rosservice call and block until
  //   the diff is applied (synchronous update)
  // * Send a diff via a topic, continue even though the diff
  //   might not be applied yet (asynchronous update)
  //
  // While most of this tutorial uses the latter mechanism (given the long sleeps
  // inserted for visualization purposes asynchronous updates do not pose a problem),
  // it would be perfectly justified to replace the planning_scene_diff_publisher
  // by the following service client:
  rclcpp::Client<moveit_msgs::srv::ApplyPlanningScene>::SharedPtr planning_scene_diff_client =
      node->create_client<moveit_msgs::srv::ApplyPlanningScene>("apply_planning_scene");
  planning_scene_diff_client->wait_for_service();
  // and send the diffs to the planning scene via a service call:
  auto request = std::make_shared<moveit_msgs::srv::ApplyPlanningScene::Request>();
  request->scene = planning_scene;
  std::shared_future<std::shared_ptr<moveit_msgs::srv::ApplyPlanningScene_Response>> response_future;
  response_future = planning_scene_diff_client->async_send_request(request);

  // wait for the service to respond
  std::chrono::seconds wait_time(1);
  std::future_status fs = response_future.wait_for(wait_time);
  if (fs == std::future_status::timeout)
  {
    RCLCPP_ERROR(LOGGER, "Service timed out.");
  }
  else
  {
    std::shared_ptr<moveit_msgs::srv::ApplyPlanningScene_Response> planning_response;
    planning_response = response_future.get();
    if (planning_response->success)
    {
      RCLCPP_INFO(LOGGER, "Service successfully added object.");
    }
    else
    {
      RCLCPP_ERROR(LOGGER, "Service failed to add object.");
    }
  }

  // Note that this does not continue until we are sure the diff has been applied.
  //
  // Attach an object to the robot
  // ^^^^^^^^^^^^^^^^^^^^^^^^^^^^^
  // When the robot picks up an object from the environment, we need to
  // "attach" the object to the robot so that any component dealing with
  // the robot model knows to account for the attached object, e.g. for
  // collision checking.
  //
  // Attaching an object requires two operations
  //  * Removing the original object from the environment
  //  * Attaching the object to the robot

  /* First, define the REMOVE object message*/
  moveit_msgs::msg::CollisionObject remove_object;
  remove_object.id = "box";
  remove_object.header.frame_id = "panda_hand";
  remove_object.operation = remove_object.REMOVE;

  // Note how we make sure that the diff message contains no other
  // attached objects or collisions objects by clearing those fields
  // first.
  /* Carry out the REMOVE + ATTACH operation */
  RCLCPP_INFO(LOGGER, "Attaching the object to the hand and removing it from the world.");
  planning_scene.world.collision_objects.clear();
  planning_scene.world.collision_objects.push_back(remove_object);
  planning_scene.robot_state.attached_collision_objects.push_back(attached_object);
  planning_scene.robot_state.is_diff = true;
  planning_scene_diff_publisher->publish(planning_scene);

  prompt("Press 'Enter' to continue the demo");
  /* visual_tools.prompt("Press 'next' in the RvizVisualToolsGui window to continue the demo"); */

  // Detach an object from the robot
  // ^^^^^^^^^^^^^^^^^^^^^^^^^^^^^^^
  // Detaching an object from the robot requires two operations
  //  * Detaching the object from the robot
  //  * Re-introducing the object into the environment

  /* First, define the DETACH object message*/
  moveit_msgs::msg::AttachedCollisionObject detach_object;
  detach_object.object.id = "box";
  detach_object.link_name = "panda_hand";
  detach_object.object.operation = attached_object.object.REMOVE;

  // Note how we make sure that the diff message contains no other
  // attached objects or collisions objects by clearing those fields
  // first.
  /* Carry out the DETACH + ADD operation */
  RCLCPP_INFO(LOGGER, "Detaching the object from the robot and returning it to the world.");
  planning_scene.robot_state.attached_collision_objects.clear();
  planning_scene.robot_state.attached_collision_objects.push_back(detach_object);
  planning_scene.robot_state.is_diff = true;
  planning_scene.world.collision_objects.clear();
  planning_scene.world.collision_objects.push_back(attached_object.object);
  planning_scene.is_diff = true;
  planning_scene_diff_publisher->publish(planning_scene);

  prompt("Press 'Enter' to continue the demo");
  /* visual_tools.prompt("Press 'next' in the RvizVisualToolsGui window to continue the demo"); */

  // Remove the object from the collision world
  // ^^^^^^^^^^^^^^^^^^^^^^^^^^^^^^^^^^^^^^^^^^
  // Removing the object from the collision world just requires
  // using the remove object message defined earlier.
  // Note, also how we make sure that the diff message contains no other
  // attached objects or collisions objects by clearing those fields
  // first.
  RCLCPP_INFO(LOGGER, "Removing the object from the world.");
  planning_scene.robot_state.attached_collision_objects.clear();
  planning_scene.world.collision_objects.clear();
  planning_scene.world.collision_objects.push_back(remove_object);
  planning_scene_diff_publisher->publish(planning_scene);
  // END_TUTORIAL

  prompt("Press 'Enter' to end the demo");
  /* visual_tools.prompt("Press 'next' in the RvizVisualToolsGui window to end the demo"); */

  rclcpp::shutdown();
  return 0;
}
参考:
http://moveit2_tutorials.picknik.ai/doc/planning_scene_ros_api/planning_scene_ros_api_tutorial.html


 被折叠的 条评论
为什么被折叠?
被折叠的 条评论
为什么被折叠?
 到【灌水乐园】发言


