


tf_flowers数据集
1.导入包
import matplotlib.pyplot as plt
import numpy as np
import tensorflow as tf
import tensorflow_datasets as tfds

from tensorflow.keras import layers
from tensorflow.keras.datasets import mnist
2.加载数据
(train_ds, val_ds, test_ds), metadata = tfds.load(
    'tf_flowers',
    split=['train[:80%]', 'train[80%:90%]', 'train[90%:]'],
    with_info=True,
    as_supervised=True,
)
#The flowers dataset has five classes.

num_classes = metadata.features['label'].num_classes
print(num_classes)
5
复现数据:
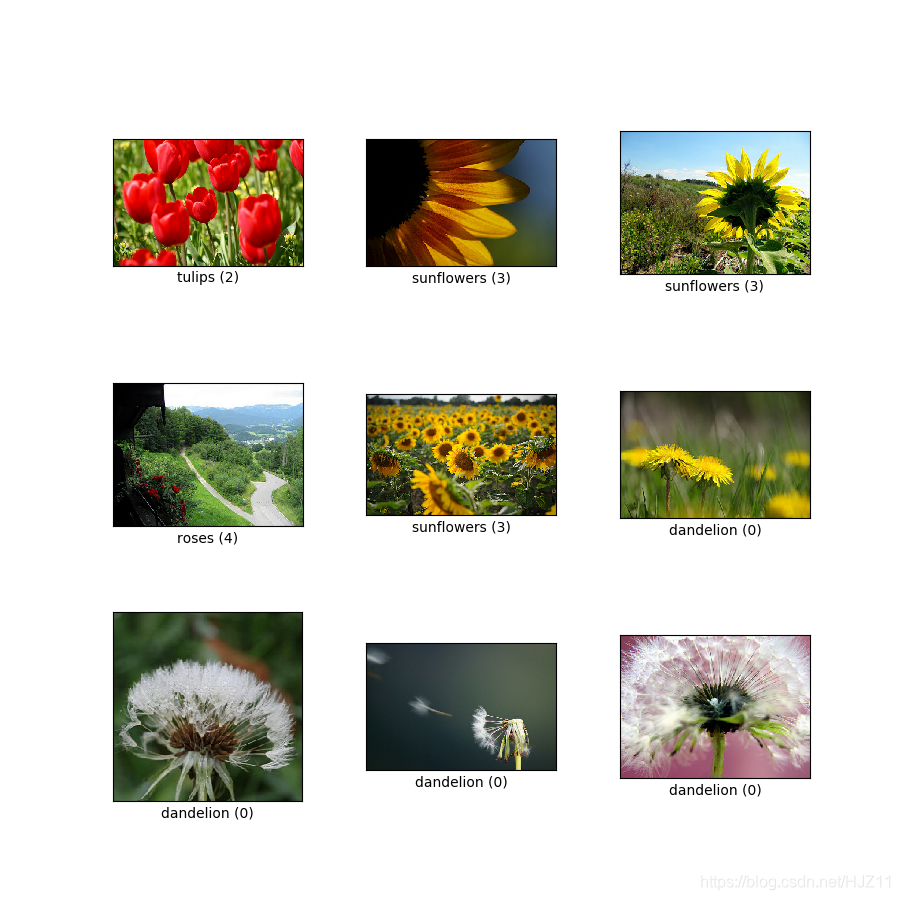
#Let's retrieve an image from the dataset and use it to demonstrate data augmentation.

get_label_name = metadata.features['label'].int2str

image, label = next(iter(train_ds))
_ = plt.imshow(image)
_ = plt.title(get_label_name(label))

3.数据预处理
Use Keras preprocessing layers
#Resizing and rescaling
#You can use preprocessing layers to resize your images to a consistent shape, and to rescale pixel values.

IMG_SIZE = 180

resize_and_rescale = tf.keras.Sequential([
  layers.experimental.preprocessing.Resizing(IMG_SIZE, IMG_SIZE),
  layers.experimental.preprocessing.Rescaling(1./255)
])
#Note: the rescaling layer above standardizes pixel values to [0,1]. If instead you wanted [-1,1], you would write Rescaling(1./127.5, offset=-1).
result = resize_and_rescale(image)
_ = plt.imshow(result)

#You can verify the pixels are in [0-1].

print("Min and max pixel values:", result.numpy().min(), result.numpy().max())
Min and max pixel values: 0.0 1.0
4.数据增强
#Data augmentation
#You can use preprocessing layers for data augmentation as well.

#Let's create a few preprocessing layers and apply them repeatedly to the same image.

data_augmentation = tf.keras.Sequential([
  layers.experimental.preprocessing.RandomFlip("horizontal_and_vertical"),
  layers.experimental.preprocessing.RandomRotation(0.2),
])
# Add the image to a batch
image = tf.expand_dims(image, 0)
plt.figure(figsize=(10, 10))
for i in range(9):
  augmented_image = data_augmentation(image)
  ax = plt.subplot(3, 3, i + 1)
  plt.imshow(augmented_image[0])
  plt.axis("off")

#There are a variety of preprocessing layers you can use for data augmentation including layers.RandomContrast, layers.RandomCrop, layers.RandomZoom, and others.
5.预处理层的两种方法
There are two ways you can use these preprocessing layers, with important tradeoffs.
- 第一种方法
Option 1: Make the preprocessing layers part of your model
model = tf.
最低0.47元/天 解锁文章


 23
23

 被折叠的 条评论
为什么被折叠?
被折叠的 条评论
为什么被折叠?
 到【灌水乐园】发言


