


 这篇博客详细介绍了如何在Ubuntu系统中配置环境并使用FairMOT进行多目标跟踪。首先,从GitHub上下载FairMOT代码并用VSCode打开。接着,创建名为FairMOT的conda环境,安装必要的库和依赖,包括PyTorch、CUDA和ffmpeg。在遇到lap安装错误时,通过更新和安装build-essential解决。随后,下载预训练模型并放置于models文件夹中。最后,运行测试脚本来验证模型性能,观察demos文件夹中的跟踪结果。
(1)打开官方的网站:
 https://github.com/ifzhang/FairMOT
(3)打开vscode 读取文件
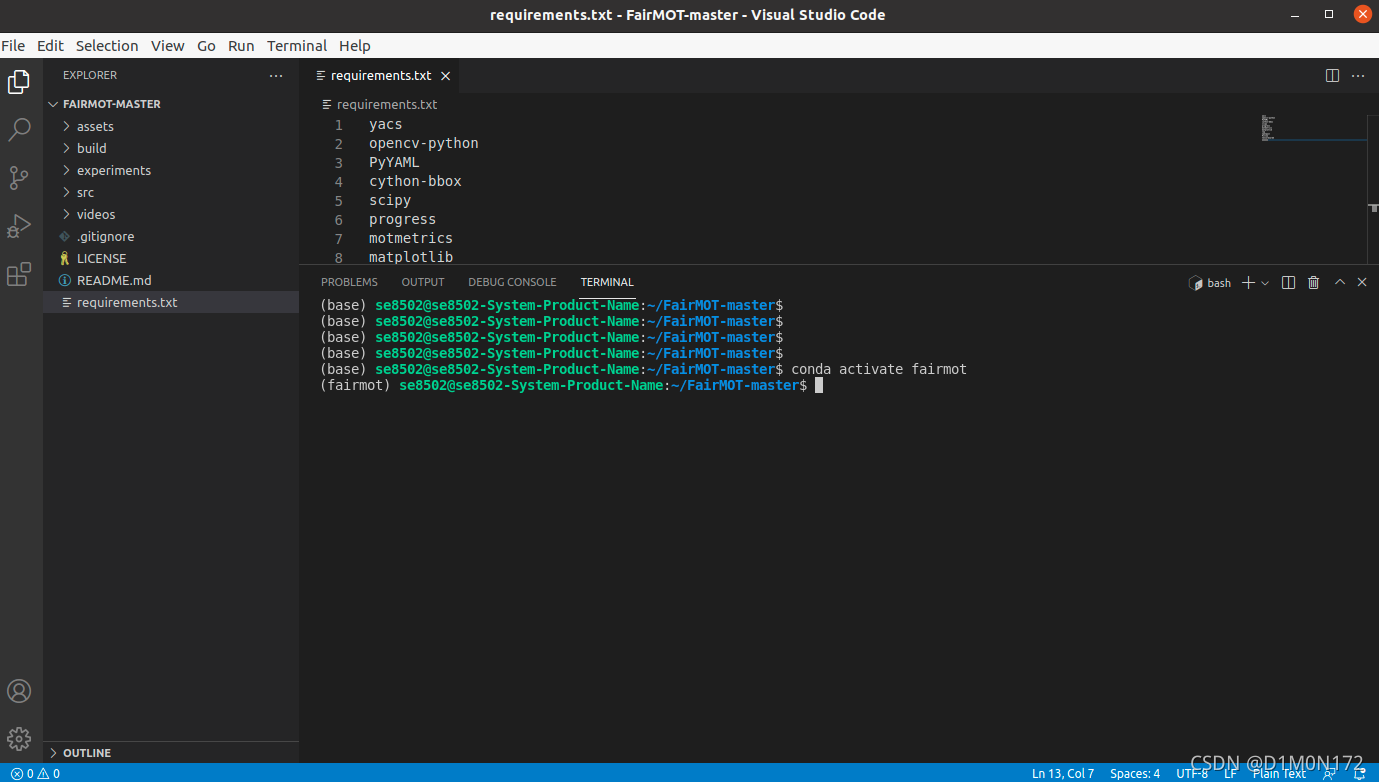
(4)创建环境
conda create -n FairMOT
conda activate FairMOT
conda install pytorch==1.7.0 torchvision==0.8.0 cudatoolkit=10.2 -c pytorch
cd ${FAIRMOT_ROOT}
pip install cython
pip install -r requirements.txt
git clone -b pytorch_1.7 https://github.com/ifzhang/DCNv2.git
cd DCNv2
./make.sh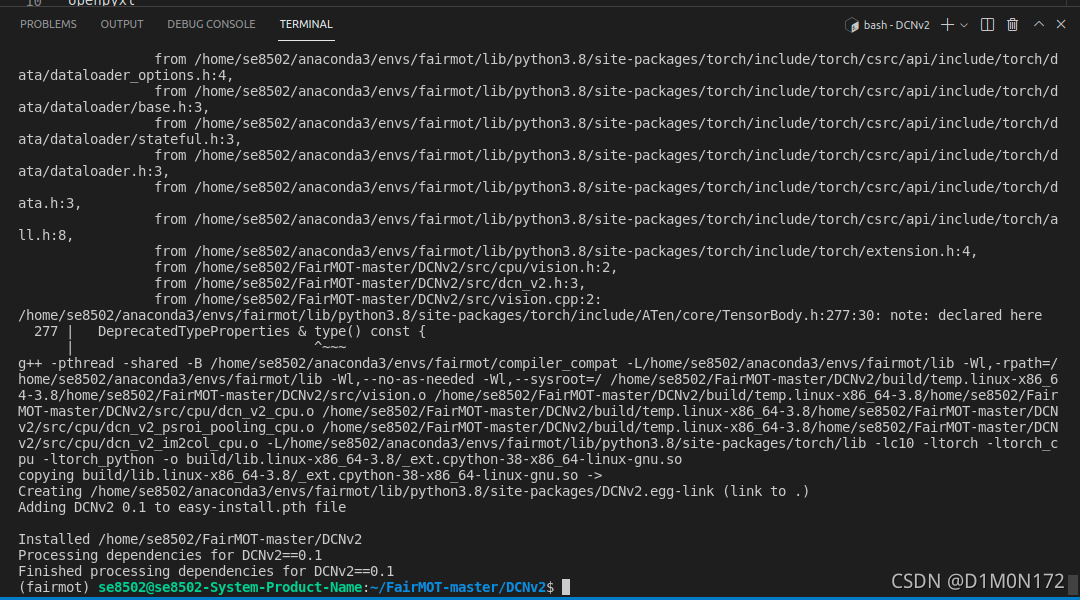 问题1:
问题1:
ERROR: Command errored out with exit status 1:
command: /home/se8502/anaconda3/envs/fairmot/bin/python -u -c 'import io, os, sys, setuptools, tokenize; sys.argv[0] = '"'"'/tmp/pip-install-loqfqgxu/lap_27d2b6fda8f14025af34865b05f8ff1c/setup.py'"'"'; __file__='"'"'/tmp/pip-install-loqfqgxu/lap_27d2b6fda8f14025af34865b05f8ff1c/setup.py'"'"';f = getattr(tokenize, '"'"'open'"'"', open)(__file__) if os.path.exists(__file__) else io.StringIO('"'"'from setuptools import setup; setup()'"'"');code = f.read().replace('"'"'\r\n'"'"', '"'"'\n'"'"');f.close();exec(compile(code, __file__, '"'"'exec'"'"'))' bdist_wheel -d /tmp/pip-wheel-bqxx55fu
解決:
sudo apt updatesudo apt install build-essential安装ffmpeg
打开终端
输入:
sudo apt update

sudo apt install ffmpeg

ffmpeg -version
输出应如下所示:
ffmpeg version 3.4.4-0ubuntu0.18.04.1 Copyright (c) 2000-2018 the FFmpeg developers
built with gcc 7 (Ubuntu 7.3.0-16ubuntu3)
(5)下载模型

创建一个文件夹叫models
放入模型文件

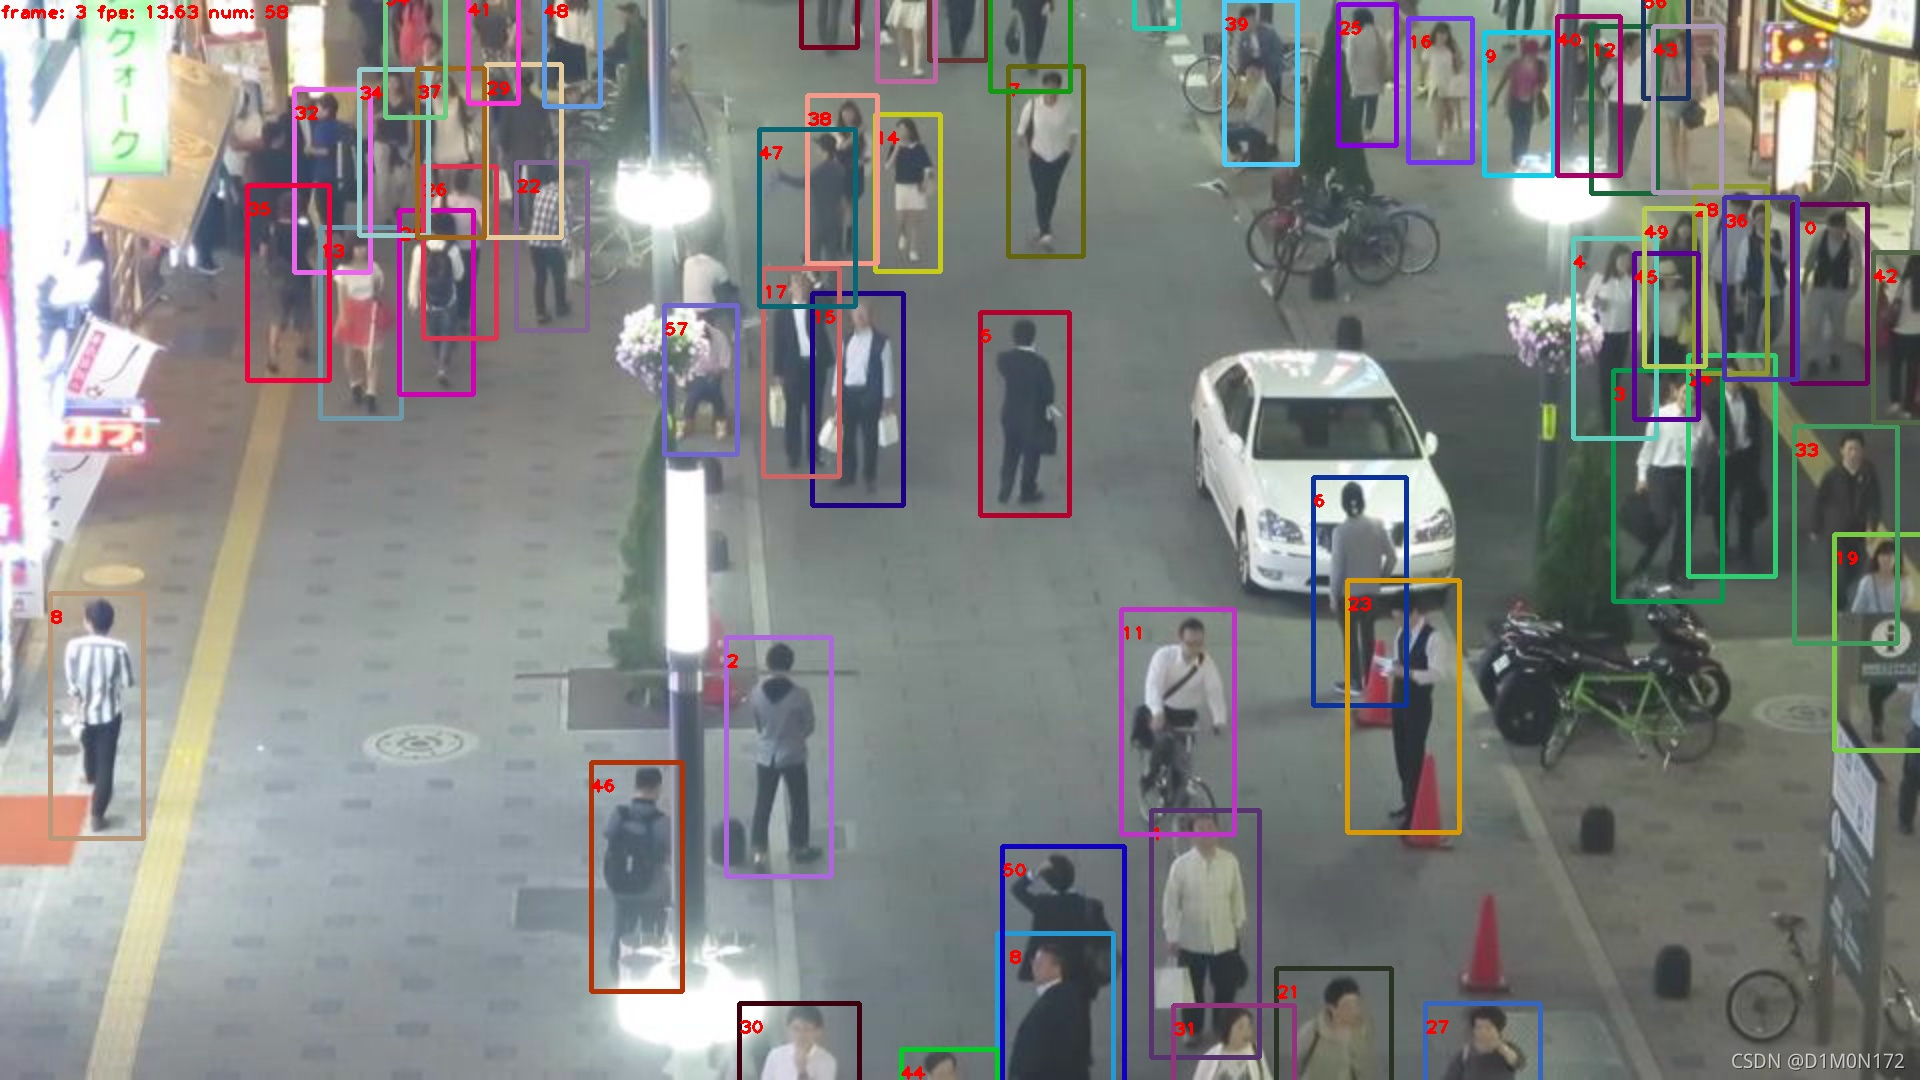
(6)测试
cd src
python demo.py mot --load_model ../models/fairmot_dla34.pth --conf_thres 0.4

#指定GPU 因为我只有一个gpu所以是0 作者说 --conf_thres 可以设置为 0.3 到 0.7,具体取决于您自己的视频。
CUDA_VISIBLE_DEVICES=0 python demo.py mot --load_model ../models/fairmot_dla34.pth --conf_thres 0.4
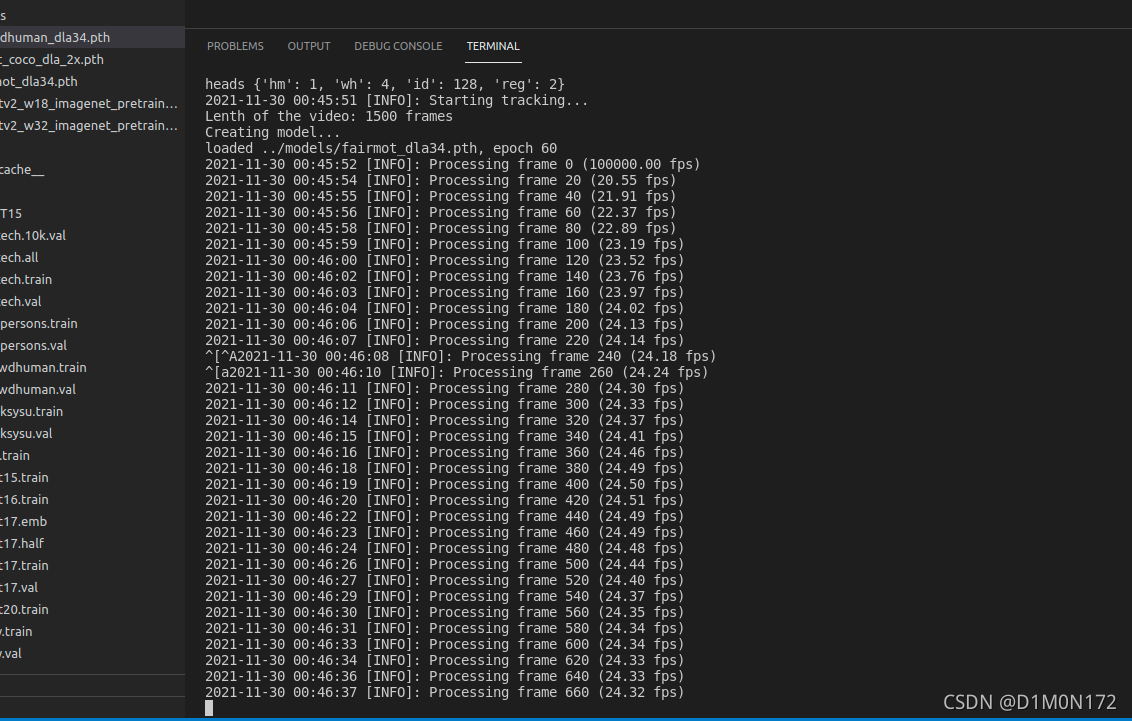
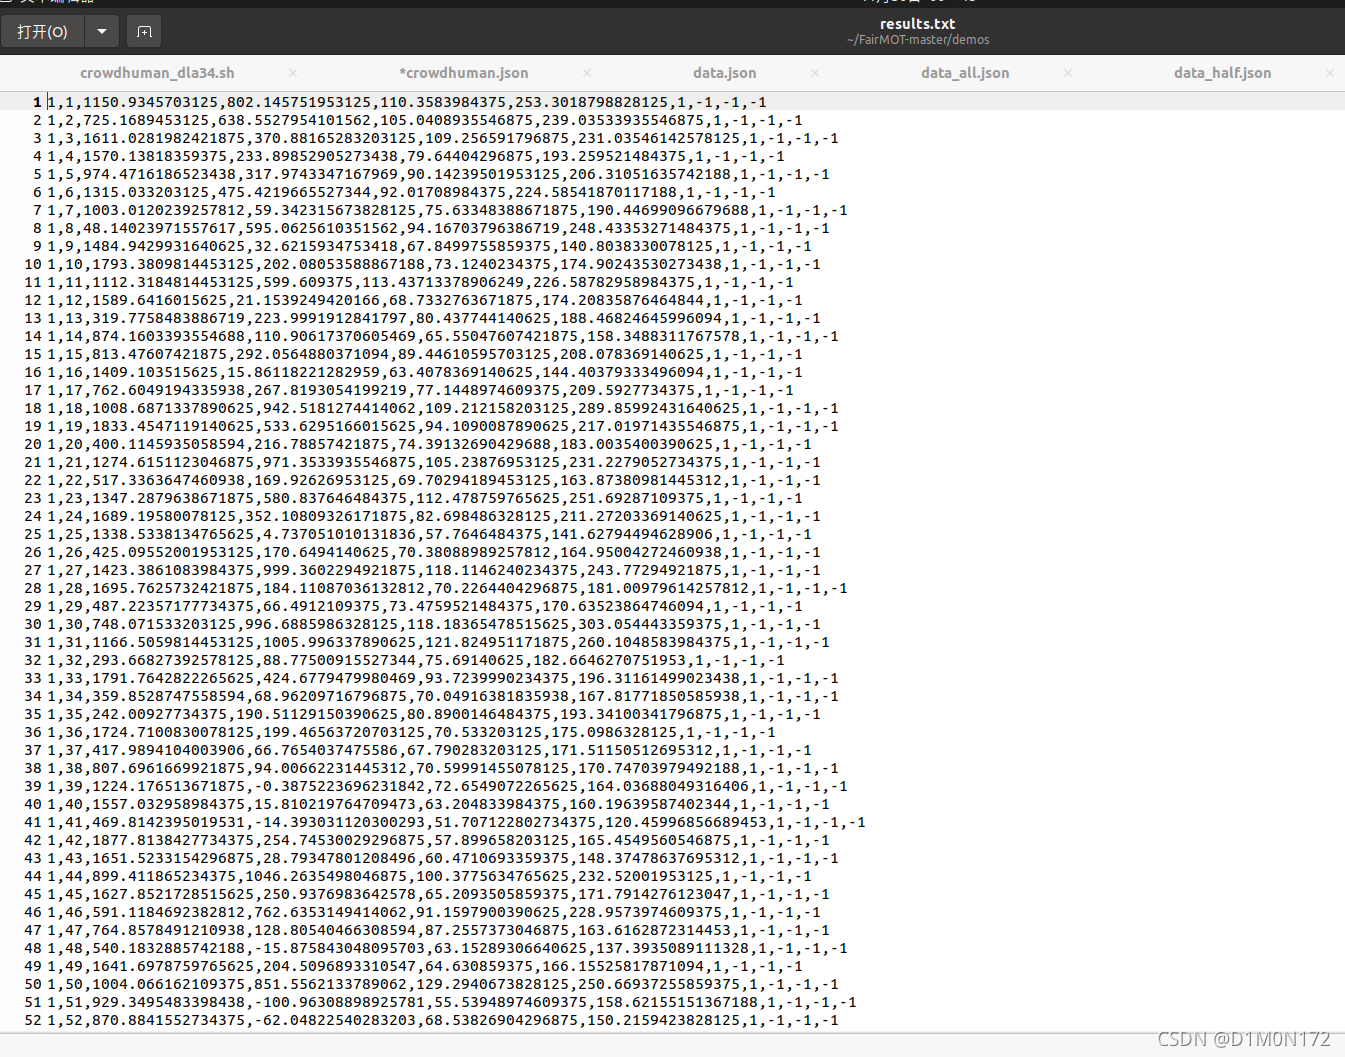
在文件夹demos里面可以看到结果
结束


 9173
9173


 到【灌水乐园】发言


