


openpcdet
参考库:https://github.com/windzu/pointpillars/tree/4137ca5c0726f767b3f8f5b0352ddfca13594a87?tab=readme-ov-file
这个是之前做过的一个工作,这里重新温故知新。
环境准备:cuda-11.3,python3.8,cudnn8.2.1 torch==1.11.0
主要是cuda和cudnn,都是必需的.
创建虚拟环境
conda create -n det3d  python=3.8
conda activate det3d
安装python依赖包
pip install spconv pyyaml scikit-image onnx onnx-simplifier onnx_graphsurgeon msvcrt numba spconv-cu118
pip3 install torch torchvision torchaudio --index-url https://download.pytorch.org/whl/cu118
安装Openpcdet的库
git clone https://github.com/open-mmlab/OpenPCDet.git
cd OpenPCDet
python setup.py develop
问题1:
Traceback (most recent call last):
  File "setup.py", line 5, in <module>
    from torch.utils.cpp_extension import BuildExtension, CUDAExtension
  File "/home/cyun/.local/lib/python3.8/site-packages/torch/__init__.py", line 290, in <module>
    from torch._C import *  # noqa: F403
ImportError: libcudnn.so.9: cannot open shared object file: No such file or directory
这是应为torch的版本太高了,cuda11.8无法使用,先卸载原有的torch相关的内容,然后重新安装:pip3 install torch torchvision torchaudio --index-url https://download.pytorch.org/whl/cu118
开始安装后:

安装完成之后:

克隆源码
git clone https://github.com/windzu/pointpillars.git
这里注意,只有pointpillar_ws是工作空间,其他都是一些工具,所以先进入pointpillar_ws.接着修改工作空间的cmakelists.txt:

然后正常编译即可:

编译完成之后,准备一下预训练模型,然后就可以运行了:
roslaunch det3d det3d.launch
出现问题
这里还是没有找到tensorRT的动态依赖,只能一点一点给他添加一下,在另外一个cmakelist中:

改为:

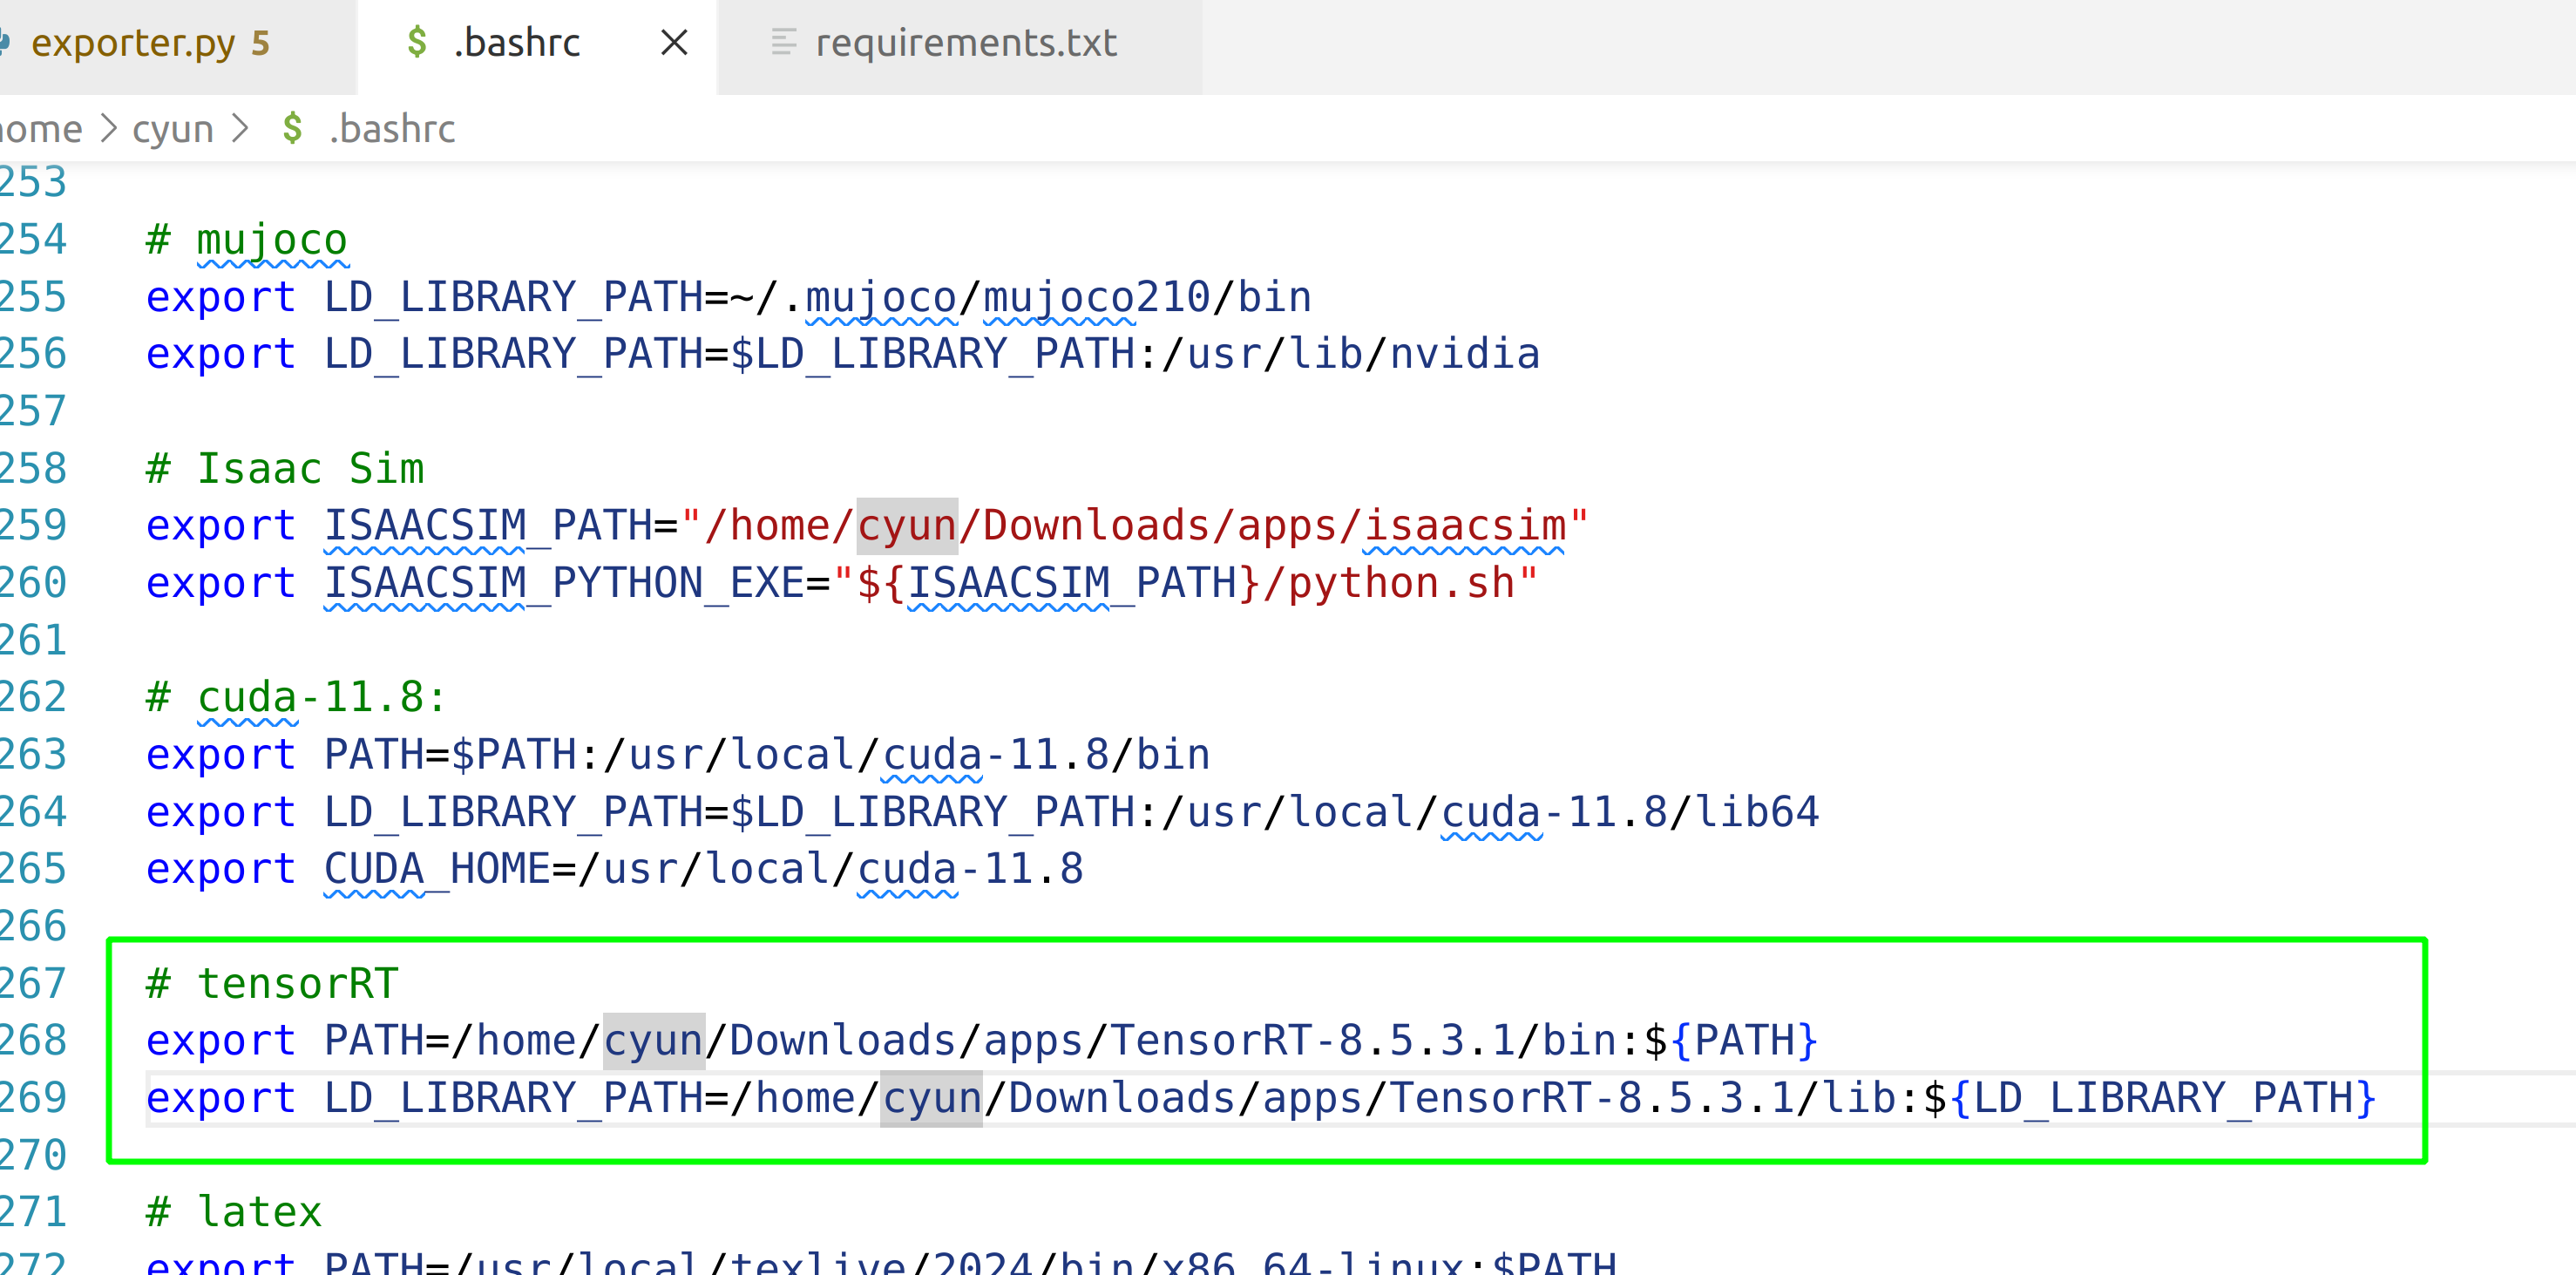
并且注意自己的.bashrc添加了tensorrt的路径,也就是:
然后就能正常使用了:
roslaunch det3d det3d.launch

这个是eigen模型有问题,由于我的版本有问题所以需要先对模型进行一个重新转换,也就是要严格按照这个环境:
环境 OS GPU CUDA CUDNN Tensorrt
环境一 Ubuntu20.04 RTX2080 11.3 8.2.1 GA8.0
tensorrt要求没有那么高,但是cuda cudnn比较重要,然后torch是1.11.0
然后去转换模型到onxx中:
python exporter.py --ckpt ./last_model.pth

然后放到model中:

这样就能正常使用了.播放一下雷达的包就能进行识别了.
后续待做:由于我没有按照原本的环境进行安装,所以无法使用他的last_model,所以可能还会继续去寻找如何训练一个pointpillar的模型.后续再更新这部分


 353
353

 被折叠的 条评论
为什么被折叠?
被折叠的 条评论
为什么被折叠?
 到【灌水乐园】发言


