自我学习步骤:
0 初始化一些常量与参数
0 初始化一些常量与参数
输入图像784,类别为5,隐层节点为200
1 生成输入与测试数据集
一共60000张图像,0~4被认为是带标签的,有30596个(均分成两份,一份train_softmax,一份test)
5~9被认为是无标签的,有29404个,用sparseautocoder训练第一层网络
5~9被认为是无标签的,有29404个,用sparseautocoder训练第一层网络

2 用无监督的数据集训练稀疏自编码器
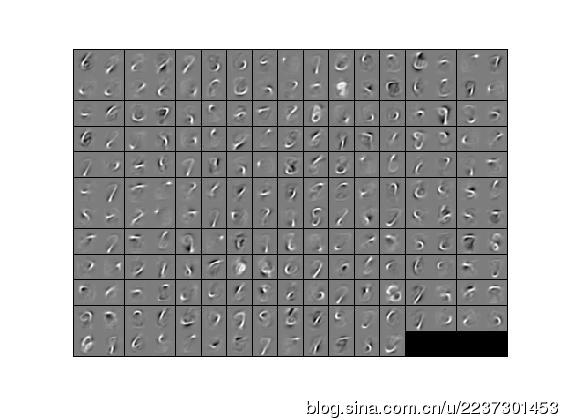
用minFunc来训练,迭代400次,得到最优参数。这个过程比较久,大约25min。然后显示提取的笔画特征
也就是分别算出训练集和测试集在该网络的激活值们

4 训练softmax分类器
将提取的 train 激活值作为softmax层的输入,用minFunc训练,迭代100次,获得softmax模型参数,这样三层网络就建立起来了。
5 测试
用test data进行整个网络的测试,
用test data进行整个网络的测试,
准确率大约是98.202379%,很不错的样子,如果用来识别车型也能达到这个效果,我就啥都不用再干,毕设就完成了。
stlExercise.m:
% STEP 2: Train the sparse autoencoder % This trains the sparse autoencoder on the unlabeled training % images. % Randomly initialize the parameters theta = initializeParameters(hiddenSize, inputSize); %% ----------------- YOUR CODE HERE ---------------------- % Find opttheta by running the sparse autoencoder on % unlabeledTrainingImages
opttheta = theta; addpath minFunc/options.Method = 'lbfgs';options.maxIter = 400;options.display = 'on';[opttheta, loss] = minFunc( @(p) sparseAutoencoderLoss(p, ... inputSize, hiddenSize, ... lambda, sparsityParam, ... beta, unlabeledData), ... theta, options);%% STEP 5: Testing %% ----------------- YOUR CODE HERE ---------------------- % Compute Predictions on the test set (testFeatures) using softmaxPredict % and softmaxModel [pred] = softmaxPredict(softmaxModel, testFeatures);
feedForwardAutoencoder.m:%% ---------- YOUR CODE HERE -------------------------------------- % Instructions: Compute the activation of the hidden layer for the Sparse Autoencoder. activation = sigmoid(W1*data+repmat(b1,[1,size(data,2)]));


 本文详细介绍了构建深度学习网络的过程,包括初始化参数、生成数据集、无监督训练、有监督提取特征、训练softmax分类器及最终测试。通过实例展示了三层网络的建立,并实现了高达98.202379%的准确率。


 2013
2013

 被折叠的 条评论
为什么被折叠?


