


b站视频: https://www.bilibili.com/video/BV12JrXYNE3j/
1 环境
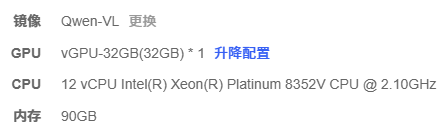
再AutoDL上进行快速部署
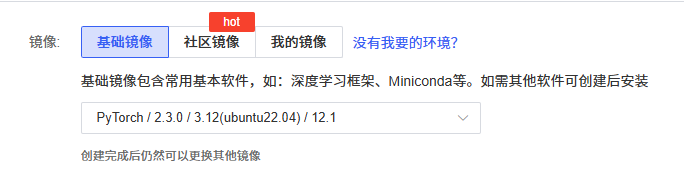
基础镜像选择
2 项目代码与安装
https://github.com/QwenLM/Qwen2-VL
git clone https://github.com/QwenLM/Qwen2-VL
cd Qwen2-VL
pip install qwen-vl-utils[decord]
pip install transformers
pip install 'accelerate>=0.26.0'
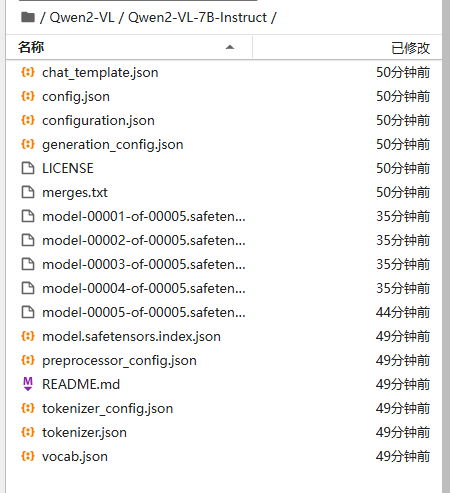
3 模型下载
模型地址
https://www.modelscope.cn/Qwen/Qwen2-VL-7B-Instruct
pip install modelscope
采用SDK方式下载
#模型下载(这一步需要记录下载的位置)
from modelscope import snapshot_download
model_dir = snapshot_download('Qwen/Qwen2-VL-7B-Instruct')

移动模型
mv /root/.cache/modelscope/hub/Qwen/Qwen2-VL-7B-Instruct /root/Qwen
4 运行Qwen2-VL
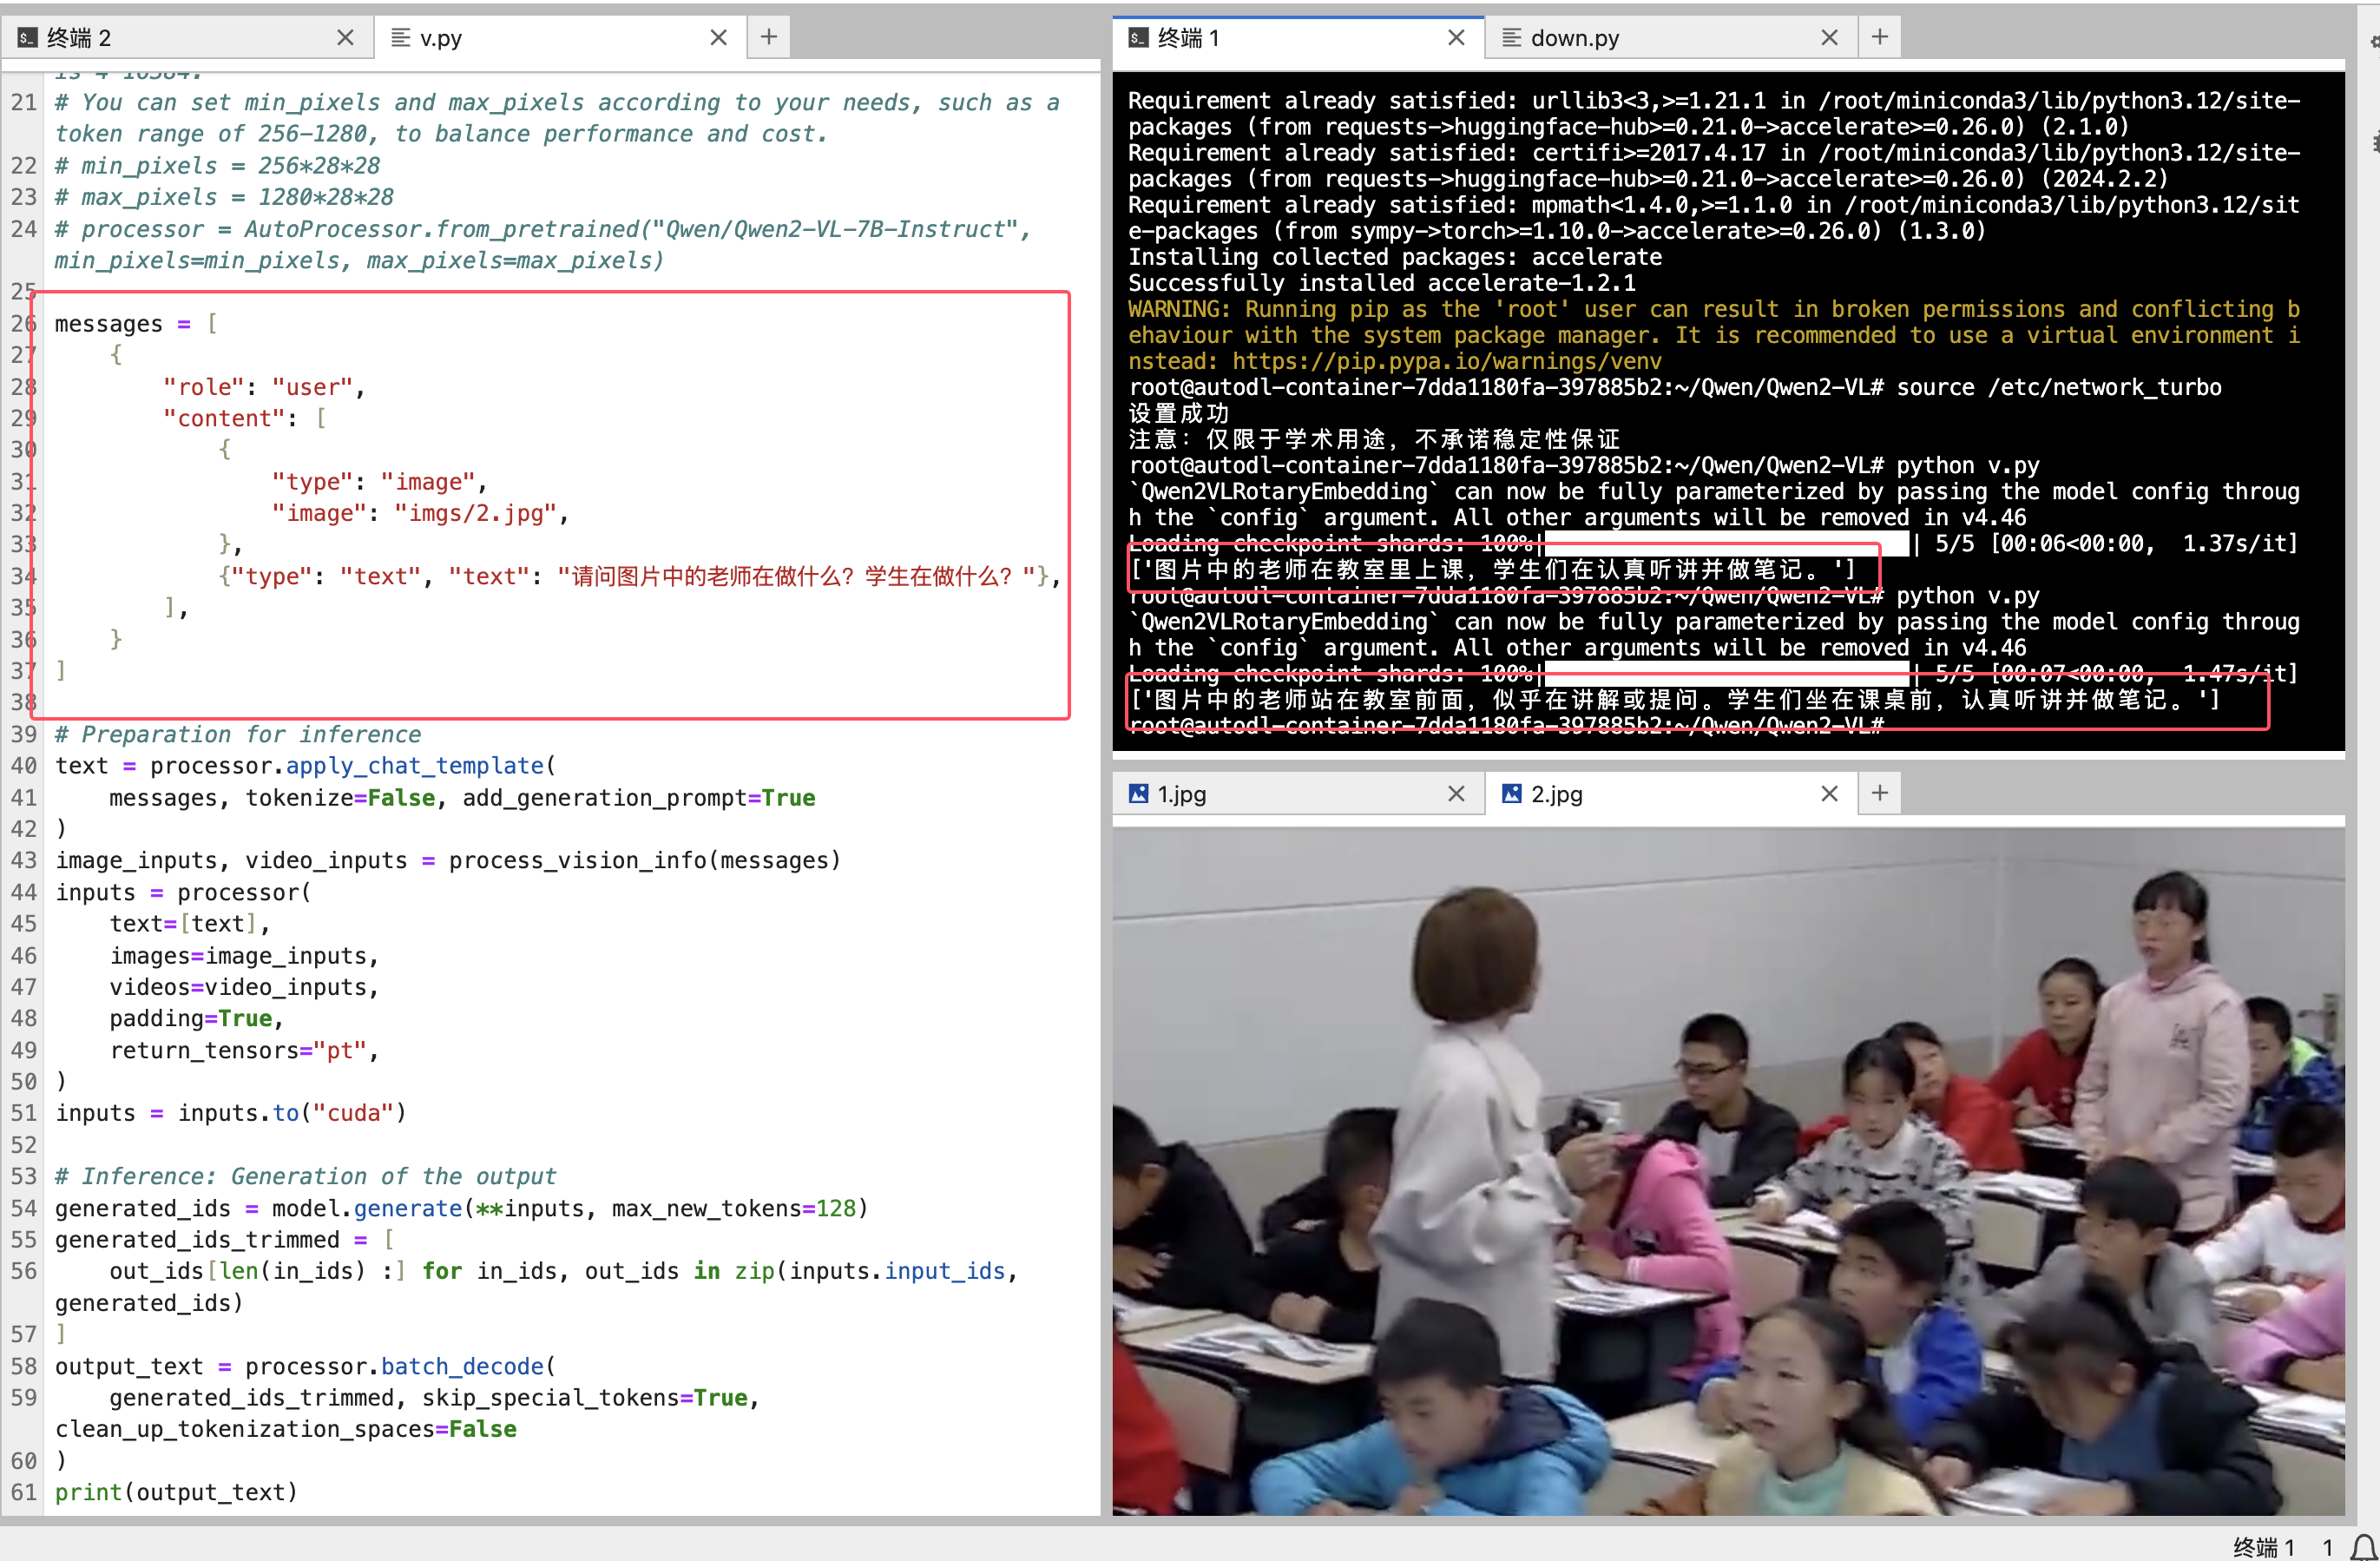
执行脚本:
from transformers import Qwen2VLForConditionalGeneration, AutoTokenizer, AutoProcessor
from qwen_vl_utils import process_vision_info

# default: Load the model on the available device(s)
model = Qwen2VLForConditionalGeneration.from_pretrained(
    "Qwen/Qwen2-VL-7B-Instruct", torch_dtype="auto", device_map="auto"
)

# We recommend enabling flash_attention_2 for better acceleration and memory saving, especially in multi-image and video scenarios.
# model = Qwen2VLForConditionalGeneration.from_pretrained(
#     "Qwen/Qwen2-VL-7B-Instruct",
#     torch_dtype=torch.bfloat16,
#     attn_implementation="flash_attention_2",
#     device_map="auto",
# )

# default processer
processor = AutoProcessor.from_pretrained("Qwen/Qwen2-VL-7B-Instruct")

# The default range for the number of visual tokens per image in the model is 4-16384.
# You can set min_pixels and max_pixels according to your needs, such as a token range of 256-1280, to balance performance and cost.
# min_pixels = 256*28*28
# max_pixels = 1280*28*28
# processor = AutoProcessor.from_pretrained("Qwen/Qwen2-VL-7B-Instruct", min_pixels=min_pixels, max_pixels=max_pixels)

messages = [
    {
        "role": "user",
        "content": [
            {
                "type": "image",
                "image": "https://qianwen-res.oss-cn-beijing.aliyuncs.com/Qwen-VL/assets/demo.jpeg",
            },
            {"type": "text", "text": "Describe this image."},
        ],
    }
]

# Preparation for inference
text = processor.apply_chat_template(
    messages, tokenize=False, add_generation_prompt=True
)
image_inputs, video_inputs = process_vision_info(messages)
inputs = processor(
    text=[text],
    images=image_inputs,
    videos=video_inputs,
    padding=True,
    return_tensors="pt",
)
inputs = inputs.to("cuda")

# Inference: Generation of the output
generated_ids = model.generate(**inputs, max_new_tokens=128)
generated_ids_trimmed = [
    out_ids[len(in_ids) :] for in_ids, out_ids in zip(inputs.input_ids, generated_ids)
]
output_text = processor.batch_decode(
    generated_ids_trimmed, skip_special_tokens=True, clean_up_tokenization_spaces=False
)
print(output_text)
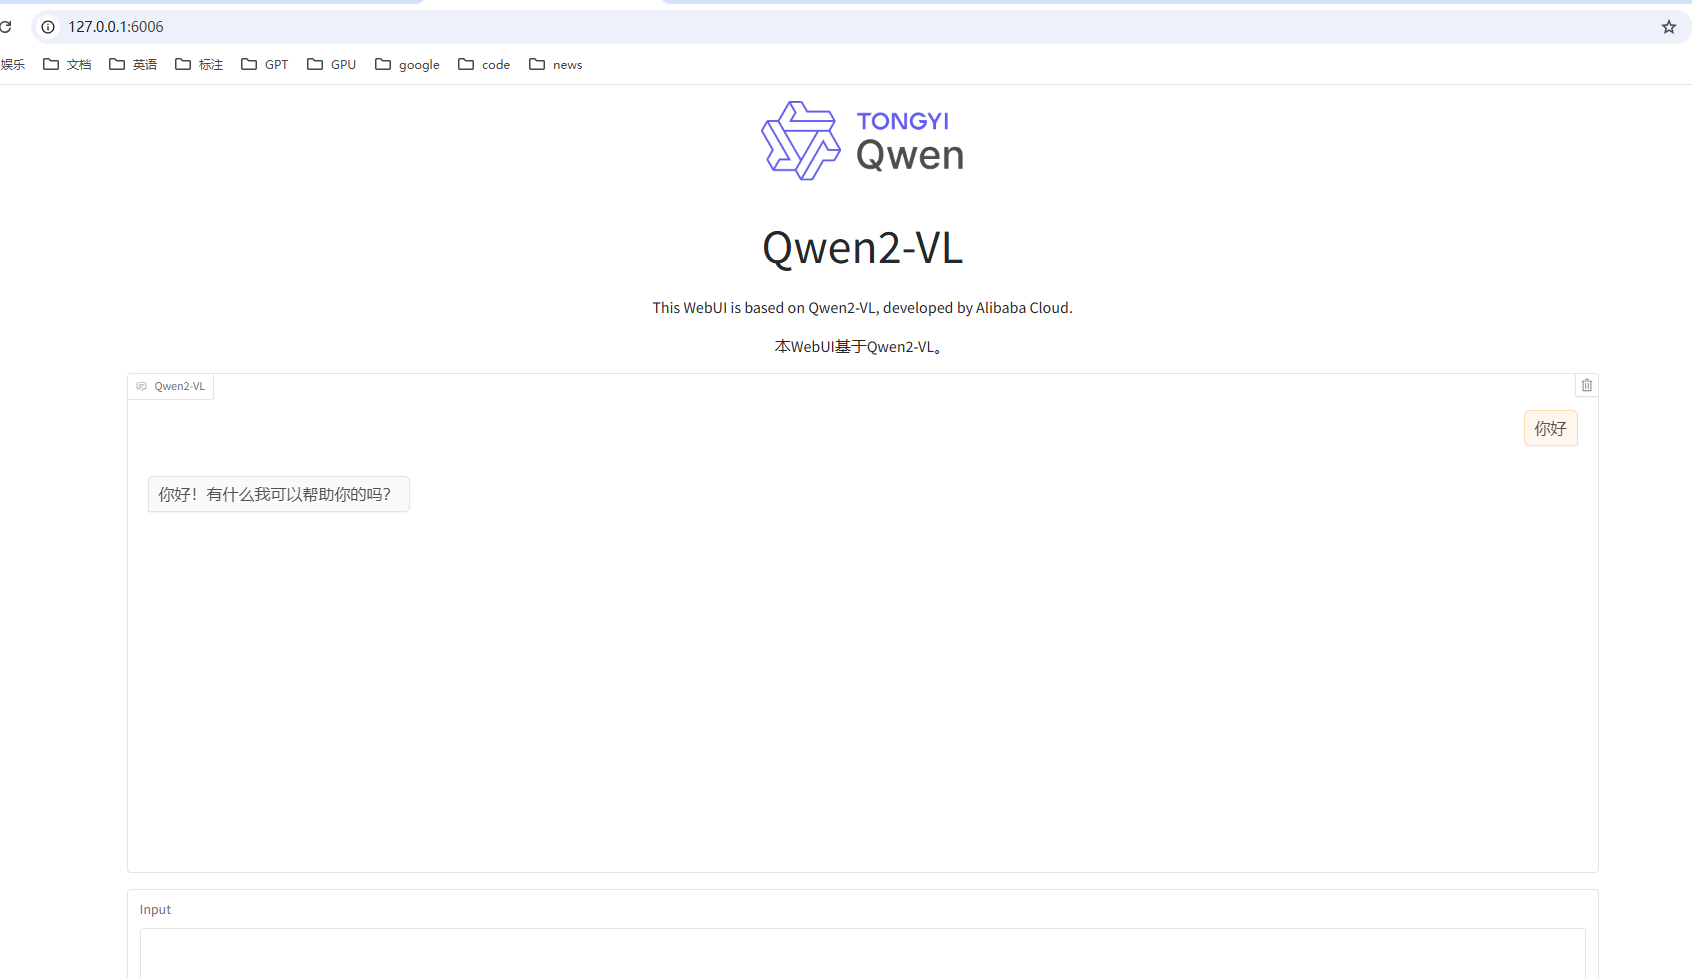
5 Web UI 例子
搭建Qwen2-VL web版本的例子
执行脚本:
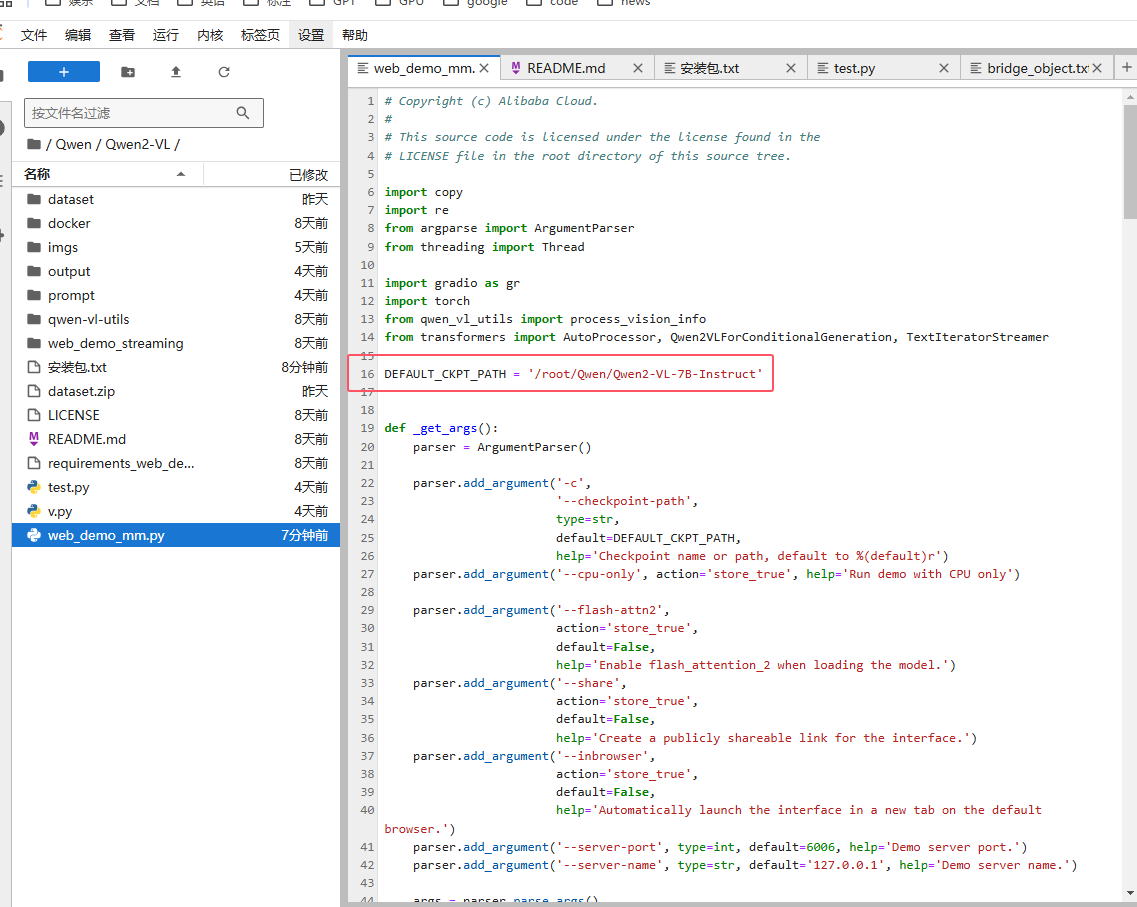
web_demo_mm.py
有两处需要修改:
第一处:DEFAULT_CKPT_PATH = ‘/root/Qwen/Qwen2-VL-7B-Instruct’
修改模型加载的路径
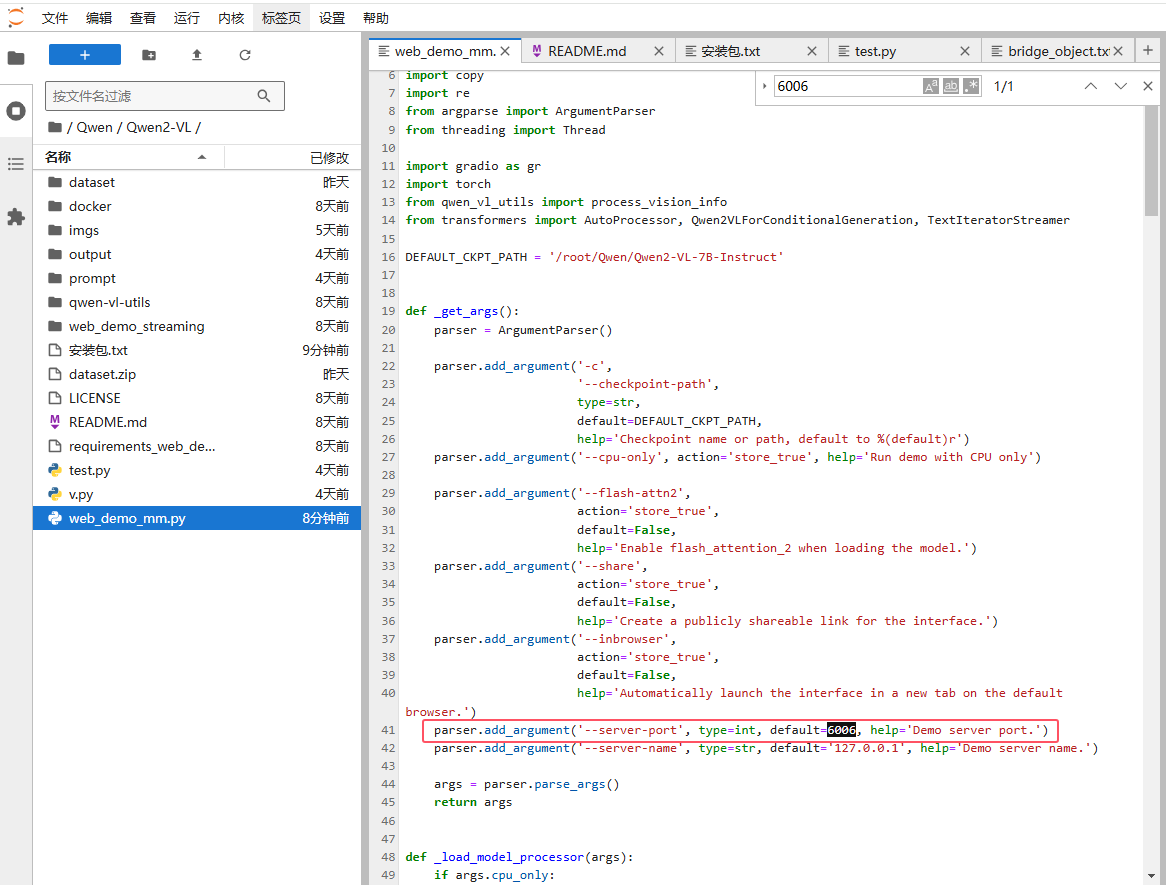
第二处:
修改web ui 的端口号
parser.add_argument(‘–server-port’, type=int, default=6006, help=‘Demo server port.’)
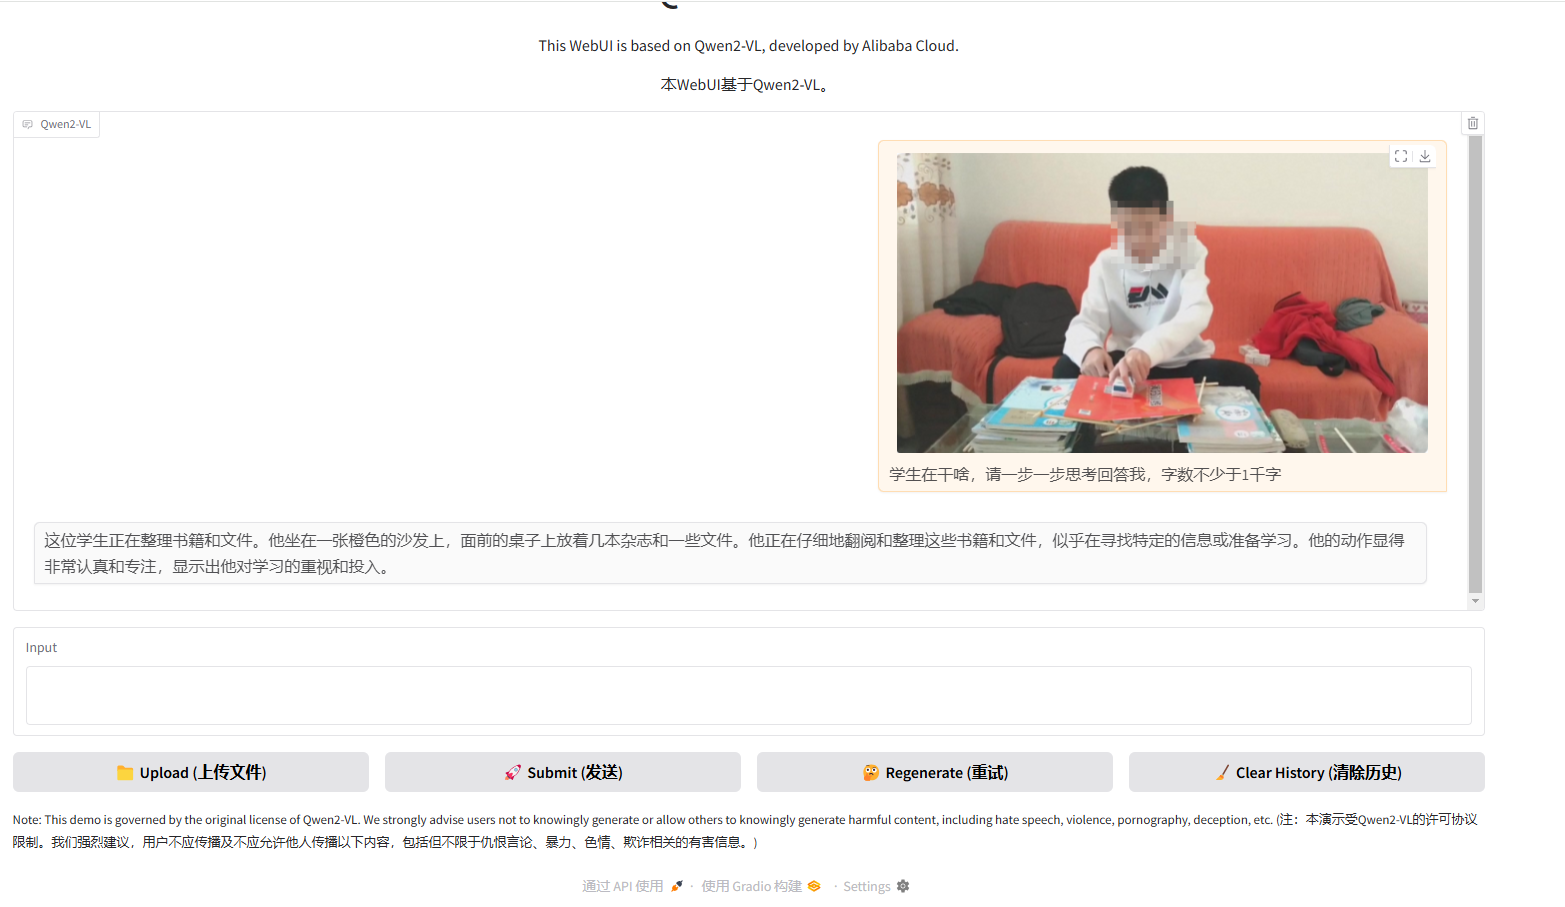
然后直接执行:
python web_demo_mm.py
其他
自己的机器搭建:
环境与代码模型需求:
环境:
PyTorch  2.3.0
CUDA 12.1

PyTorch / 2.3.0 / 3.12(ubuntu22.04) / 12.1

conda create --name Qwen python=3.12

pip install torchvision==0.20.0 -f https://download.pytorch.org/whl/torch_stable.html

或者
pip install torch==2.3.0+cu121 torchvision==0.20.0+cu124 -f https://download.pytorch.org/whl/torch_stable.html


conda create --name Qwen python=3.12


代码:
https://github.com/QwenLM/Qwen2-VL

下载后安装:
cd Qwen2-VL
pip install qwen-vl-utils[decord]
pip install transformers
pip install 'accelerate>=0.26.0'

pip install modelscope


模型下载脚本(这一步需要记录下载的位置):
from modelscope import snapshot_download
model_dir = snapshot_download('Qwen/Qwen2-VL-7B-Instruct')
开始
启动环境
conda activate Qwen


 1404
1404

 被折叠的 条评论
为什么被折叠?
被折叠的 条评论
为什么被折叠?
 到【灌水乐园】发言


