


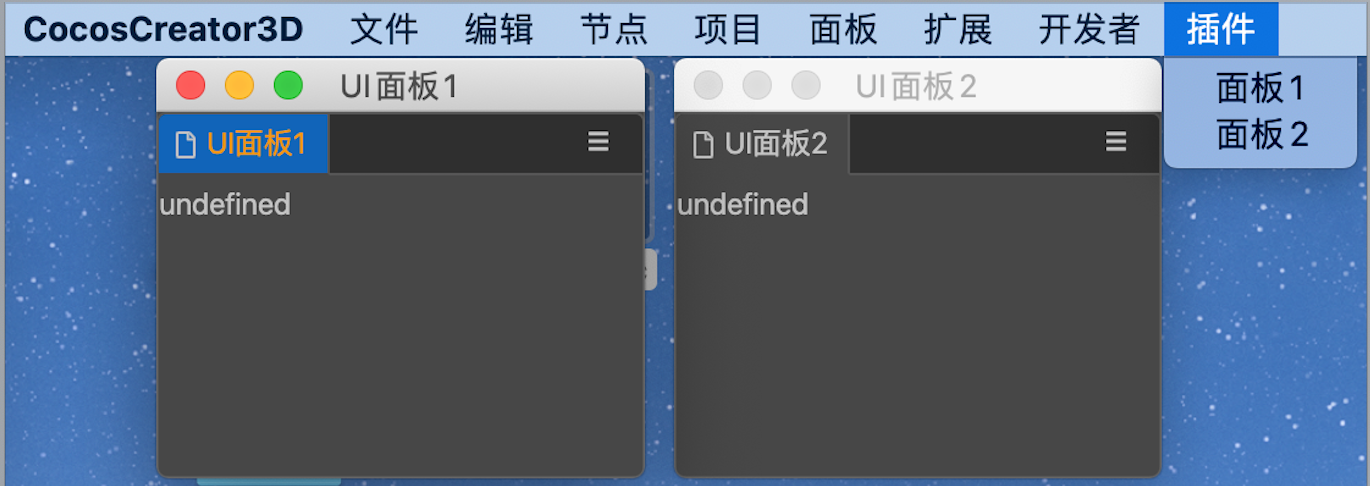
1.给插件配置2个面板,并设置打开菜单
首先我们先在package.json中配置2个面板:
{
	// ...
  "panels": {
    "panel1": {
      "title": "UI面板1",
      "type": "dockable",
      "main": "./panel1/index.js"
    },
    "panel2": {
      "title": "UI面板2",
      "type": "dockable",
      "main": "./panel2/index.js"
    }
  }
}
然后在package.json我们分别增加2个菜单,用来打开这2个面板:
{
  // ...
  "main": "./man.js",
  "contributions": {
    "menu": [
      {
        "path": "插件",
        "label": "面板1",
        "message": "openPanel1"
      },
      {
        "path": "插件",
        "label": "面板2",
        "message": "openPanel2"
      }
    ],
    "messages": {
      "openPanel1": {
        "methods": ["openPanel1"]
      },
      "openPanel2": {
        "methods": ["openPanel2"]
      }
    }
  }
}
在main.js中,我们实现打开面板的这2个消息:
exports.methods = {
		// ...
    openPanel1 () {
        Editor.Panel.open('hello-world.panel1');
    },
    openPanel2 () {
        Editor.Panel.open('hello-world.panel2');
    },
}
这样我们就准备好了2个面板,通过菜单就能打开,目前还看不到任何UI。
此时我们的项目结构大致是这样子的:

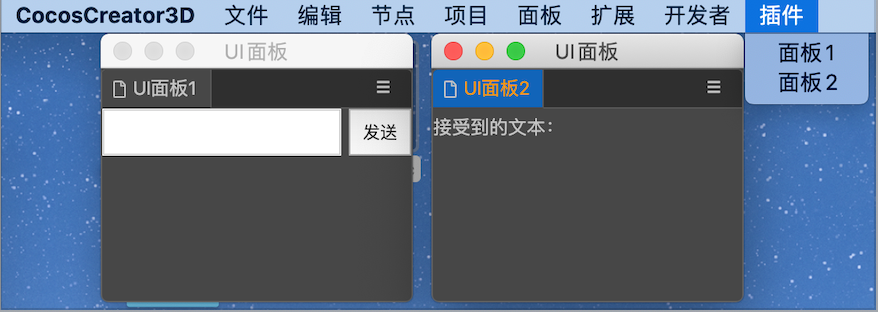
2.编写2个面板的UI。
我们大致要实现的功能是:在面板1发送数据,在面板2接受并显示出来,如下图所示
我们先来实现面板1的界面逻辑:
panel1/index.html
<div style="display: flex; flex-direction: row;">
    <input id="input" type="text" style="flex: 1;"/>
    <button id="btn" style="width: 40px;height: 30px;margin-left: 5px;" @click="onBtnClick">
        发送
    </button>
</div>
panel1/index.jss
const Path = require('path');
const Fs = require('fs');
exports.template = Fs.readFileSync(Path.join(__dirname, 'index.html'), 'utf-8');

exports.$ = {
    btn: '#btn',
    input: '#input'
}

exports.ready = async function () {
    this.$.btn.addEventListener('click', async () => {
         // 点击发送
    });
}
再实现面板2的界面逻辑:
panel2/index.html
<div>
    接受到的文本:<span id="text" style="color: red;"></span>
</div>
panel2/index.js
const Path = require('path');
const Fs = require('fs');
exports.template = Fs.readFileSync(Path.join(__dirname, 'index.html'), 'utf-8');

exports.$ = {
    text: '#text'
}
3.进行界面数据交互
经过前2步的准备工作,下边就是本教程的重点内容了。
根据我们之前所学习到的,通过消息才能相互传递数据。
我们先梳理下大致的思路:
面板1输入数据,点击发送按钮,会发送给插件一个message- 插件触发对应的message,将数据转发给
面板2 面板2接收并显示数据
我们接下来就按照这个思路进行:
panel1/index.js中我们点击发送按钮,给插件发送一条message,数据为输入框的值:
// ...
exports.ready = async function () {
    this.$.btn.addEventListener('click', async () => {
        let data = this.$.input.value;
        Editor.Message.send('hello-world', 'panel1-panel2-data', data)
    });
}
在package.json中我们定义消息
{
	// ...
  "contrubutions": {
    "messages": {
      /// ...
      "panel1-panel2-data": {
        "methods": ["panel2.onReceiveData"]
      }
    }
  }
}
注意:panel2.onReceiveData和之前的格式不太一样,以.进行分割表示面板消息(panel.method)。
面板消息最终会被派发到具体的面板(panel.js / methods),不会被派发到插件(main.js / methods)。
因为我们需要在panel2.js里面接收这个消息:
// ...
exports.methods = {
    onReceiveData (data) {
        this.$.text.innerText = data.toString();
    }
}
onReceiveData一定要和package.json里面定义的面板消息(pane.method)一致!
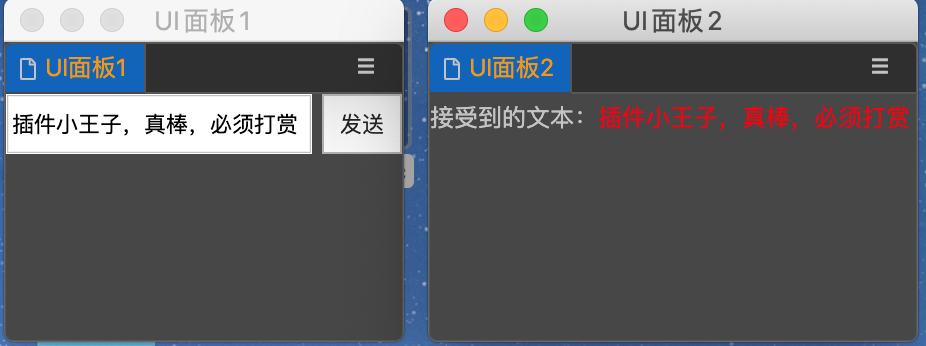
至此,我们就顺利完成了,将面板1的数据,传递到面板2并显示出来。
本教程的代码量可能有点大,相关代码我已经放到gitee,有需要的自取。
https://gitee.com/tidys/creator3d_plugin_case/tree/master/case2


 646
646

 被折叠的 条评论
为什么被折叠?
被折叠的 条评论
为什么被折叠?
 到【灌水乐园】发言


