


1.安装
安装:
直接到包管理器Window > Package Manager安装即可,安装后提示需要重启,重启后即可使用。
注意:
在Project Settings中的Player设置里将Active Input Handling设置为Input System。
需要将默认场景中的EventSystem中的Standalone Input Module变更为新的Input System UI Input Module组件。
2. 使用
1.创建
两种途径可以创建:
1.右键单击Create-->Input Actions创建
2.在想要控制的物体上挂载组件Player Input后单击Create Actions创建。
2.进入配置界面创建Action
如果想要移动,跳跃等动作,可以双击创建创建的Input Actions或者选中此文件单击Edit asset
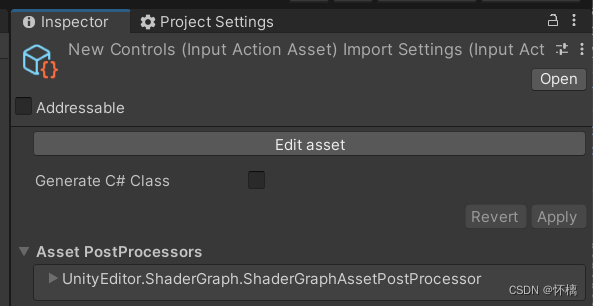
进入配置界面
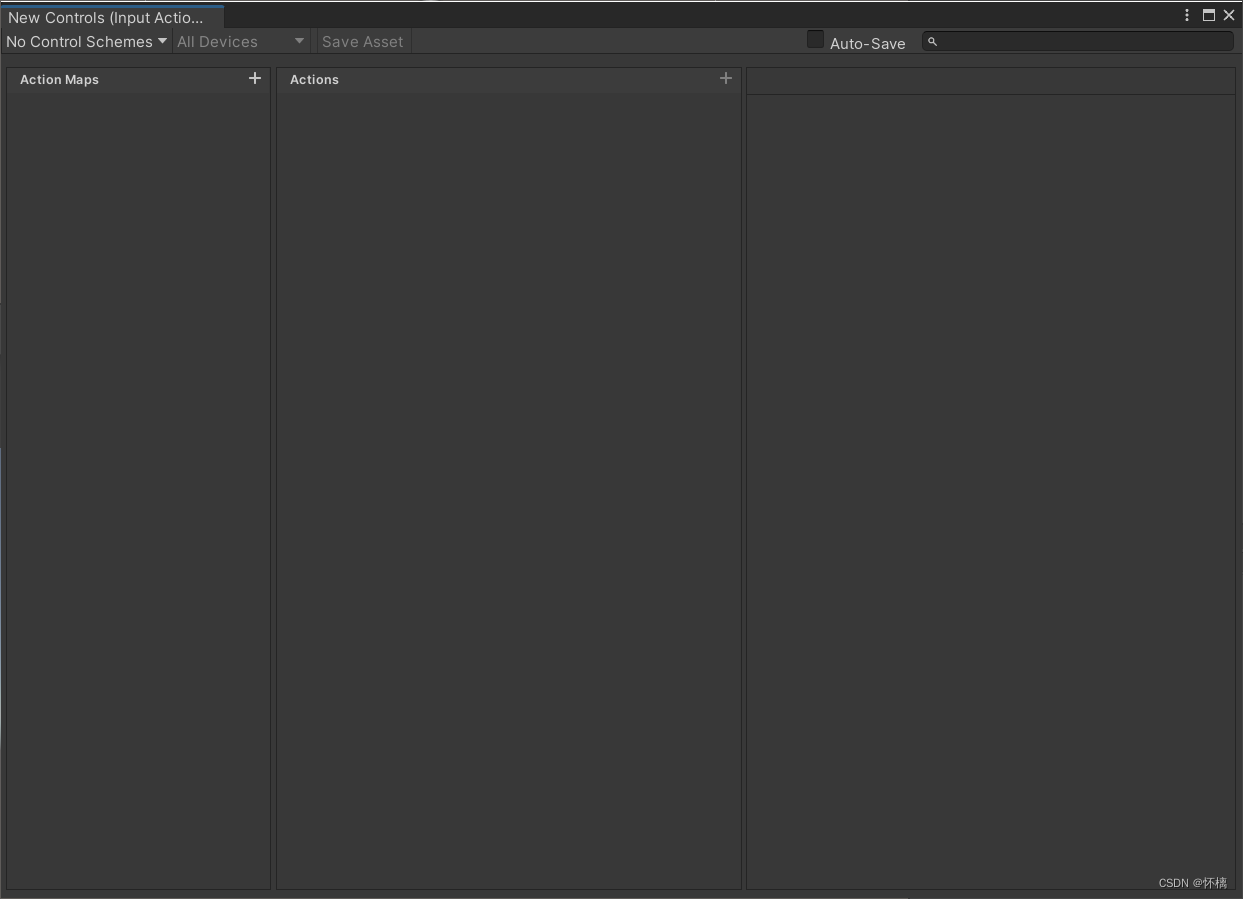
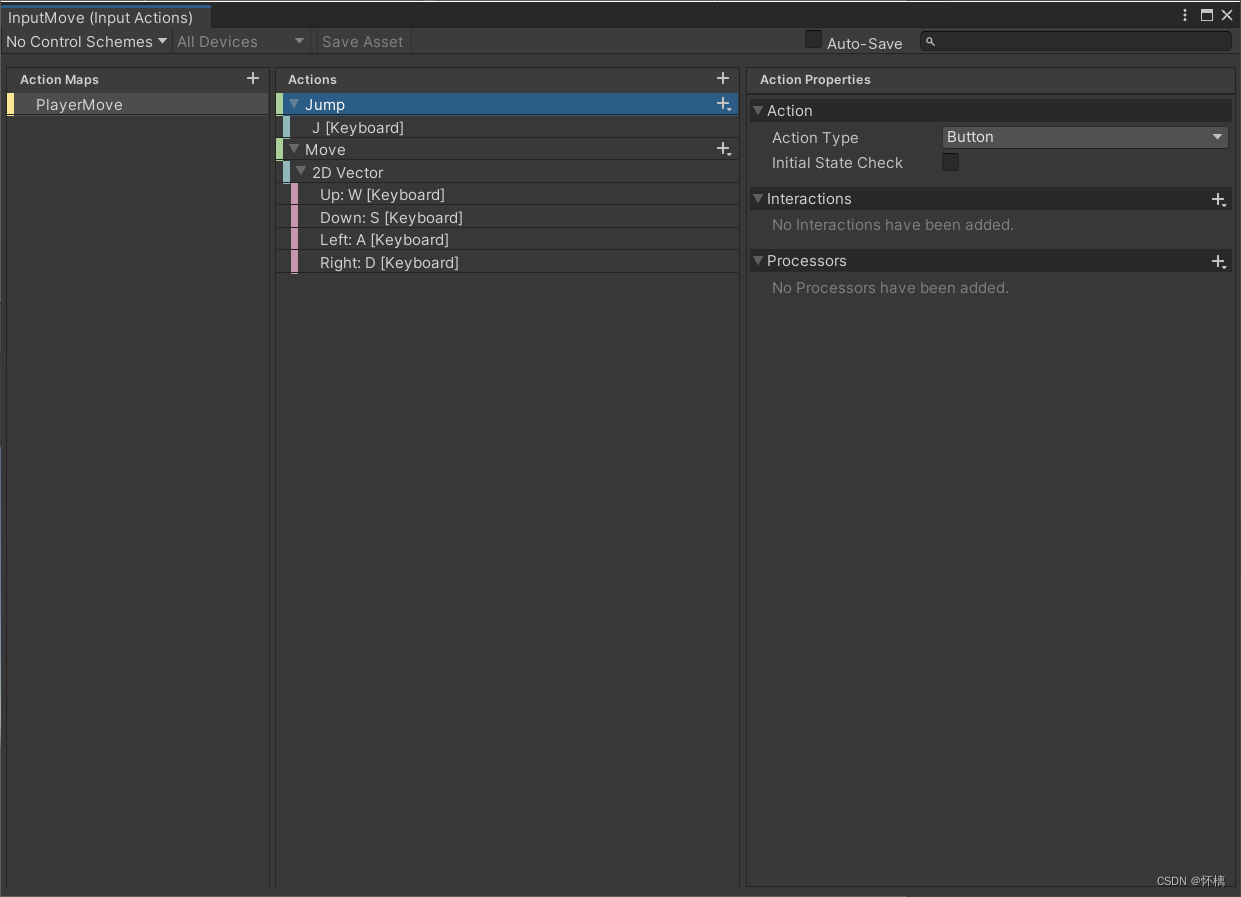
点击 + 号创建ActionMaps,Actions并绑定按键
3.使用
1.需要引用的命名空间using UnityEngine.InputSystem;
2.使用wasd进行移动
using UnityEngine;
using UnityEngine.InputSystem;
public class PlayController : MonoBehaviour
{
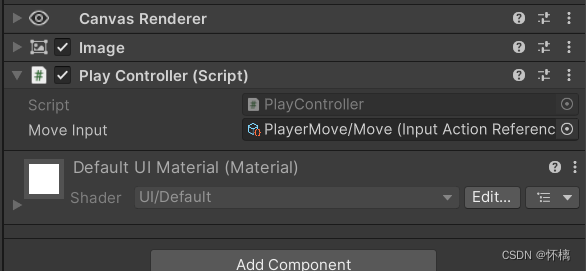
[SerializeField]
private InputActionReference moveInput;//绑定PlayerMove/Move
private void OnEnable()
{
moveInput.action.Enable();
}
private void OnDisable()
{
moveInput.action.Disable();
}
private void Update()
{
//检测是否按下wasd键
//方法1:
if (moveInput.action.WasPressedThisFrame())
{
Debug.Log("按下");
}
if (moveInput.action.WasReleasedThisFrame())
{
Debug.Log("抬起");
}
if (moveInput.action.WasPerformedThisFrame())
{
Debug.Log("按下+抬起");
}
//方法2:
/*moveInput.action.performed += ctx =>
{
//移动
transform.Translate(ctx.ReadValue<Vector2>());
};*/
}
}3.把代码挂载到对应的gameObject上

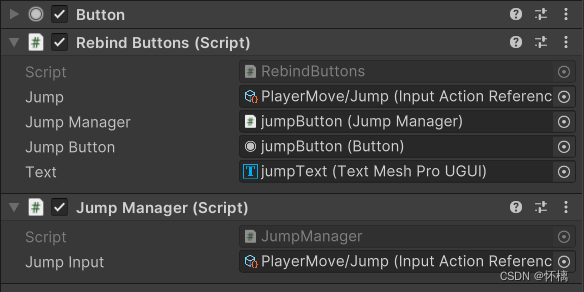
补充:自定义按键的更换(跳跃)
1.跳跃
using UnityEngine;
using UnityEngine.InputSystem;
using UnityEngine.UI;
public class JumpManager : MonoBehaviour
{
[SerializeField]
public InputActionReference jumpInput;
private void OnEnable()
{
jumpInput.action.Enable();
}
private void OnDisable()
{
jumpInput.action.Disable();
}
private void Update()
{
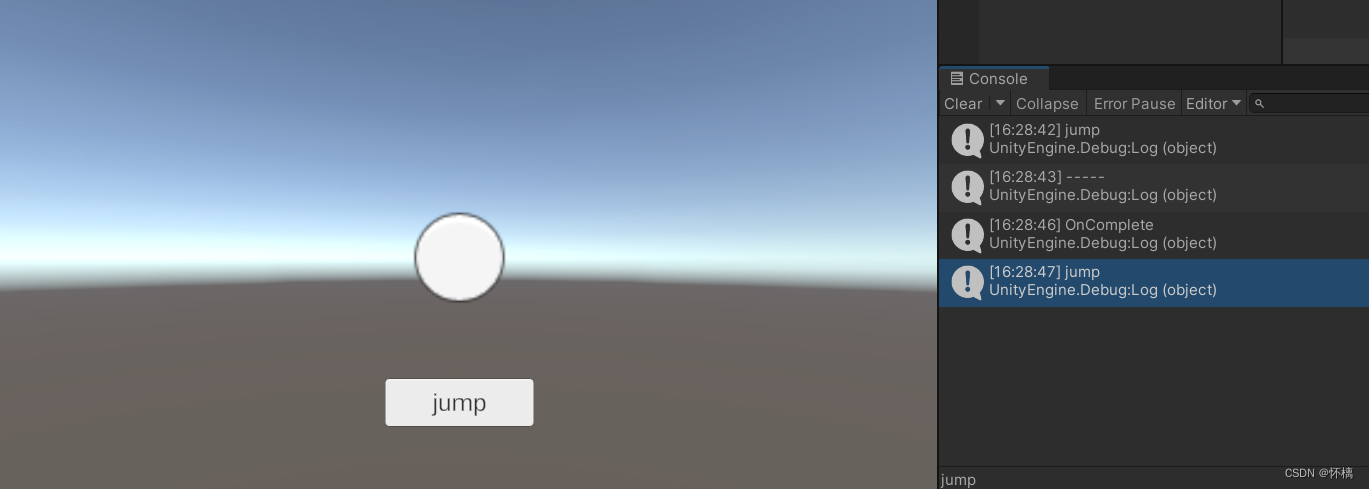
if(jumpInput.action.WasPressedThisFrame())
{
Debug.Log("jump");
}
}
}2.更换按键
using TMPro;
using UnityEngine;
using UnityEngine.UI;
using UnityEngine.InputSystem;

public class RebindButtons : MonoBehaviour
{
    public InputActionReference jump;
    public JumpManager jumpManager;

    public Button jumpButton;
    public TextMeshProUGUI text;

    void Awake()
    {
        jump = jumpManager.jumpInput;
    }
    private void Start()
    {
        jumpButton.onClick.AddListener(ReBinding);
    }

    //更改按键
    private void ReBinding()
    {
        Debug.Log("-----");
        jump.action.Disable();
        var rebind = jump.action.PerformInteractiveRebinding(0)
            .OnCancel(
                    operation =>
                    {
                        jump.action.Enable();
                    })
             .OnComplete(
                    operation =>
                    {
                        Debug.Log("OnComplete");
                        jump.action.Enable();
                    });
        rebind.Start();
    }
}
(更换按键步骤:点击按钮,选择并按下选择的按键,点击刚刚更换的按钮就可以执行了)


 2155
2155

 被折叠的 条评论
为什么被折叠?
被折叠的 条评论
为什么被折叠?
 到【灌水乐园】发言


