


https://atomsk.univ-lille.fr/tutorial_polycrystal.php
构建多晶模型
- 生成单晶Al晶胞
atomsk --create fcc 4.046 Al aluminium.xsf
- 建立多晶节点文件polycrystal.txt
box 100 100 100
random  20
该文件设定盒子尺寸为100100100Am,盒子内随机生成20个晶粒。
- 生成多晶文件final.lmp
If you wish to apply periodic boundary conditions, so that all atoms are really inside of the box, then use the option “-wrap” when constructing the polycrystal, for instance:
atomsk --polycrystal aluminium.xsf polycrystal.txt final.cfg -wrap
将 aluminium.xsf 晶胞填充到20个晶粒空间内,最终多晶数据保存到文件final.cfg 。
注:如果想构建高熵合金结构,可以手动修改 final.cfg 文件,其中必须修改的有 atom types,例如
- 修改final.cfg
(1)原子类型由1种改为3种:
3 atom types
(2)添加Ni、Cr原子摩尔质量:
Masses
1   55.845             # Fe
2   58.69              # Ni
3   51.96              # Cr
- 替换原子生成合金结构
编写in文件,在lammps中使用替换原子法,将部分Fe原子按照比例替换为Ni、Cr,得到合金多晶结构。
In文件代码如下:
units           metal
boundary        p p p
atom_style      atomic
timestep        0.001
neighbor        0.2 bin
read_data       final.cfg
set             type 1 type/ratio 2 0.33 8793
set             type 1 type/ratio 3 0.5 56332
write_data      Fe-Ni-Cr.data
多晶模型渲染
步骤一:导入高熵合金多晶体结构文件
使用OVITO软件左上角按钮 load File
步骤二:显示晶界
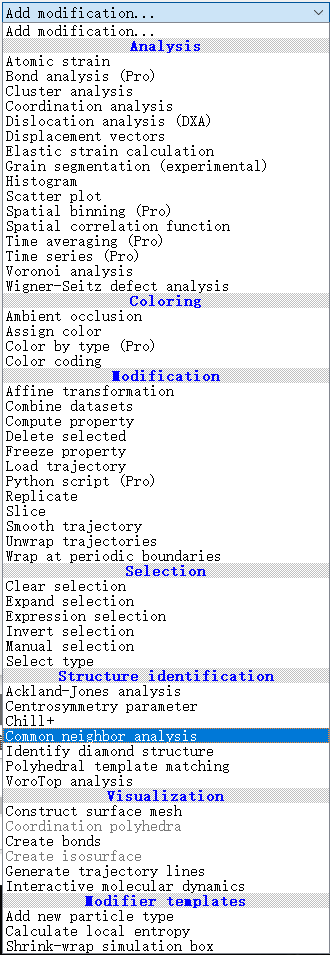
- 点击Add modification,如下图2所示。

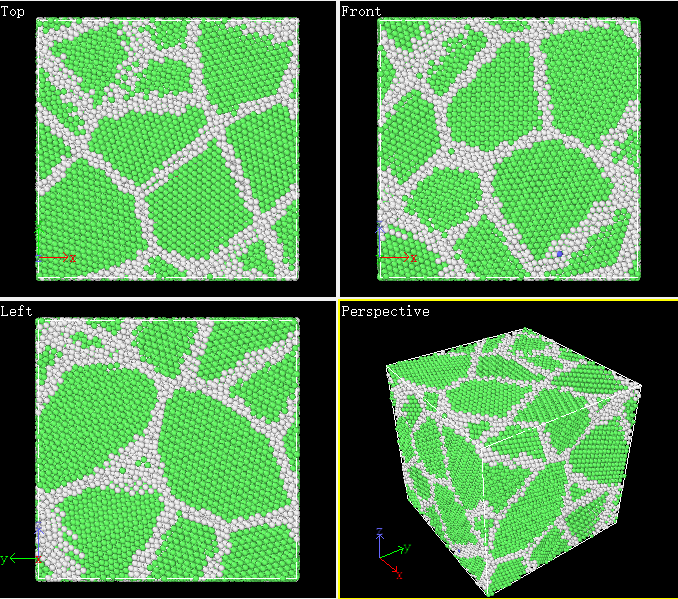
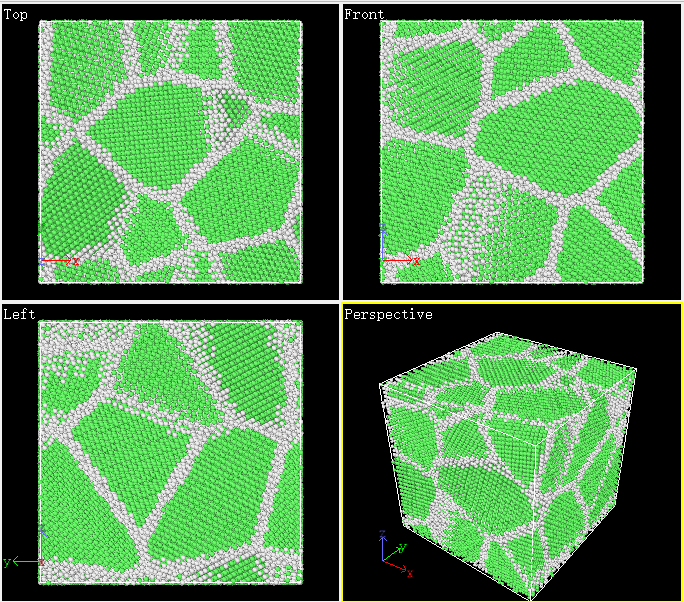
在这里面选择:Structure identification模块中的共近邻分析(common neighbor analysis)
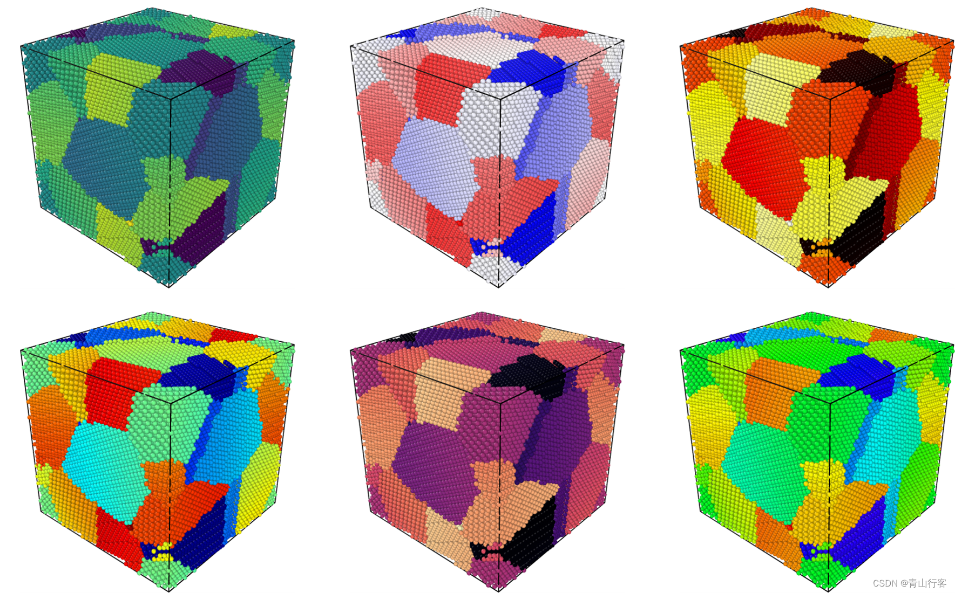
正确的多晶体结构如下所示:
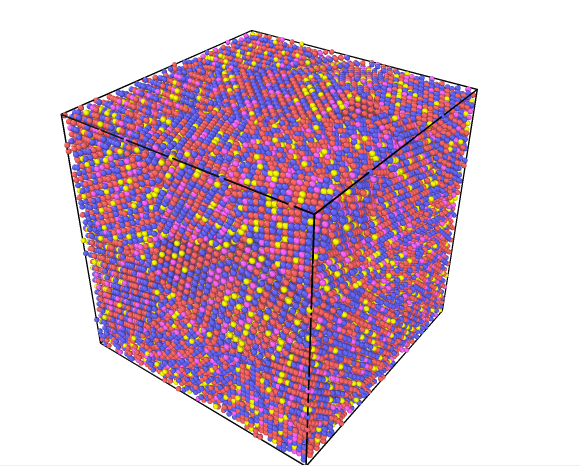
步骤三:颜色渲染
在Add modification中选择Coloring模块并勾选上color coding
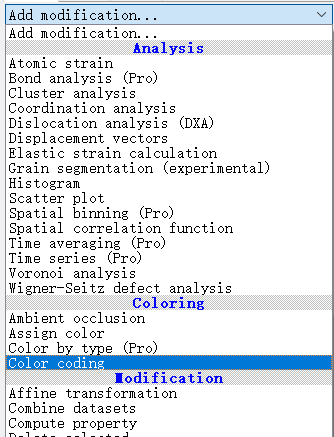
在上面模块中选择Input property选项,从中选择particle identifier选项,并将自动调节选项勾上(Automatically adjust range),就成功获得渲染后的多晶体结构。


 3234
3234

 被折叠的 条评论
为什么被折叠?
被折叠的 条评论
为什么被折叠?
 到【灌水乐园】发言


