


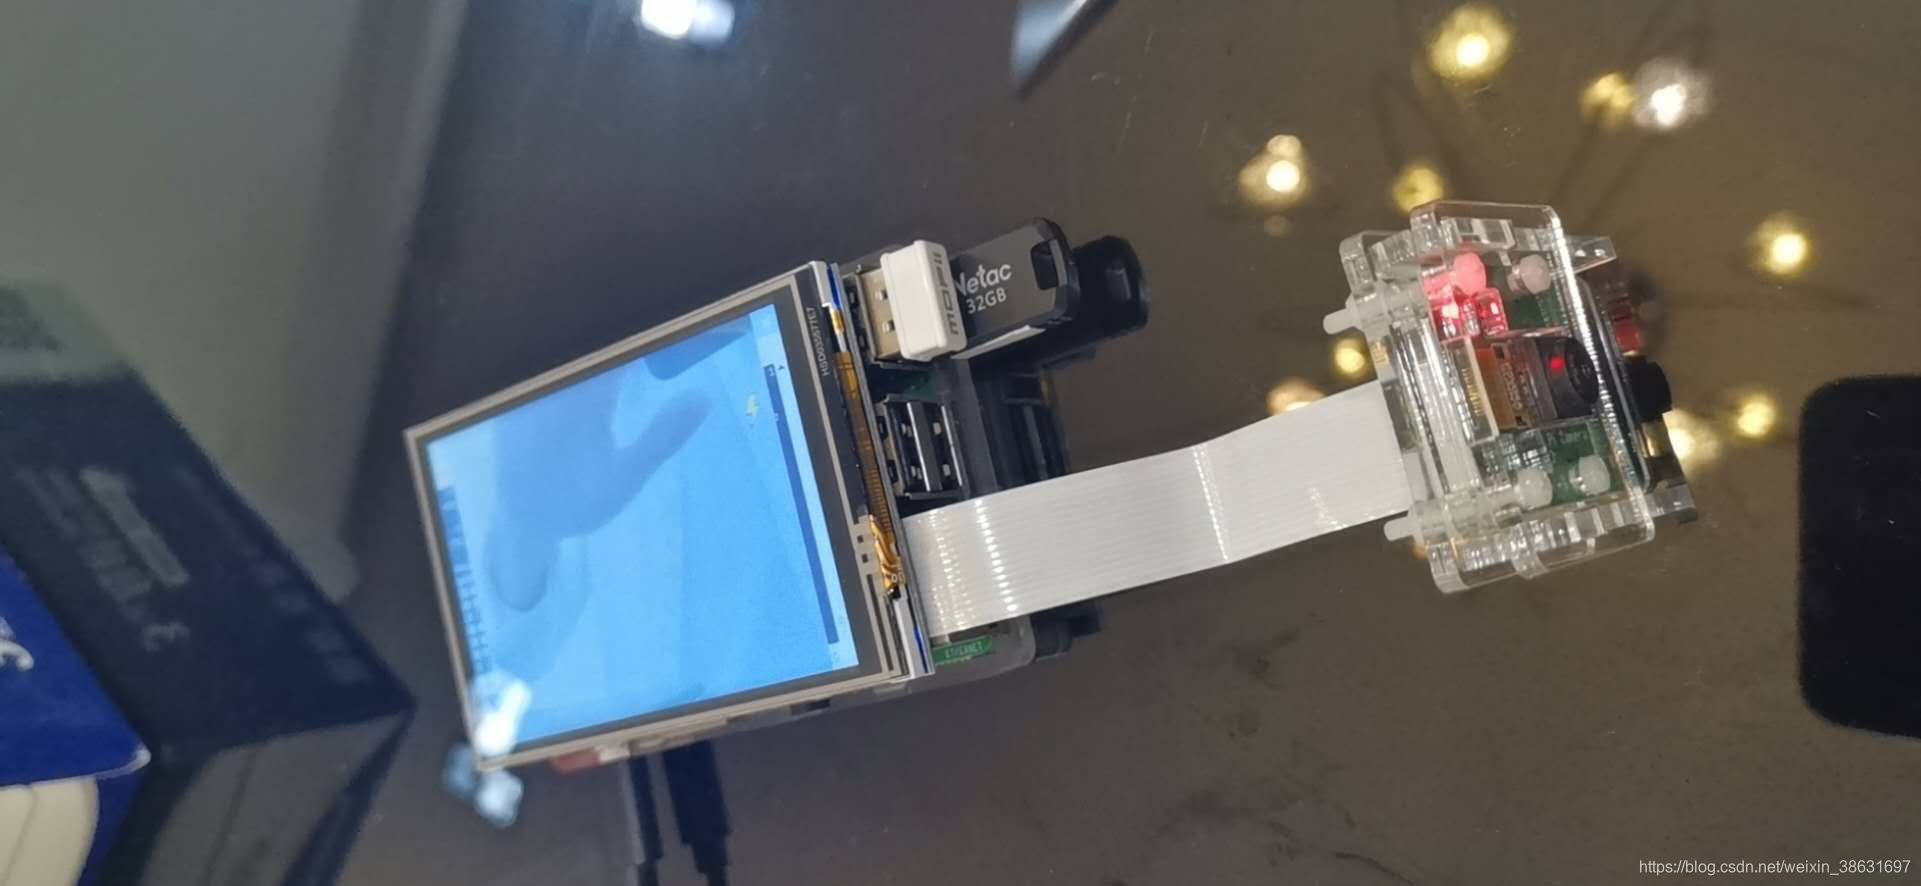
树莓派入门(五)3.5屏一体化人脸检测
成品
LCD和HDMI相互切换
    # 切换成HDMI显示
    cd LCD-show/
    ./LCD-hdmi
    # 切换成LCD显示
    cd LCD-show/
    ./LCD35-show
    # 每次切换系统会自动重启
设置屏幕显示方向
    # 旋转0度:
    cd LCD-show/
    ./LCD35-show 0
    # 旋转90度:
    cd LCD-show/
    ./LCD35-show 90
    # 旋转180度:
    cd LCD-show/
    ./LCD35-show 180
    # 旋转270度:
    cd LCD-show/
    ./LCD35-show 270
重点提示,重启成效,但成效后,系统回到摄像机默认不开启状态,这个太奇怪了,需在设置中,重新开启!!!!!
配置wifi(未经验证)
方法1:直接在SD卡上配置(连接PC在WIN7上操作),SD卡根目录下新增文件wpa_supplicant.conf
country=CN
ctrl_interface=DIR=/var/run/wpa_supplicant GROUP=netdev update_config=1
network={
    # wifi name
    ssid="YourNetworkSSID"
    # wifi pwd
    psk="Your Network's Passphrase"
    key_mgmt=WPA-PSK
}
方法2:在终端DOS中配置,配置同上
sudo vi /etc/wpa_supplicant/wpa_supplicant.conf
主程序
from aip import AipFace
from picamera import PiCamera
import urllib.request
from gpiozero import LED,Button,AngularServo
import base64
import time

led=LED(12)

#s=AngularServo(17)

#百度人脸识别API账号信息,有效期为30天
APP_ID = '102563'
API_KEY = 'R5L3ykDDEaDz4aipCl'
SECRET_KEY ='nWFCde2zSNvLfkt5sBYffScy'
client = AipFace(APP_ID, API_KEY, SECRET_KEY)#创建一个客户端用以访问百度云
#图像编码方式
IMAGE_TYPE='BASE64'
camera = PiCamera()#定义一个摄像头对象
#用户组
GROUP = 'actor'   #用户组
#s.angle=-80

#照相函数
def getimage():
    camera.resolution = (1024,768)#摄像界面为1024*768
    camera.start_preview()#开始摄像
    time.sleep(1)
    camera.capture('faceimage.jpg')#拍照并保存
    time.sleep(1)
#对图片的格式进行转换
def transimage():
    f = open('faceimage.jpg','rb')
    img = base64.b64encode(f.read())
    return img
#上传到百度api进行人脸检测
def go_api(image):
    result = client.search(str(image, 'utf-8'), IMAGE_TYPE, GROUP);    #在百度云人脸库中寻找有没有匹配的人脸
    if result['error_msg'] == 'SUCCESS':#如果成功了
        name = result['result']['user_list'][0]['user_id']#获取名字
        score = result['result']['user_list'][0]['score']#获取相似度
        if score > 80:#如果相似度大于80
            #if name == 'huizhang':
            print("匹配得分%s !" % score)
            print("欢迎%s !" % name)
            time.sleep(0.1)
            #if name == 'wanying':
                #print("欢迎%s !" % name)
                #time.sleep(0.1)
            #if name == "3622":
                #print("欢迎%s !" % name)
                #time.sleep(0.1)
            #if name == "SB":
                #print("欢迎%s !" % name)
                #time.sleep(0.1)
        else:
            print("对不起,我不认识你!")
            name = 'Unknow'
            return 0
        curren_time = time.asctime(time.localtime(time.time()))#获取当前时间

        #将人员出入的记录保存到Log.txt中
        f = open('Log.txt','a')
        f.write("Person: " + name + "     " + "Time:" + str(curren_time)+'\n')
        f.close()
        return 1
    if result['error_msg'] == 'pic not has face':
        print('检测不到人脸')
        time.sleep(2)
        return 0
    else:
        print(result['error_code']+' ' + result['error_code'])
        return 0
#主函数
if __name__ == '__main__':
    while True:
        print('准备')
        if True:
            getimage()#拍照
            img = transimage()#转换照片格式
            res = go_api(img)#将转换了格式的图片上传到百度云
            if(res == 1):#是人脸库中的人
                print("开门")

                led.on()
                #s.angle=80
                time.sleep(3)

                led.off()
                #s.angle=-80
            else:
                print("关门")
            print('稍等一秒进入下一个')
            time.sleep(1)
运行正常。
个人感觉用DSI屏,应该更好,现下单。后续再上文。
检测后,触发播放音乐
pi@raspberrypi:~ $ python3
>>> import pygame
pygame 1.9.4.post1
Hello from the pygame community. https://www.pygame.org/contribute.html
>>> pygame.mixer.init()
导入mp3
>>> pygame.mixer.music.load('/home/pi/Music/2.mp3')
播入导入的mp3
>>> pygame.mixer.music.play()


 被折叠的 条评论
为什么被折叠?
被折叠的 条评论
为什么被折叠?
 到【灌水乐园】发言


