在树莓派小车上部署和使用 MobileNetSSD 模型进行目标检测是一项常见的嵌入式 AI 任务。以下是一个详细的教程,涵盖从环境搭建到模型部署的全过程。
### ### 环境准备
1. **操作系统安装**
使用官方推荐的 Raspberry Pi OS(如 Raspbian Bullseye)作为系统基础。可以通过 [Raspberry Pi Imager](https://www.raspberrypi.com/software/) 工具烧录系统镜像。
2. **更新系统与安装依赖库**
安装必要的开发工具和 OpenCV 库:
```bash
sudo apt update && sudo apt upgrade -y
sudo apt install -y build-essential cmake git libopencv-dev python3-opencv python3-pip
```
3. **Python 虚拟环境配置(可选)**
创建虚拟环境以避免依赖冲突:
```bash
python3 -m venv mobilenetssd_env
source mobilenetssd_env/bin/activate
pip install opencv-python numpy
```
### ### 下载 MobileNetSSD 模型文件
根据引用信息,可以下载所需的模型文件[^1]:
- `MobileNetSSD_deploy.prototxt`:网络结构定义文件。
- `MobileNetSSD_deploy.caffemodel`:预训练权重文件。
可通过以下命令下载模型文件(假设已获取有效链接):
```bash
wget https://example.com/path/to/MobileNetSSD_deploy.prototxt
wget https://example.com/path/to/MobileNetSSD_deploy.caffemodel
```
若模型托管在 GitHub 上,也可以直接克隆相关仓库[^2]:
```bash
git clone https://github.com/PINTO0309/MobileNet-SSD-RealSense.git
cd MobileNet-SSD-RealSense/caffemodel/MobileNetSSD/
```
### ### 编写目标检测脚本
使用 OpenCV 的 `dnn` 模块加载 Caffe 模型并执行推理:
```python
import cv2
import numpy as np
# 加载模型
net = cv2.dnn.readNetFromCaffe("MobileNetSSD_deploy.prototxt", "MobileNetSSD_deploy.caffemodel")
# 类别标签(常见对象)
CLASSES = ["background", "aeroplane", "bicycle", "bird", "boat",
"bottle", "bus", "car", "cat", "chair", "cow", "diningtable",
"dog", "horse", "motorbike", "person", "pottedplant", "sheep",
"sofa", "train", "tvmonitor"]
# 颜色映射
COLORS = np.random.uniform(0, 255, size=(len(CLASSES), 3))
# 打开摄像头
cap = cv2.VideoCapture(0)
while True:
ret, frame = cap.read()
if not ret:
break
(h, w) = frame.shape[:2]
blob = cv2.dnn.blobFromImage(cv2.resize(frame, (300, 300)), 0.007843, (300, 300), 127.5)
net.setInput(blob)
detections = net.forward()
# 遍历检测结果
for i in range(detections.shape[2]):
confidence = detections[0, 0, i, 2]
if confidence > 0.2: # 设置置信度阈值
idx = int(detections[0, 0, i, 1])
box = detections[0, 0, i, 3:7] * np.array([w, h, w, h])
(startX, startY, endX, endY) = box.astype("int")
label = f"{CLASSES[idx]}: {confidence:.2f}"
cv2.rectangle(frame, (startX, startY), (endX, endY), COLORS[idx], 2)
y = startY - 15 if startY - 15 > 15 else startY + 15
cv2.putText(frame, label, (startX, y), cv2.FONT_HERSHEY_SIMPLEX, 0.5, COLORS[idx], 2)
cv2.imshow("Frame", frame)
if cv2.waitKey(1) & 0xFF == ord('q'):
break
cap.release()
cv2.destroyAllWindows()
```
### ### 性能优化建议
由于树莓派资源有限,建议采取以下措施提升性能:
- **降低输入分辨率**:将输入图像尺寸调整为更小(如 224x224),但需修改 prototxt 文件中的输入层设置。
- **使用 FP16 推理模式**:如果模型支持,可以在加载时启用半精度浮点数计算。
- **关闭不必要的服务**:释放 CPU 和内存资源,例如关闭桌面环境运行 headless 模式。
- **硬件加速**:尝试使用 Coral Edge TPU 或 VPU 设备进行推理加速。
### ### 注意事项
- 确保模型文件路径正确,否则会报错“无法读取模型”。
- 若使用 USB 摄像头,请确认设备权限已设置(如 `sudo chmod 666 /dev/video0`)。
- 树莓派上运行深度学习模型时,注意散热和供电稳定性。
---


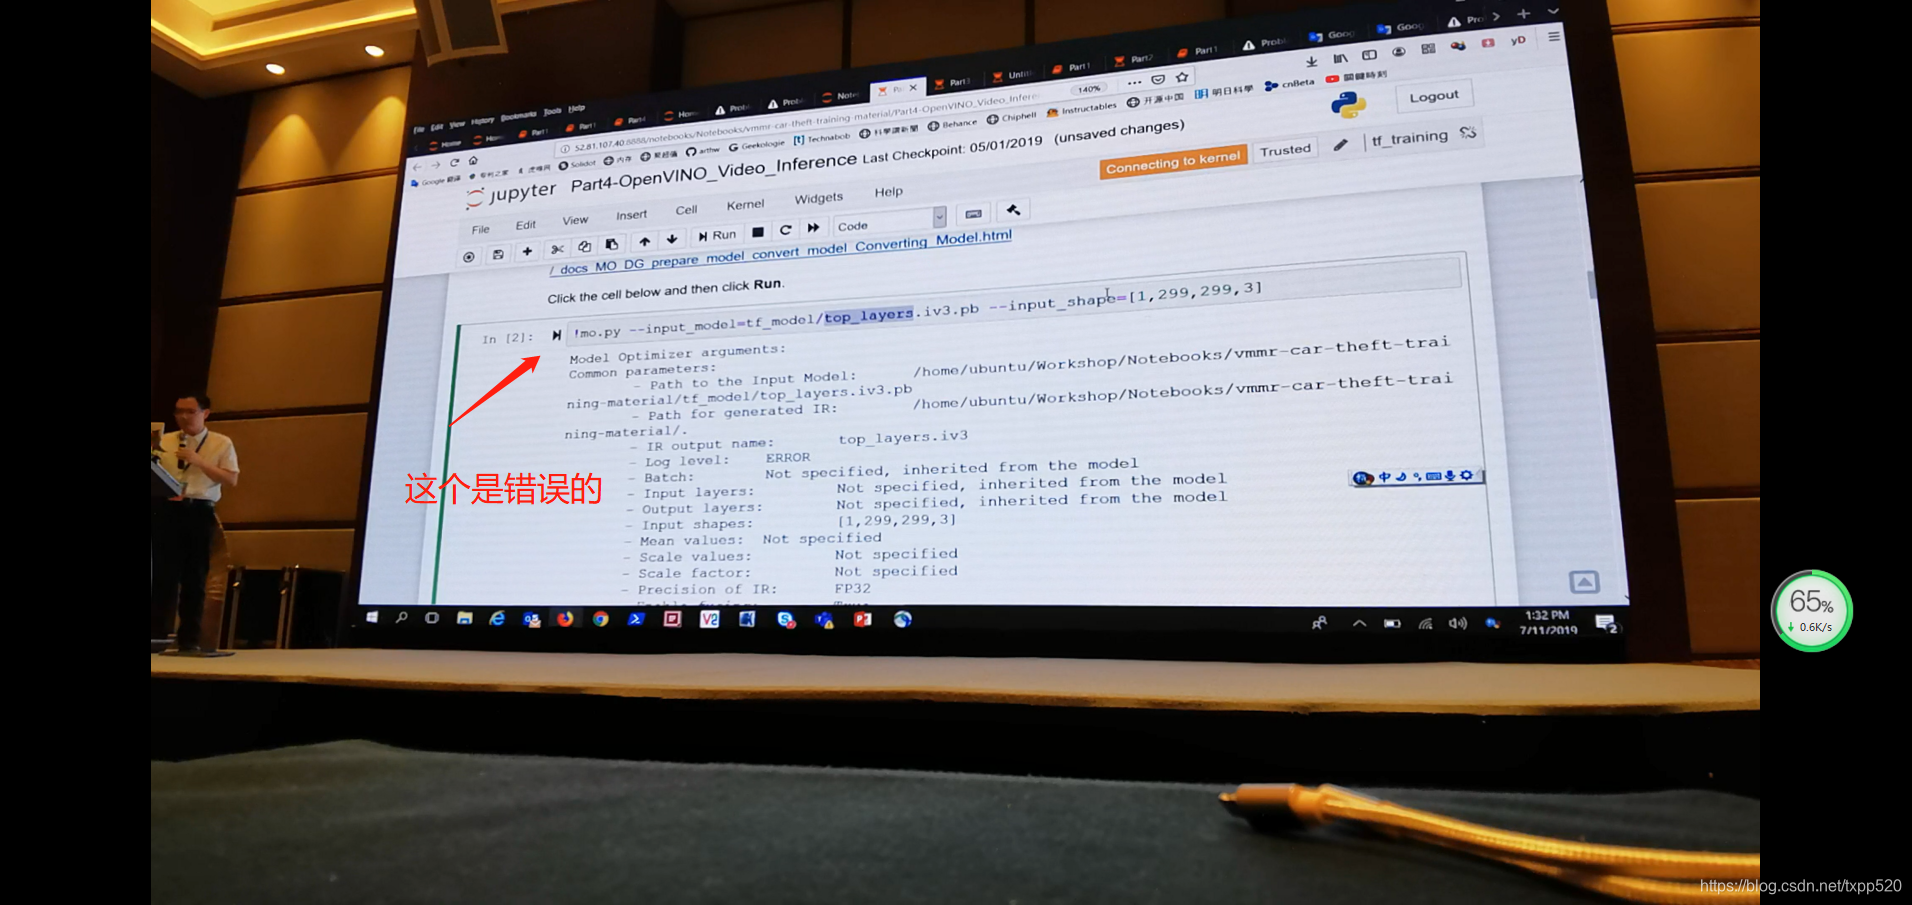
 本文详细记录了在Win10环境下使用PowellShell以管理员权限进行MovidiusVPU上SSDMobilenet模型移植的过程。通过正确配置并执行特定命令,避免了官方指南中的常见错误,成功实现了模型的优化与转换。


 8471
8471

 被折叠的 条评论
为什么被折叠?
被折叠的 条评论
为什么被折叠?
 到【灌水乐园】发言


