


今天主要给大家分享另一个关于GraphRAG实战案例,通过结合graphrag、ollama、autogen、chainlit实现自己的智能机器人

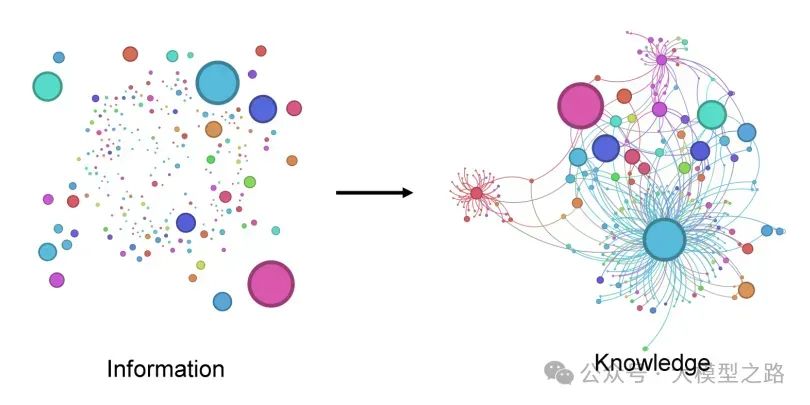
RAG(retrieval-augmented generation )是一种在自然语言处理(NLP)领域中较为先进的技术方法。该技术通过将检索模型和生成模型结合在一起,提高了生成内容的相关性和质量,有效缓解了大型语言模型(如GPT系列)在生成文本时可能出现的“幻觉”(即生成不准确、不相关或虚构的信息);RAG的特性使得它成为了聊天机器人和虚拟助手等大模型应用程序的首选;而GraphRAG是RAG技术中比较新颖的一种策略,GraphRAG 从原始文本构建结构化知识图谱,捕获实体、关系和关键声明。这可以增强 LLMs 理解和合成复杂数据集及其关系的能力,从而产生更准确且基于上下文的响应。
AutoGen是一个由微软发布的强大框架,旨在帮助开发者创建基于大语言模型(LLM)的复杂应用程序。它特别擅长于通过多代理(智能体)的协作来解决问题,提供了高度的灵活性和定制性。
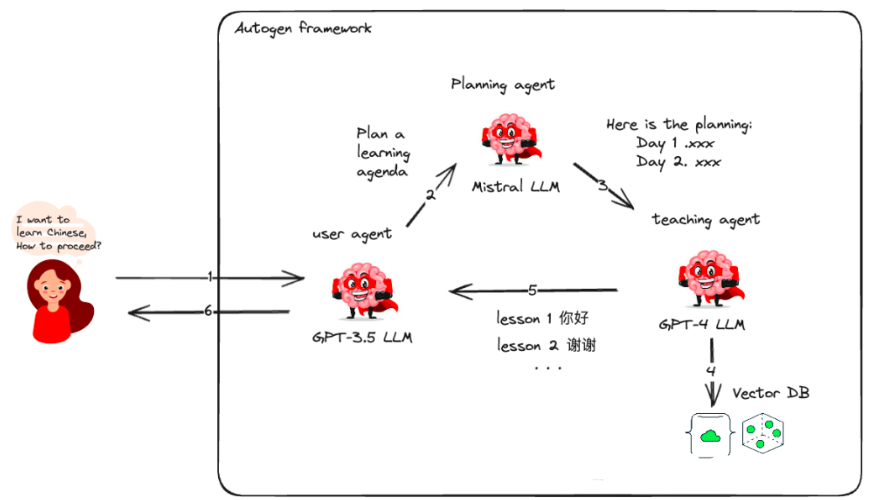
将 GraphRAG 的检索优势与 AutoGen AI 代理的对话和面向任务的功能相结合,可以产生强大的 AI 助手,能够有效地处理详细查询、生成和执行代码、创建多页科学报告以及进行数据分析,这是一个非常有价值的助手。
Chainlit是一个开源的Python库,专为简化对话式人工智能(Conversational AI)和代理型应用的开发而设计。它由Literal AI打造,旨在让开发者能够迅速搭建出生产级别的对话式AI应用。
Ollama是一个开源的、轻量级的框架,旨在为本地运行大型语言模型(LLM)提供简便易用的解决方案
以上是对这几个核心的组件的一些介绍,接下来我们进入今天的GraphRAG实战
1、安装模型、依赖等必要环境
ollama安装模型
# Mistral for GraphRAG Inference
ollama pull mistral

# Nomic-Embed-Text for GraphRAG Embedding
ollama pull nomic-embed-text

# LLama3 for Autogen Inference
ollama pull llama3

# Host Ollama on a local server: http://localhost:11434
ollama serve
安装conda环境及相关依赖
# Create and activate a conda environment
conda create -n RAG_agents python=3.12
conda activate RAG_agents

# Lite-LLM proxy server for Ollama
pip install 'litellm[proxy]'

# Install Ollama
pip install ollama

# Microsoft AutoGen
pip install pyautogen "pyautogen[retrievechat]"

# Microsoft GraphRAG
pip install graphrag

# Text-Token Encoder-Decoder
pip install tiktoken

# Chainlit Python application
pip install chainlit

# Clone my Git-hub repository
git clone https://github.com/karthik-codex/autogen_graphRAG.git

# (BONUS) To Convert PDF files to Markdown for GraphRAG
pip install marker-pdf

# (BONUS) Only if you installed Marker-pdf since it removes GPU CUDA support by default
conda install pytorch torchvision torchaudio pytorch-cuda=12.1 -c pytorch -c nvidia
2、配置 GraphRAG 设置以支持来自 Ollama 的本地模型
主要还是在setting.yaml文件中进行模型配置
encoding_model: cl100k_base
skip_workflows: []
llm:
  api_key: ${GRAPHRAG_API_KEY}
  type: openai_chat # or azure_openai_chat
  model: mistral
  model_supports_json: true
  api_base: http://localhost:11434/v1
.
.
.
embeddings:
  async_mode: threaded # or asyncio
  llm:
    api_key: ${GRAPHRAG_API_KEY}
    type: openai_embedding # or azure_openai_embedding
    model: nomic_embed_text
    api_base: http://localhost:11434/api
.
.
.
input:  #Change input file pattern to.md, or .txt
  type: file # or blob
  file_type: text # or csv
  base_dir: "input"
  file_encoding: utf-8
  file_pattern: ".*\\.md$"
3、创建GraphRAG知识图谱
具体可以参考GraphRag安装部署及简单测试
# Create knowledge graph - this takes some time
python -m graphrag.index --root .

# Test GraphRAG
python -m graphrag.query --root . --method global "<insert your query>"
4、启动lite-llm服务器
# start server from terminal
litellm --model ollama_chat/llama3

# run app from another terminal
chainlit run appUI.py
本地测试时,我选用的开源模型是llama3-8b
5、配置Autogen代理
AutoGen 代理通过 Lite-LLM 代理服务器使用 Ollama 的模型。因为 AutoGen 不支持通过非 OpenAI 推理模型调用函数。代理服务器使得使用 Ollama 模型进行函数调用和代码执行成为可能。
# LLama3 LLM from Lite-LLM Server for Agents #
llm_config_autogen = {
    "seed": 40,  # change the seed for different trials
    "temperature": 0,
    "config_list": [{"model": "litellm",
                     "base_url": "http://0.0.0.0:4000/",
                     'api_key': 'ollama'},
    ],
    "timeout": 60000,
}
6、Chainlit相关配置
我创建了三个 Chainlit 小部件(开关、选择和滑块),作为用户设置来选择 GraphRAG 搜索类型、社区级别和内容生成类型。当打开开关小部件时,使用 GraphRAG 本地搜索方法进行查询。内容生成的选择选项包括“优先列表”、“单段落”、“多段落”和“多页报告”。滑块小部件可以选择社区生成级别,选项有 0、1 和 2。
@cl.on_chat_start
async def on_chat_start():
  try:
    settings = await cl.ChatSettings(
            [
                Switch(id="Search_type", label="(GraphRAG) Local Search", initial=True),
                Select(
                    id="Gen_type",
                    label="(GraphRAG) Content Type",
                    values=["prioritized list", "single paragraph", "multiple paragraphs", "multiple-page report"],
                    initial_index=1,
                ),
                Slider(
                    id="Community",
                    label="(GraphRAG) Community Level",
                    initial=0,
                    min=0,
                    max=2,
                    step=1,
                ),

            ]
        ).send()

    response_type = settings["Gen_type"]
    community = settings["Community"]
    local_search = settings["Search_type"]

    cl.user_session.set("Gen_type", response_type)
    cl.user_session.set("Community", community)
    cl.user_session.set("Search_type", local_search)

    retriever   = AssistantAgent(
       name="Retriever",
       llm_config=llm_config_autogen,
       system_message="""Only execute the function query_graphRAG to look for context.
                    Output 'TERMINATE' when an answer has been provided.""",
       max_consecutive_auto_reply=1,
       human_input_mode="NEVER",
       description="Retriever Agent"
    )

    user_proxy = ChainlitUserProxyAgent(
        name="User_Proxy",
        human_input_mode="ALWAYS",
        llm_config=llm_config_autogen,
        is_termination_msg=lambda x: x.get("content", "").rstrip().endswith("TERMINATE"),
        code_execution_config=False,
        system_message='''A human admin. Interact with the retriever to provide any context''',
        description="User Proxy Agent"
    )

    print("Set agents.")

    cl.user_session.set("Query Agent", user_proxy)
    cl.user_session.set("Retriever", retriever)

    msg = cl.Message(content=f"""Hello! What task would you like to get done today?
                     """,
                     author="User_Proxy")
    await msg.send()

    print("Message sent.")

  except Exception as e:
    print("Error: ", e)
    pass
其它完整代码请参考:https://github.com/karthik-codex/Autogen_GraphRAG_Ollama
大模型结合Agent和RAG(Retrieval-Augmented Generation,检索增强生成)是一种先进的人工智能技术组合,旨在提升模型在处理复杂任务时的准确性、可靠性和效率。它的应用场景也很广泛,比如知识问答、内容创作、客服场景等等,总之,大模型结合Agent和RAG的技术组合为人工智能领域带来了新的发展机遇和挑战。随着技术的不断进步和应用场景的拓展,这一组合将在更多领域发挥重要作用。
如何学习大模型
现在社会上大模型越来越普及了,已经有很多人都想往这里面扎,但是却找不到适合的方法去学习。
作为一名资深码农,初入大模型时也吃了很多亏,踩了无数坑。现在我想把我的经验和知识分享给你们,帮助你们学习AI大模型,能够解决你们学习中的困难。
下面这些都是我当初辛苦整理和花钱购买的资料,现在我已将重要的AI大模型资料包括市面上AI大模型各大白皮书、AGI大模型系统学习路线、AI大模型视频教程、实战学习,等录播视频免费分享出来,需要的小伙伴可以扫取。

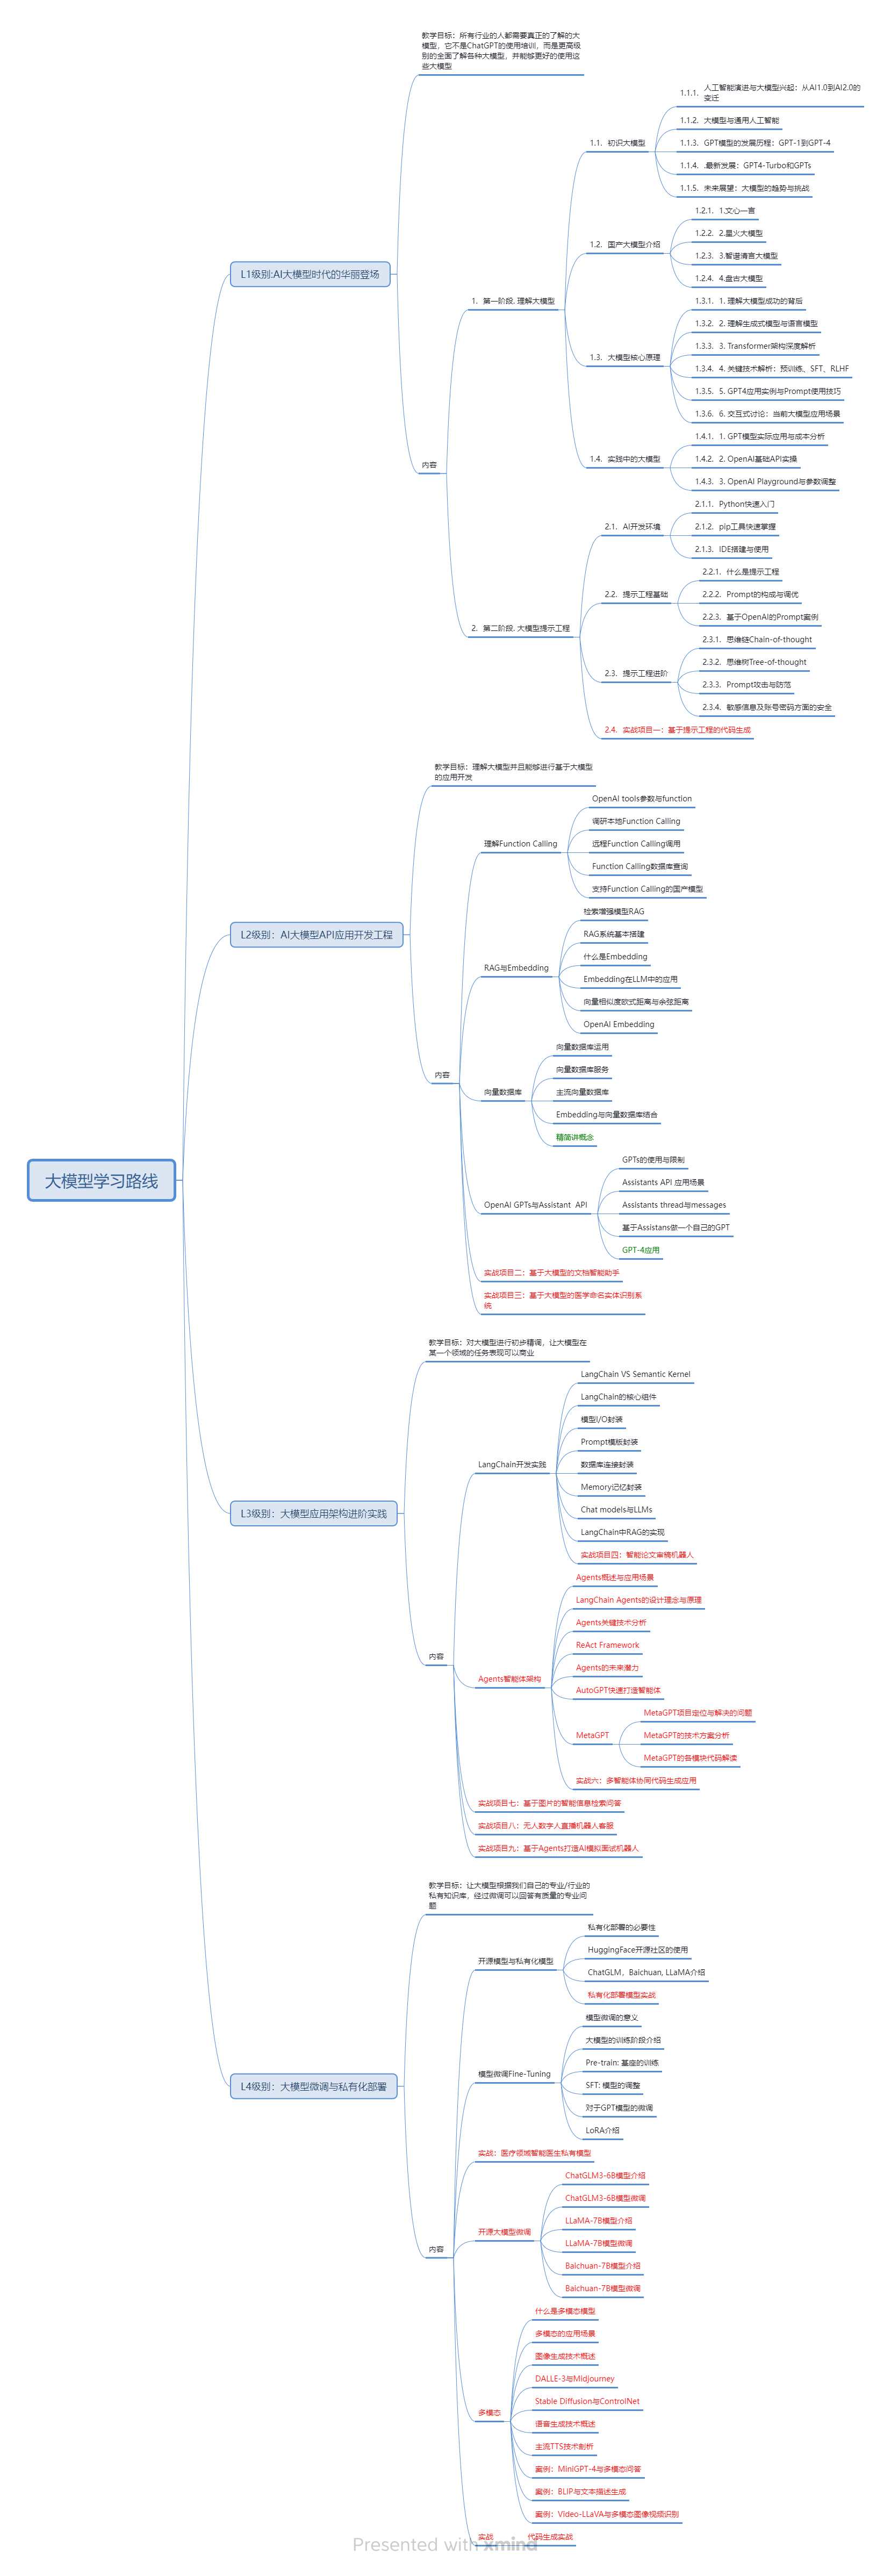
一、AGI大模型系统学习路线
很多人学习大模型的时候没有方向,东学一点西学一点,像只无头苍蝇乱撞,我下面分享的这个学习路线希望能够帮助到你们学习AI大模型。
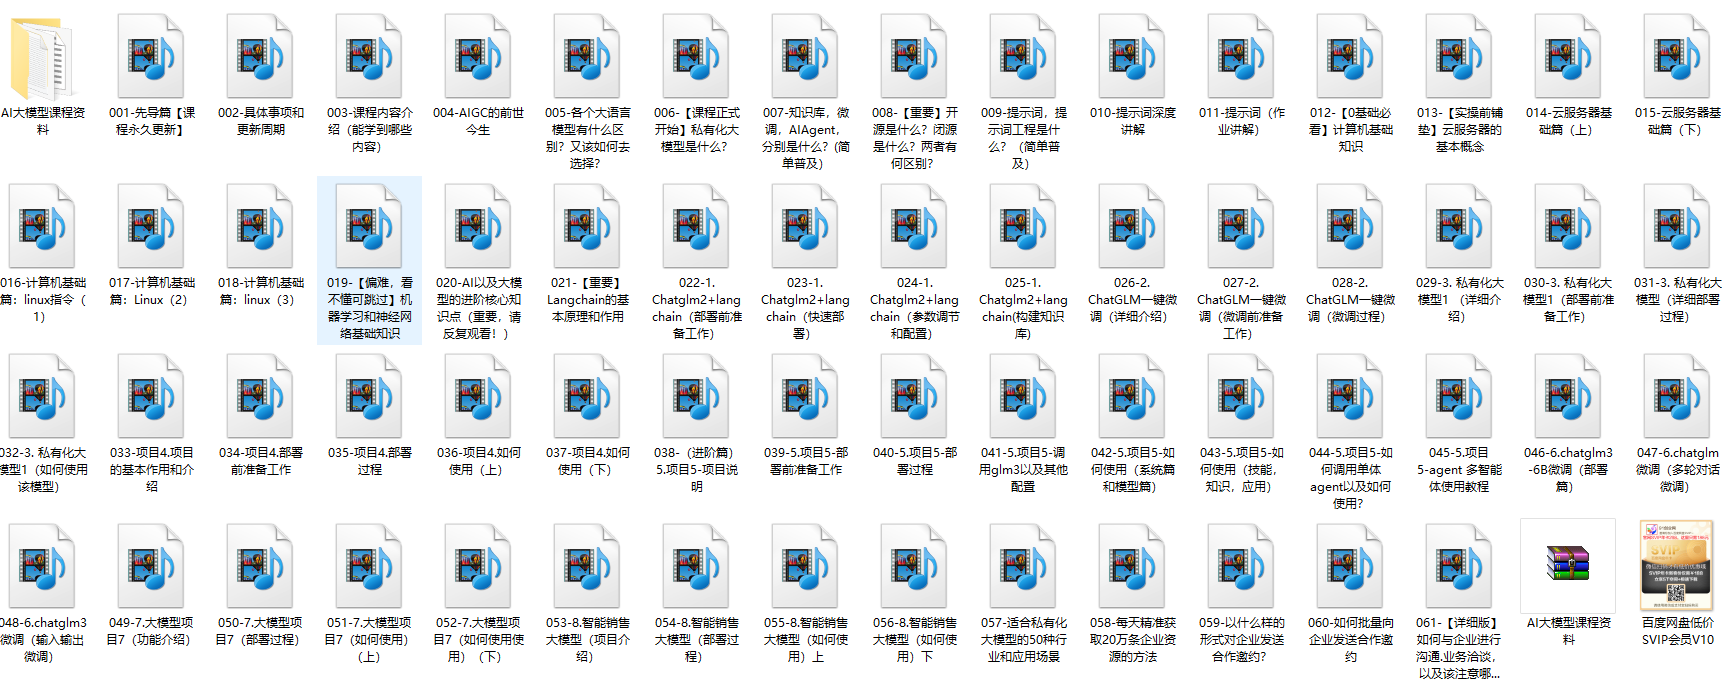
二、AI大模型视频教程
三、AI大模型各大学习书籍
四、AI大模型各大场景实战案例
五、结束语
学习AI大模型是当前科技发展的趋势,它不仅能够为我们提供更多的机会和挑战,还能够让我们更好地理解和应用人工智能技术。通过学习AI大模型,我们可以深入了解深度学习、神经网络等核心概念,并将其应用于自然语言处理、计算机视觉、语音识别等领域。同时,掌握AI大模型还能够为我们的职业发展增添竞争力,成为未来技术领域的领导者。
再者,学习AI大模型也能为我们自己创造更多的价值,提供更多的岗位以及副业创收,让自己的生活更上一层楼。
因此,学习AI大模型是一项有前景且值得投入的时间和精力的重要选择。


 1850
1850

 被折叠的 条评论
为什么被折叠?
被折叠的 条评论
为什么被折叠?
 到【灌水乐园】发言


