


 本文介绍如何使用注解方式搭建SpringMVC项目,包括配置DispatcherServlet、HandlerMapping等核心组件,并实现控制器类的自动扫描。
众所周知, SpringMvc有4个基本组件
DispatcherServlet -> 中央调度器, 使用前端设计模式拦截所有的url请求
HandlerMapping -> 分发不同的url到各个不同的controller处理
HanlderAdapter -> 调用controller去处理url请求
ViewReslover -> 处理视图(jsp页面)
在基于xml配置的springmvc项目中,
我们会将DispatcherServlet 配在WEB-INF/web.xml中(父容器)
会把HandlerMapping / HandlerAdapter/ ViewReslover 配置在 springmvc配置文件中。(子容器)
下面将会使用注解方式去重新创建1个springmvc项目
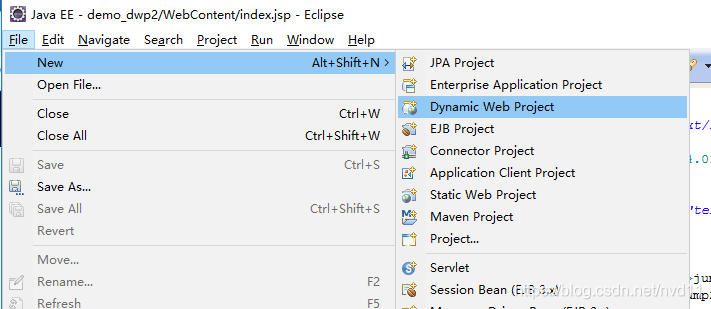
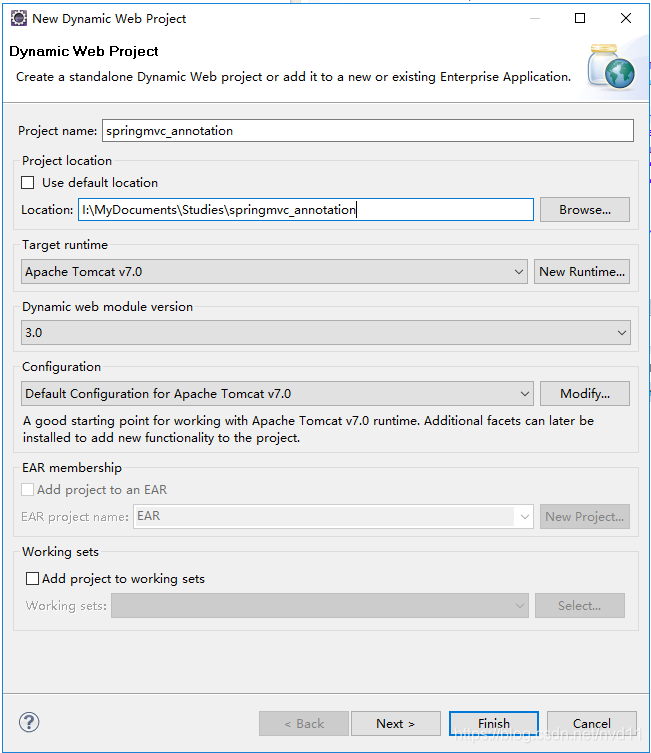
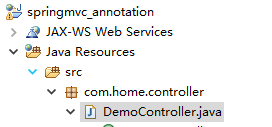
Step1 打开eclipse 创建1个新的Dynamic web project
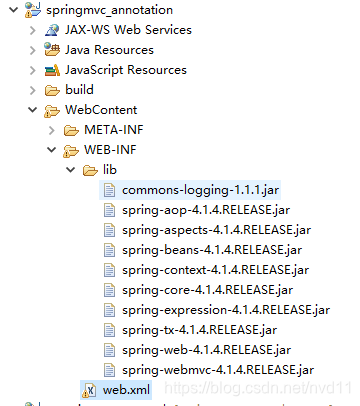
Step2 往project内的 WEB-INF/lib folder导入下列spring 的jar包
大部分都能在 .m2 里的repository folder找到, 如果没有可以利用别的maven project下载。
 commons-logging-1.1.1.jar
 spring-aop-4.1.4.RELEASE.jar
 spring-aspects-4.1.4.RELEASE.jar
 spring-beans-4.1.4.RELEASE.jar
 spring-context-4.1.4.RELEASE.jar
 spring-core-4.1.4.RELEASE.jar
 spring-expression-4.1.4.RELEASE.jar
 spring-tx-4.1.4.RELEASE.jar
 spring-web-4.1.4.RELEASE.jar
 spring-webmvc-4.1.4.RELEASE.jar
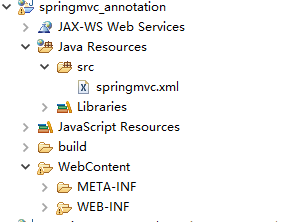
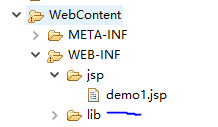
Step3 初步编写web.xml 文件
在WEB-INF 文件夹创建1个web.xml 文件, 如上图
内容如下, 注意我注解指定了spring 配置文件的位置和文件名
<?xml version="1.0" encoding="UTF-8"?>
<web-app version="3.0" xlns="http://java.sun.com/xml/ns/javaee"
	xmlns:xsi="http://www.w3.org/2001/XMLSchema-instance"
	xsi:schemaLocation="http://java.sun.com/xml/ns/javaee
    http://java.sum.com/xml/ns/javaee/web-app_3_0.xsd">

	<servlet>
		<servlet-name>springmvc</servlet-name>
		<servlet-class>org.springframework.web.servlet.DispatcherServlet</servlet-class>
		<!-- auto start -->
		<load-on-startup>1</load-on-startup>
		<!-- modify spring configuration file path and file name -->
		<init-param>
			<param-name>contextConfigLocation</param-name>
			<param-value>classpath:springmvc.xml</param-value>
		</init-param>
	</servlet>

	<servlet-mapping>
		<servlet-name>springmvc</servlet-name>
		<url-pattern>/</url-pattern>
	</servlet-mapping>
</web-app>
Step4 添加springmvc 配置文件
<?xml version="1.0" encoding="UTF-8"?>
<beans xmlns="http://www.springframework.org/schema/beans"
	xmlns:xsi="http://www.w3.org/2001/XMLSchema-instance"
	xmlns:context="http://www.springframework.org/schema/context"
	xmlns:mvc="http://www.springframework.org/schema/mvc"
	xmlns:tx="http://www.springframework.org/schema/tx"
	xsi:schemaLocation="http://www.springframework.org/schema/beans http://www.springframework.org/schema/beans/spring-beans.xsd
		http://www.springframework.org/schema/context http://www.springframework.org/schema/context/spring-context-4.1.xsd
		http://www.springframework.org/schema/mvc http://www.springframework.org/schema/mvc/spring-mvc-4.1.xsd
		http://www.springframework.org/schema/tx http://www.springframework.org/schema/tx/spring-tx-4.1.xsd">

	<!-- Annotation scanning -->
	<context:component-scan base-package="com.home.controller"></context:component-scan>

	<!-- below mvc dom actullay includes the default Handlermapping and HandlerAdapter -->
	<!-- org.springframework.web.servlet.mvc.annotation.DefaultAnnotationHandlerMapping -->
	<!-- org.springframework.web.servlet.mvc.annotation.AnnotationMethodHandlerAdapter -->
	<mvc:annotation-driven></mvc:annotation-driven>

</beans>
注意, 在springmvc 配置文件中, 我们并没有配置具体的controller类。
而是配置了一行注解, context:component-scan 将会在某个包里扫描注解了@Controller的类并放入容器.
同时, 我们也不需再单独配置handlerMapping 和 HandlerAdapter
只需要引入springmvc命名空间和 mvc:annotation-driven</mvc:annotation-driven> 这个mvc注解驱动。
package com.home.controller;

import org.springframework.stereotype.Controller;
import org.springframework.web.bind.annotation.RequestMapping;

@Controller
public class DemoController {


	@RequestMapping("demo")
	public String demo(){
		System.out.println("executing demo() controller ");
		return "/WEB-INF/jsp/demo1.jsp";
	}
}
注意在demo方法返回了1个jsp fullpath
相应地要在WEB-INF里添加jsp文件夹以及demo1.jsp
执行项目, 访问http://localhost:8080/springmvc_annotation/demo

成功执行
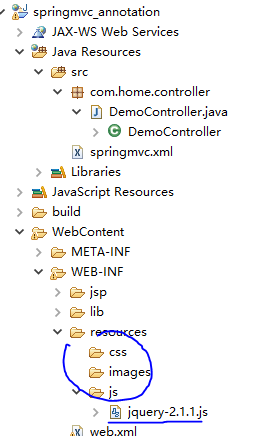
Step5 添加springmvc 配置,放行静态文件
当前, DispatcherServlet会拦截所有url, 只放行*.jsp
项目中,我们其实想放行其他一切静态文件, 例如js,css,images等
我们现在WEB-INF下添加文件夹resources, 放入1个js文件
在springmvc配置文件加入如下静态资源定义
	<!-- define static resources -->
	<mvc:resources location="/WEB-INF/resources/" mapping="/resources/**"></mvc:resources>
意思是主要url 符合 resources/** 规则 (例如 /resourcce/js/123/12.js …等)
则不会被DispatcherServlet拦截, 而会在location /WEB-INF/resources 里寻找静态资源文件.
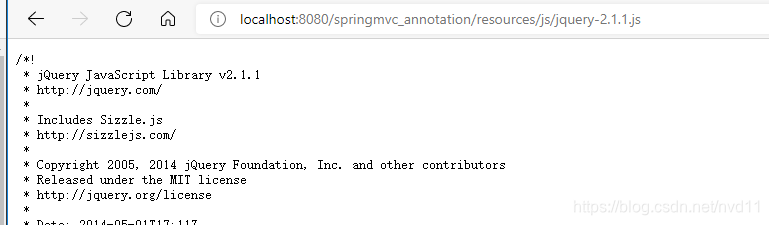
启动项目, 访问http://localhost:8080/springmvc_annotation/resources/js/jquery-2.1.1.js
成功访问
到这里, springmvc的基本框架建立完成


 被折叠的 条评论
为什么被折叠?
被折叠的 条评论
为什么被折叠?
 到【灌水乐园】发言


