


原版SCRFD是用来检测人脸的,输出人脸矩形框并带有5个关键点,若用SCRFD算法检测其他目标,并且需要输出少于或者多于5个关键点,就需要改动SCRFD算法的数据输入部分及检测头部分了。
SCRFD算法及环境安装见上一篇博客:SCRFD算法解读及环境安装实践
我是用SCRFD检测算法检测手掌,并且需要输出5根手指直接的4个关键点。
1、数据标注
标注软件需要能标注矩形框和关键点,我这里选择了labelme。
安装:在windows系统上安装很方便,直接在python环境中pip install labelme即可;
启动:启动labelme也很简单,进入python环境,直接输入labelme按回车即可。然后就可以看到如下界面:
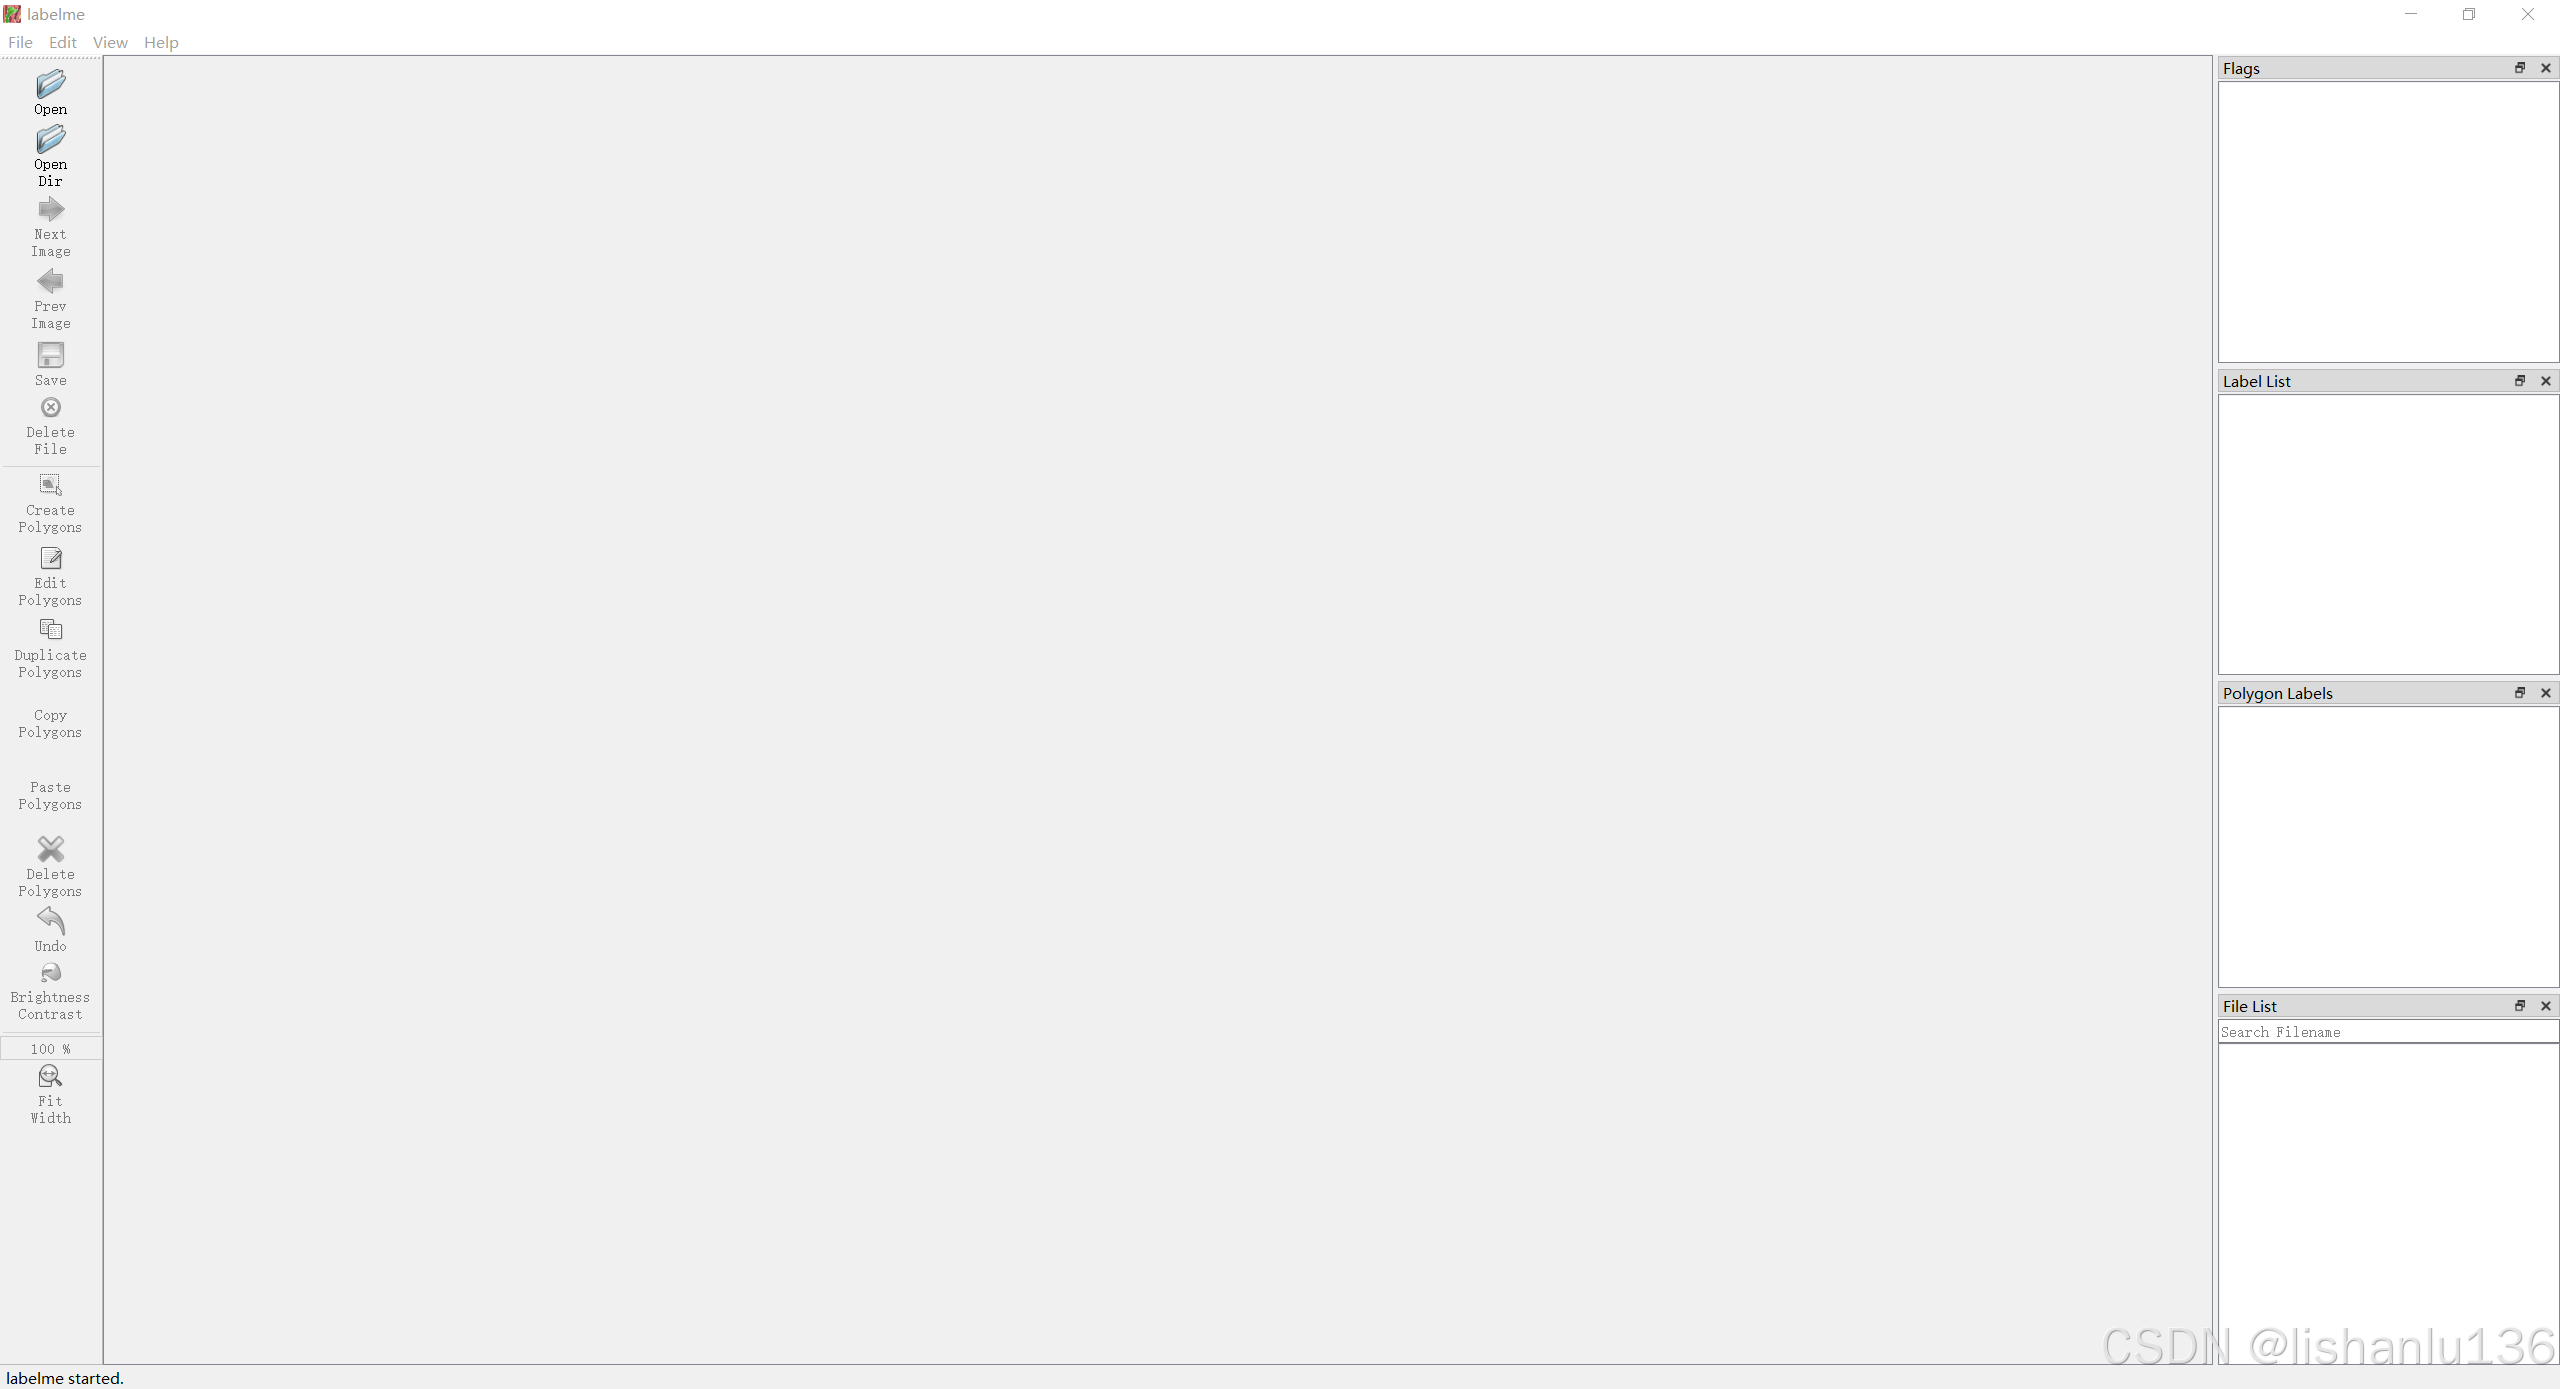
标注数据:打开左上角Open Dir,选择待标注数据,开始标注;鼠标点击右键,选择Create Point标注关键点(如下图label0到label3),鼠标点击右键,选择Create Rectangle标注矩形框(如下图label4)。
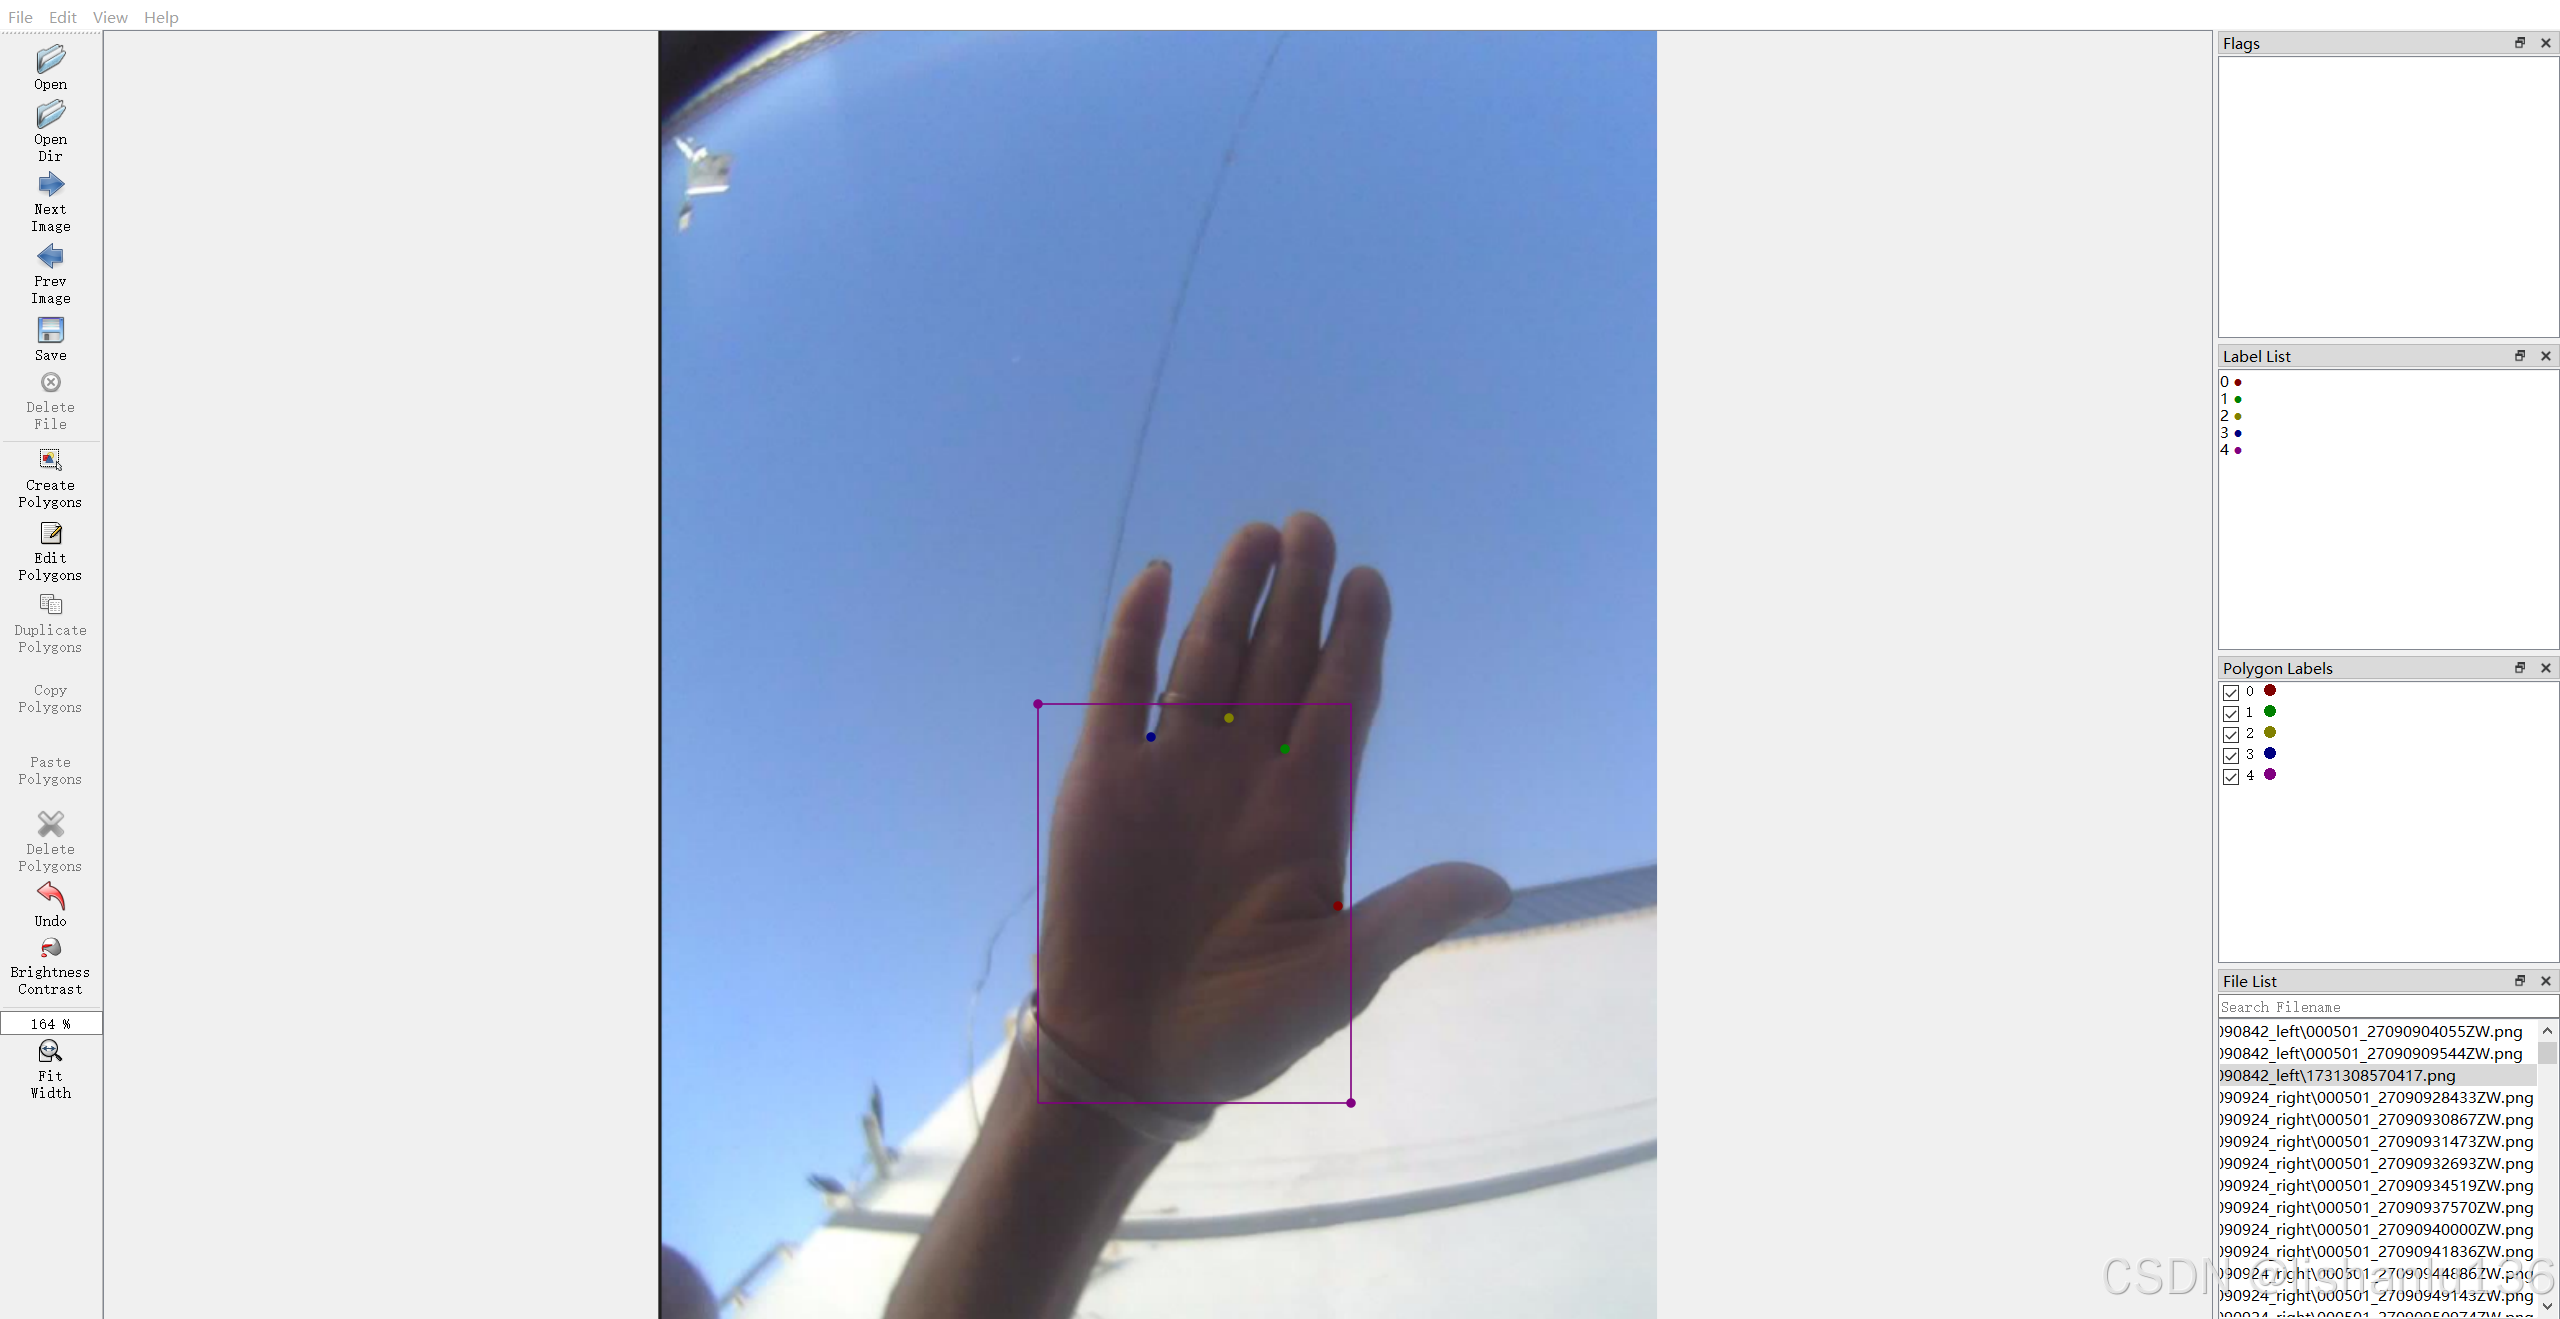
标注完成后,点击Save保存,会生成一个和图片名字一样的json文件。里面内容包含如下所示:
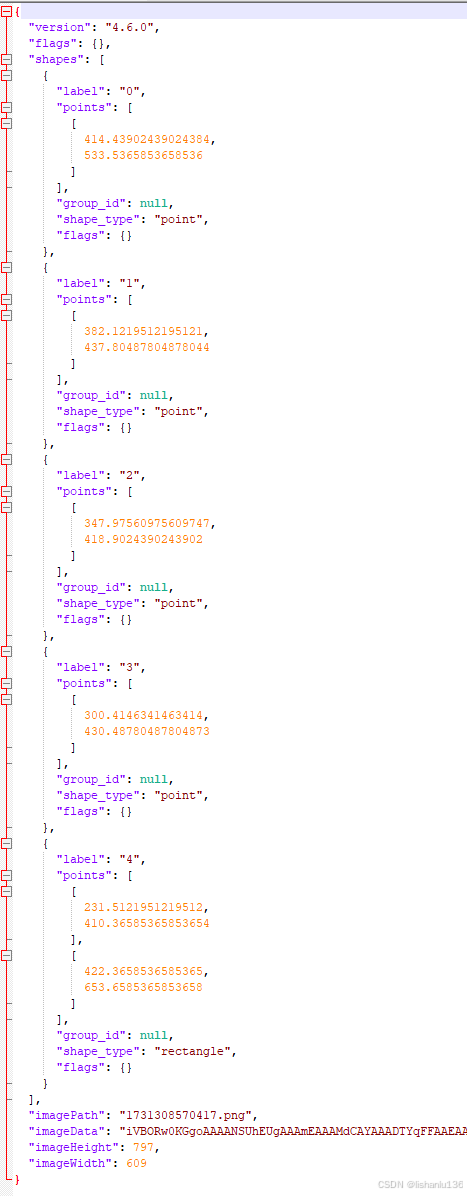
2、数据格式转换
我们标注软件保存的是json文件,而SCRFD需要用的是txt格式,而且每张图片的标注形式如下:
  # <image_path> image_width image_height
  bbox_x1 bbox_y1 bbox_x2 bbox_y2 (<keypoint,3>*N)
  ...
  ...
  # <image_path> image_width image_height
  bbox_x1 bbox_y1 bbox_x2 bbox_y2 (<keypoint,3>*N)
  ...
  ...
所以我们需要对标注数据从json转到txt
json_2_scrfdtxt.py
import json
import os
from pathlib import Path
from tqdm.auto import tqdm
import numpy as np

def decode_json_file(data, json_name, txt_name):

    dir_index = str(json_name).split('/')[-2].split('_')
    txt_file = open(txt_name, 'a')
    img_path = str(json_name).split('/')[-1].split('.json')[0] + '.png'
    w = data['imageWidth']
    h = data['imageHeight']
    img_full_path = json_name.parent.relative_to(json_name.parent.parent) / Path(img_path).with_suffix('.png')

    points = []
    bbox = []

    data['shapes'].sort(key = lambda x : int(x['label']))

    for i in data['shapes']:
        if i['label'] == '4':
            a = float(i['points'][0][0])
            b = float(i['points'][0][1])
            c = float(i['points'][1][0])
            d = float(i['points'][1][1])
            x1 = np.minimum(a, c)
            y1 = np.minimum(b, d)
            x2 = np.maximum(a, c)
            y2 = np.maximum(b, d)
            bbox.append([x1, y1, x2, y2])

        elif i['label'] in ['0', '1', '2', '3']:
            x = float((i['points'][0][0]))
            y = float((i['points'][0][1]))
            points.append([x, y, 1.0])
        else:
            print(img_path)

    txt_file.write('# ' + str(img_full_path) + ' ' + str(w) + ' ' + str(h) + '\n')
    txt_file.write(str(bbox[0][0]) + ' ' + str(bbox[0][1]) + ' '  + str(bbox[0][2]) + ' ' + str(bbox[0][3]) + ' ' + ' '.join([str(point[0]) + ' ' + str(point[1]) + ' ' + str(point[2]) for point in points]) + '\n')


if __name__ == "__main__":
	json_folder_path = Path('20241108_data/')
	json_files = list(json_folder_path.glob('**/*.json'))
	train_txt_name = './20241108_data_train.txt'
	for i, json_name in tqdm(enumerate(json_files), total=len(json_files)):
	    try:
	        data = json.load(open(json_name, 'r'), encoding='utf-8')
	    except Exception as e:
	        print('Error: %s, error file: %s'%(e, json_name))
	        continue

	    labels = [data['shapes'][i]['label'] for i in range(len(data['shapes']))]
	    if sorted(labels) != sorted(['0','1','2', '3', '4']):
	        print(json_name)
	        continue

	    decode_json_file(data, json_name, train_txt_name)
3、代码修改
由于原版SCRFD是检测人脸加5个关键点,而我们这里是检测手掌加4个关键点,关键点数量减少了,所以需要在读取数据和检测头部分修改一下。
数据输入及增强部分修改:
mmdet/datasets/retinaface.py中
# line 31
self.NK = 5 改为
self.NK = 4

# line 52
kps = np.array( values[4:19], dtype=np.float32).reshape((self.NK,3)) 改为
kps = np.array( values[4:16], dtype=np.float32).reshape((self.NK,3))
mmdet/datasets/pipelines/transforms.py中
# line 436 keypoints_flip函数修改
assert keypointss.shape[1]==5 改为
assert keypointss.shape[1]==4

# line 440
flip_order = [1,0,2,4,3] 改为
flip_order = [1,0,3,2]
检测头部分修改:
mmdet/models/dense_heads/scrfd_head.py中
# line 122
self.NK = 5 改为
self.NK = 4

# line 337
kps_pred = kps_pred.permute(0, 2, 3, 1).reshape(batch_size, -1, 10) 改为
kps_pred = kps_pred.permute(0, 2, 3, 1).reshape(batch_size, -1, 8)
修改好代码后,需要重新编译mmdet
cd scrfd
python -m pip install -v -e .
4、训练
修改配置文件./configs/scrfd/scrfd_2.5g_bnkps.py中数据集路径及标注txt路径即可,然后运行如下命令进行训练。
python tools/train.py ./configs/scrfd/scrfd_2.5g_bnkps.py    # 单GPU训练
CUDA_VISIBLE_DEVICES="0,1,2,3" PORT=1234 bash ./tools/dist_train.sh ./configs/scrfd/scrfd_2.5g_bnkps.py 4   # 多GPU训练


 1363
1363

 被折叠的 条评论
为什么被折叠?
被折叠的 条评论
为什么被折叠?
 到【灌水乐园】发言


