


 本文介绍了如何在STC89平台使用HML_FwLib库进行串口通信,并通过Makefile进行编译和烧录过程。从源码到实际应用,一步步引导读者理解现代编程模式。
镜像中默认只有STC89的源码和一个51测试demo:
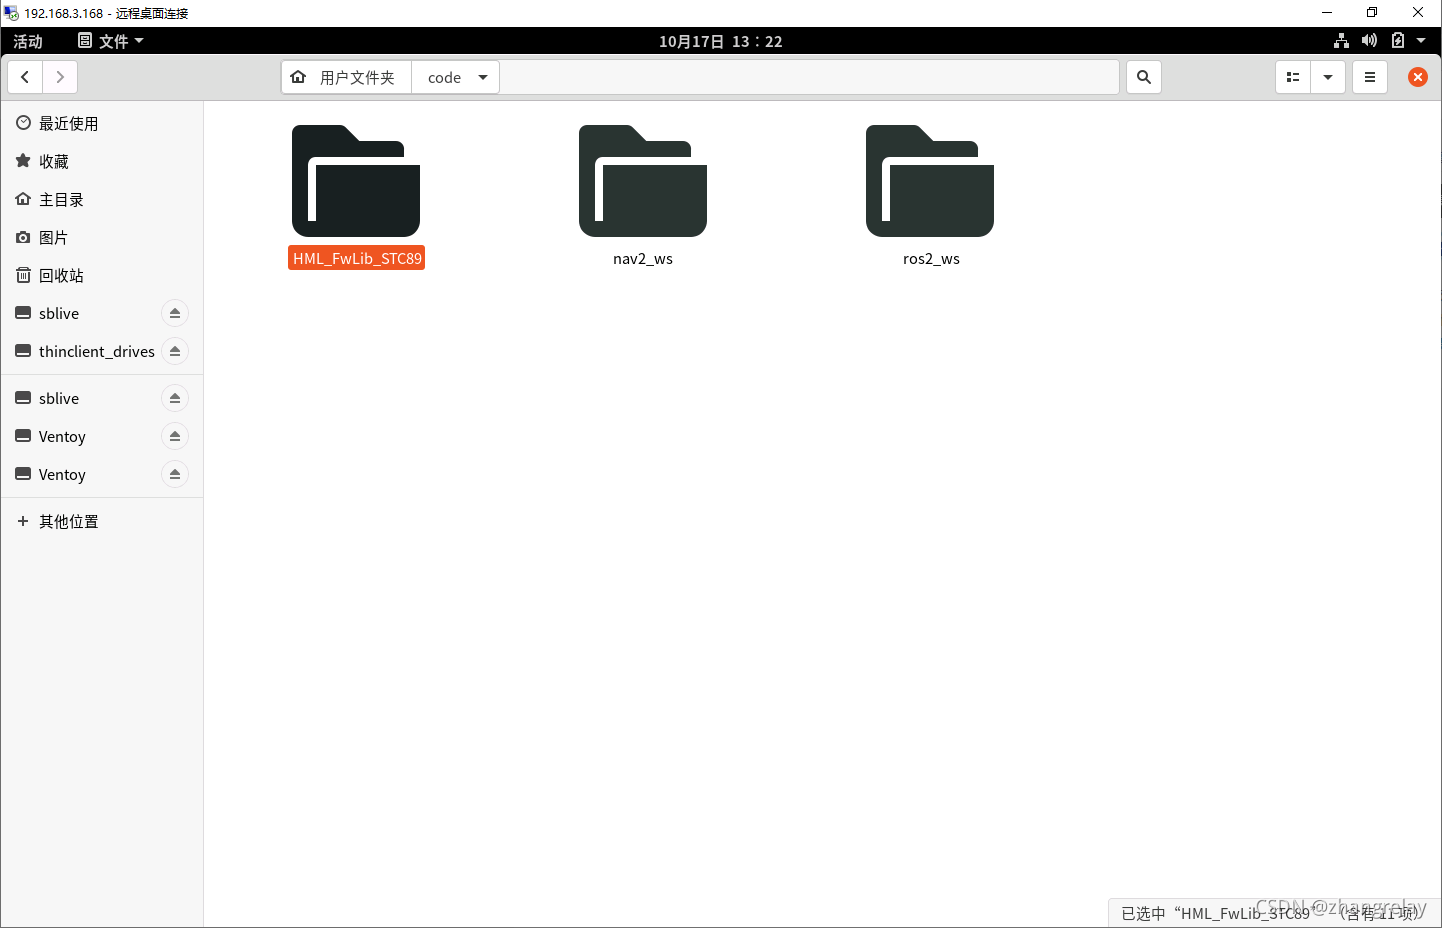
分别代表了相对传统和相对现代的编程模式。仍然推荐现代模式!
用自己电脑启动会有其他盘可供使用,需要修改并保存的,在其他位置中打开windows下常用盘就可以了。当然在此处做实验也可以但是,关机或重启,所有内容都会消失的。
这里以/media/zhangrelay/740e2374-46af-4dab-9b9b-bd73e0ea829c/zhangrelay/CppDemo为例。*具体路径有所不同。
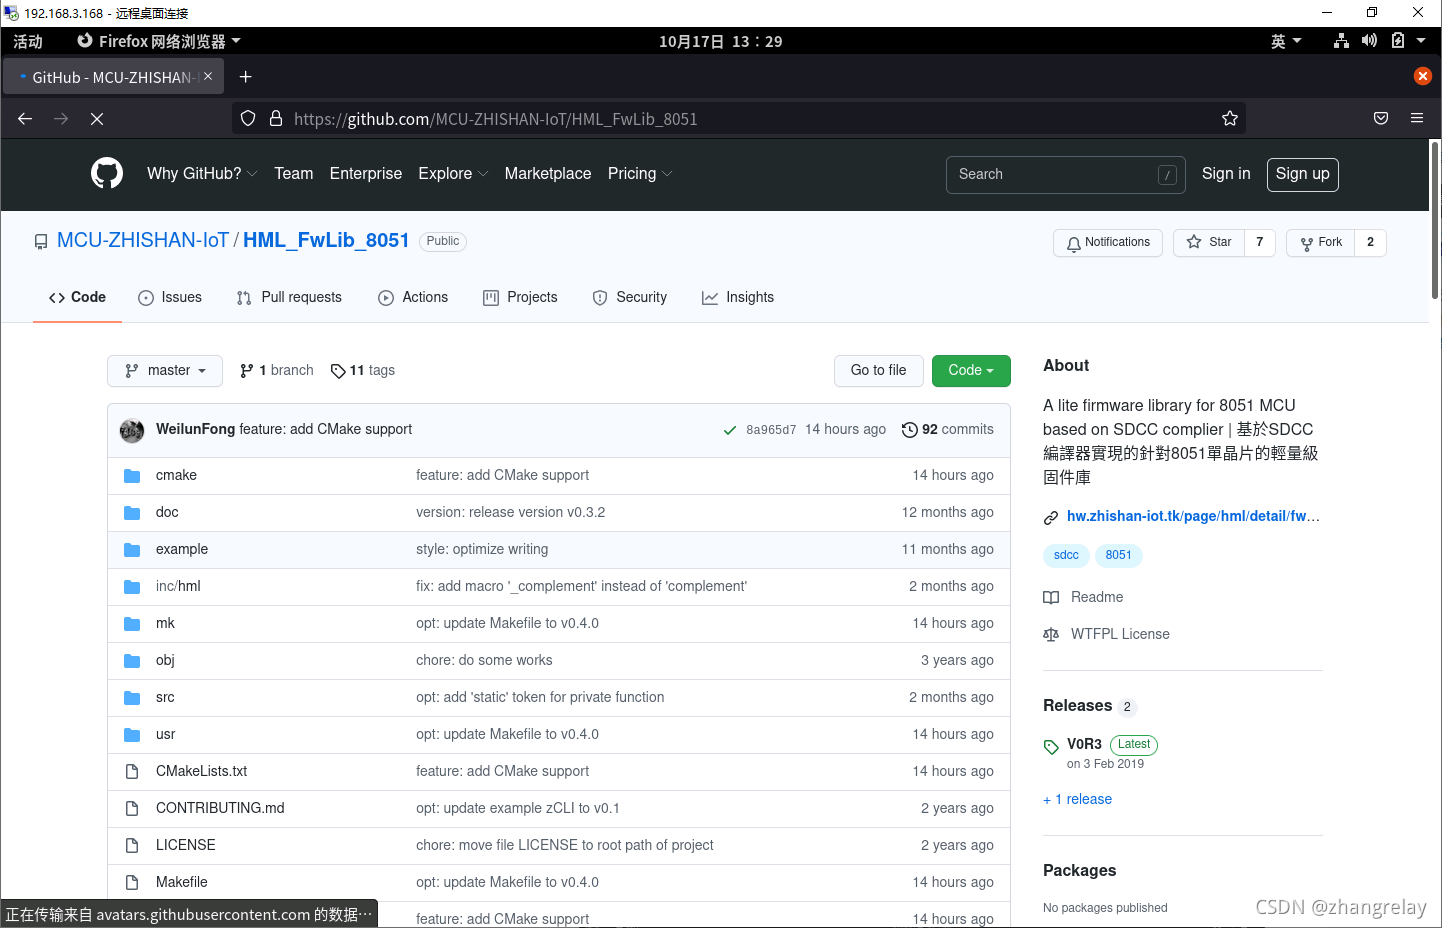
到github网页下载:
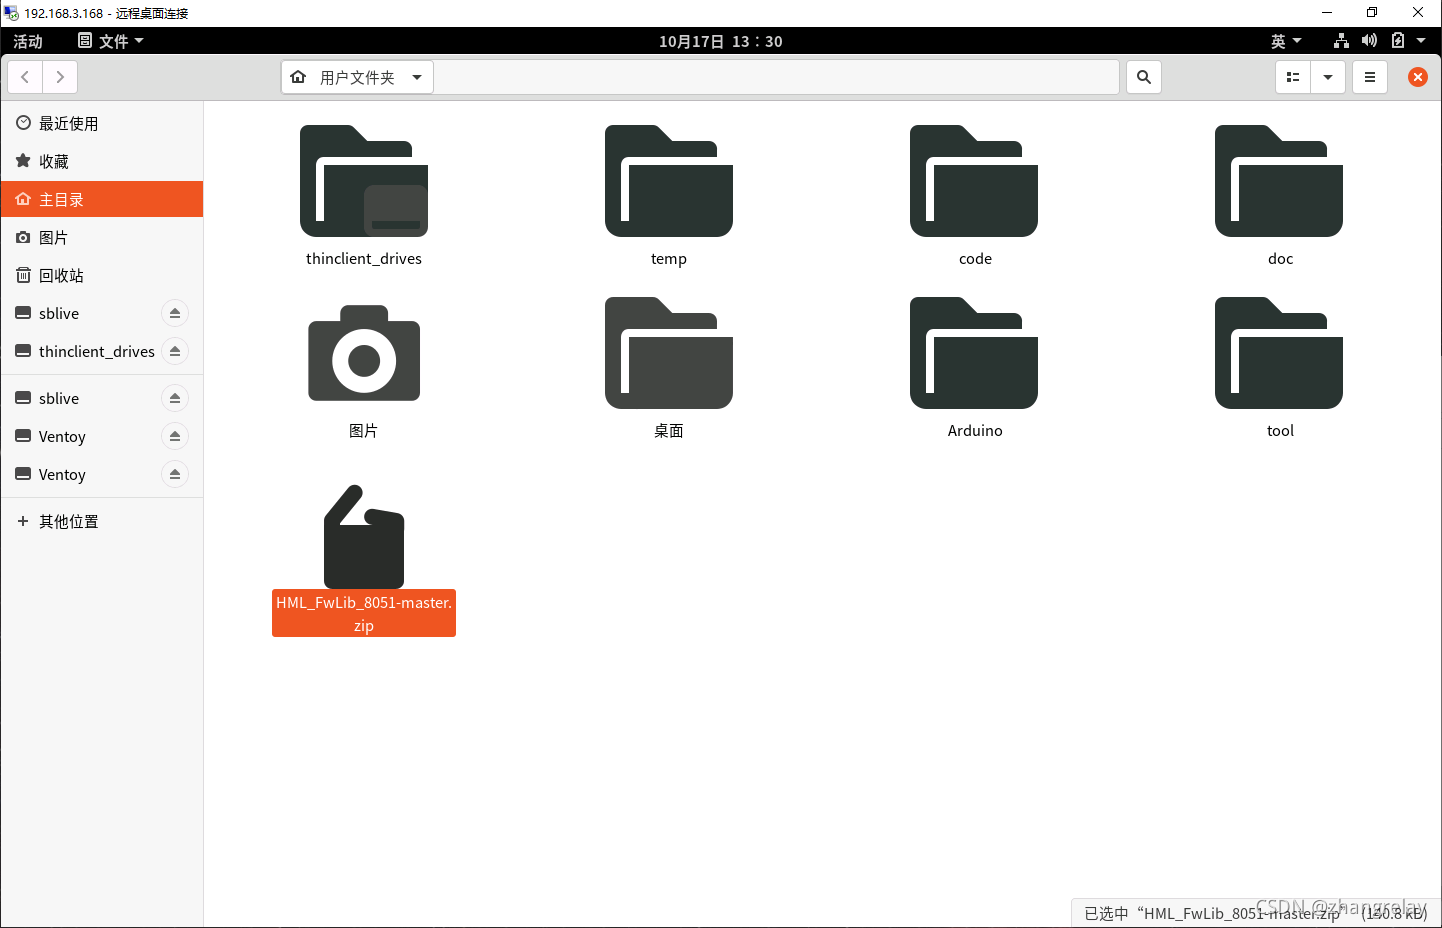
将其复制到自己需要的文件夹:
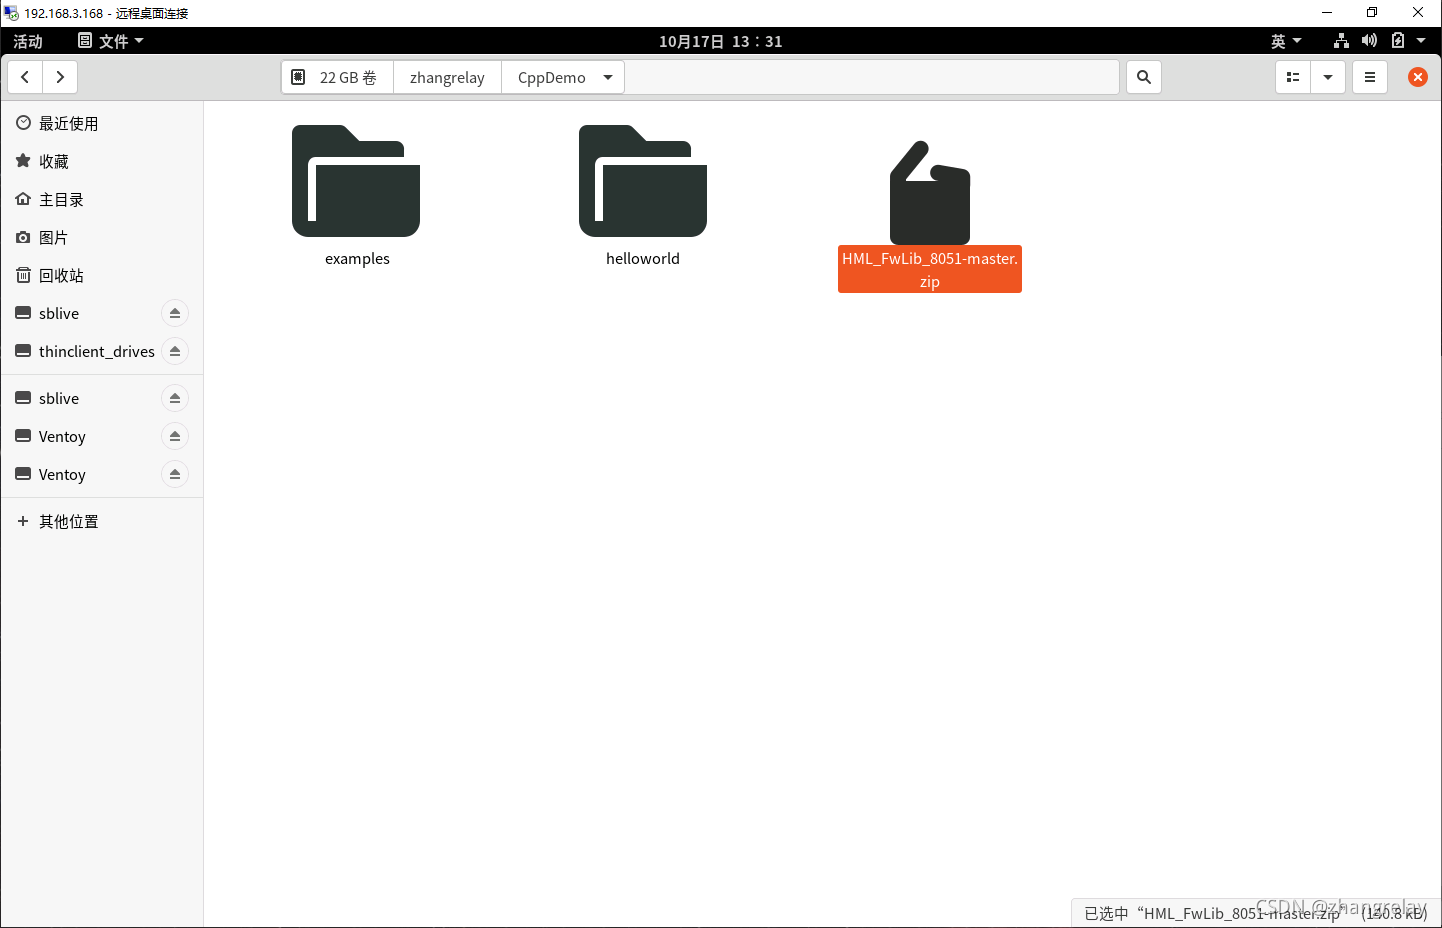 单击鼠标右键,提取到此处……
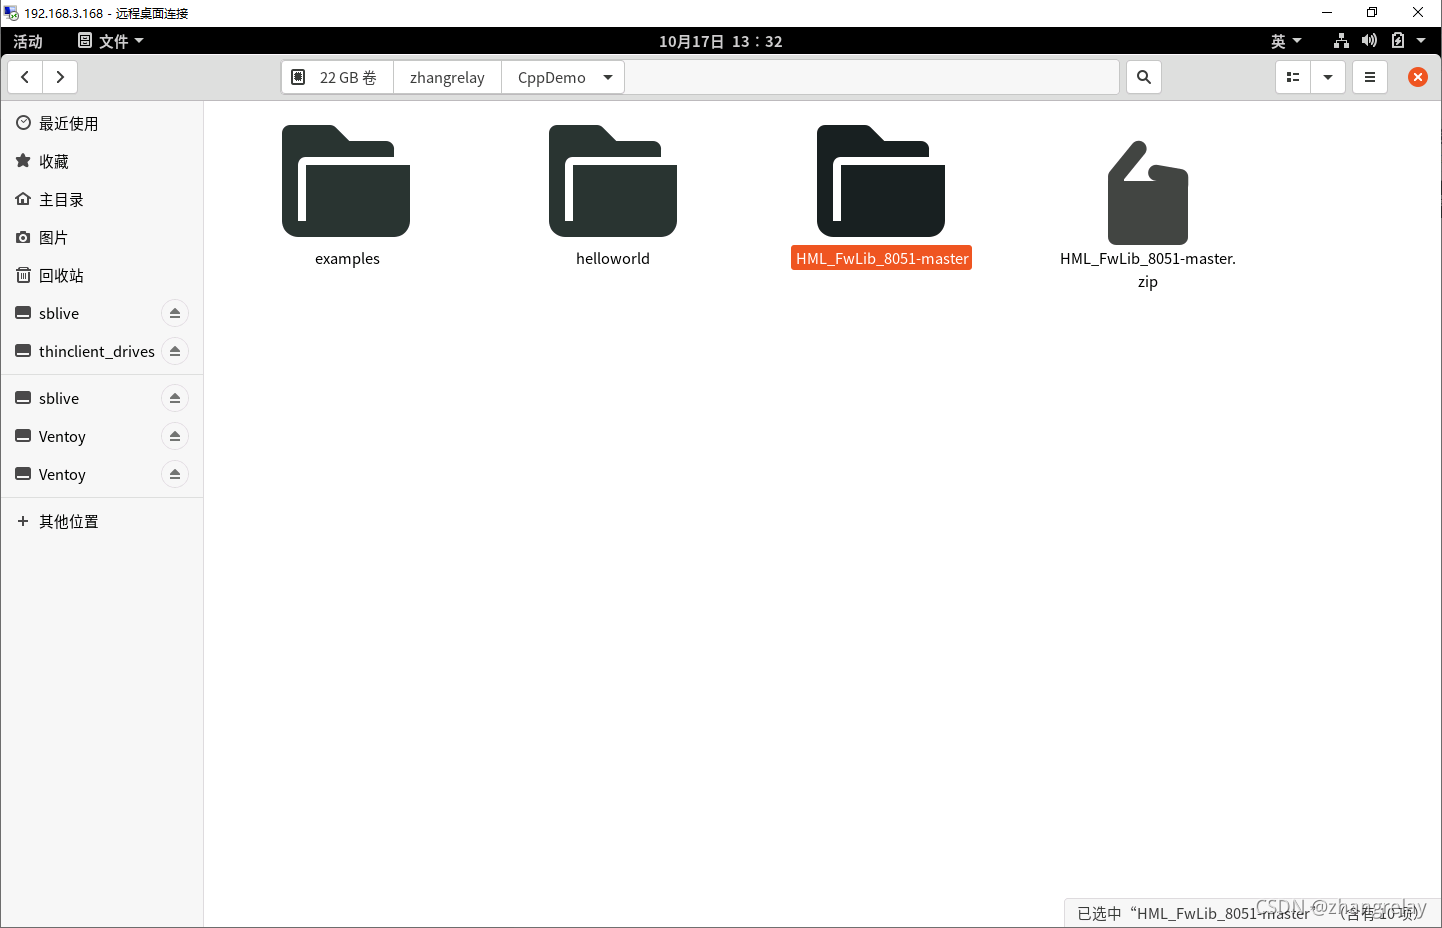 进入文件夹:

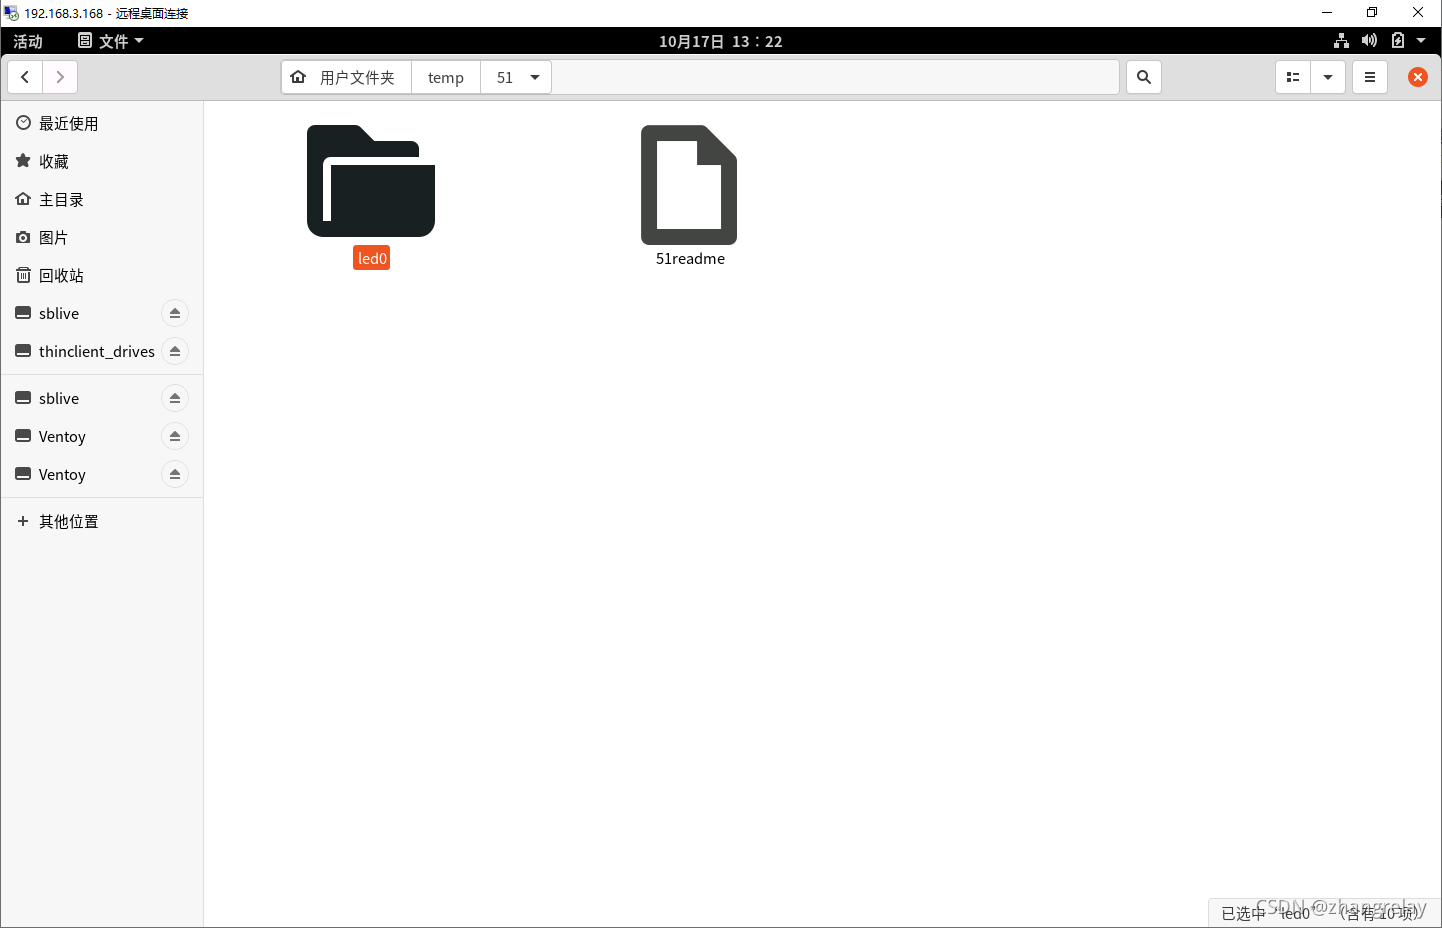
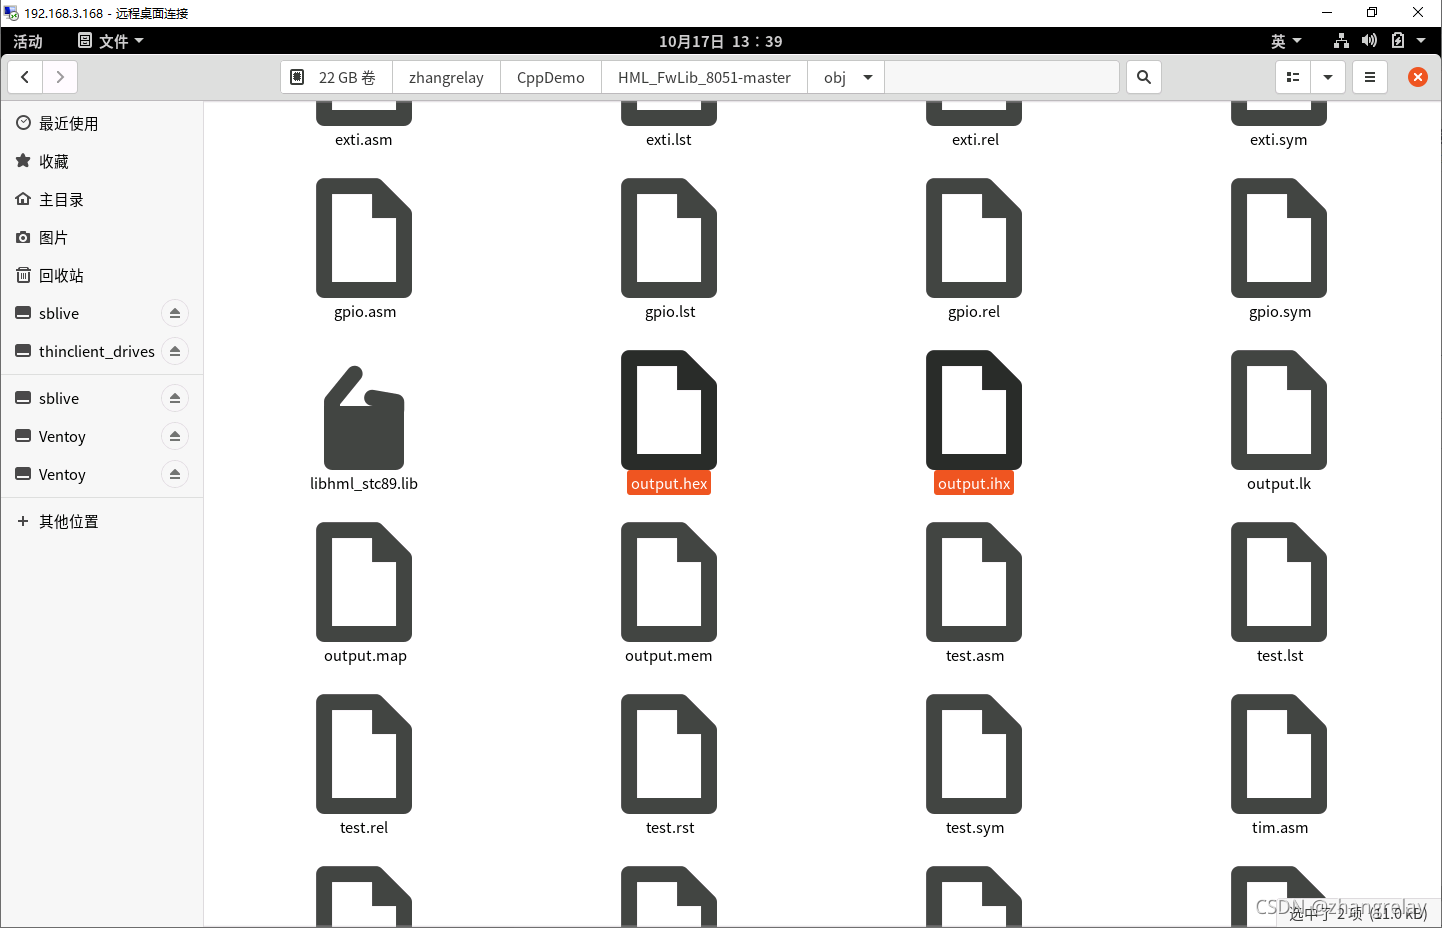
会发现obj和usr这两个文件夹,其中在编译前,obj为空!usr只有待编译文件。
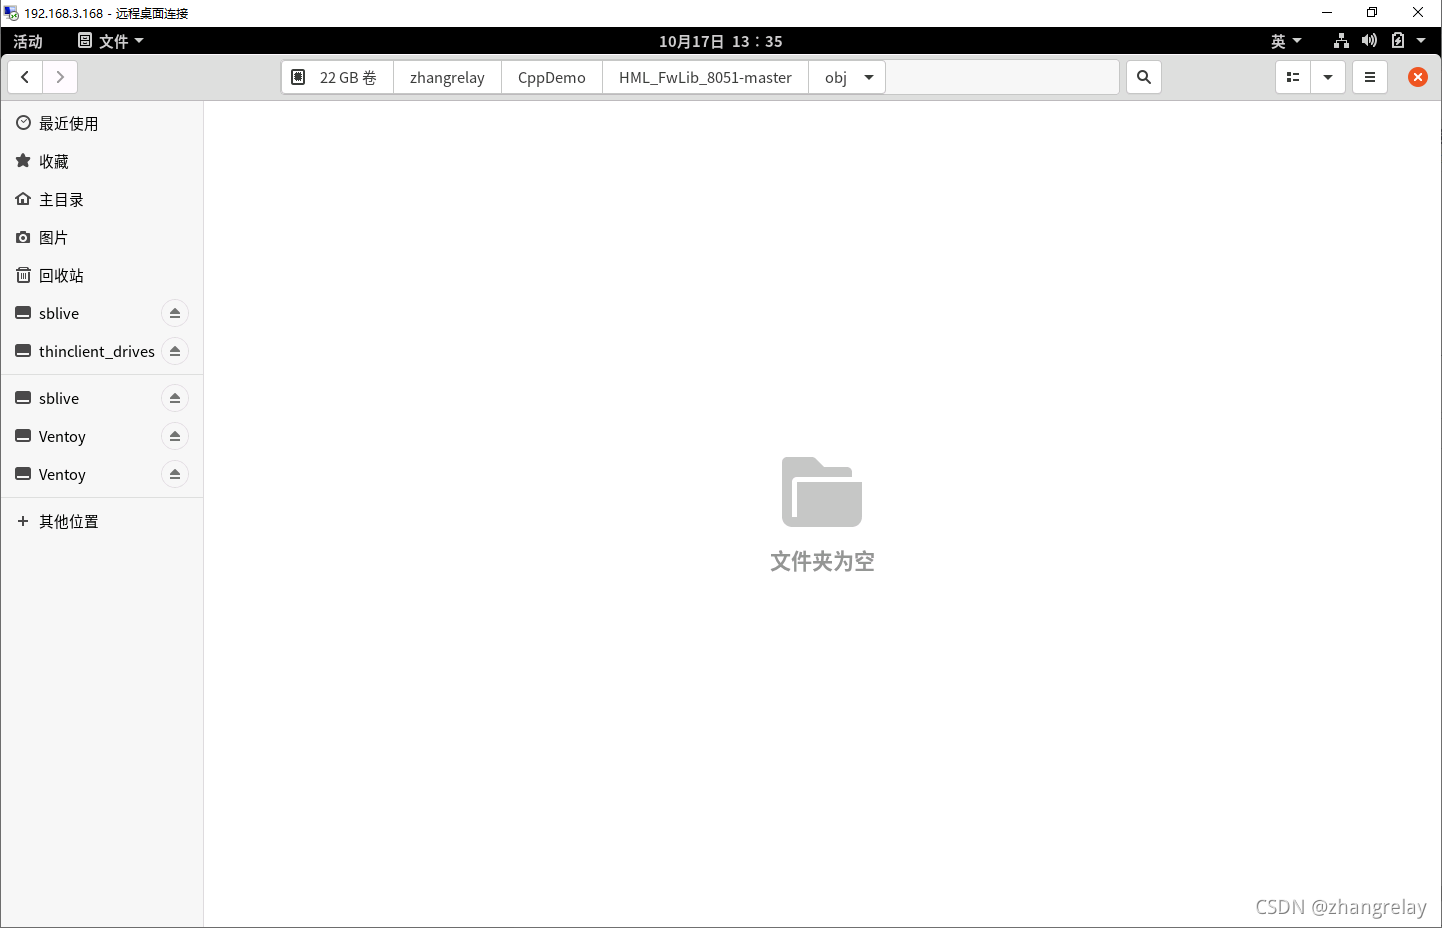 空空什么也没有呢^_^
进入到usr文件夹下,单击右键在终端打开输入make,然后回车:
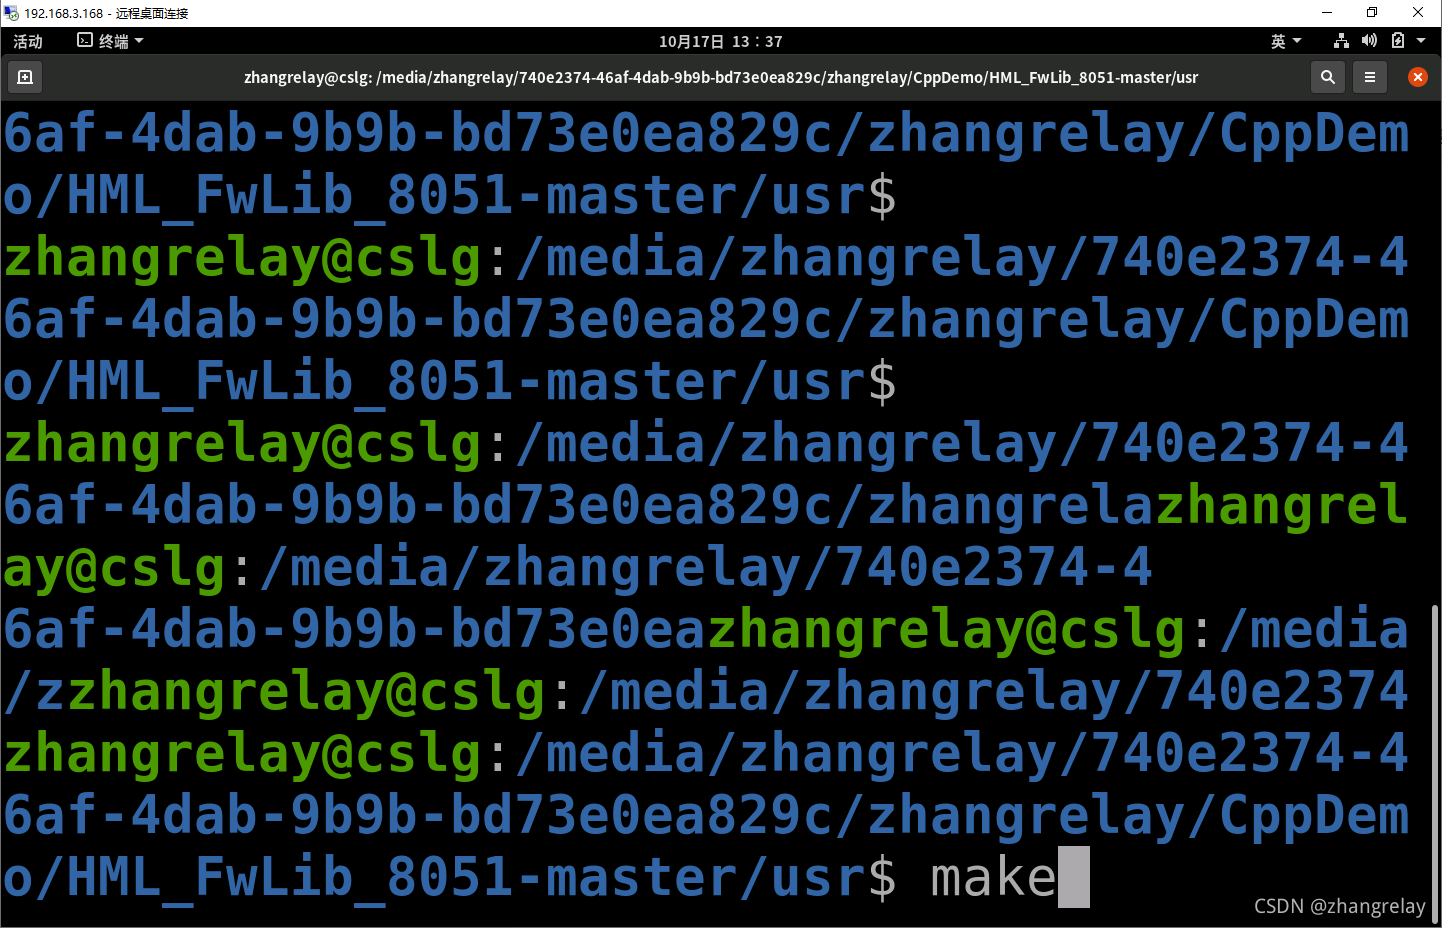
等待所有完成,时间小于2s。
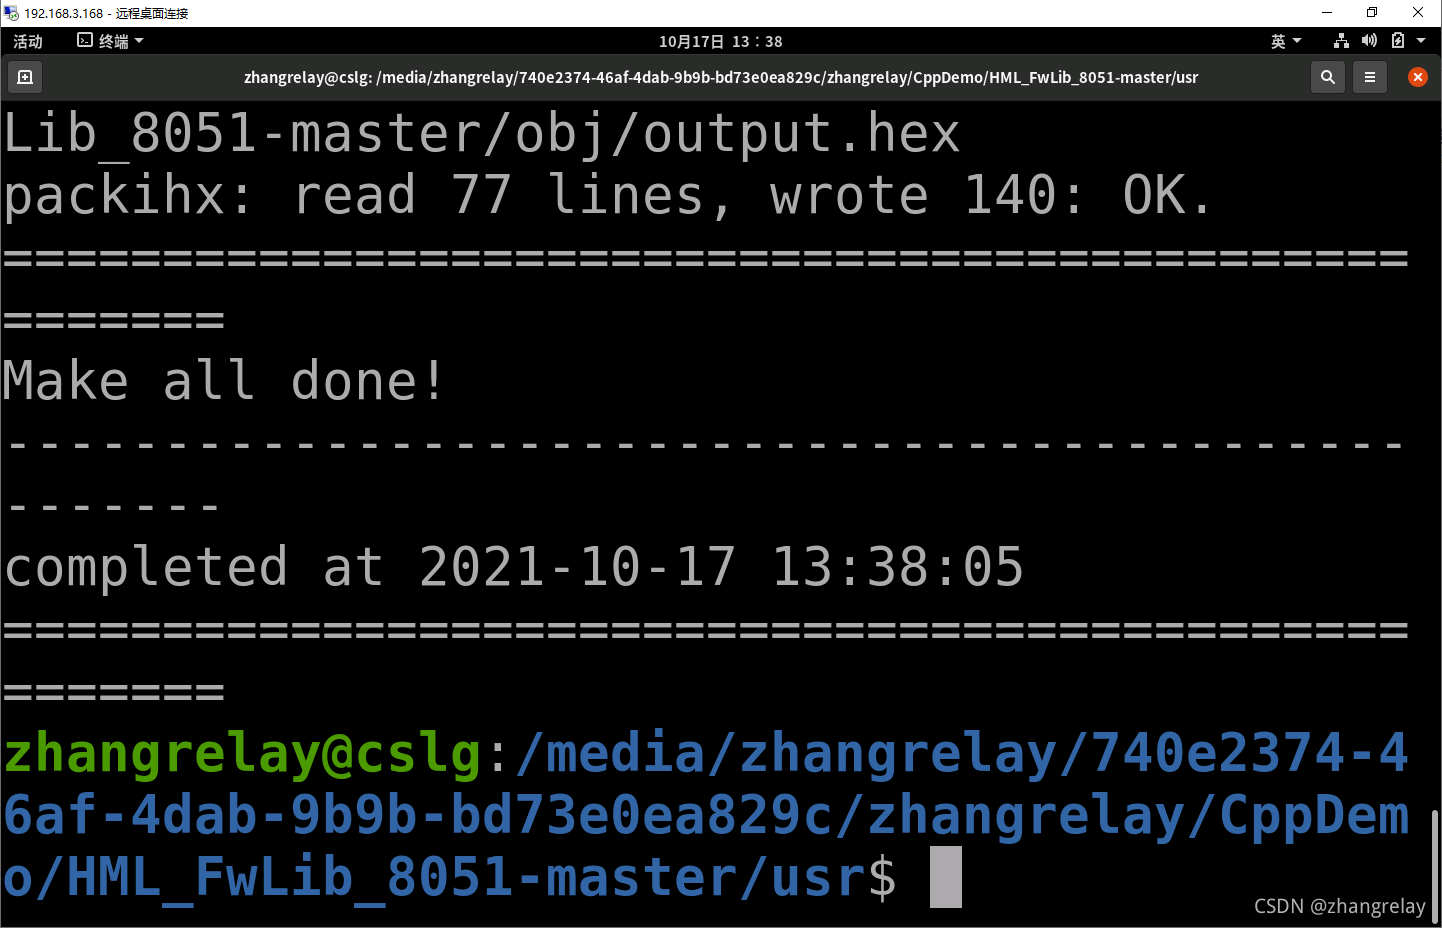
再次回到obj文件夹,可以看到下载文件。
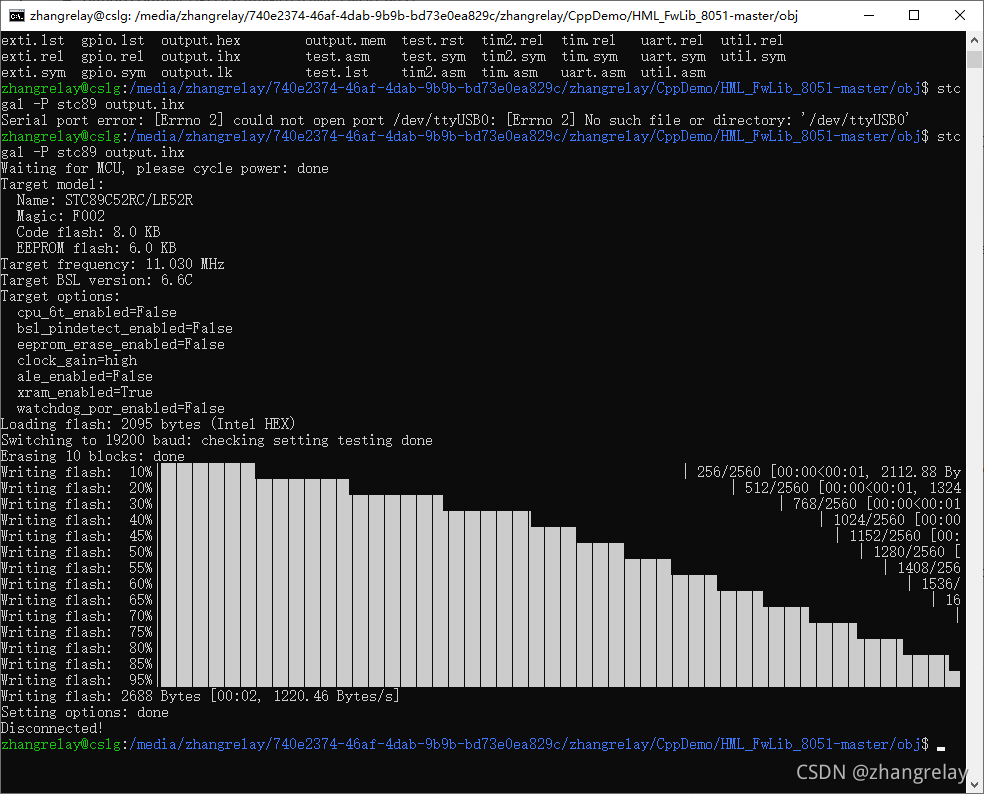
使用如下命令写入到单片机中:
stcgal -P stc89 output.ihx
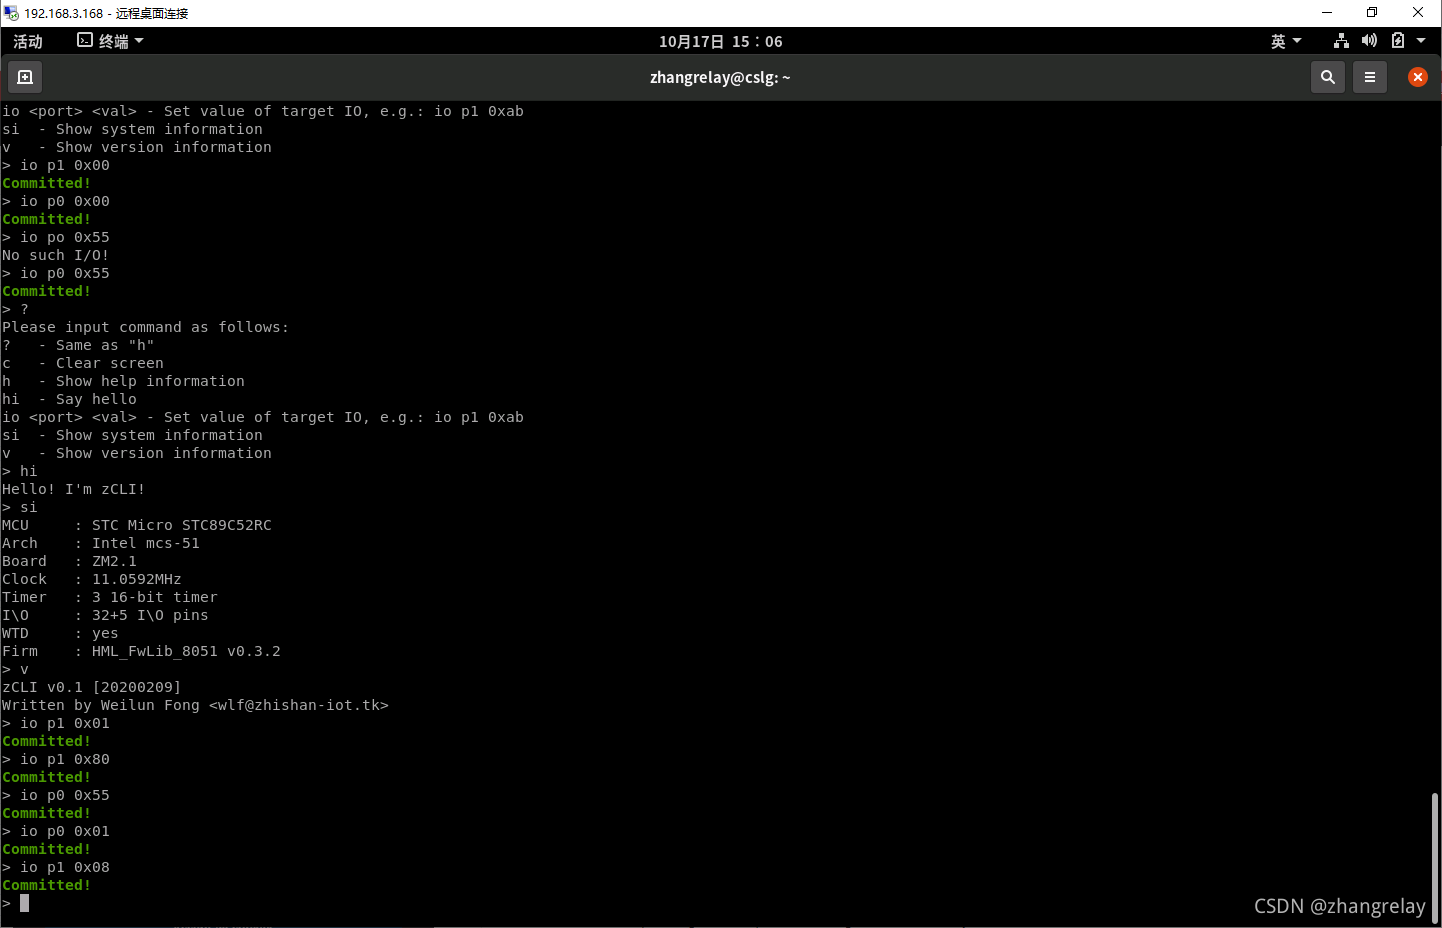
 看看这代码干啥的?
/*****************************************************************************/
/**
 * \file      test.c
 * \author    Weilun Fong | wlf@zhishan-iot.tk
 * \date
 * \brief     a example which shows how to use HML_FwLib_8051 to send string
 *            via UART module
 * \note
 * \version   v0.3
 * \ingroup   example
 * \remarks   test-board: TS51-V2.0; test-MCU: STC89C52RC
******************************************************************************/

/*****************************************************************************
 *                             header file                                   *
 *****************************************************************************/
#include "hml/hml.h"

/*****************************************************************************/
/**
 * \author      Weilun Fong
 * \date
 * \brief       initial MCU
 * \param[in]
 * \return      none
 * \ingroup
 * \remarks
******************************************************************************/
void sys_init(void)
{
    UART_configTypeDef uc;

    uc.baudrate          = 9600;
    uc.interruptState    = ENABLE;
    uc.interruptPriority = DISABLE;
    uc.mode              = UART_mode_1;
    uc.multiBaudrate     = DISABLE;
    uc.receiveState      = ENABLE;
    uc.baudGenertor      = UART_baudGenerator_tim1;

    UART_config(&uc);
    enableAllInterrupts();
}

/*****************************************************************************/
/**
 * \author      Weilun Fong
 * \date
 * \brief       main function
 * \param[in]
 * \return      none
 * \ingroup
 * \remarks
******************************************************************************/
void main(void)
{
    sys_init();
    while(true)
    {
        sleep(500);
        UART_sendString("Hello,world!\r\n");
    }
}
一个9600的helloworld。看一看是否ok?
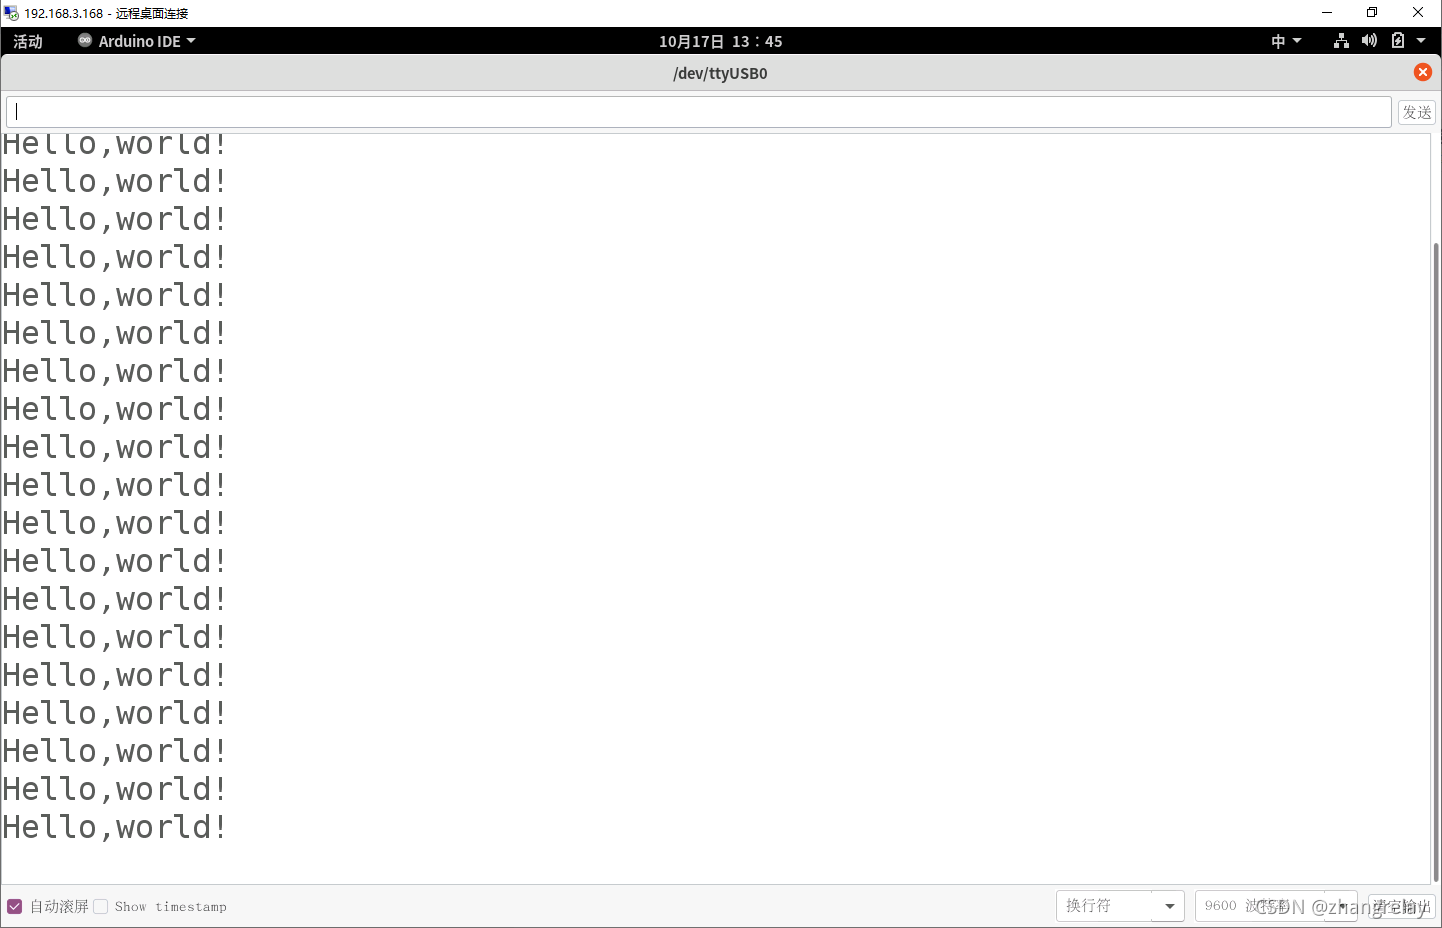
一切正常!
改一下!
使用:
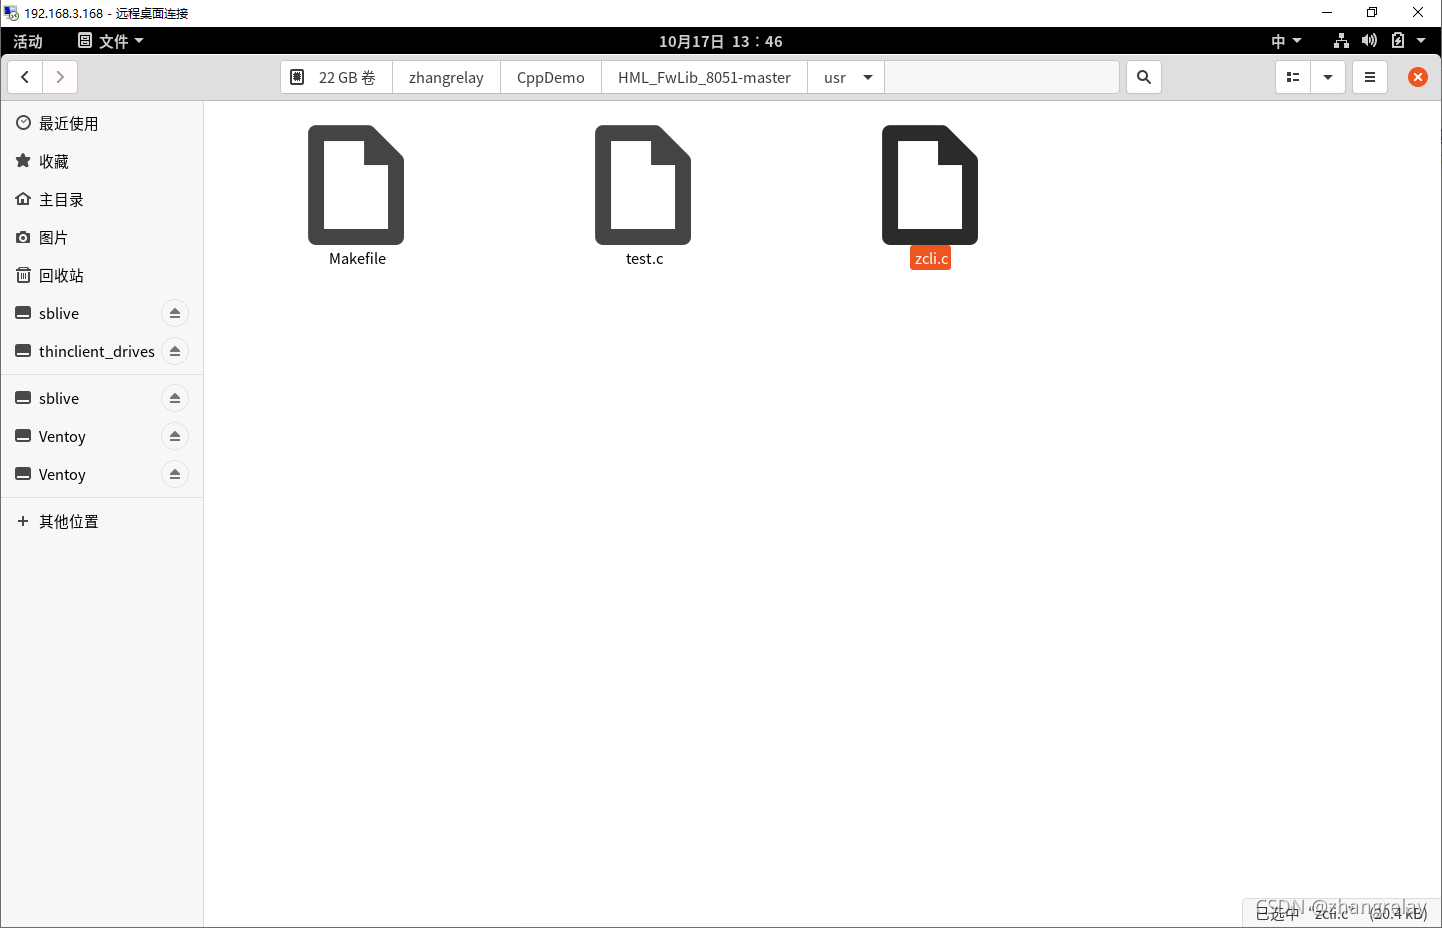 改一下文件名:
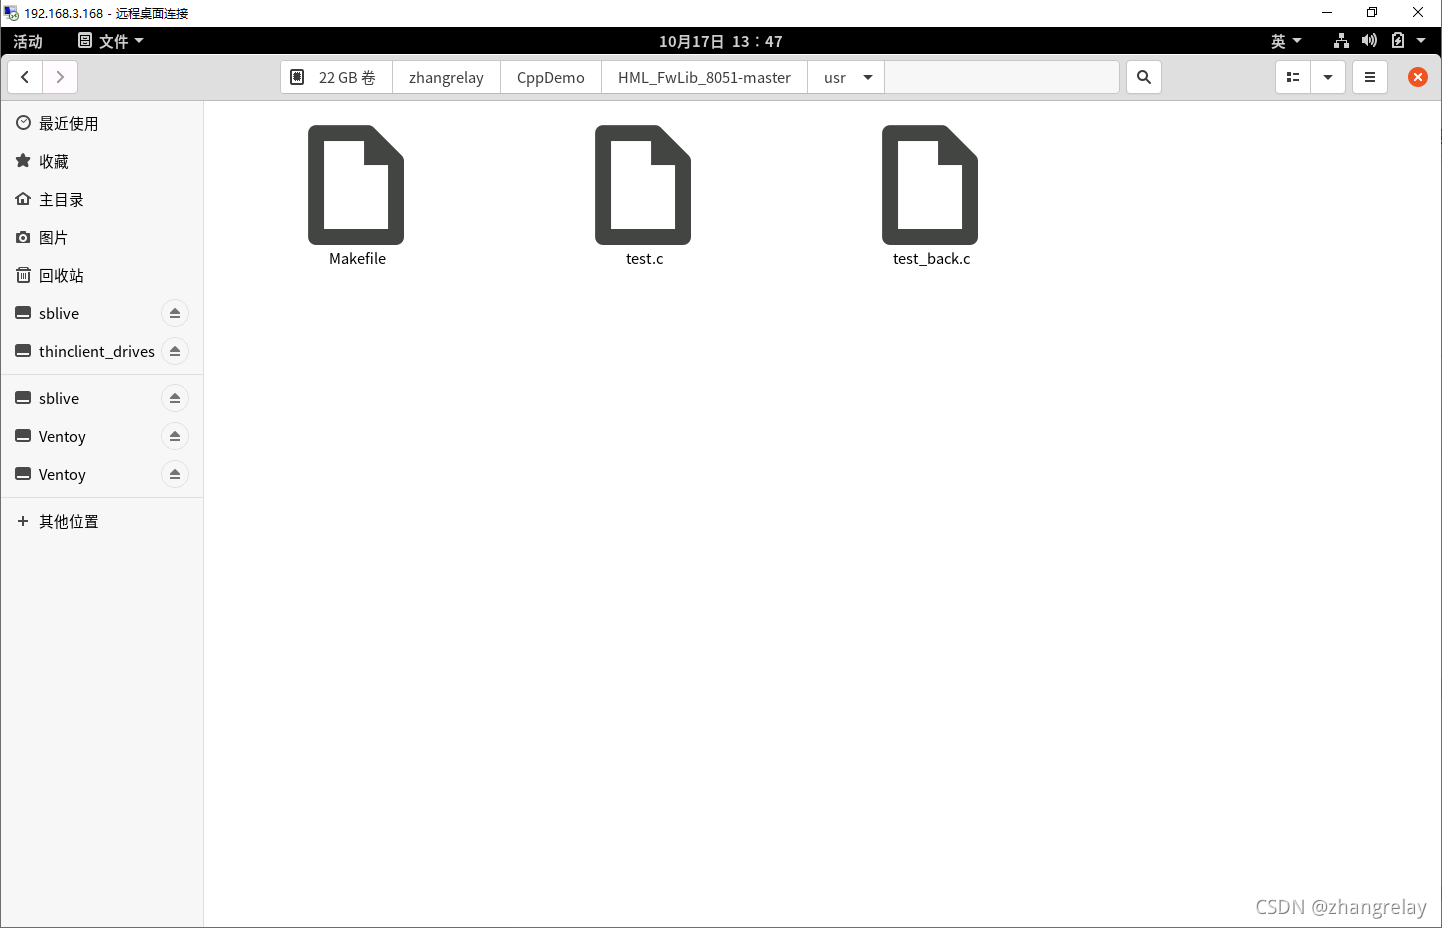
然后:
- usr 文件夹下: make
- obj 文件夹下: stcgal -P stc89 output.ihx
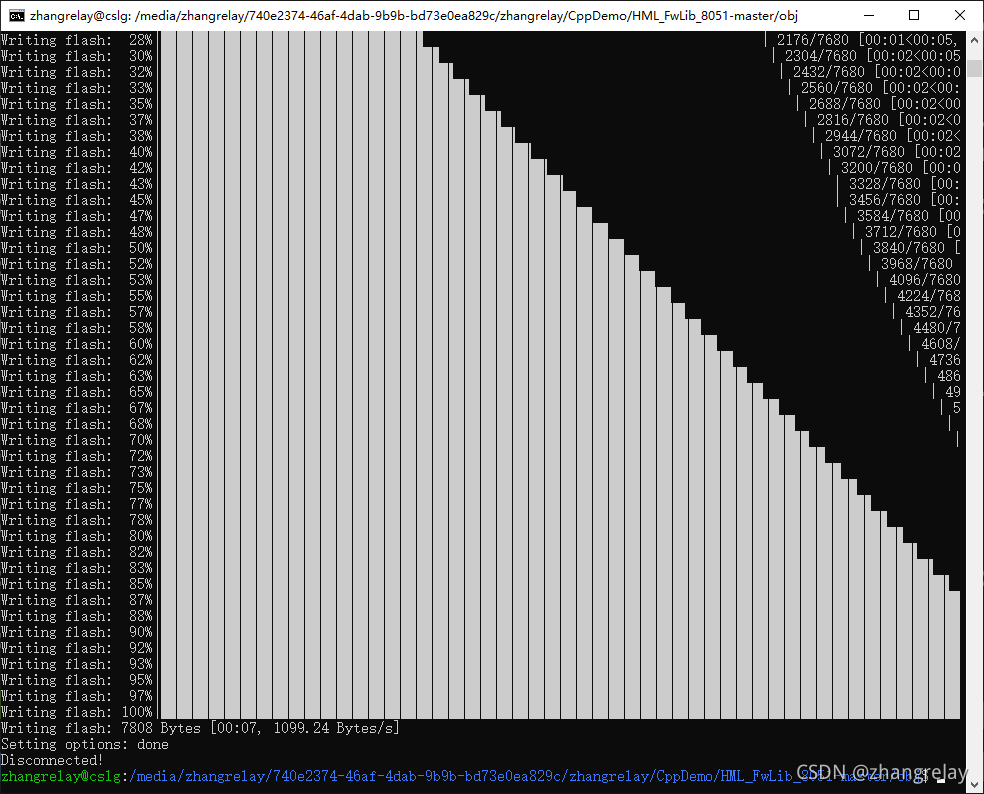
再打开窗口工具看一下:
凉凉^_^
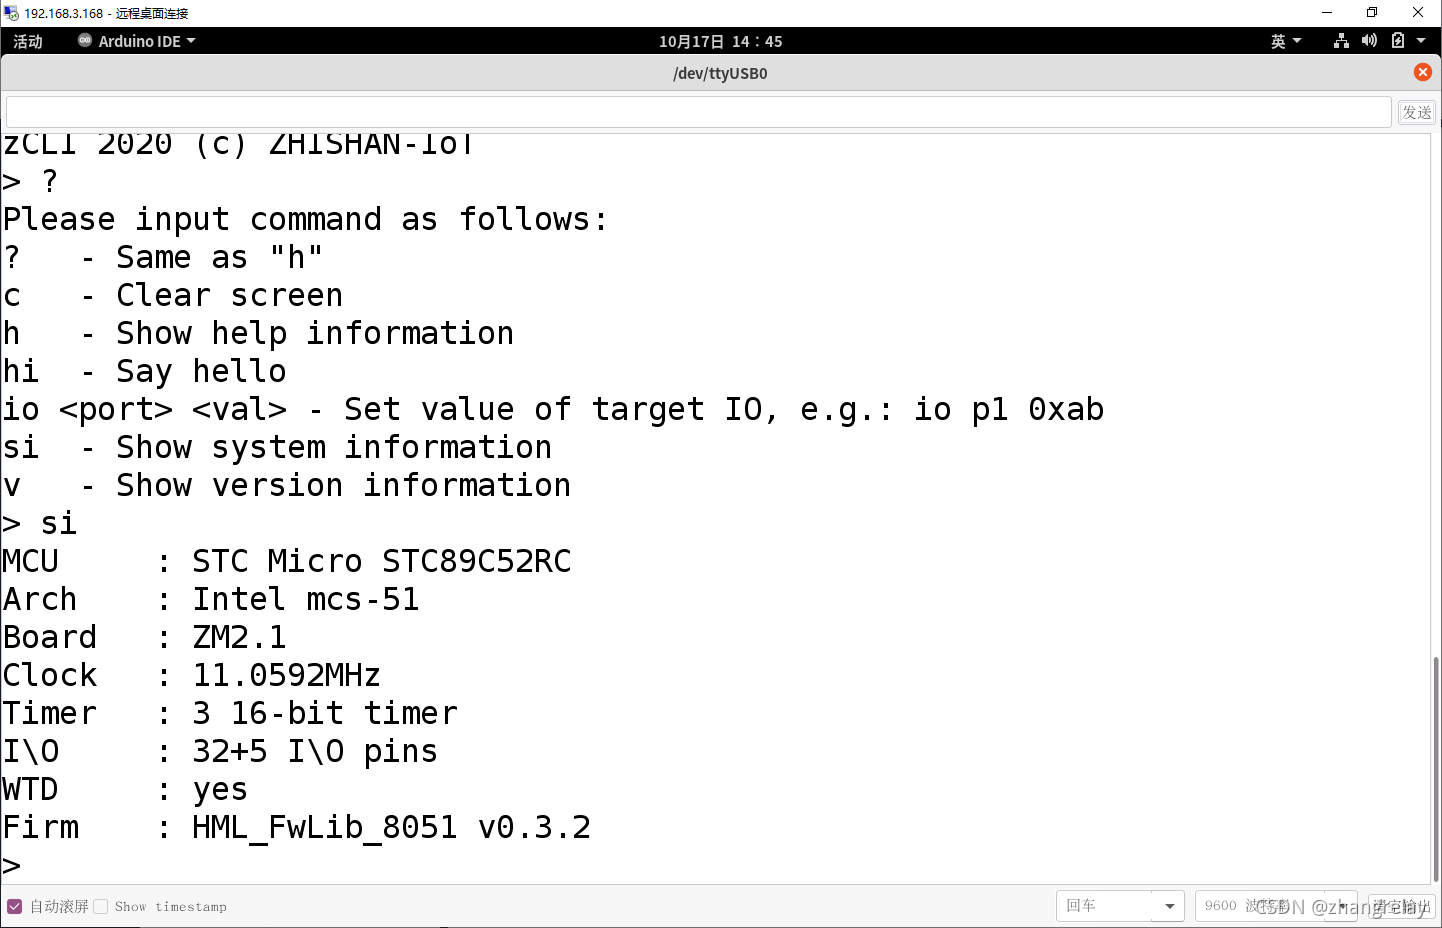
串口工具:
picocom
minicom
socat


 568
568

 被折叠的 条评论
为什么被折叠?
被折叠的 条评论
为什么被折叠?
 到【灌水乐园】发言


