


 本文详细介绍了Vue.js中的组件插槽用法,包括默认插槽、具名插槽和作用域插槽。通过示例代码展示了如何在父组件中插入自定义内容到子组件中,以及如何传递数据和使用具名插槽进行内容分发。对于开发者理解和应用Vue组件交互具有指导意义。
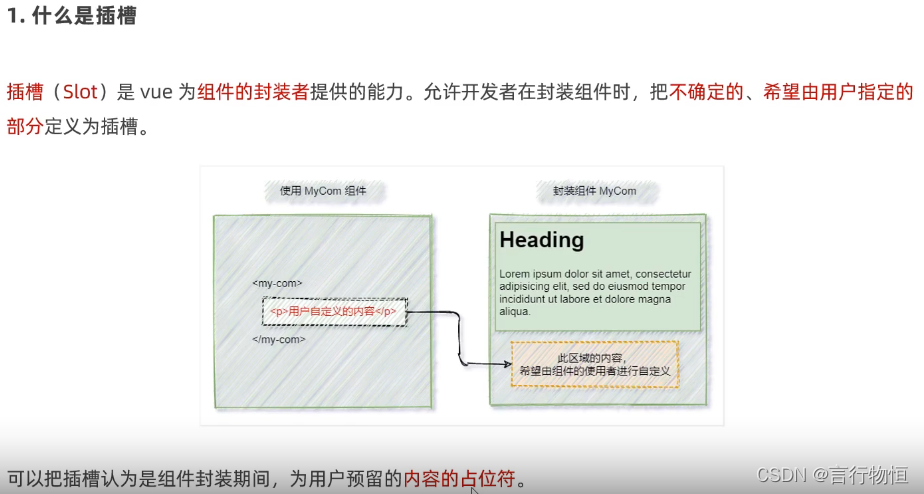
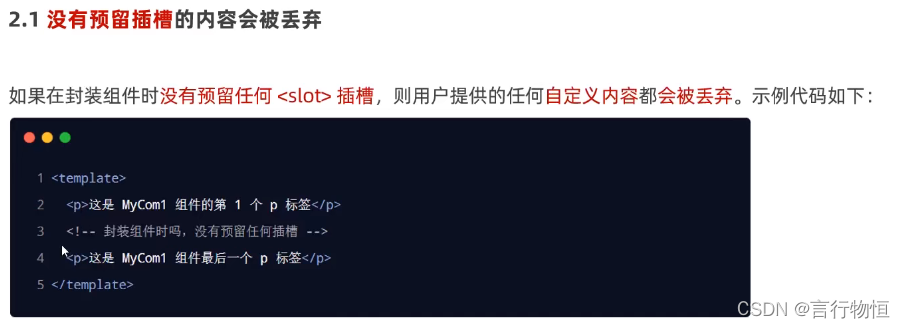
插槽:
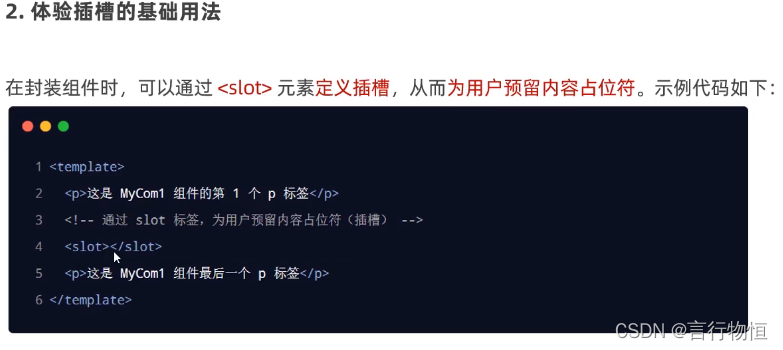
示例代码:
<template>
  <div>
    <CP1>
      <div class="diyText">我是父组件自定义的内容</div>
      <div class="diyText">我是父组件自定义的内容2</div>
    </CP1>
  </div>
</template>

<script>
import CP1 from './components/slot插槽/组件1.vue'
export default {
  name:'app',
  components:{
    CP1
  }
}
</script>

<style scoped>
.diyText{
  color: goldenrod;
}
</style>
//组件1
<template>
<div>
  我是组件1
  <br>
  <slot>
    这里我不知道放什么,下面显示的内容是父组件自定义的内容
<!--这里我希望插入一些自定义的东西-->
  </slot>
</div>
</template>
后备内容: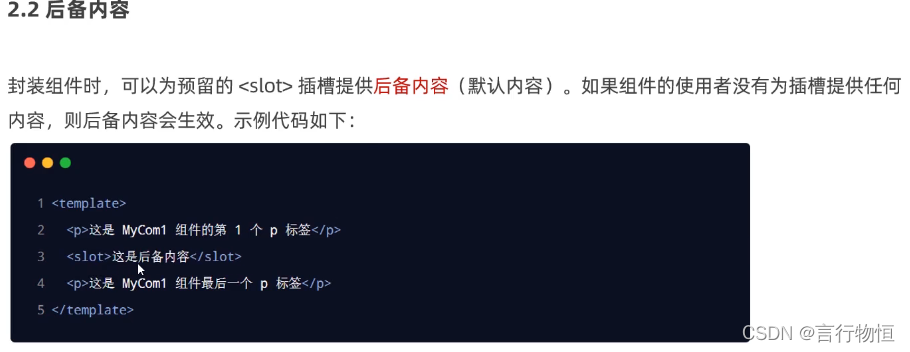
具名插槽:
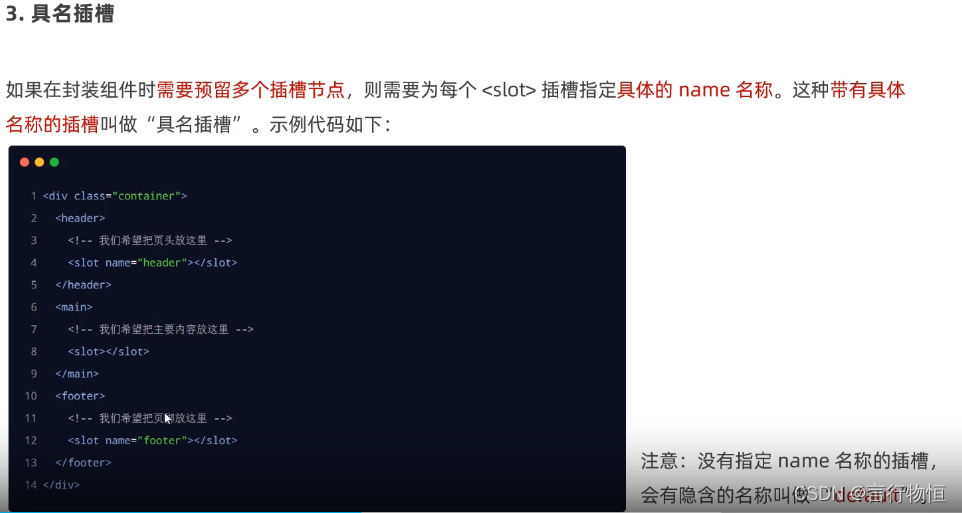
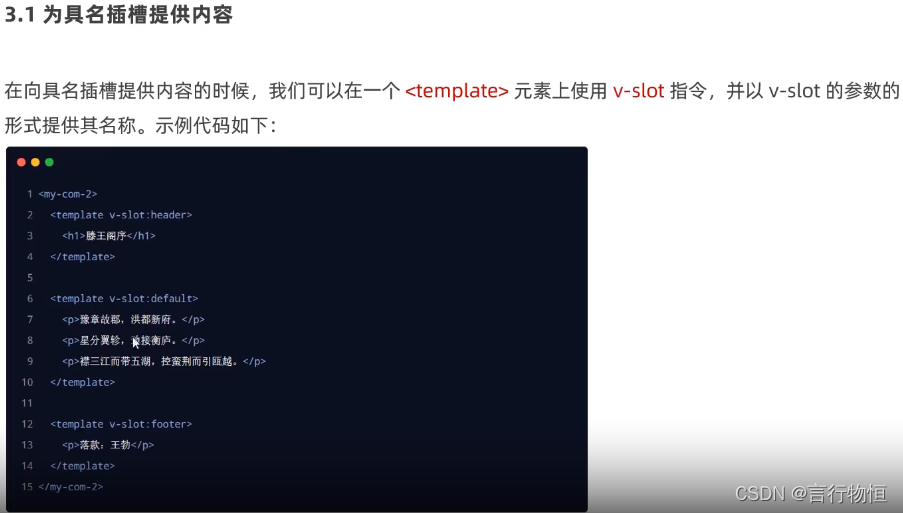
示例代码:
组件2中设置插槽名:imgPlace
<template>
<div>
  下面我想传入图片
  <slot name="imgPlace"></slot>
</div>
</template>
在想要使用插槽的地方引用【v-slot:插槽名】以调用。
      <component
          :is="comName"
      >
        <template v-slot:imgPlace>
          <img class="comImg" src="./assets/media/apple.jpeg" alt="">
        </template>
      </component>
注意:使用冒号指定插槽名。
具名插槽的缩写:

作用域插槽:

示例代码:
定义:此处直接书写props属性
<slot name="textPlace" :info="information" :otherInfo="info2"></slot>
使用:
<template #textPlace="data">
<!--此处我们会得到props数据对象-->
  <div>我是文本{{data}}</div>
</template>
当然我们props数据对象可以通过解构以得到对应值。
解构后的写法:
<template #textPlace="{info:info1,otherInfo:info2}">
<!--此处我们会得到props数据对象-->
    <div>我是文本{{info1}}</div>
</template>


 295
295

 被折叠的 条评论
为什么被折叠?
被折叠的 条评论
为什么被折叠?
 到【灌水乐园】发言


