


1.源码下载地址:
https://github.com/YWL0720/YOLO_ORB_SLAM3.git
2.环境设置:
3.下载libtorch
wget https://download.pytorch.org/libtorch/cpu/libtorch-cxx11-abi-shared-with-deps-1.11.0%2Bcpu.zip
unzip libtorch-cxx11-abi-shared-with-deps-1.11.0%2Bcpu.zip
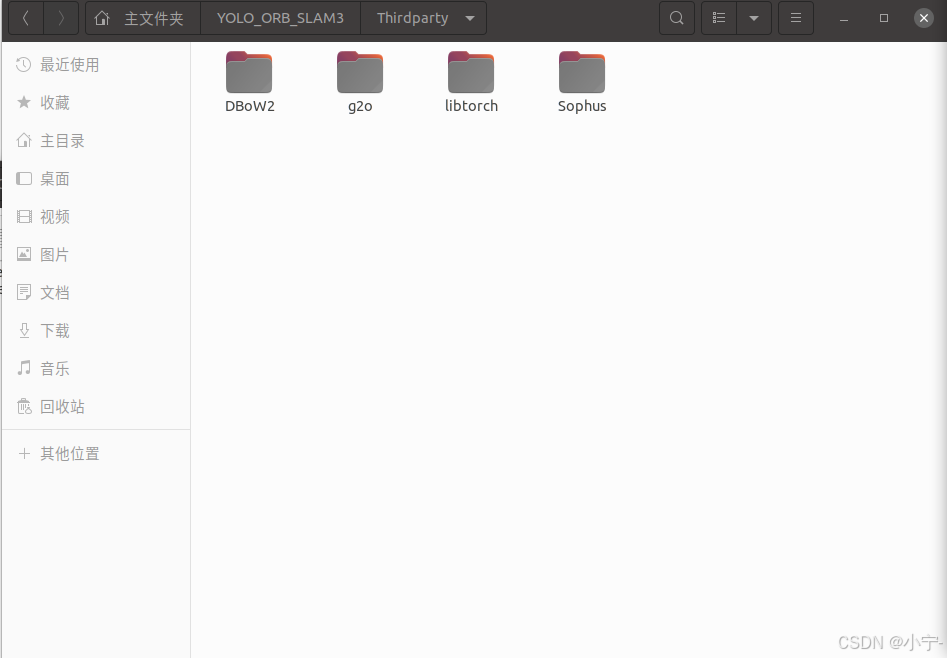
mv libtorch/ PATH/YOLO_ORB_SLAM3/Thirdparty/mv libtorch/ PATH/YOLO_ORB_SLAM3/Thirdparty/这步是将下载的libtorch移动进你下载的YOLO_ORB_SLAM3目录下Thirdparty中,也可以自主复制粘贴。如下图所示,libtorch在Thirdparty下。
4.Build
cd YOLO_ORB_SLAM3
chmod +x build.sh
./build.sh
这一步我运行的时候没有出错。但是在ROS情况Build运行的时候出现错误了,如果后续解决了,我会再出一篇如何解决。
5.运行代码
5.1 下载数据集
下载链接:https://cvg.cit.tum.de/data/datasets/rgbd-dataset/download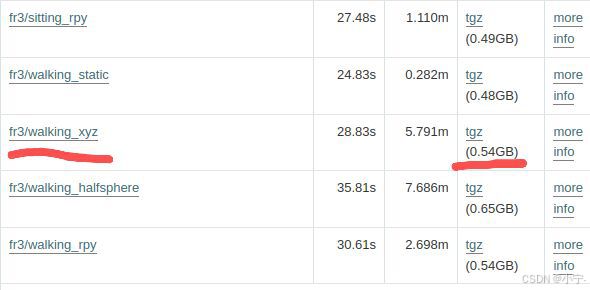
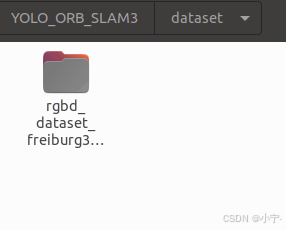
在YOLO_ORB_SLAM3目录下创建一个dataset文件,将下载的数据集解压缩放到dataset下。如下图所示。
5.2 建立dataset文件
当时没进行这一步,直接按照github上面步骤运行,没运行出来,这部分参考的这篇
https://blog.youkuaiyun.com/2302_80099075/article/details/141746138
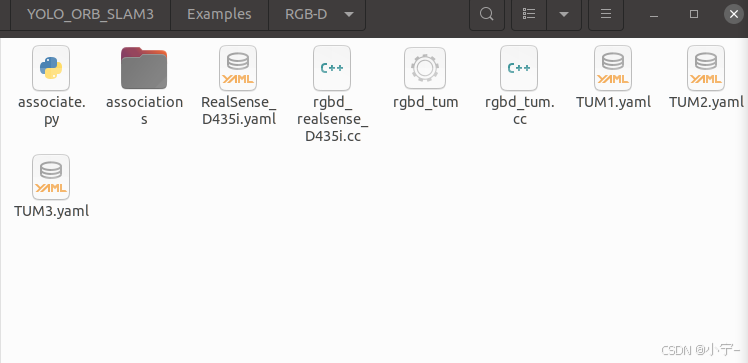
在YOLO_ORB_SLAM3/Examples/RGB-D文件下新建一个associate.py文件。
打开associate.py文件,将以下代码复制进去
import argparse
import sys
import os
import numpy


def read_file_list(filename):
    """
    Reads a trajectory from a text file.

    File format:
    The file format is "stamp d1 d2 d3 ...", where stamp denotes the time stamp (to be matched)
    and "d1 d2 d3.." is arbitary data (e.g., a 3D position and 3D orientation) associated to this timestamp.

    Input:
    filename -- File name

    Output:
    dict -- dictionary of (stamp,data) tuples

    """
    file = open(filename)
    data = file.read()
    lines = data.replace(","," ").replace("\t"," ").split("\n")
    #if remove_bounds:
    #    lines = lines[100:-100]
    list = [[v.strip() for v in line.split(" ") if v.strip()!=""] for line in lines if len(line)>0 and line[0]!="#"]
    list = [(float(l[0]),l[1:]) for l in list if len(l)>1]
    return dict(list)

def associate(first_list, second_list,offset,max_difference):
    """
    Associate two dictionaries of (stamp,data). As the time stamps never match exactly, we aim
    to find the closest match for every input tuple.

    Input:
    first_list -- first dictionary of (stamp,data) tuples
    second_list -- second dictionary of (stamp,data) tuples
    offset -- time offset between both dictionaries (e.g., to model the delay between the sensors)
    max_difference -- search radius for candidate generation
    Output:
    matches -- list of matched tuples ((stamp1,data1),(stamp2,data2))

    """
    first_keys = list(first_list.keys())
    second_keys = list(second_list.keys())
    potential_matches = [(abs(a - (b + offset)), a, b)
                         for a in first_keys
                         for b in second_keys
                         if abs(a - (b + offset)) < max_difference]
    potential_matches.sort()
    matches = []
    for diff, a, b in potential_matches:
        if a in first_keys and b in second_keys:
            first_keys.remove(a)
            second_keys.remove(b)
            matches.append((a, b))

    matches.sort()
    return matches

if __name__ == '__main__':

    # parse command line
    parser = argparse.ArgumentParser(description='''
    This script takes two data files with timestamps and associates them
    ''')
    parser.add_argument('first_file', help='first text file (format: timestamp data)')
    parser.add_argument('second_file', help='second text file (format: timestamp data)')
    parser.add_argument('--first_only', help='only output associated lines from first file', action='store_true')
    parser.add_argument('--offset', help='time offset added to the timestamps of the second file (default: 0.0)',default=0.0)
    parser.add_argument('--max_difference', help='maximally allowed time difference for matching entries (default: 0.02)',default=0.02)
    args = parser.parse_args()

    first_list = read_file_list(args.first_file)
    second_list = read_file_list(args.second_file)

    matches = associate(first_list, second_list,float(args.offset),float(args.max_difference))

    if args.first_only:
        for a,b in matches:
            print("%f %s"%(a," ".join(first_list[a])))
    else:
        for a,b in matches:
            print("%f %s %f %s"%(a," ".join(first_list[a]),b-float(args.offset)," ".join(second_list[b])))
5.3 运行
在YOLO_ORB_SLAM3下打开终端,执行以下命令。
python3 ./Examples/RGB-D/associate.py ./dataset/rgbd_dataset_freiburg3_walking_xyz/depth.txt ./dataset/rgbd_dataset_freiburg3_walking_xyz/rgb.txt >./dataset/rgbd_dataset_freiburg3_walking_xyz/associations.txt
这条命令的作用是使用 associate.py 脚本将深度图像文件和RGB图像文件关联起来,并将关联结果输出到一个新的文件中。
./Examples/RGB-D/associate.py 指定了脚本文件的路径。这里的 ./ 表示当前目录。
./dataset/rgbd_dataset_freiburg3_walking_xyz/depth.txt这是深度图像文件列表的路径。这个文件通常包含了深度图像文件的名称列表,每行一个文件名。
./dataset/rgbd_dataset_freiburg3_walking_xyz/rgb.txt:这是RGB图像文件列表的路径。这个文件同样包含了RGB图像文件的名称列表,每行一个文件名。
再接着执行下面的命令:
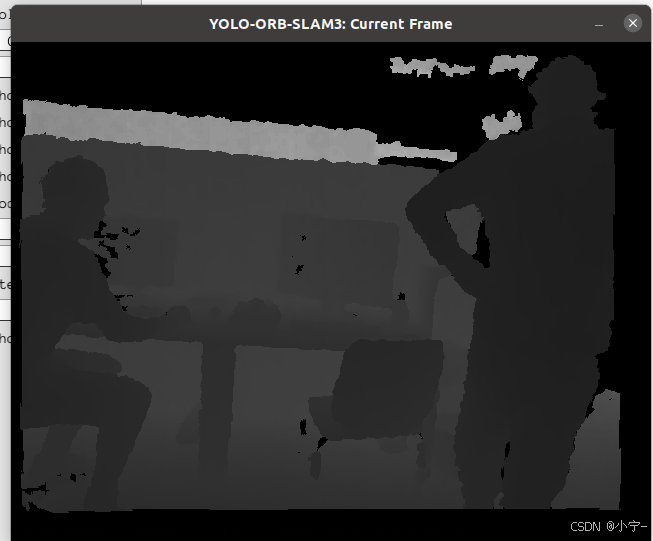
./Examples/RGB-D/rgbd_tum Vocabulary/ORBvoc.txt Examples/RGB-D/TUM3.yaml ./dataset/rgbd_dataset_freiburg3_walking_xyz/ ./dataset/rgbd_dataset_freiburg3_walking_xyz/associations.txt
会出现以下画面。切记,路径一定要填准确。


 442
442

 被折叠的 条评论
为什么被折叠?
被折叠的 条评论
为什么被折叠?
 到【灌水乐园】发言


