


 本文详细介绍了使用Unity3D制作一款小球酷跑游戏的全过程,包括创建游戏场景、设置小球属性、添加UI界面、障碍物生成、小球移动控制、墙体跟随以及相机移动等关键步骤,提供了具体的代码实现,帮助读者了解游戏开发的基本流程和技术要点。
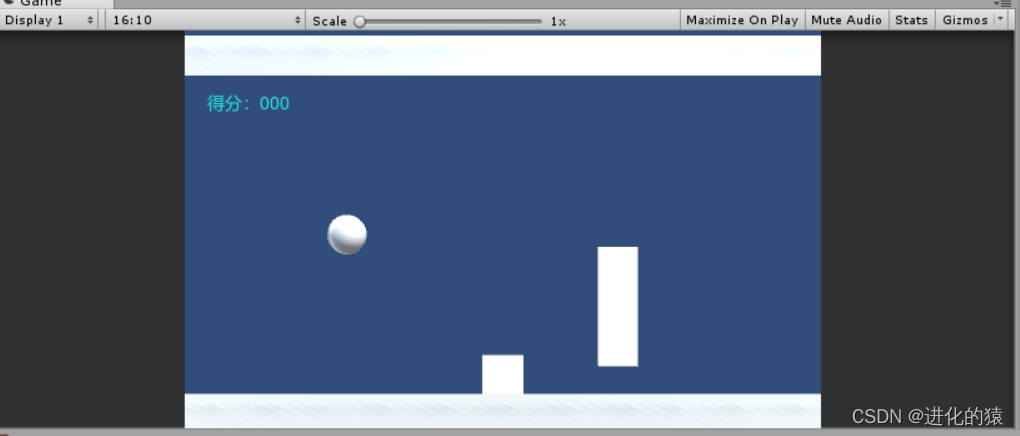
Untity小球酷跑游戏制作过程
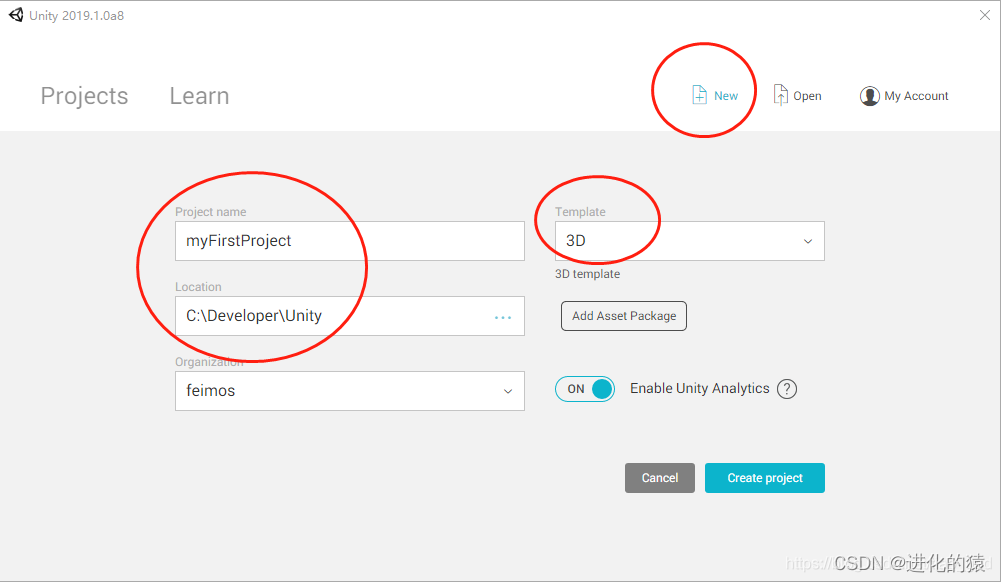
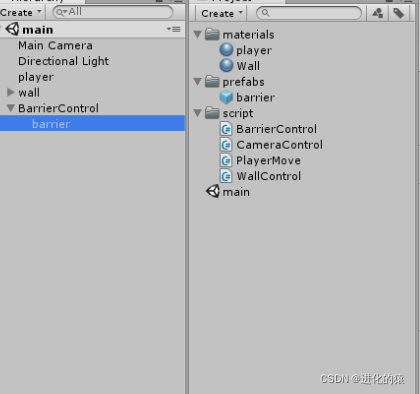
一创建一个项目
然后鼠标右键点击3D object 创建游戏中所需要的模型。
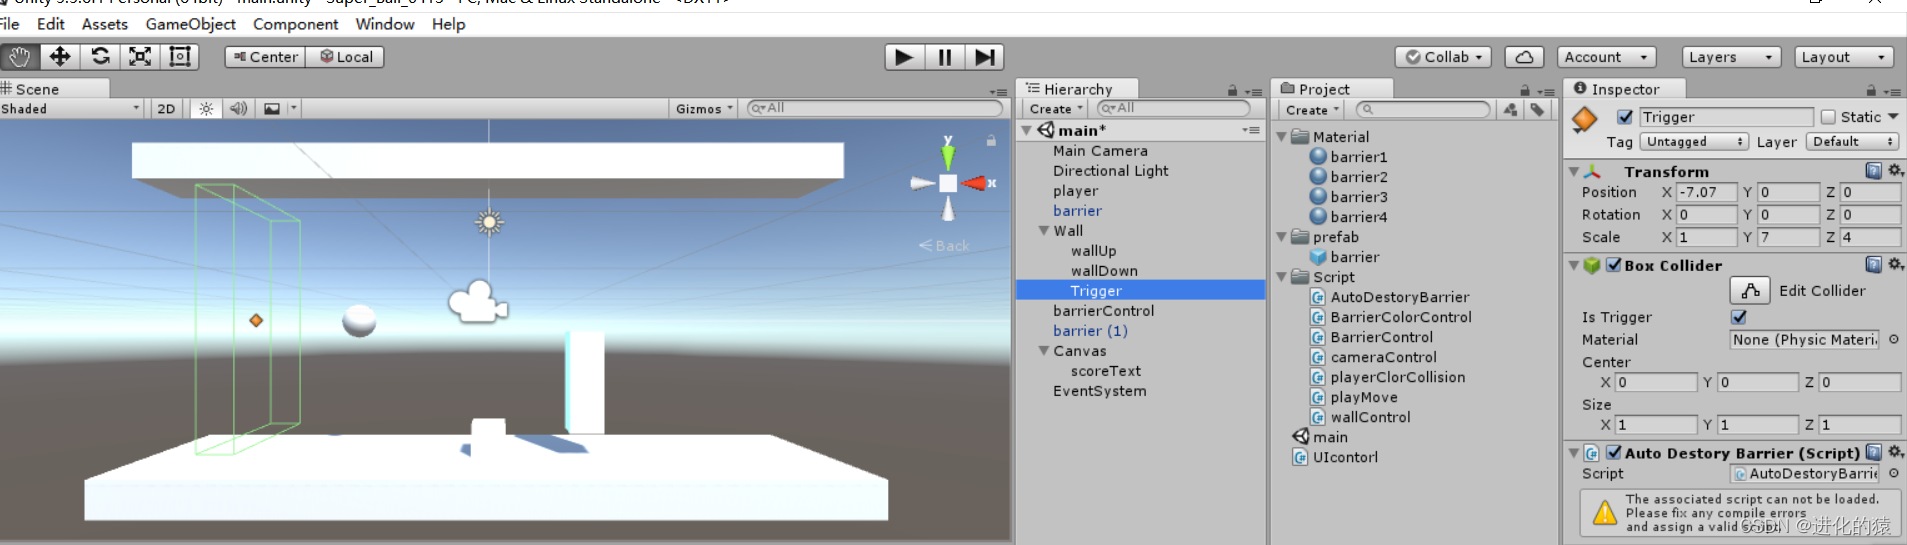
下面是我所建的几个模型
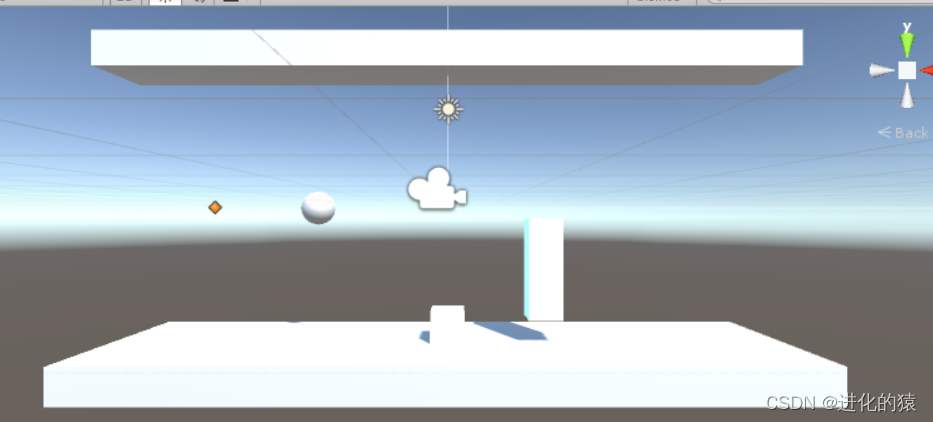
然后将下面视图比列调整为16:10
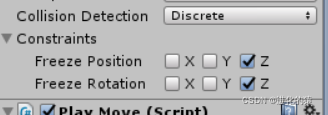
第二步 设置小球属性
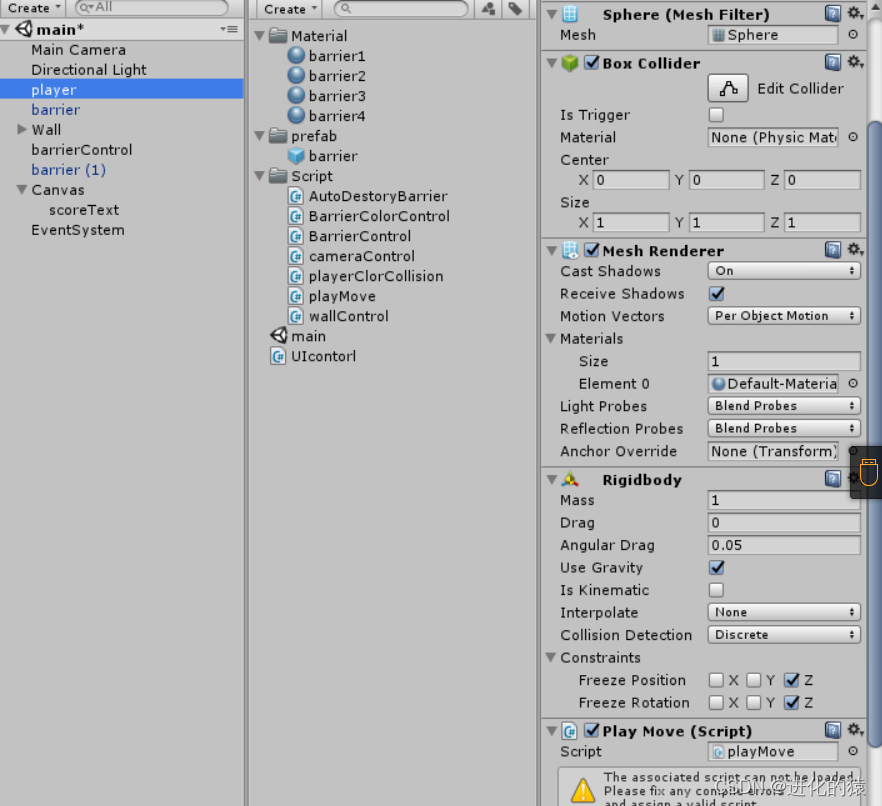
这里为了游戏中小球只能上下移动,我们将一下部分的z打上勾
注意:这里的选项是根据自己的视角方向来确定的。
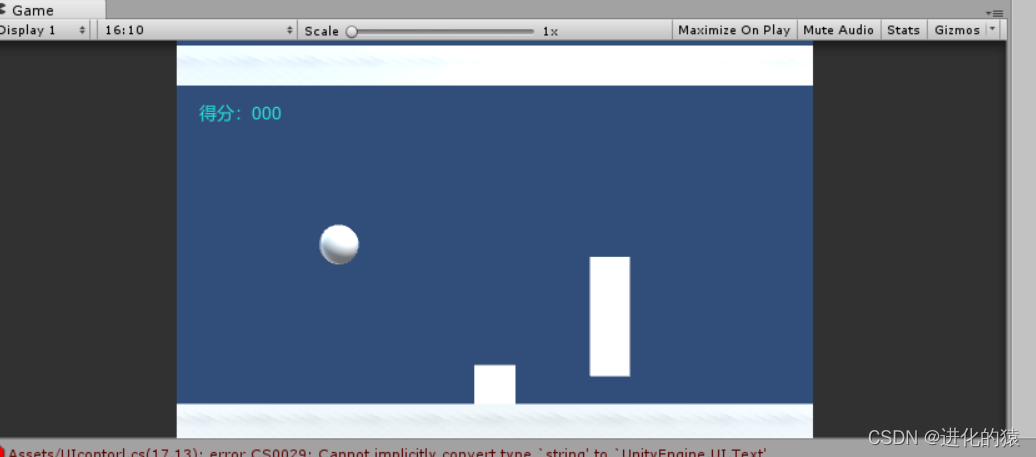
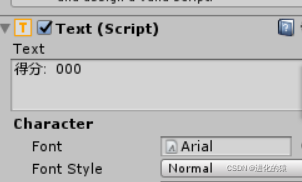
第三步 添加UI界面
鼠标右键,点击UI,然后点击text。这样就建立好了
加分的代码
using System.Collections;
using System.Collections.Generic;
using UnityEngine;
using UnityEngine.UI;


public class UIcontorl : MonoBehaviour {
	public Text scoreText;
	public int score = 0;
	// Use this for initialization
	public static UIcontorl _instance;
	private void Awake(){
		_instance = this;
	}
	public void AddScore(int x){
		score += x;
		scoreText="得分"+score;
	}
}
第三步 障碍物设置

然后附上代码
using System.Collections;
using System.Collections.Generic;
using UnityEngine;

public class BarrierControl : MonoBehaviour {
    public GameObject player;
    public GameObject BarrierPre;
    public GameObject CurrentBarrier;
    public int BarrierInterval = 10;

	void Start () {

	}

	void Update () {
        AutCreatBarrier();

    }
    public void AutCreatBarrier()
    {
        if(player.transform.position.x>CurrentBarrier.transform.position.x)
        {
            //生成新的障碍物

			UIcontorl._instance.AddScore(5);//加分器
            float targetX = CurrentBarrier.transform.position.x+BarrierInterval;
            float targetY = RandomBarrierPositionY();
            Vector3 targetPos = new Vector3(targetX,targetY,0);
            GameObject g = Instantiate(BarrierPre,targetPos,Quaternion.identity);
            g.transform.localScale = new Vector3(g.transform.localScale.x, RandomBarrierSizeY((int)g.transform.position.y),g.transform.localScale.z);
            CurrentBarrier = g;
        }
    }
    public float RandomBarrierSizeY(int y)
    {
        int yAbs = Mathf.Abs(y);
        if(yAbs==0)
        {
            return 6;
        }
        else
        {
            return (3 - yAbs) * 2 - 1;
        }

    }
    public float RandomBarrierPositionY()
    {
        int r = Random.Range(-3,3);
        return r;
    }
}
第四步
小球移动设置
将下面代码赋给小球
using System.Collections;
using System.Collections.Generic;
using UnityEngine;

public class playMove : MonoBehaviour {
    public Rigidbody rd;
    public float speedAutoMove = 5;
    public float speedMoveUpandDown = 20;
	void Start () {
        rd = gameObject.GetComponent<Rigidbody>();
	}

	void Update () {
        PlayerAutoMove();
        PlayerMoveUpandDown();

    }
    private void PlayerAutoMove()
    {
        rd.AddForce(Vector3.right*speedAutoMove);//前进
    }
    private void PlayerMoveUpandDown()
    {
        float v = Input.GetAxis("Vertical");//上下运动
        rd.AddForce(v*Vector3.up*speedMoveUpandDown);//给一个上下的力量
    }
}
第五步
将上下墙体放在一起:建立一个空对象,然后把上下墙体放进去。
然后附上下面的代码
using System.Collections;
using System.Collections.Generic;
using UnityEngine;

public class wallControl : MonoBehaviour {
    private float offset;
    public GameObject player;
	// Use this for initialization
	void Start () {
        offset = gameObject.transform.position.x - player.transform.position.x;
	}

	// Update is called once per frame
	void Update () {
        FollowPlayerMove();
	}
    void FollowPlayerMove()
    {
        gameObject.transform.position = new Vector3(player.transform.position.x+offset,0,0);
    }
}
第六步
为了小球碰到障碍物不掉,在小球后面设置一个墙体
第七步
设置相机的移动
只需将下面的代码赋给相机,再将跟随对象设为player或墙体也可以,因为,这里的墙体跟小球是一起移动的
using System.Collections;
using System.Collections.Generic;
using UnityEngine;

public class cameraControl : MonoBehaviour {
    public GameObject player;
    private float offset_camera;
	void Start () {
        offset_camera = gameObject.transform.position.x - player.transform.position.x;
	}

	// Update is called once per frame
	void Update () {
        FollowCameraMove();

    }
    void FollowCameraMove()
    {
        gameObject.transform.position = new Vector3(offset_camera + player.transform.position.x, gameObject.transform.position.y,gameObject.transform.position.z);
    }
}


 6084
6084

 被折叠的 条评论
为什么被折叠?
被折叠的 条评论
为什么被折叠?
 到【灌水乐园】发言


