


开发环境: Vscode + IDF-v5.3.1
移植的是一个AP热点配网的组件(78/esp-wifi-connect)这个组件使用的是C++来写的,但是ESP32的默认工程一般是C,所以需要将工程修改成C++
1.创建一个hello_world工程模板(待用)
hello_world(默认C)
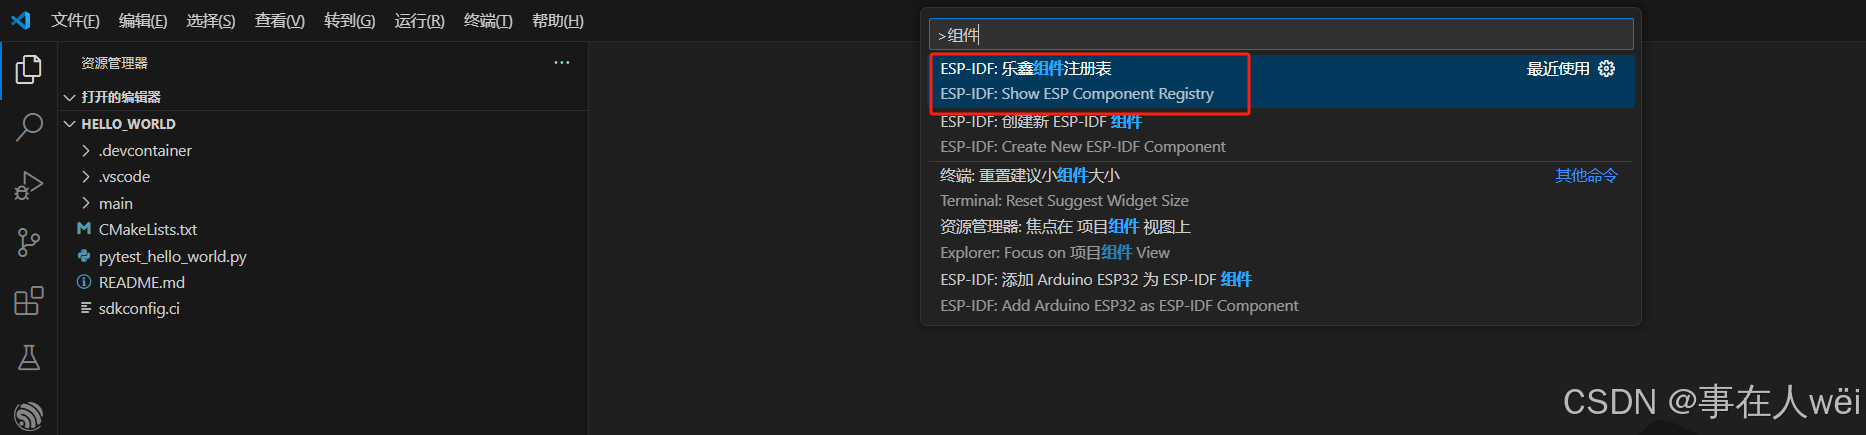
2.进入乐鑫组件注册表
快捷键:Ctrl+Shift+P
搜索:组件
3.搜索wifi相关的组件
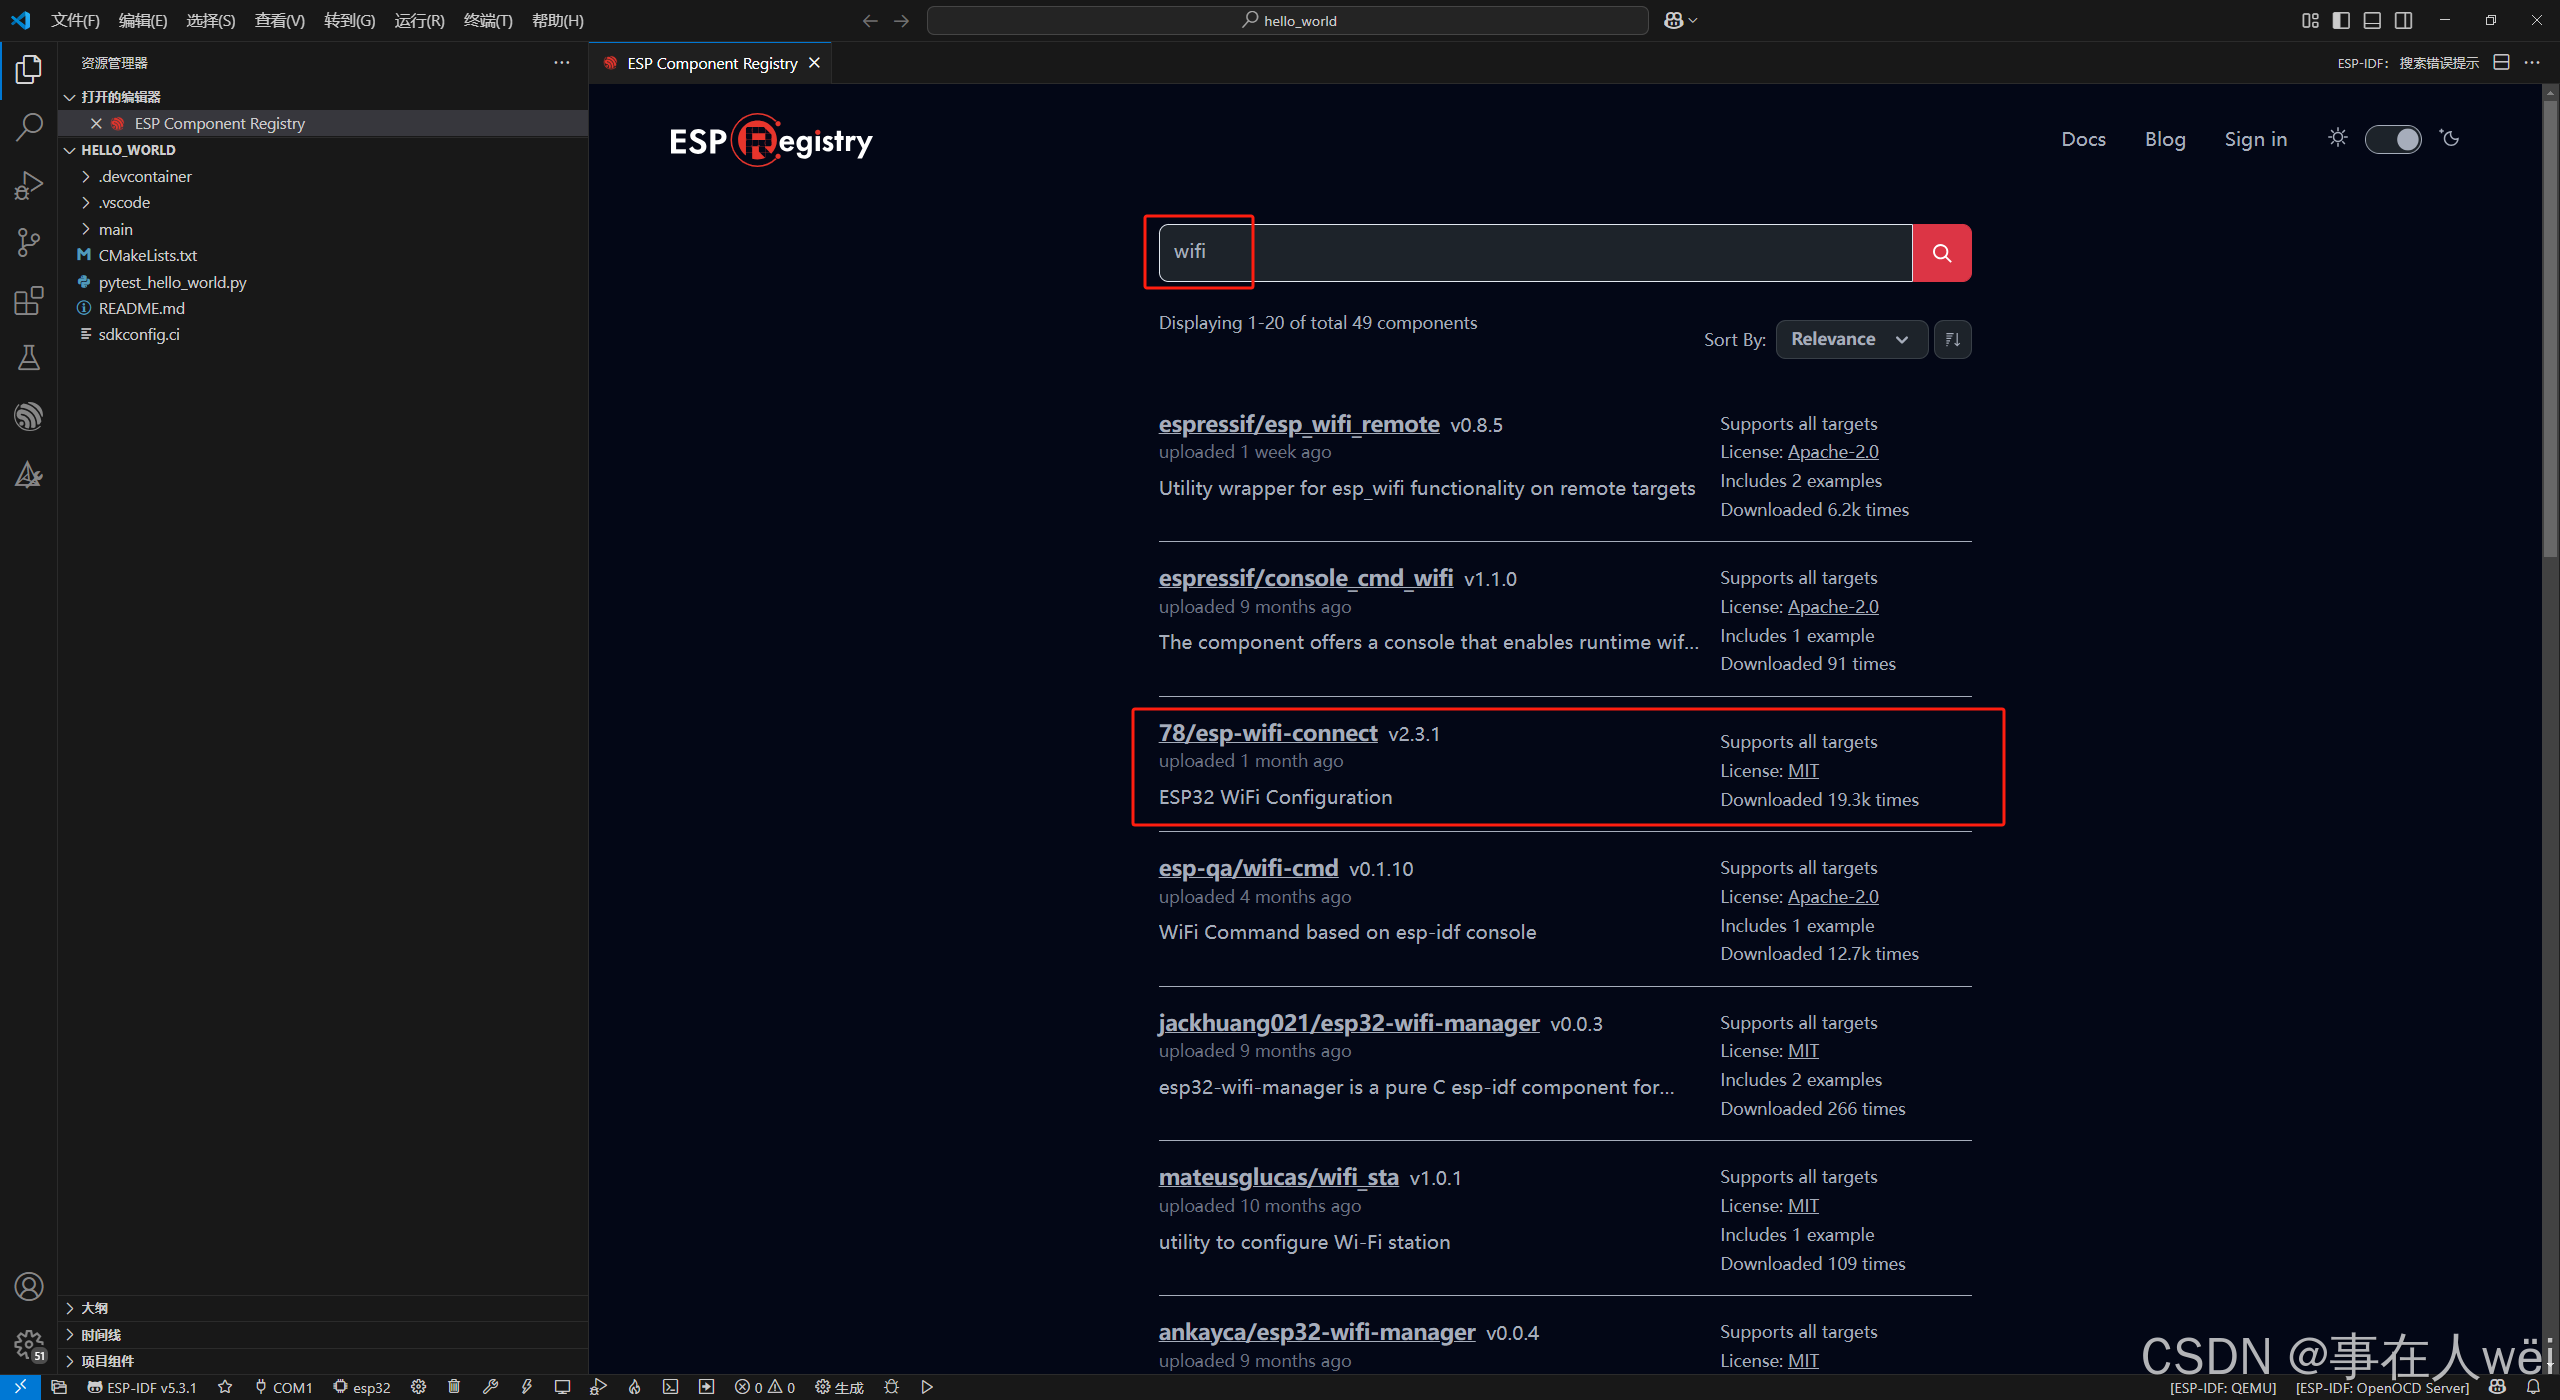
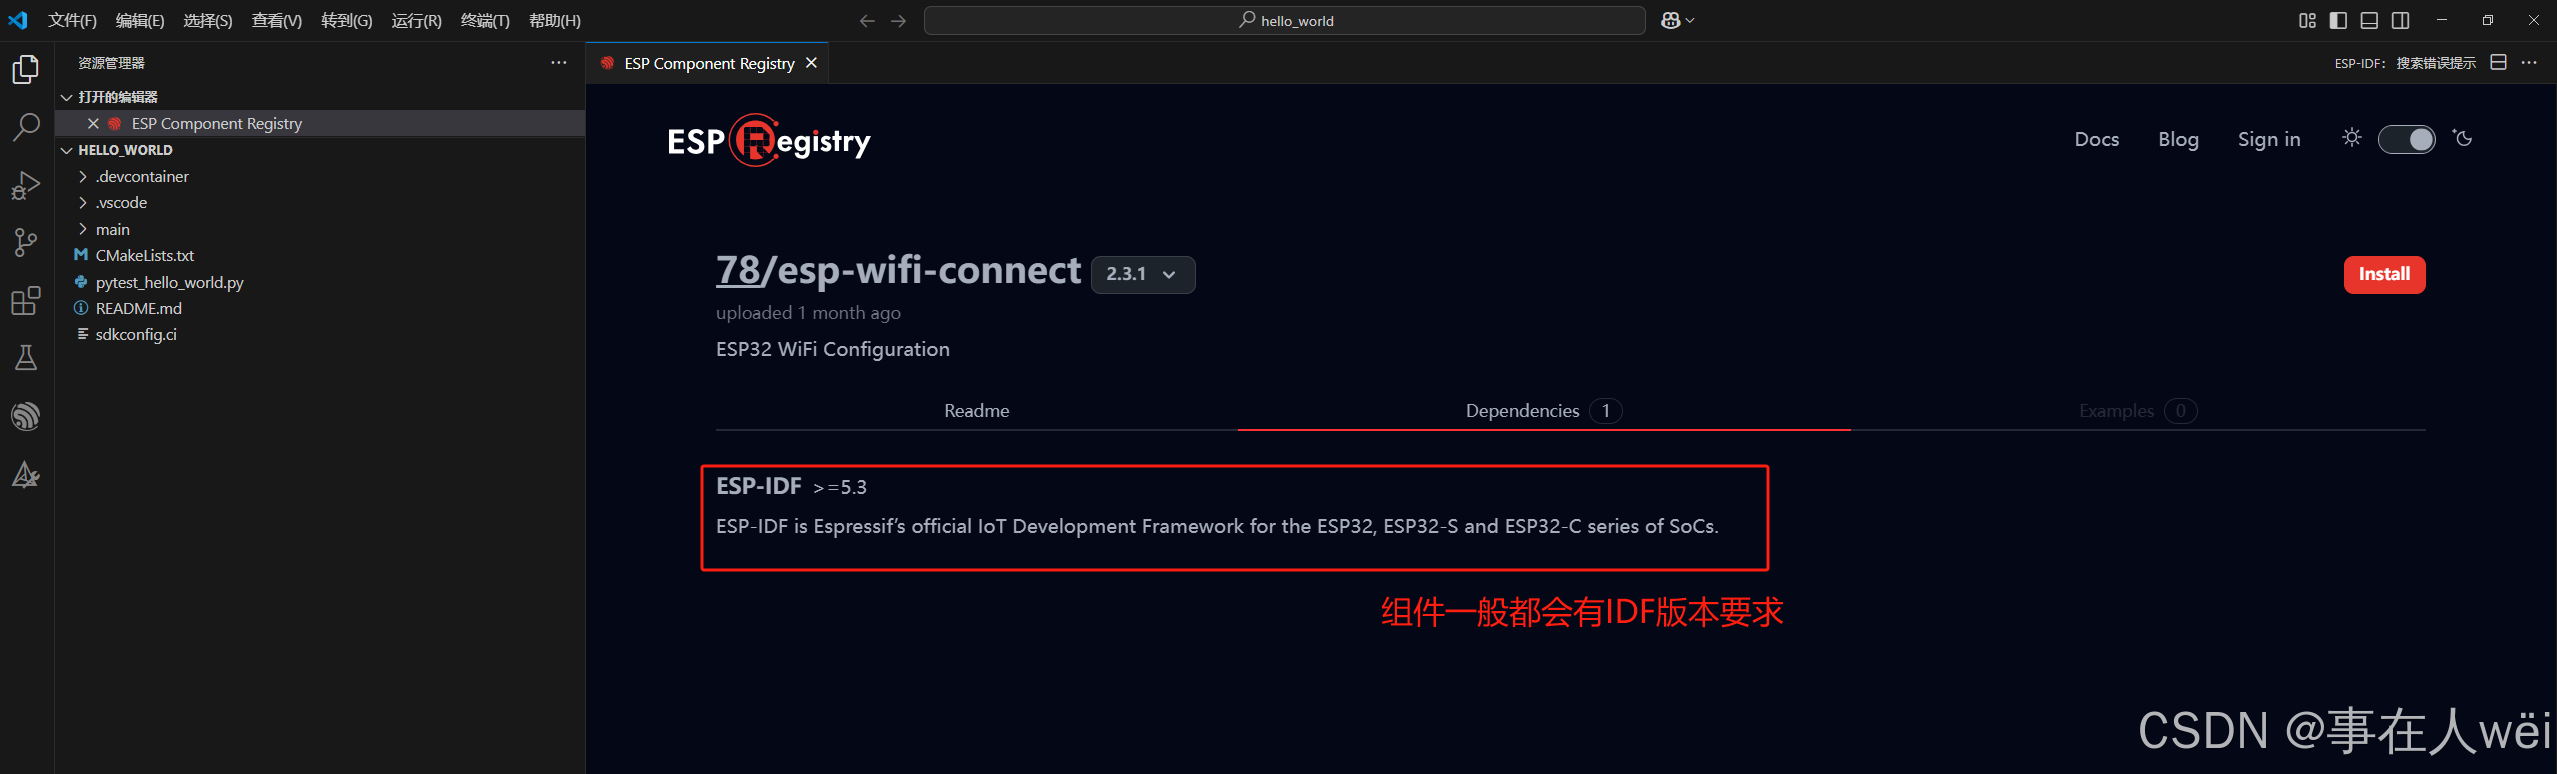
78/esp-wifi-connect就是需要的组件
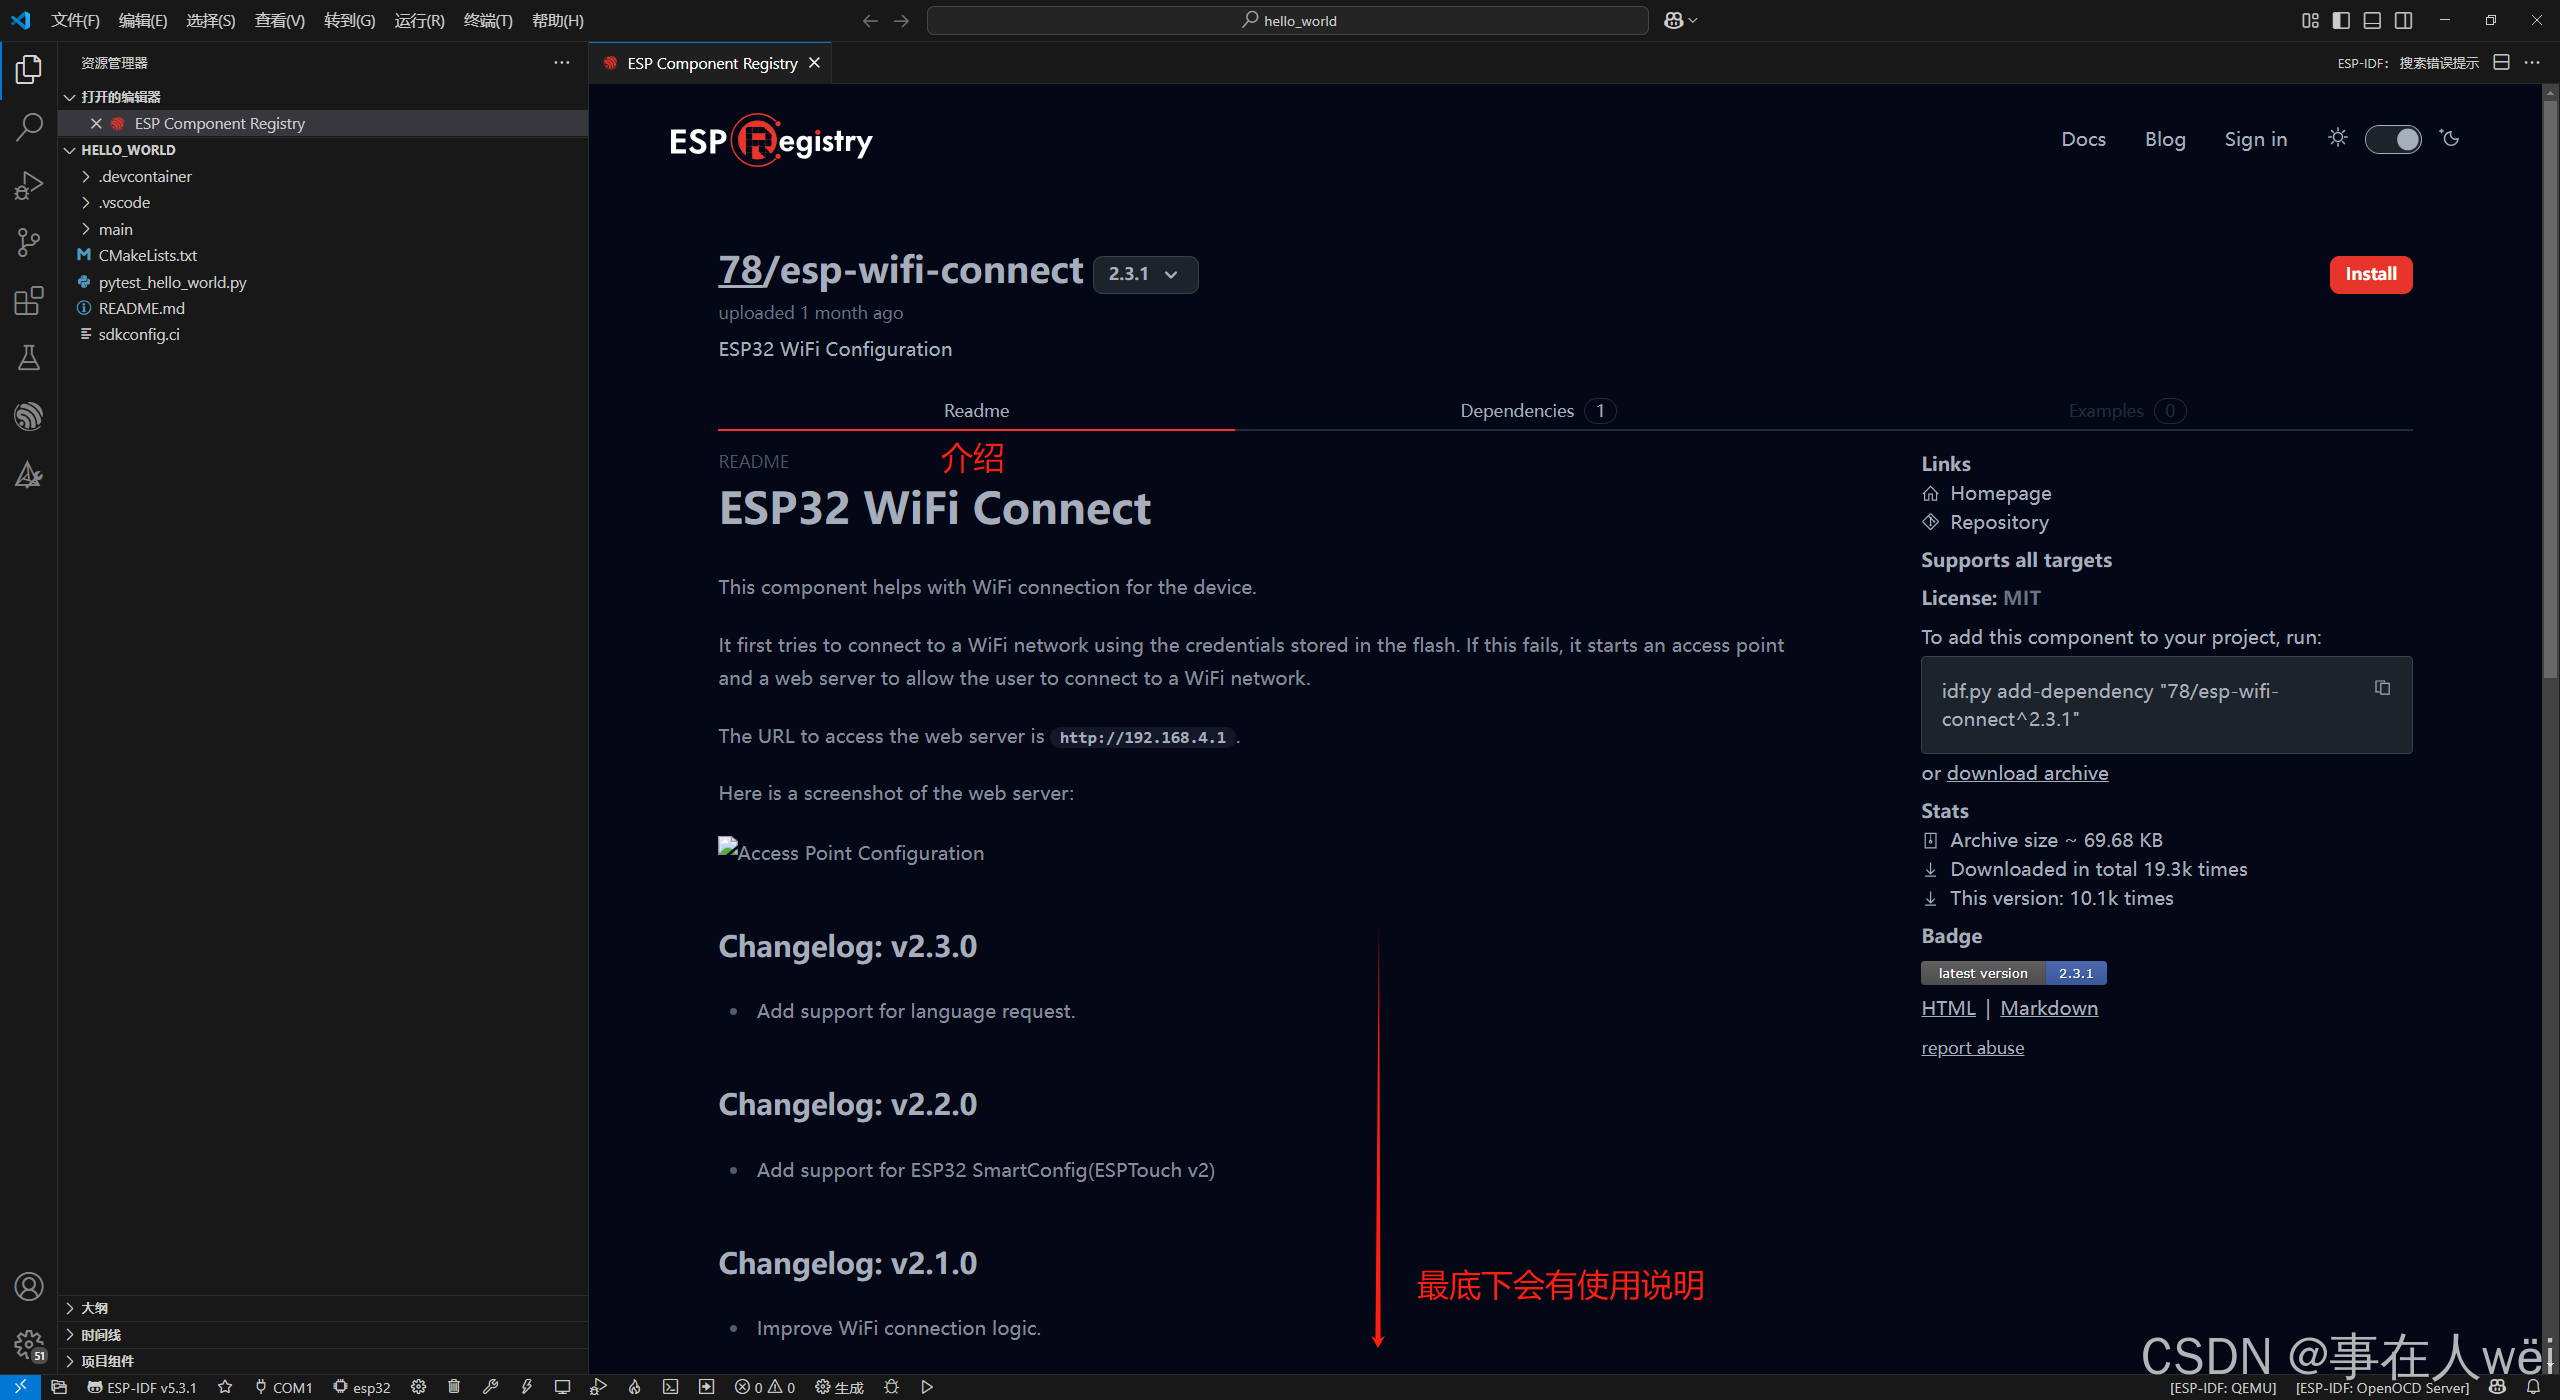

4.编译-安装组件
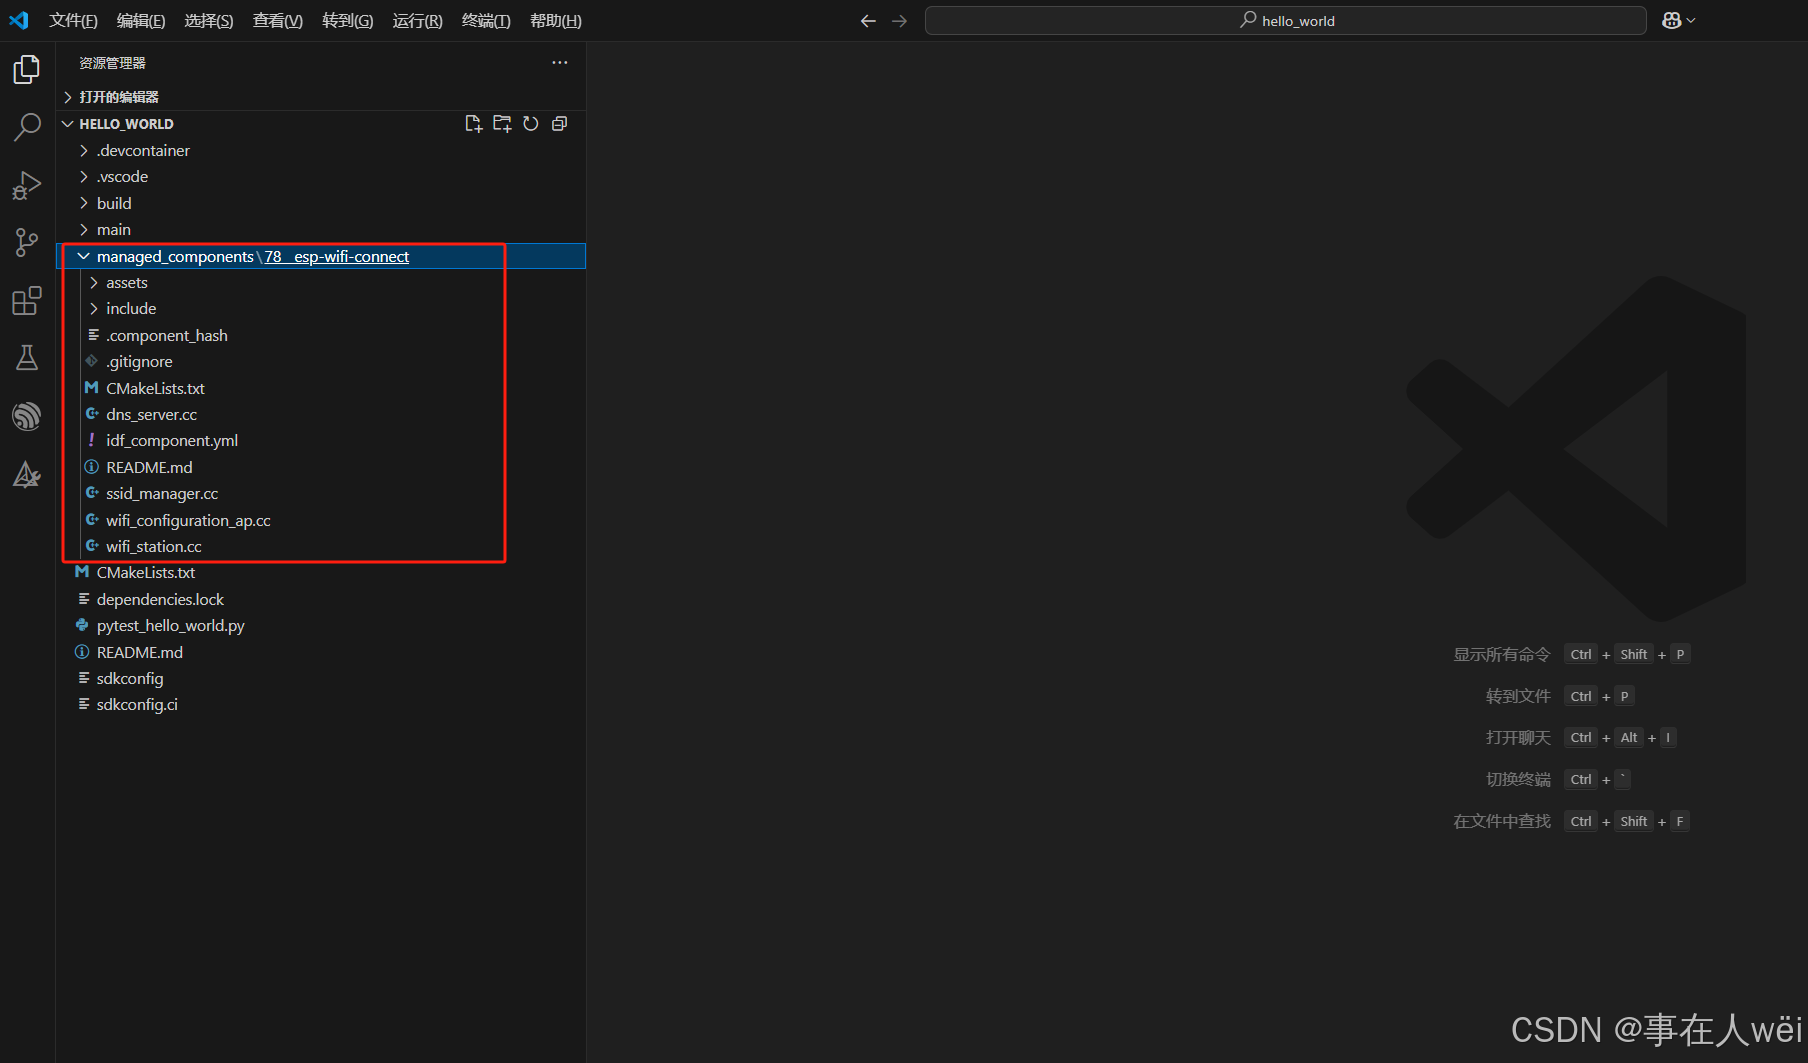
编译代码后,会自动managed_components目录下添加组件
一般情况下组件上的代码我们是不需要修改的,只需要调用就行,方便代码维护
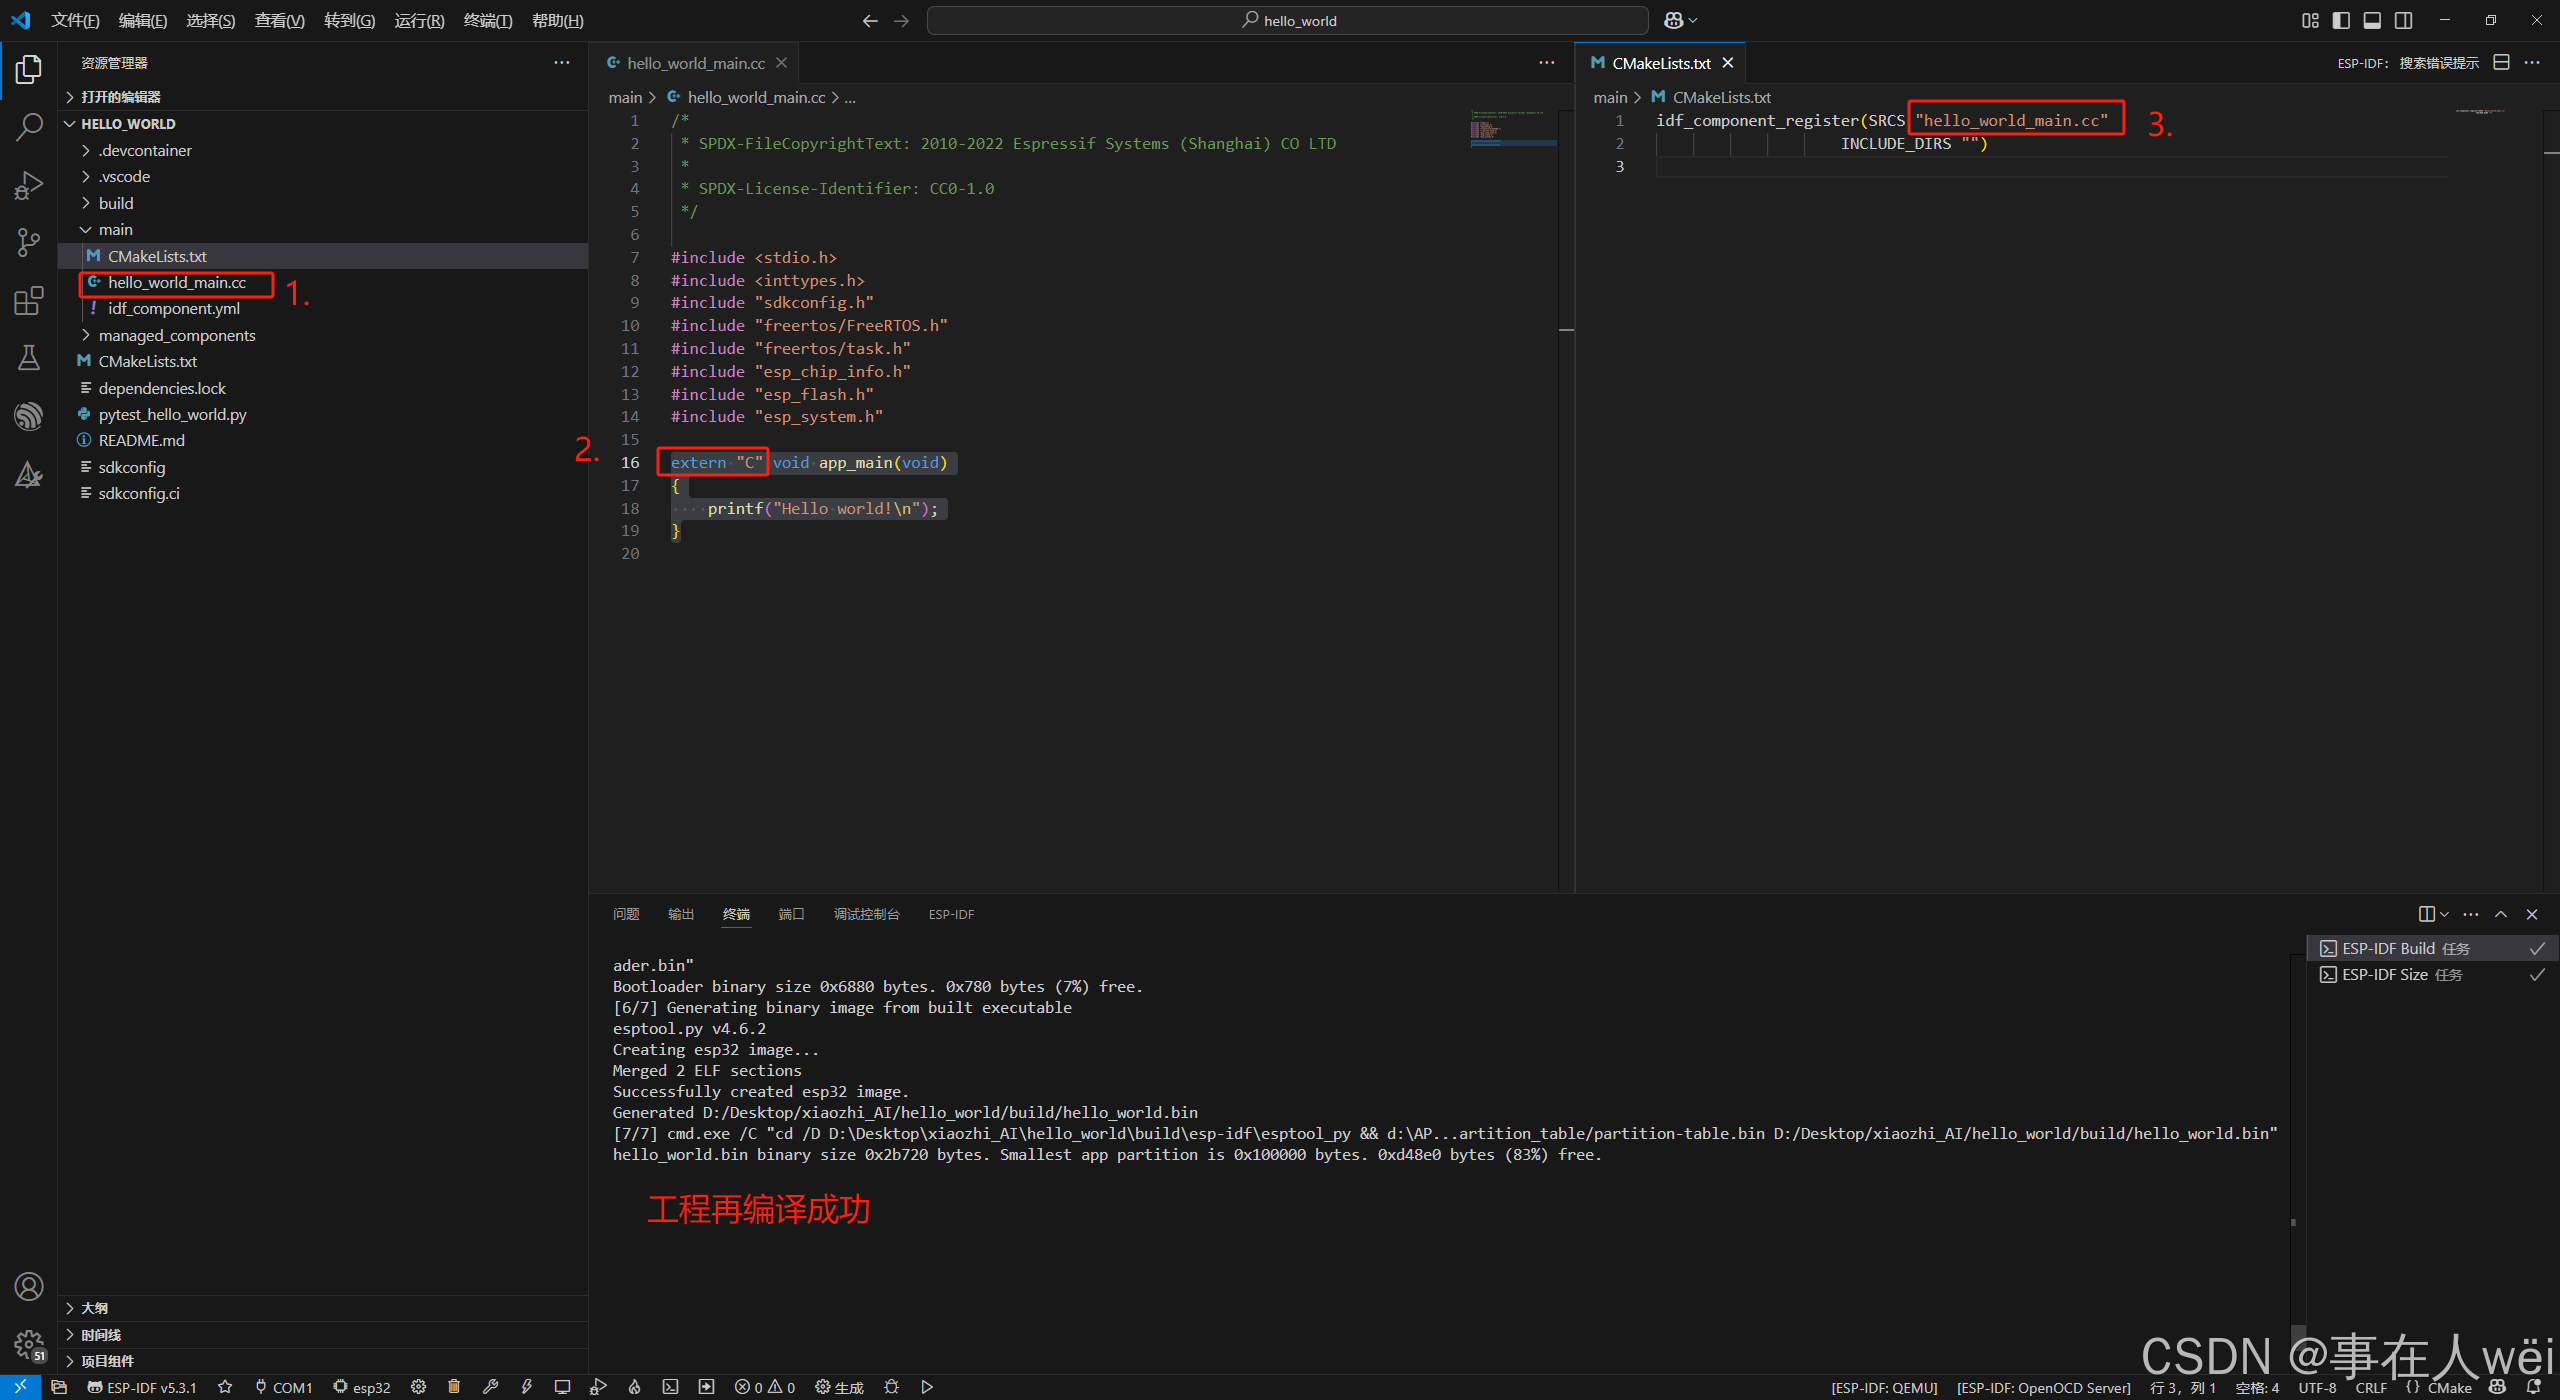
5.修改成C++工程(修改3点)
1.将hello_world_main.c修改成hello_world_main.cc
2.将原来的
void app_main(void)
{
    printf("Hello world!\n");
}
修改成
extern "C" void app_main(void)
{
    printf("Hello world!\n");
}
3.修改CMakeLists.txt
6.移植组件
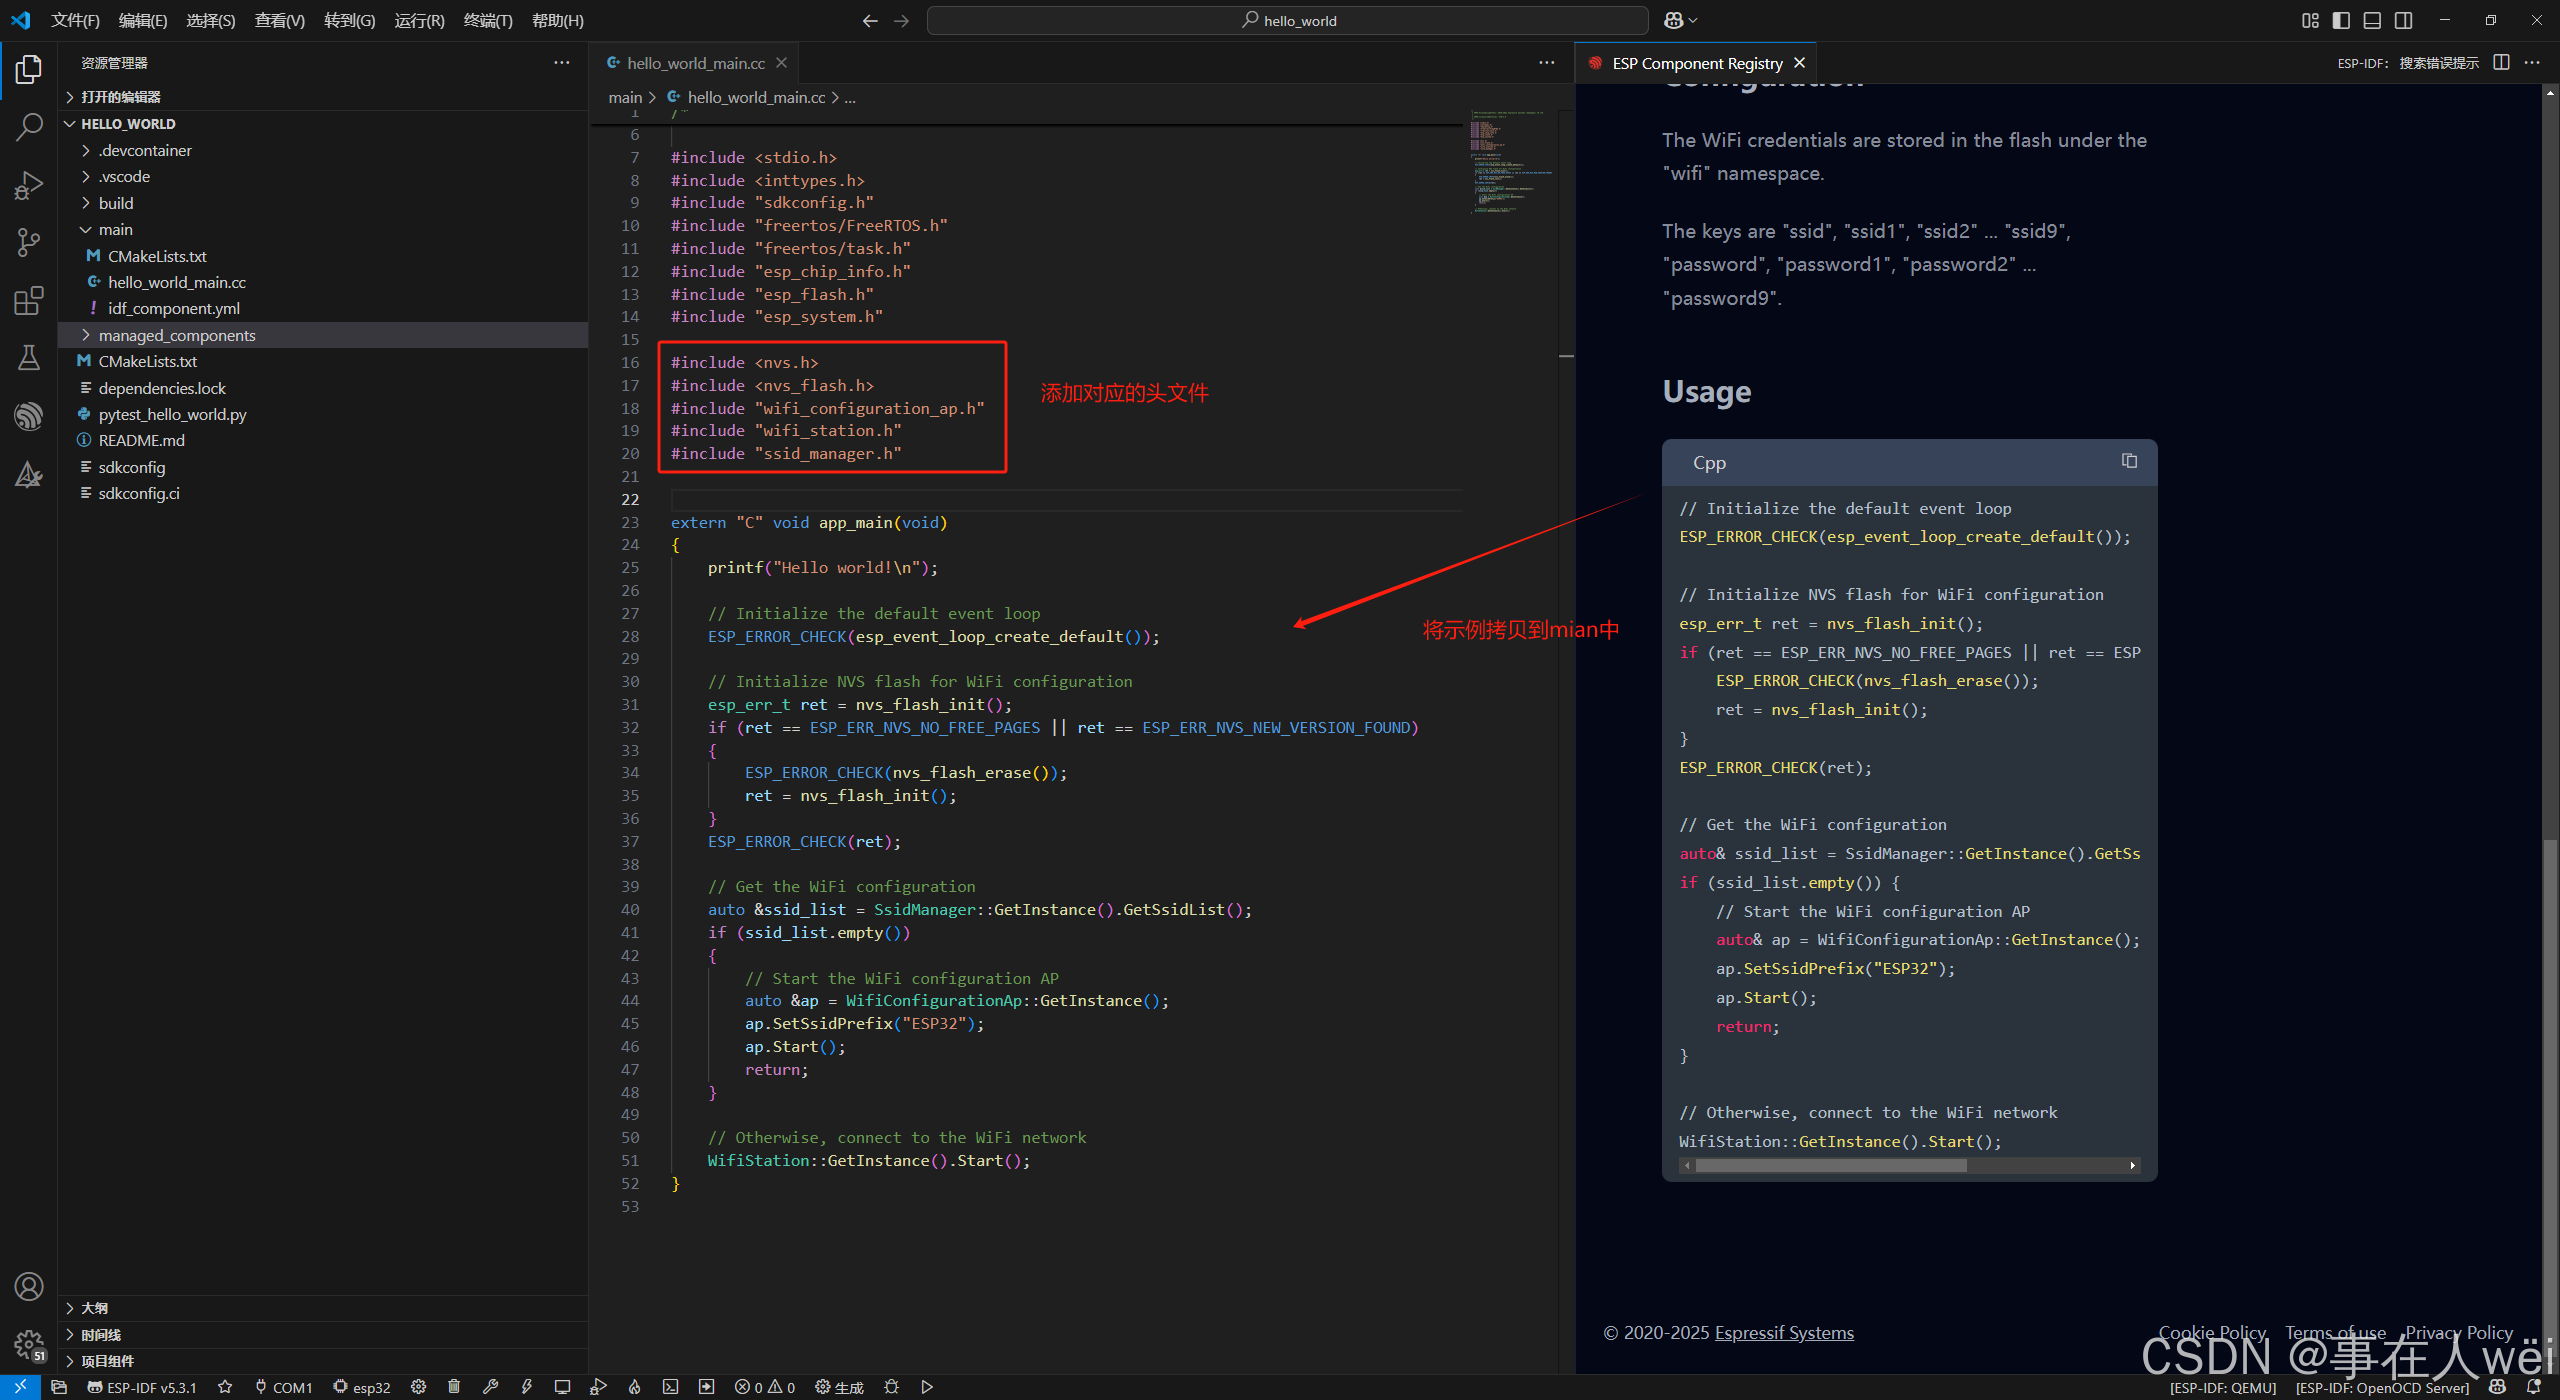
#include <stdio.h>
#include <inttypes.h>
#include "sdkconfig.h"
#include "freertos/FreeRTOS.h"
#include "freertos/task.h"
#include "esp_chip_info.h"
#include "esp_flash.h"
#include "esp_system.h"

#include <nvs.h>
#include <nvs_flash.h>
#include "wifi_configuration_ap.h"
#include "wifi_station.h"
#include "ssid_manager.h"

extern "C" void app_main(void)
{
    printf("Hello world!\n");

    // Initialize the default event loop
    ESP_ERROR_CHECK(esp_event_loop_create_default());

    // Initialize NVS flash for WiFi configuration
    esp_err_t ret = nvs_flash_init();
    if (ret == ESP_ERR_NVS_NO_FREE_PAGES || ret == ESP_ERR_NVS_NEW_VERSION_FOUND)
    {
        ESP_ERROR_CHECK(nvs_flash_erase());
        ret = nvs_flash_init();
    }
    ESP_ERROR_CHECK(ret);

    // Get the WiFi configuration
    auto &ssid_list = SsidManager::GetInstance().GetSsidList();
    if (ssid_list.empty())
    {
        // Start the WiFi configuration AP
        auto &ap = WifiConfigurationAp::GetInstance();
        ap.SetSsidPrefix("ESP32");
        ap.Start();
        return;
    }

    // Otherwise, connect to the WiFi network
    WifiStation::GetInstance().Start();
}
编译->烧录->运行
7.运行
ESP32如果没有记录到wifi信息,开机后会进入AP模式
连接上ESP32热点之后,会自动跳转到配网页面


 820
820


 到【灌水乐园】发言


