


1、视图动画绕不开的“爸爸”-Matrix
1-1、矩阵定义
矩阵相乘最重要的方法是一般矩阵乘积。它只有在第一个矩阵的列数(column)和第二个矩阵的行数(row)相同时才有意义 [1] 。一般单指矩阵乘积时,指的便是一般矩阵乘积。
设A为 的矩阵,B为 的矩阵,那么称 的矩阵C为矩阵A与B的乘积,记作 ,其中矩阵C中的第 行第 列元素可以表示为: [1]

如下所示:


举个例子🌰
大家可以思考下下面这个结果是怎么出来的。

其实根据上面的公式(A的行xB的列)就不难得到
5* 2 + 2* 1 + 4* 4 = 24      |     5* 4 + 2* 3+ 4 * 2 = 34
3* 2 + 8 * 1 + 4* 2 = 20     |     3* 4 + 8 * 3 + 2* 2 = 40
6* 2 + 0 * 1+ 4 * 3 = 24     |     6* 4 + 0 * 3 + 4* 2 = 32
0 * 2 + 1* 1 + 6* 3 = 19     |     0* 4 + 1* 3 + 6* 2 =  15
好了,相信矩阵乘法你搞懂了。
1-2、Android中的矩阵
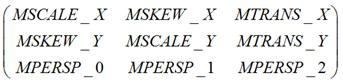
android中视图的四种视图变化(Translate、scale、)Matrix是一个3x3的矩阵。
引用:
1、android matrix 最全方法详解: https://blog.youkuaiyun.com/feather_wch/article/details/79622095
那么这个矩阵分别代表了什么呢,这里通过他们的名字可以看出,scale是缩放,skew是错切(canvas变换中有讲过),trans是平移,persp代表透视
单独从矩阵来说,完全不知道是要如何实现canvas的变换的,还好Android帮我们提供了Matrix对矩阵进行了封装使用,可以快速帮我们实现view的四种变换操作。
postTranslate(x, y)位移postSkew(kx, ky)错切postRotate(degrees)旋转postScale(sx, sy, px, py)缩放
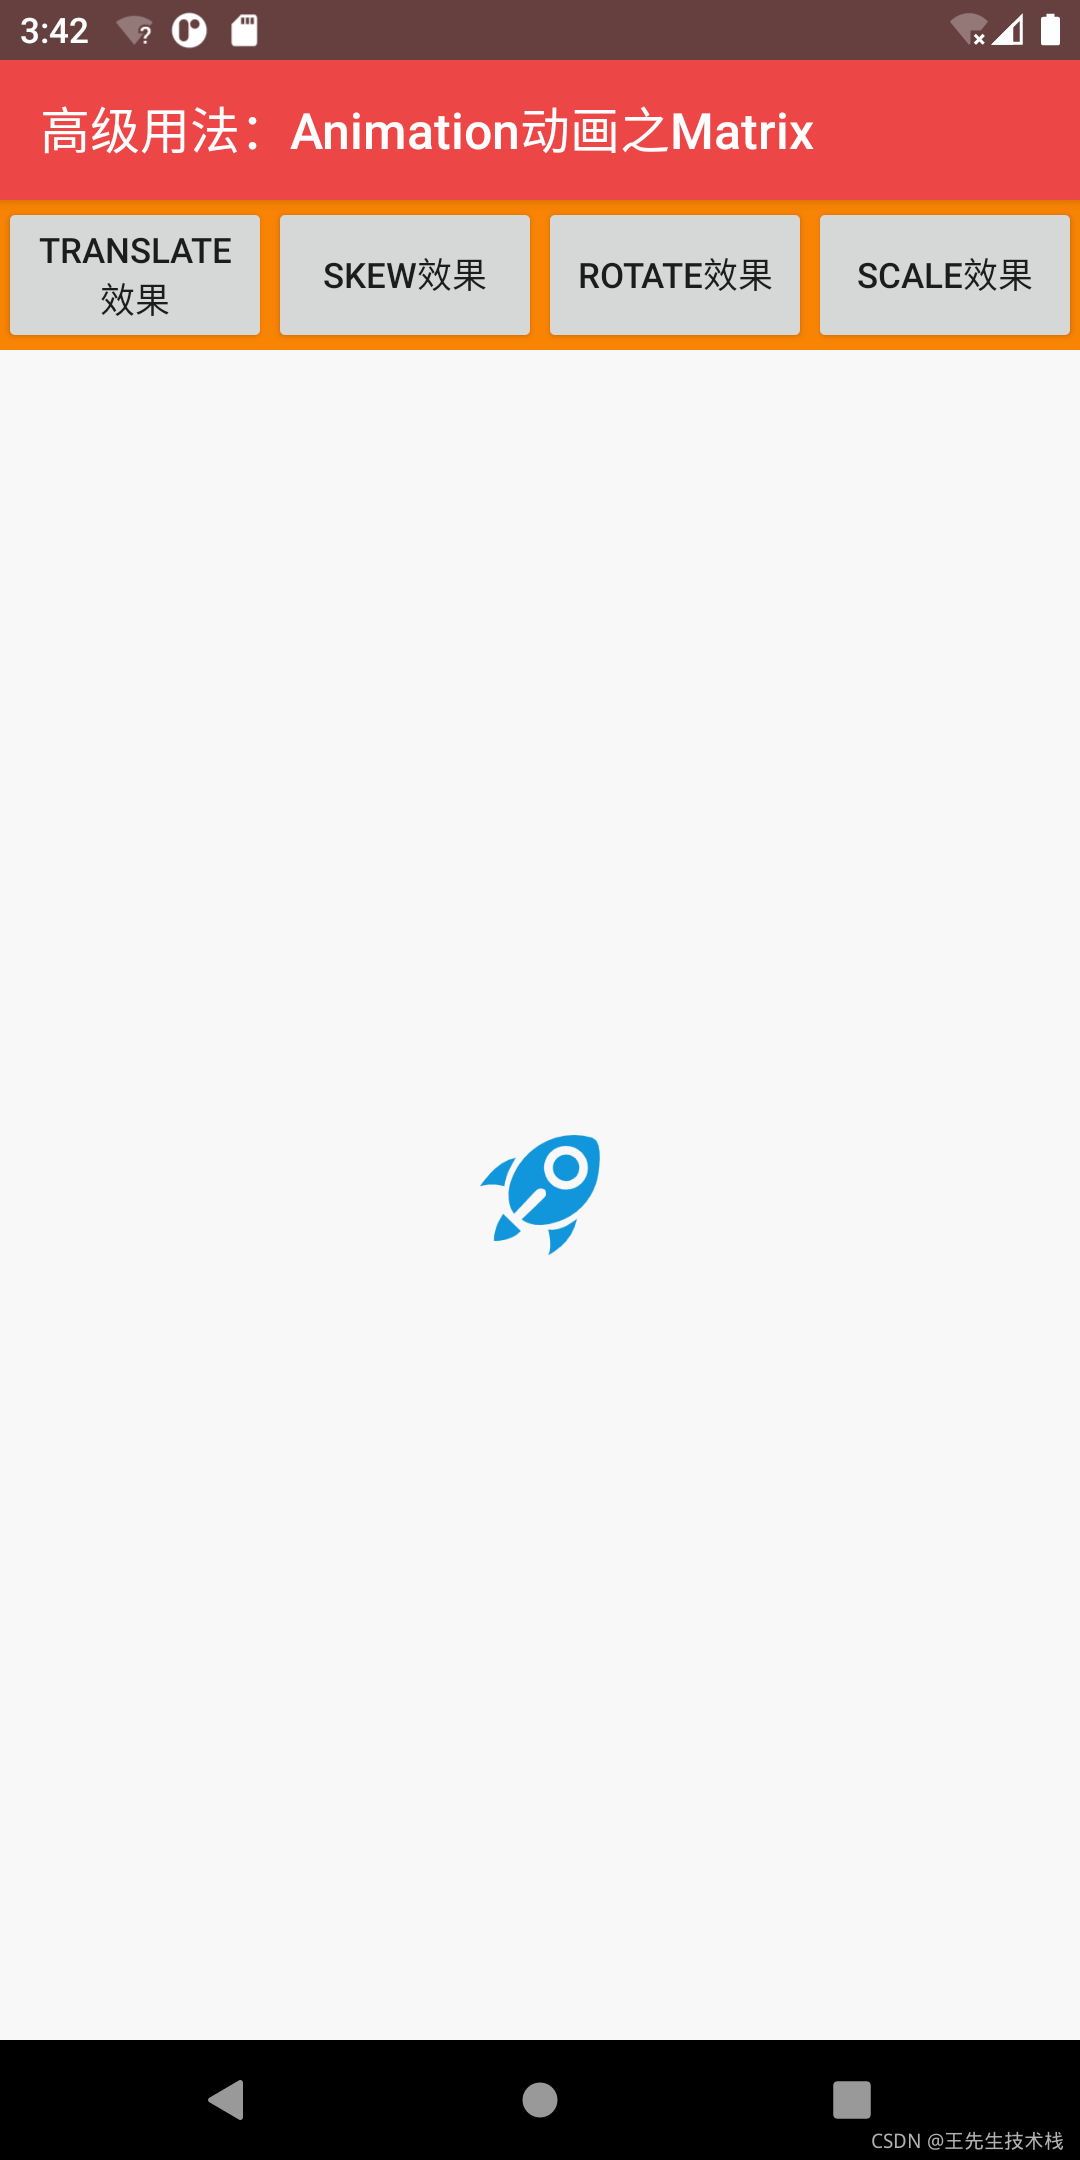
下面提供一个实例效果看下
先看下正常效果
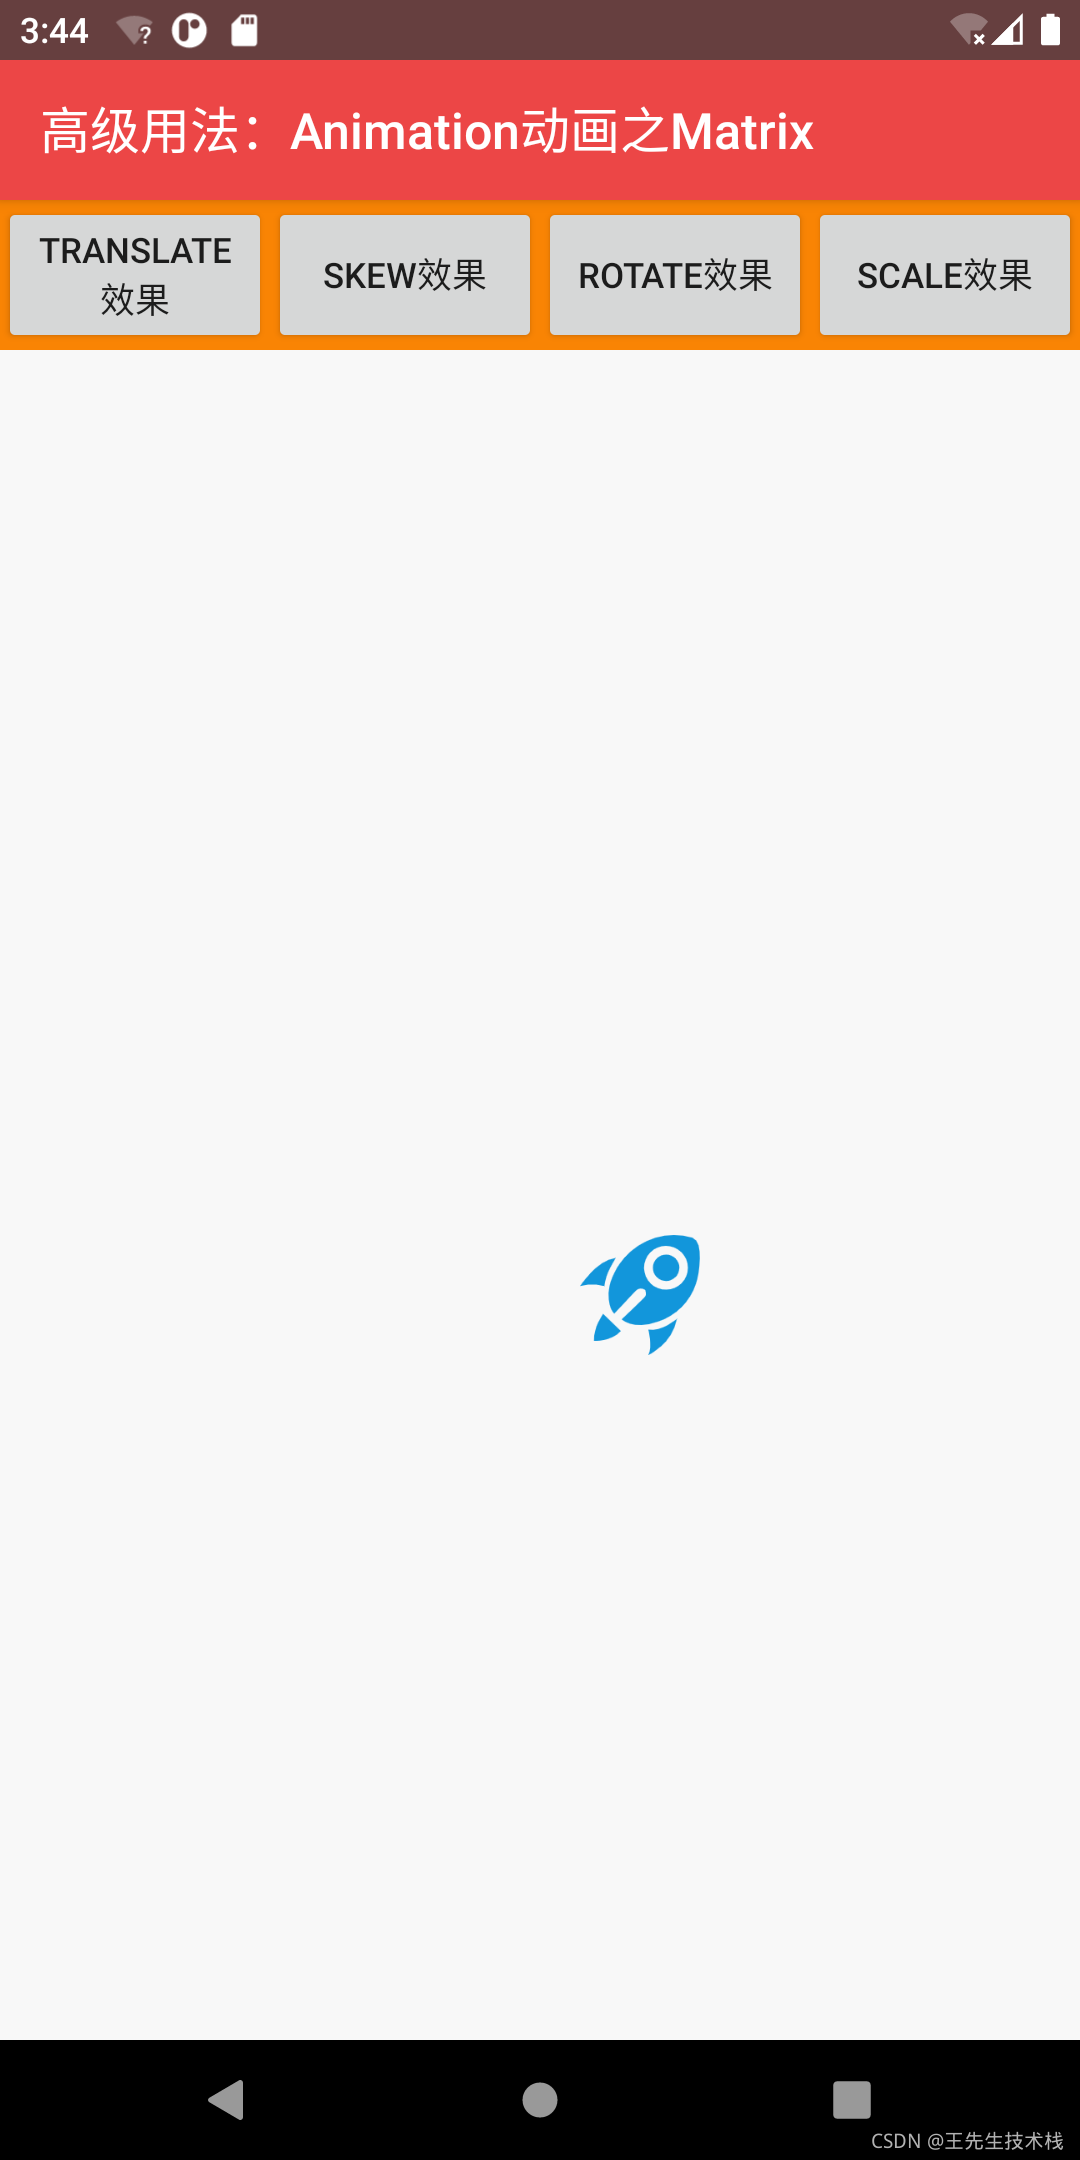
平移
vMatrixView.postTranslate(100F, 100F)
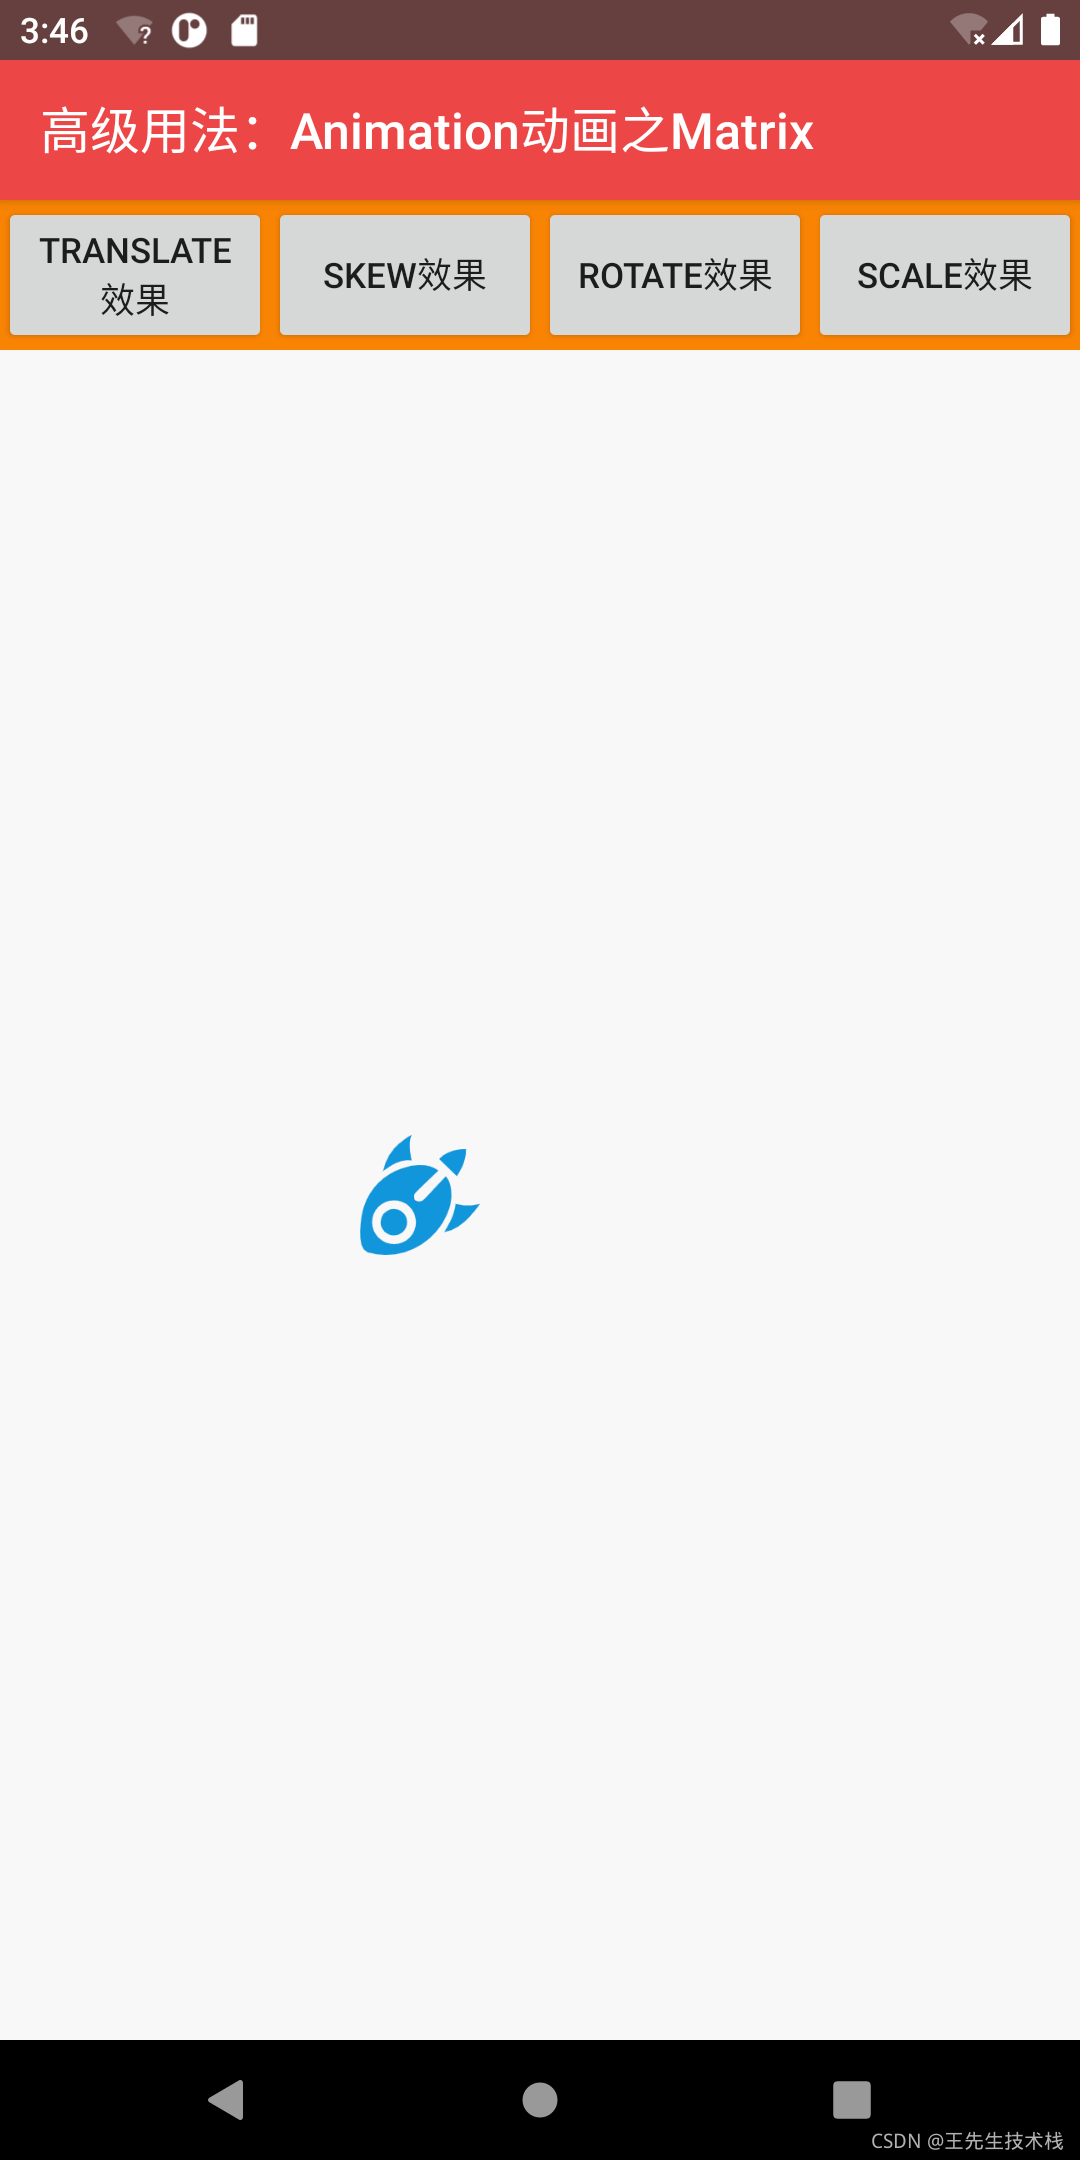
旋转
vMatrixView.postRotate(90F)
缩放
vMatrixView.postScale(1.5F, 1.5F, 0F, 0F)
错切
vMatrixView.postSkew(1F, 0F)

1-3、集合Matrix实现沿着Y轴旋转
前面说了matrix,下面通过自定义视图动画形式实现如下效果

<?xml version="1.0" encoding="utf-8"?>
<androidx.constraintlayout.widget.ConstraintLayout xmlns:android="http://schemas.android.com/apk/res/android"
    xmlns:app="http://schemas.android.com/apk/res-auto"
    android:layout_width="match_parent"
    android:layout_height="match_parent">

    <androidx.appcompat.widget.AppCompatButton
        android:id="@+id/btnStartAnim"
        android:layout_width="wrap_content"
        android:layout_height="wrap_content"
        android:text="展示动画"
        app:layout_constraintStart_toStartOf="parent"
        app:layout_constraintTop_toTopOf="parent" />

    <androidx.appcompat.widget.AppCompatImageView
        android:id="@+id/ivRedPackageCard"
        android:layout_width="wrap_content"
        android:layout_height="wrap_content"
        android:src="@drawable/ic_shake_award_bg"
        app:layout_constraintBottom_toBottomOf="parent"
        app:layout_constraintEnd_toEndOf="parent"
        app:layout_constraintStart_toStartOf="parent"
        app:layout_constraintTop_toTopOf="parent" />
</androidx.constraintlayout.widget.ConstraintLayout>
实现一个Animation
实现Animation主要是需要实现initialize(int width, int height, int parentWidth, int parentHeight)和applyTransformation(float interpolatedTime, Transformation t)方法。
initialize(int width, int height, int parentWidth, int parentHeight)方法中主要是做一些属性的初始化
在applyTransformation(float interpolatedTime, Transformation t)中处理动画变换效果
public class RotationYAnimation extends Animation {

    private int centerX, centerY;
    private Camera camera = new Camera();

    /**
     * 获取坐标,定义动画时间
     */
    @Override
    public void initialize(int width, int height, int parentWidth, int parentHeight) {
        super.initialize(width, height, parentWidth, parentHeight);
        //获得中心点坐标
        centerX = width / 2;
        centerY = width / 2;
        setInterpolator(new AccelerateInterpolator());
    }

    /**
     * 旋转的角度设置
     */
    @Override
    protected void applyTransformation(float interpolatedTime, Transformation t) {
        final Matrix matrix = t.getMatrix();
        camera.save();
        //设置camera的位置
        camera.setLocation(0, 0, 180);
        //中心是Y轴旋转,这里可以自行设置X轴 Y轴 Z轴
        camera.rotateY(360 * interpolatedTime - 360);
        //把我们的摄像头加在变换矩阵上
        camera.getMatrix(matrix);
        //设置翻转中心点
        matrix.preTranslate(-centerX, -centerY);
        matrix.postTranslate(centerX, centerY);
        camera.restore();
    }
}
使用
bindView {
    val rotationYAnimation = RotationYAnimation()
    rotationYAnimation.duration = 700L
    btnStartAnim.setOnClickListener {
        ivRedPackageCard.startAnimation(rotationYAnimation)
        val boxScaleXAnimator =
            ObjectAnimator.ofFloat(ivRedPackageCard, "scaleX", 0f, 1f)
        val boxScaleYAnimator =
            ObjectAnimator.ofFloat(ivRedPackageCard, "scaleY", 0f, 1f)
        val boxAlphaAnimator =
            ObjectAnimator.ofFloat(ivRedPackageCard, "alpha", 0f, 1f)
        boxAlphaAnimator.duration = 300
        AnimatorSet().apply {
            duration = 700L
            playTogether(boxScaleXAnimator, boxScaleYAnimator, boxAlphaAnimator)
        }.start()
    }
}


 被折叠的 条评论
为什么被折叠?
被折叠的 条评论
为什么被折叠?
 到【灌水乐园】发言


