


 本文介绍如何在Unity3D中使用WebCamera功能,包括创建项目、设置材质、配置相机及控制器,实现调用外部摄像头并显示图像。提供代码示例及高能插件资源。
在应用中,我们可以利用引擎一些内置的API,来驱动硬件的设备功能,例如我们可以通过WebCamera 来调用外部的摄像头。今天小编就与大家一起来简单学习。
常用的内置类(见官方文档): WebCamDevice:
https://docs.unity3d.com/ScriptReference/WebCamDevice.html
WebCamTexture:
https://docs.unity3d.com/ScriptReference/WebCamTexture.html
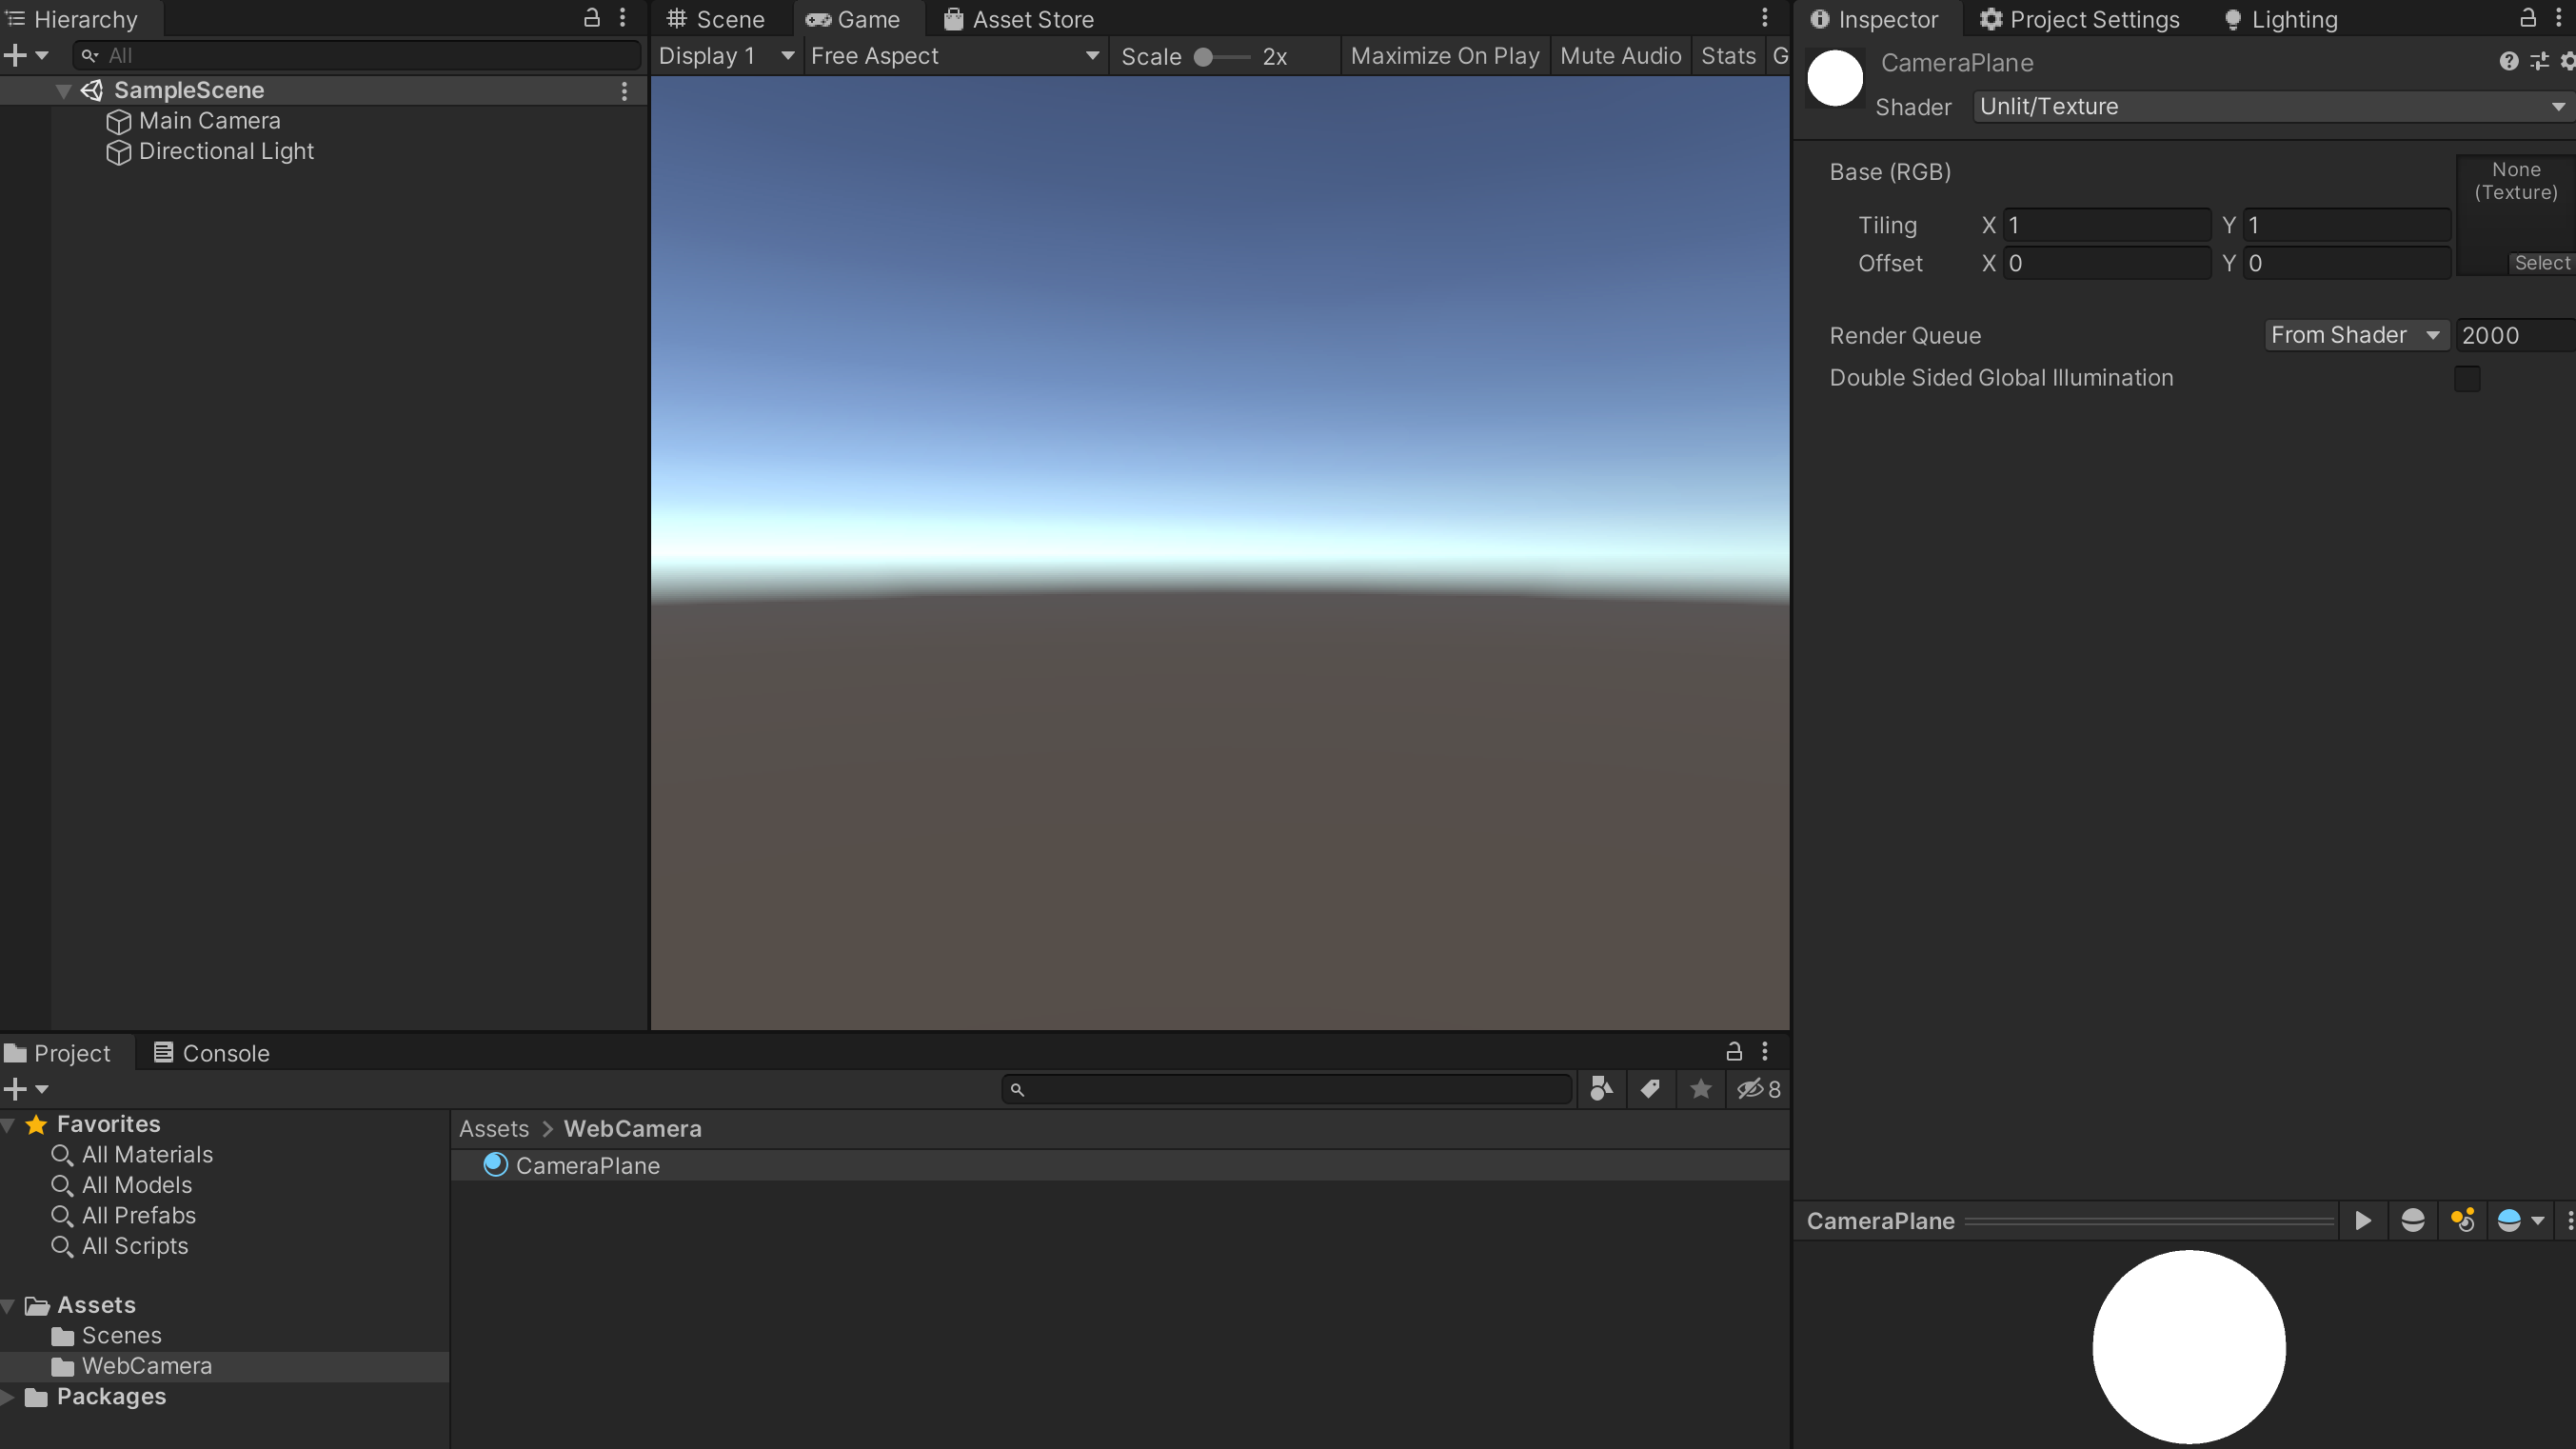
下面,咱们直接进入实战模式。 步骤一:创建 Unity3d 的项目,新建 WebCamera 文件夹,并在文件夹下新建材质球CameraPlane.mat,Shader可以选择Unlit/Texture。
步骤二:新建相机Camera,可以命名为WebCamera,并且在WebCamera 创建子对象Plane, 注意Plane的Rotation(x:90 y:180 z:0),接着把CameraPlane.mat 附加上。
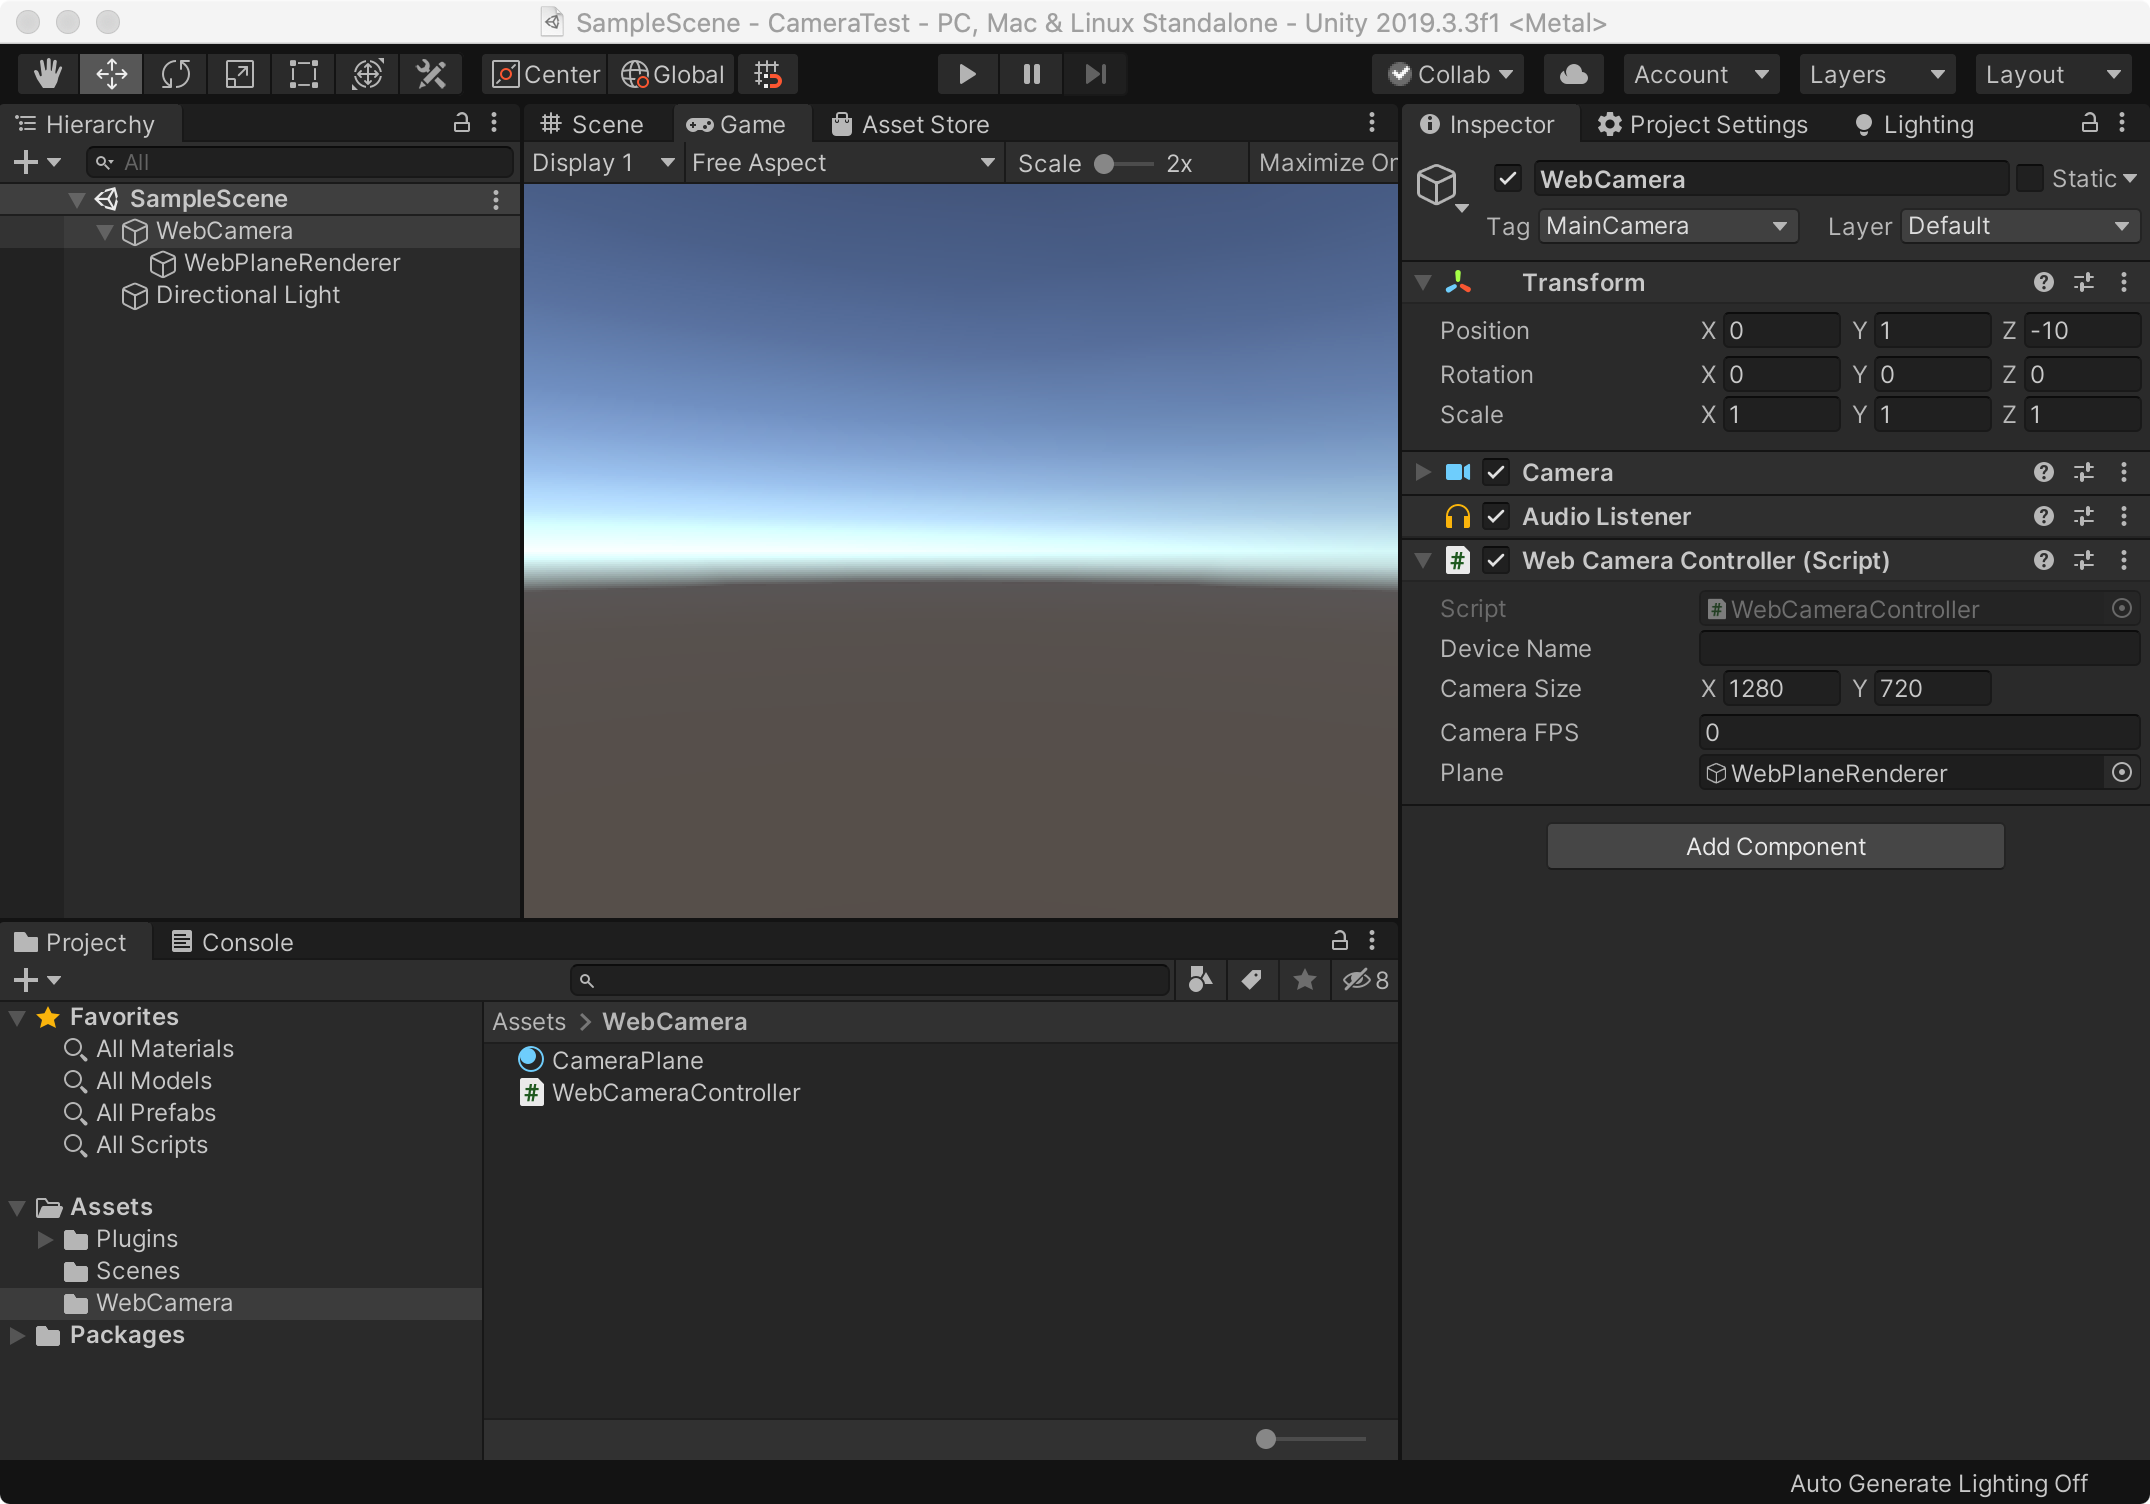
步骤三:属于比较重要的一步,新增WebCameraController.cs 组件类,它主要是处理调用外部摄像头,并且显示摄像的内容。代码如下:
     using

     System
     .
     Collections
     ;


     using

     System
     .
     Collections
     .
     Generic
     ;


     using

     UnityEngine
     ;


     public

     class

     WebCameraController

     :

     MonoBehaviour


     {


     public

     string
      DeviceName
     ;


     public

     Vector2
      CameraSize
     ;


     public

     float
      CameraFPS
     ;


     //接收返回的图片数据


     WebCamTexture
      _webCamera
     ;


     public

     GameObject
      Plane
     ;
     //作为显示摄像头的面板


     void

     OnGUI
     (
     )


     {


     if

     (
     GUI
     .
     Button
     (
     new

     Rect
     (
     100
     ,

     100
     ,

     100
     ,

     100
     )
     ,

     "Initialize Camera"
     )
     )


     {


     StartCoroutine
     (
     "InitCameraCor"
     )
     ;


     }


     //添加一个按钮来控制摄像机的开和关


     if

     (
     GUI
     .
     Button
     (
     new

     Rect
     (
     100
     ,

     250
     ,

     100
     ,

     100
     )
     ,

     "ON/OFF"
     )
     )


     {


     if

     (
     _webCamera
     !=

     null

     &&
      Plane
     !=

     null
     )


     {


     if

     (
     _webCamera
     .
     isPlaying
     )


     StopCamera
     (
     )
     ;


     else


     PlayCamera
     (
     )
     ;


     }


     }


     if

     (
     GUI
     .
     Button
     (
     new

     Rect
     (
     100
     ,

     450
     ,

     100
     ,

     100
     )
     ,

     "Quit"
     )
     )


     {


            Application
     .
     Quit
     (
     )
     ;


     }


     }


     public

     void

     PlayCamera
     (
     )


     {

        Plane
     .
     GetComponent
     <
     MeshRenderer
     >
     (
     )
     .
     enabled
     =

     true
     ;

        _webCamera
     .
     Play
     (
     )
     ;


     }


     public

     void

     StopCamera
     (
     )


     {

        Plane
     .
     GetComponent
     <
     MeshRenderer
     >
     (
     )
     .
     enabled
     =

     false
     ;

        _webCamera
     .
     Stop
     (
     )
     ;


     }


     /// <summary>


     /// 初始化摄像头


     /// </summary>


     public

     IEnumerator

     InitCameraCor
     (
     )


     {


     yield

     return
      Application
     .
     RequestUserAuthorization
     (
     UserAuthorization
     .
     WebCam
     )
     ;


     if

     (
     Application
     .
     HasUserAuthorization
     (
     UserAuthorization
     .
     WebCam
     )
     )


     {


     WebCamDevice
     [
     ]
      devices
     =
      WebCamTexture
     .
     devices
     ;

            Debug
     .
     Log
     (
     devices
     .
     Length
     )
     ;

            DeviceName
     =
      devices
     [
     0
     ]
     .
     name
     ;

            _webCamera
     =

     new

     WebCamTexture
     (
     DeviceName
     ,

     (
     int
     )
     CameraSize
     .
     x
     ,

     (
     int
     )
     CameraSize
     .
     y
     ,

     (
     int
     )
     CameraFPS
     )
     ;


            Plane
     .
     GetComponent
     <
     Renderer
     >
     (
     )
     .
     material
     .
     mainTexture
     =
      _webCamera
     ;

            Plane
     .
     transform
     .
     localScale
     =

     new

     Vector3
     (
     1
     ,

     1
     ,

     1
     )
     ;


            _webCamera
     .
     Play
     (
     )
     ;


     }


     }


     }
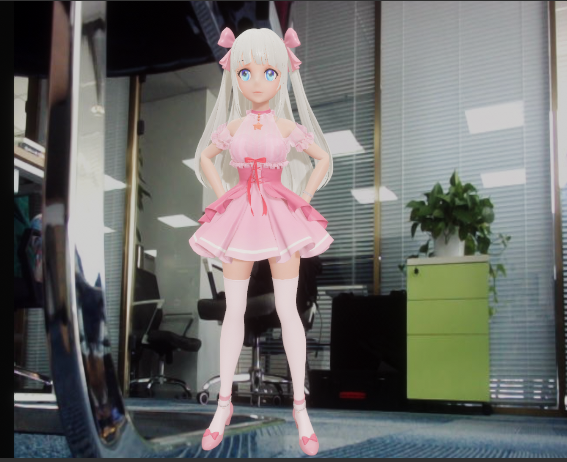
步骤四:最后直接运行项目看效果哈!
另外其实也有很多大神直接封装一些高能且方便好用的插件,小编就直接分享资源的链接。#同时欢迎下载《虚拟人生》移动端应用。 1、Native Camera for Android & iOS:
https://assetstore.unity.com/packages/tools/integration/native-camera-for-android-ios-117802
2、NatDevice - Media Device API:
https://assetstore.unity.com/packages/tools/integration/natdevice-media-device-api-162053


 1663
1663

 被折叠的 条评论
为什么被折叠?
被折叠的 条评论
为什么被折叠?
 到【灌水乐园】发言


