


目录
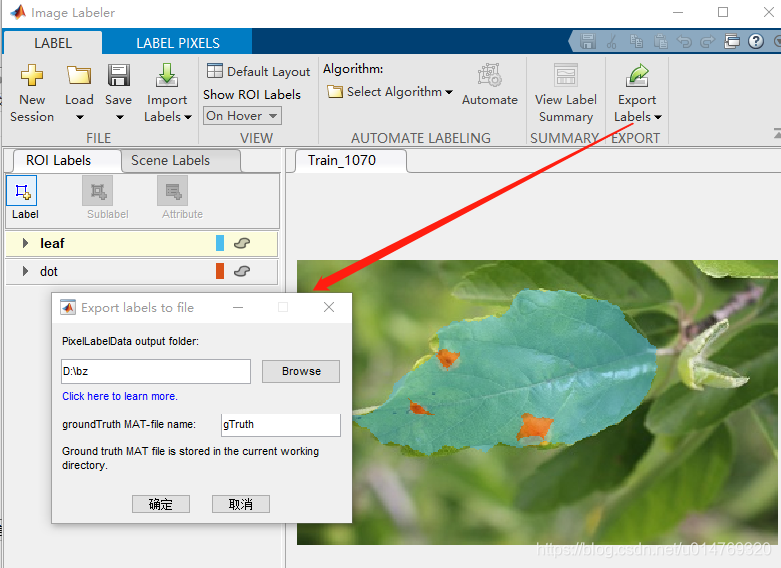
2、标注结束,保存文件 Export Lables -->to files,
一、Matlab 版本:2020a
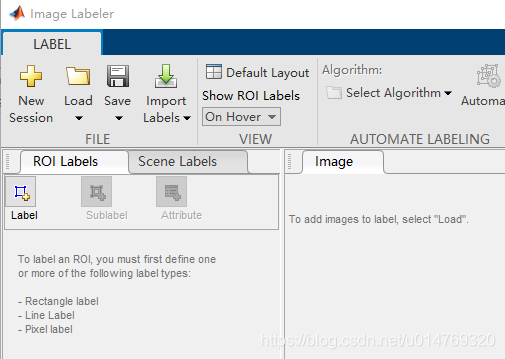
二、启动 Image Labeler
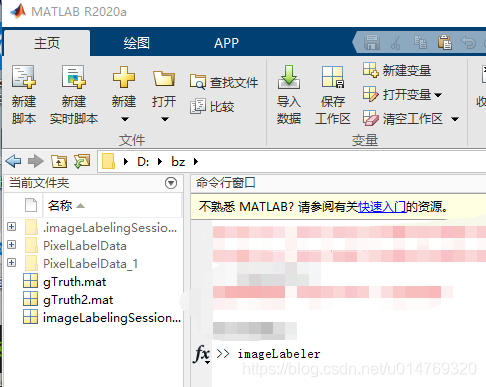
matlab 命令行输入 imageLabeler,回车,打开界面
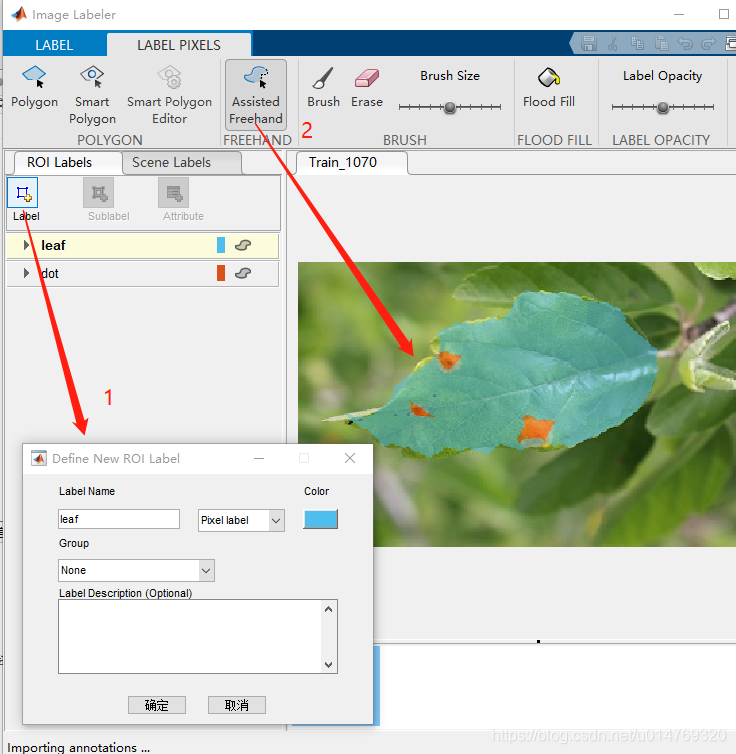
三、图像像素级标注
1、Load 选择一张图像 设置ROI Labels
2、标注结束,保存文件 Export Lables -->to files,
 本文介绍了使用 Matlab 2020a 进行图像像素级标注的方法。先在命令行输入 imageLabeler 启动 Image Labeler,选择图像并设置 ROI Labels 进行标注,标注结束后保存文件。还说明了保存文件的相关情况,可将标注保存为 csv 文件,最后能查看标注后的图像效果。
目录
2、标注结束,保存文件 Export Lables -->to files,
matlab 命令行输入 imageLabeler,回车,打开界面

 最低0.47元/天 解锁文章


 5548
5548


 到【灌水乐园】发言


