


目录
如下图所示,在透视变换和变形下,圆心不会投影到变形椭圆的质心。

现有的基于圆形图案的标定方法由于没有考虑畸变椭圆的几何特性,存在一定的偏差,导致标定精度低于棋盘格图案。
1.依赖
安装波纹管组件
- Ceres-Solver
 http://ceres-solver.org/index.html
 - Eigen3https://eigen.tuxfamily.org/dox/index.html
- opencv4
Ceres-Solver安装步骤:
下载链接:http://ceres-solver.org/ceres-solver-2.2.0.tar.gz
使用Ubuntu作为我们的示例Linux 分布:
首先安装所有依赖项。
# CMake
sudo apt-get install cmake
# google-glog + gflags
sudo apt-get install libgoogle-glog-dev libgflags-dev
# Use ATLAS for BLAS & LAPACK
sudo apt-get install libatlas-base-dev
# Eigen3
sudo apt-get install libeigen3-dev
# SuiteSparse (optional)
sudo apt-get install libsuitesparse-dev
我们现在已经准备好构建、测试和安装Ceres。
tar zxf ceres-solver-2.2.0.tar.gz
mkdir ceres-bin
cd ceres-bin
cmake ../ceres-solver-2.2.0
make -j3
make test
# Optionally install Ceres, it can also be exported using CMake which
# allows Ceres to be used without requiring installation, see the documentation
# for the EXPORT_BUILD_DIR option for more information.
make install
Ceres-Solver安装完成
使用docker
新装的docker可能需要以下步骤
在Ubuntu系统上,可以使用apt来安装Docker:
sudo apt update
安装Docker
sudo apt install docker.io
启动Docker服务并将其设置为开机启动:
sudo systemctl start docker
sudo systemctl enable docker
验证Docker安装:
docker --version
拉取Docker镜像
docker pull chaehyeonsong/discocal:latest
提示
-
如果希望不需要
sudo权限即可运行Docker命令,可以将当前用户添加到docker组:
sudo usermod -aG docker $USER
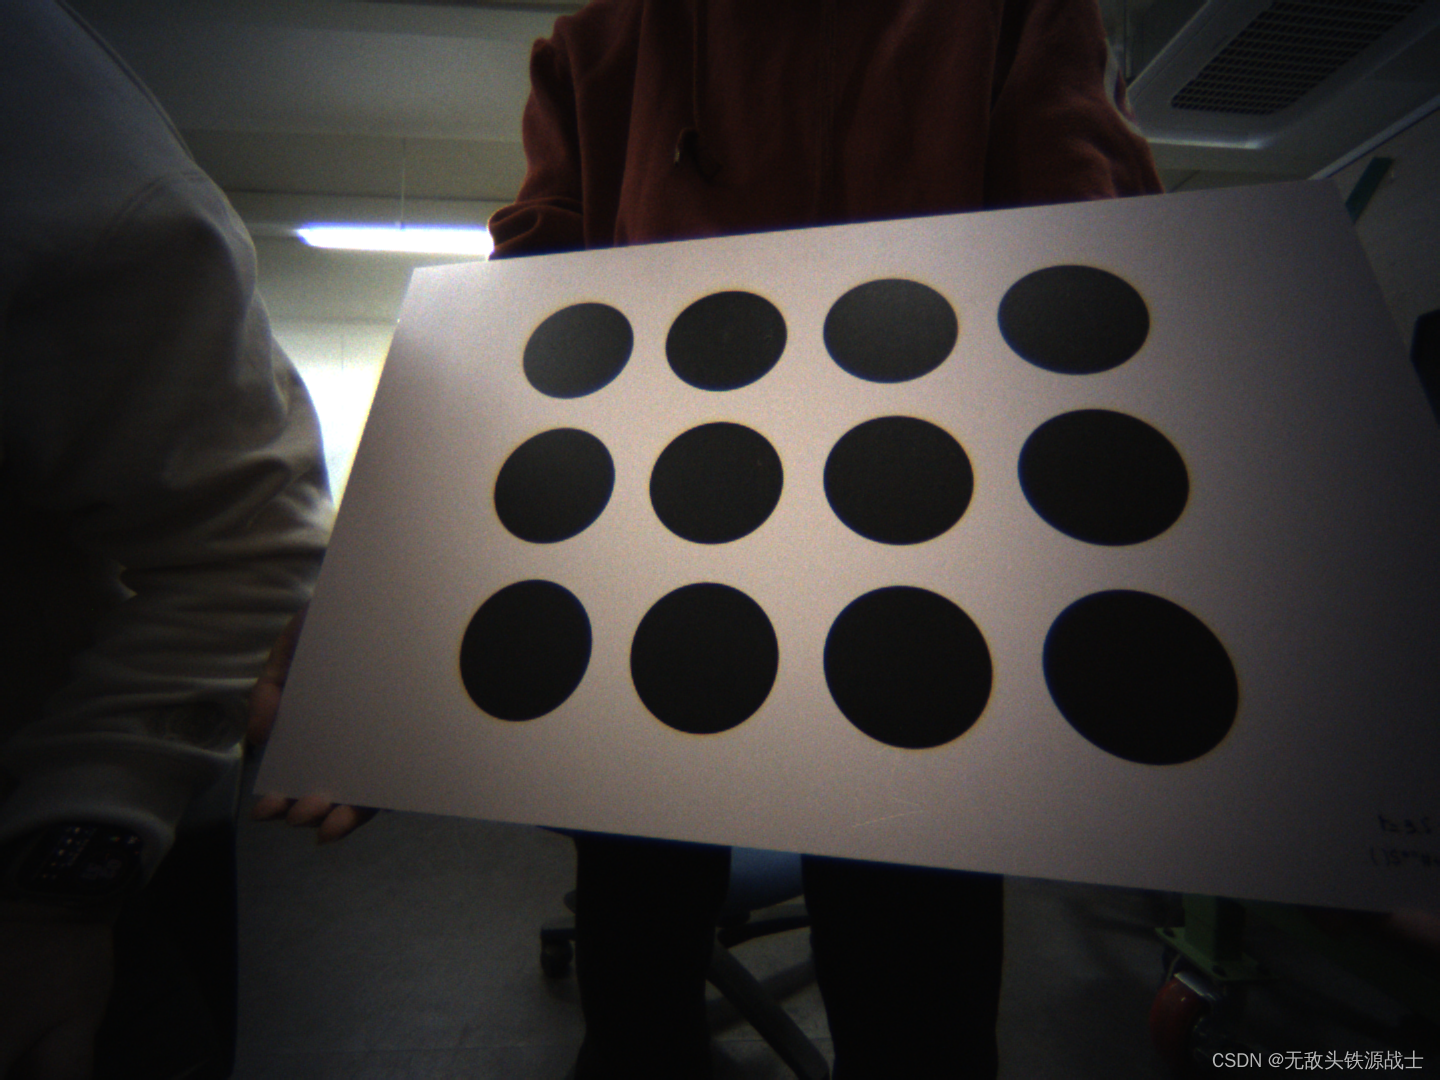
注意:检查检测结果!
为了获得高质量的结果,请检查圆圈中的所有像素是否正确检测。

如果您不想检查图像,请关闭“main.cpp”中的“check_detection_results”选项。
2.构建和运行
## Build
cd [your path]/discocal
mkdir build
cd build
cmake ..
make## Run
./main.out [n_x] [n_y] [n_d] [img_dir_path] [radius(m)] [circle distance(m)]
(ex) ./main.out 4 3 3 ../sample_imgs/rgb12/ 0.035 0.09
(ex) ./main.out 4 3 4 ../sample_imgs/tir12/ 0.03 0.09
运行这段代码,项目里面有官方的实例图像标定
4 3 3 三组参数的意义(4列3行3畸变参数)
咱们文件使用的是6列5行5畸变参数 。例如./main.out 6 5 5 ../sample_imgs/new_1/ 0.03 0.09
./main.out 4 3 3 ../sample_imgs/rgb12/ 0.035 0.09
会出现以下的输出结果
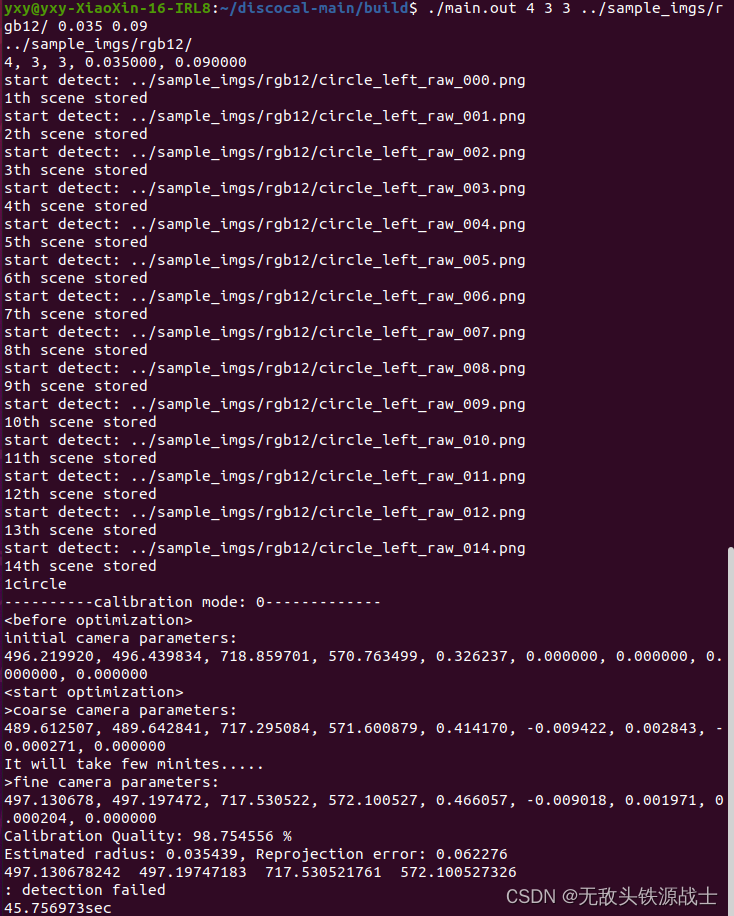
----------calibration mode: 0-------------
<before optimization>
initial camera parameters:
496.219920, 496.439834, 718.859701, 570.763499, 0.326237, 0.000000, 0.000000, 0.000000, 0.000000
相机标定部分
相机参数优化前的初始参数:
- 焦距(fx, fy):496.219920, 496.439834
- 主点坐标(cx, cy):718.859701, 570.763499
- 畸变系数(k1, k2, p1, p2, k3):0.326237, 0.000000, 0.000000, 0.000000, 0.000000
<start optimization>
>coarse camera parameters:
489.612507, 489.642841, 717.295084, 571.600879, 0.414170, -0.009422, 0.002843, -0.000271, 0.000000
粗略优化后的相机参数:
- 焦距(fx, fy):489.612507, 489.642841
- 主点坐标(cx, cy):717.295084, 571.600879
- 畸变系数(k1, k2, p1, p2, k3):0.414170, -0.009422, 0.002843, -0.000271, 0.000000
>fine camera parameters:
497.130678, 497.197472, 717.530522, 572.100527, 0.466057, -0.009018, 0.001971, 0.000204, 0.000000
精细优化后的相机参数:
- 焦距(fx, fy):497.130678, 497.197472
- 主点坐标(cx, cy):717.530522, 572.100527
- 畸变系数(k1, k2, p1, p2, k3):0.466057, -0.009018, 0.001971, 0.000204, 0.000000
Calibration Quality: 98.754556 %
Estimated radius: 0.035439, Reprojection error: 0.062276
标定质量为 98.75%。估算的圆点半径为 0.035439 米,重投影误差为 0.062276。
497.130678242 497.19747183 717.530521761 572.100527326
: detection failed
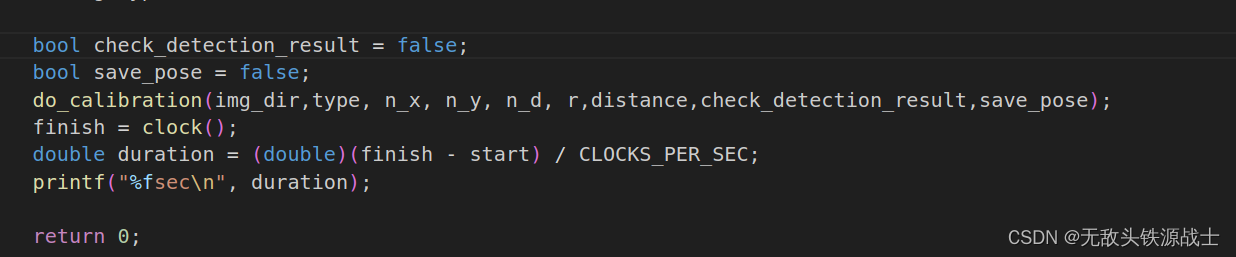
45.756973sec
输出了最终的相机内参矩阵,程序检测失败并花费了 45.756973 秒完成。
-
4, 3, 3, 0.035000, 0.090000:- 显示程序运行时接收到的参数:
4: 列数3: 行数。3: 畸变参数。0.035000: 圆点的半径。(m)0.090000: 圆点之间的距离。(m)
- 显示程序运行时接收到的参数:
ps
如何确定线圈的数量和半径大小? 圆的半径越大,观测结果就越精确。圆的数量越多,观测值就越多,从而提高稳健性。由于这两个值在有限的区域内处于权衡关系,因此应适当调整它们。建议不要超过7x5圈。


 340
340

 被折叠的 条评论
为什么被折叠?
被折叠的 条评论
为什么被折叠?
 到【灌水乐园】发言


