


一、基于AdcertiseGen数据集训练官方Demo
一、环境配置
下载ChatGLM3官方仓库,最好是使用conda新创建一个环境,python=3.10
git clone https://github.com/THUDM/ChatGLM3
cd ChatGLM3
pip安装所需依赖
pip install -r requirements.txt
进入微调文件夹,安装依赖
cd finetune_demo
pip install -r requirements.txt
二、数据集下载
1.微调数据集下载
AdvertiseGen数据集:可以从 Google Drive 或者 Tsinghua Cloud 下载处理好的 AdvertiseGen 数据集。
数据集地址(源自Tsinghua):https://cloud.tsinghua.edu.cn/f/b3f119a008264b1cabd1/?dl=1
数据集地址(源自Google):https://drive.google.com/file/d/13_vf0xRTQsyneRKdD1bZIr93vBGOczrk/view?usp=sharing
原始数据集格式如下:
原始数据集格式:【content-summary】地址:https://huggingface.co/datasets/shibing624/AdvertiseGen/viewer
2.模型数据集下载
模型下载地址:
https://huggingface.co/zai-org/chatglm3-6b/tree/main
可以自行下载单个模型文件,也可以使用命令:
pip install -U huggingface_hub
huggingface-cli download --resume-download zai-org/chatglm3-6b
或者直接在modelscope下载到本地, 推荐使用SDK,不会下的建议看之间的文章
pip install modelscope
#模型下载
from modelscope import snapshot_download
model_dir = snapshot_download('ZhipuAI/chatglm3-6b')
3.官方demo下载
下载完模型之后再拉取ChatGLM3的官方Demo
https://github.com/zai-org/ChatGLM3
拉取完后进入ChatGLM3-main文件夹中的finetune_demo中,进入configs文件夹,复制一份lora.yaml,重命名为lora1.yaml。这就是我们微调要配置的文件
三、数据集格式标准化
原始的数据集格式如下: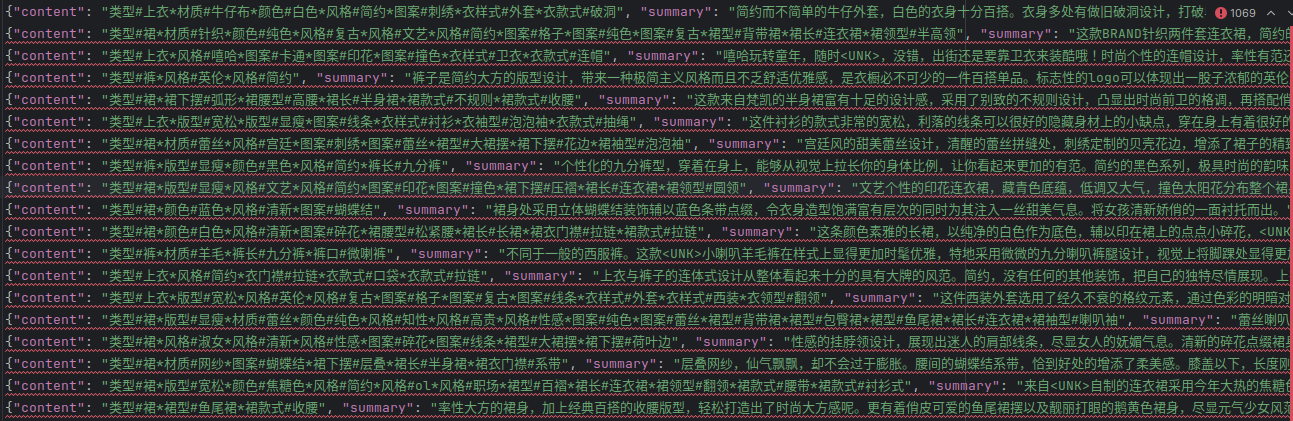
此时并非是模型进行识别的标准形式,我们需要按照自己的需求,将数据集整理成对话的形式输入给模型,转化程序如下:
import json
from typing import Union
from pathlib import Path

# 利用辅助函数 _resolve_path,将输入的路径参数转换为 Path 对象,扩展用户目录并解析符号链接。
def _resolve_path(path: Union[str, Path]) -> Path:  # 采用类型注解法(对参数和返回值注释)→提高代码的可维护性和可读性
    return Path(path).expanduser().resolve()

# 利用辅助函数 _mkdir创建目录
def _mkdir(dir_name: Union[str, Path]):
    dir_name = _resolve_path(dir_name)
    if not dir_name.is_dir():
        dir_name.mkdir(parents=True, exist_ok=False)

# 读取给定目录中的JSON文件,对每一行的JSON数据进行解析和转换,然后将结果保存到指定目录。
def convert_adgen(data_dir: Union[str, Path], save_dir: Union[str, Path]):
    def _convert(in_file: Path, out_file: Path):
        _mkdir(out_file.parent)
        with open(in_file, encoding='utf-8') as fin:
            with open(out_file, 'wt', encoding='utf-8') as fout:
                for line in fin:
                    dct = json.loads(line)
                    sample = {'conversations': [{'role': 'user', 'content': dct['content']},
                                                {'role': 'assistant', 'content': dct['summary']}]}
                    fout.write(json.dumps(sample, ensure_ascii=False) + '\n')

    data_dir = _resolve_path(data_dir)
    save_dir = _resolve_path(save_dir)

    train_file = data_dir / './train.json'
    if train_file.is_file():
        out_file = save_dir / train_file.relative_to(data_dir)
        _convert(train_file, out_file)

    dev_file = data_dir / './dev.json'
    if dev_file.is_file():
        out_file = save_dir / dev_file.relative_to(data_dir)
        _convert(dev_file, out_file)
convert_adgen('AdvertiseGen', 'AdvertiseGen_fix')
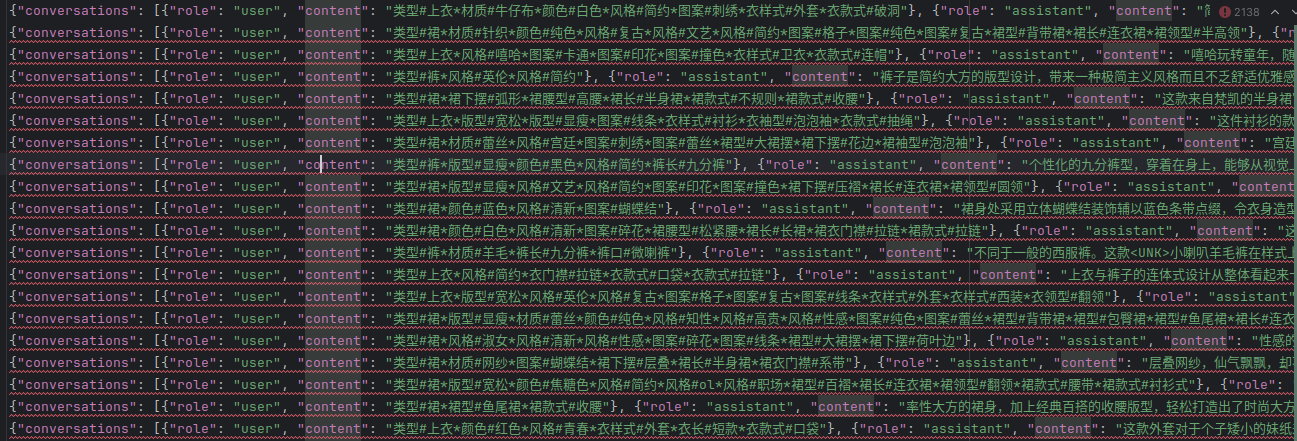
转化完后,会形成两个新的dev.json和train.json,格式如下:
{
    "conversations": [
        {
            "role": "user",
            "content": "用户的问题或请求"
        },
        {
            "role": "assistant",
            "content": "助手的回答或回复"
        }
    ]
}
将输出的新的AdvertiseGen_fix文件夹保存到下载好的ChatGLM3-main/finetune_demo文件夹中
四、微调文件配置
根据第二步最后重新创建的lora1.yaml文件,我配置的lora1.yaml文件如下,需要根据设备的配置自行定义参数:
data_config:
  train_file: train.json                # 训练数据文件
  val_file: dev.json               # 验证数据文件
  test_file: dev.json               # 测试数据文件
  num_proc: 12                          # 数据加载和预处理使用的进程数,根据CPU核数来

max_input_length: 256                   # 模型输入的最大长度
max_output_length: 512                  # 模型输出的最大长度

training_args:
  output_dir: ./output                  # 模型输出和检查点的保存目录
  max_steps: 3000                       # 训练的最大步数
  learning_rate: 5e-5                   # 学习率
  per_device_train_batch_size: 2        # 每个设备的训练批量大小
  dataloader_num_workers: 12            # 数据加载的工作进程数,根据CPU核数来
  remove_unused_columns: false          # 是否移除未使用的列
  save_strategy: steps                  # 模型保存策略
  save_steps: 500                       # 模型保存步数间隔
  log_level: info                       # 日志级别
  logging_strategy: steps               # 日志记录策略
  logging_steps: 1                     # 日志记录步数间隔
  per_device_eval_batch_size: 4        # 每个设备的评估批量大小
  evaluation_strategy: steps            # 评估策略
  eval_steps: 500                       # 评估步数间隔
  predict_with_generate: true           # 使用生成模式进行预测
  generation_config:
    max_new_tokens: 512                 # 生成任务中最大新生成的token数
  use_cpu: false                        # 是否使用CPU进行训练

peft_config:
  peft_type: LORA                       # 使用的参数效率微调技术类型(LoRA)
  task_type: CAUSAL_LM                  # 任务类型,因果语言模型
  r: 8                                  # LoRA的秩
  lora_alpha: 32                        # LoRA的放大系数
  lora_dropout: 0.1                     # LoRA层的dropout率
五、开始微调
创建完后,在finetune该文件夹下创建一个运行脚本,完整步骤如下
#!/bin/bash

# 设置环境变量
export CUDA_VISIBLE_DEVICES=0
export NCCL_P2P_DISABLE="1"
export NCCL_IB_DISABLE="1"

# 执行 Python 脚本
python finetune_hf.py AdvertiseGen_fix/ /home/user/.cache/modelscope/hub/models/ZhipuAI/chatglm3-6b configs/lora1.yaml
#上面的模型路径需要换成你下载的路径
终端运行命令赋予脚本运行权限
chmod +x run.sh
之后conda激活你的环境,运行脚本
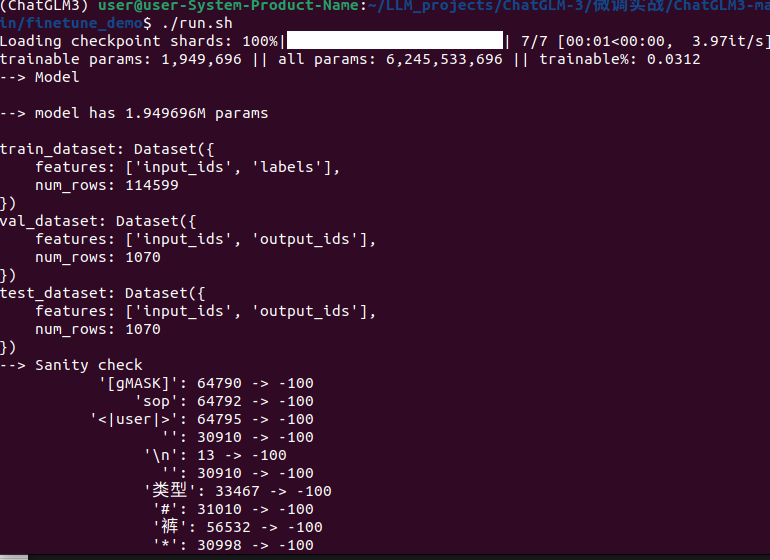
可见加载模型开始微调
六、可能遇到的问题
1.运行脚本后可能会遇到一些库不存在
我遇到的一些没下载的库名为:
pip install ruamel.yaml
pip install datasets
pip install peft==0.13.2
2.遇到transformers库初始化问题
ImportError: cannot import name 'EncoderDecodercache' from'transformers'
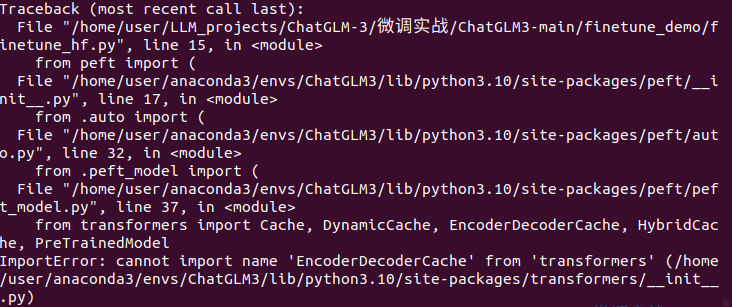
这个错误是peft库版本太高,需要降级库
pip install peft==0.13.2
3.分词器报错
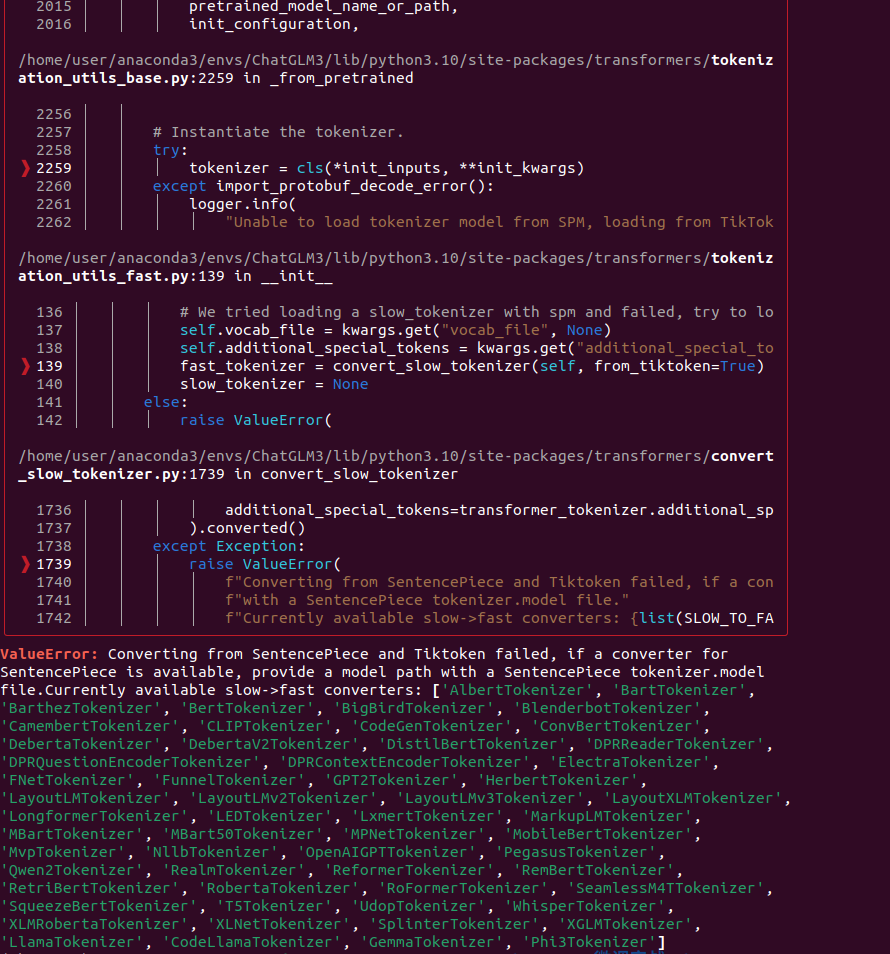
这是transformer库版本太高了,需要降级至4.40.0版本
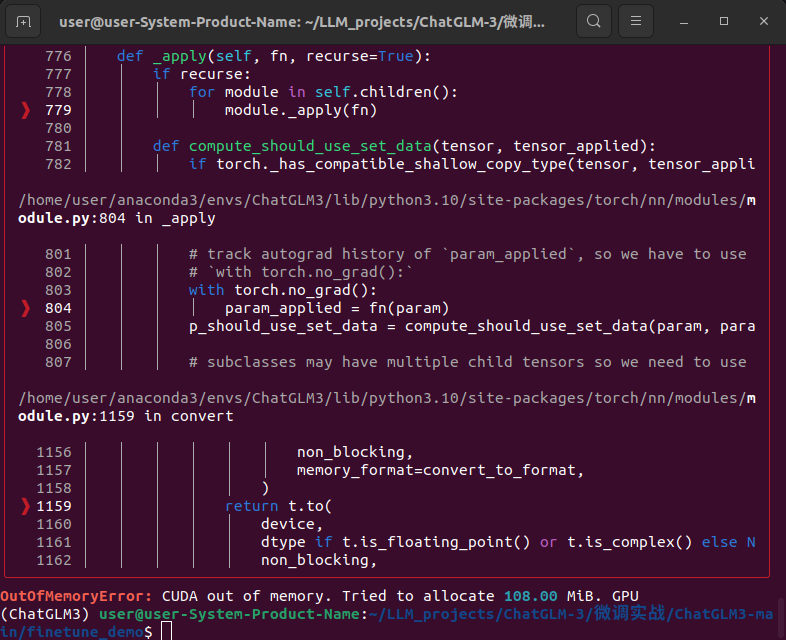
4.训练显存不够
微调过程中出现的CUDA内存不足问题(OutOfMemoryError)
可以尝试将配置文件进行更新
data_config:
  train_file: train.json                # 训练数据文件
  val_file: dev.json               # 验证数据文件
  test_file: dev.json               # 测试数据文件
  num_proc: 12                          # 数据加载和预处理使用的进程数,根据CPU核数来

max_input_length: 256                   # 模型输入的最大长度
max_output_length: 512                  # 模型输出的最大长度

training_args:
  output_dir: ./output                  # 模型输出和检查点的保存目录
  max_steps: 3000                       # 训练的最大步数
  learning_rate: 5e-5                   # 学习率
  per_device_train_batch_size: 1        # 每个设备的训练批量大小
  dataloader_num_workers: 12            # 数据加载的工作进程数,根据CPU核数来
  remove_unused_columns: false          # 是否移除未使用的列
  save_strategy: steps                  # 模型保存策略
  save_steps: 500                       # 模型保存步数间隔
  log_level: info                       # 日志级别
  logging_strategy: steps               # 日志记录策略
  logging_steps: 1                     # 日志记录步数间隔
  per_device_eval_batch_size: 2        # 每个设备的评估批量大小
  evaluation_strategy: steps            # 评估策略
  eval_steps: 500                       # 评估步数间隔
  predict_with_generate: true           # 使用生成模式进行预测
  gradient_checkpointing: true  # 梯度检查点技术
  generation_config:
    max_new_tokens: 512                 # 生成任务中最大新生成的token数
  use_cpu: false                        # 是否使用CPU进行训练
   #gradient_accumulation_steps: 4      # 新增梯度累积
  fp16: true                          # 启用混合精度训练

peft_config:
  peft_type: LORA                       # 使用的参数效率微调技术类型(LoRA)
  task_type: CAUSAL_LM                  # 任务类型,因果语言模型
  r: 8                                  # LoRA的秩
  lora_alpha: 32                        # LoRA的放大系数
  lora_dropout: 0.1                     # LoRA层的dropout率
如果还不够,那么就需要另想办法,博主也正在尝试......


 17万+
17万+

 被折叠的 条评论
为什么被折叠?
被折叠的 条评论
为什么被折叠?
 到【灌水乐园】发言


