tensorrt 推理mnist数据集(python 版)

该文详细介绍了如何利用TensorRT提供的trtexec工具将ONNX模型(mnist.onnx)转换为TRT引擎(mnist.trt),然后在Python环境中导入相关库,如TensorRT、NumPy和PyCUDA,加载并执行这个TRT引擎进行MNIST手写数字识别的推理过程。通过创建输入输出变量,准备数据,执行推理并获取结果,展示了TensorRT在GPU加速上的应用。
部署运行你感兴趣的模型镜像

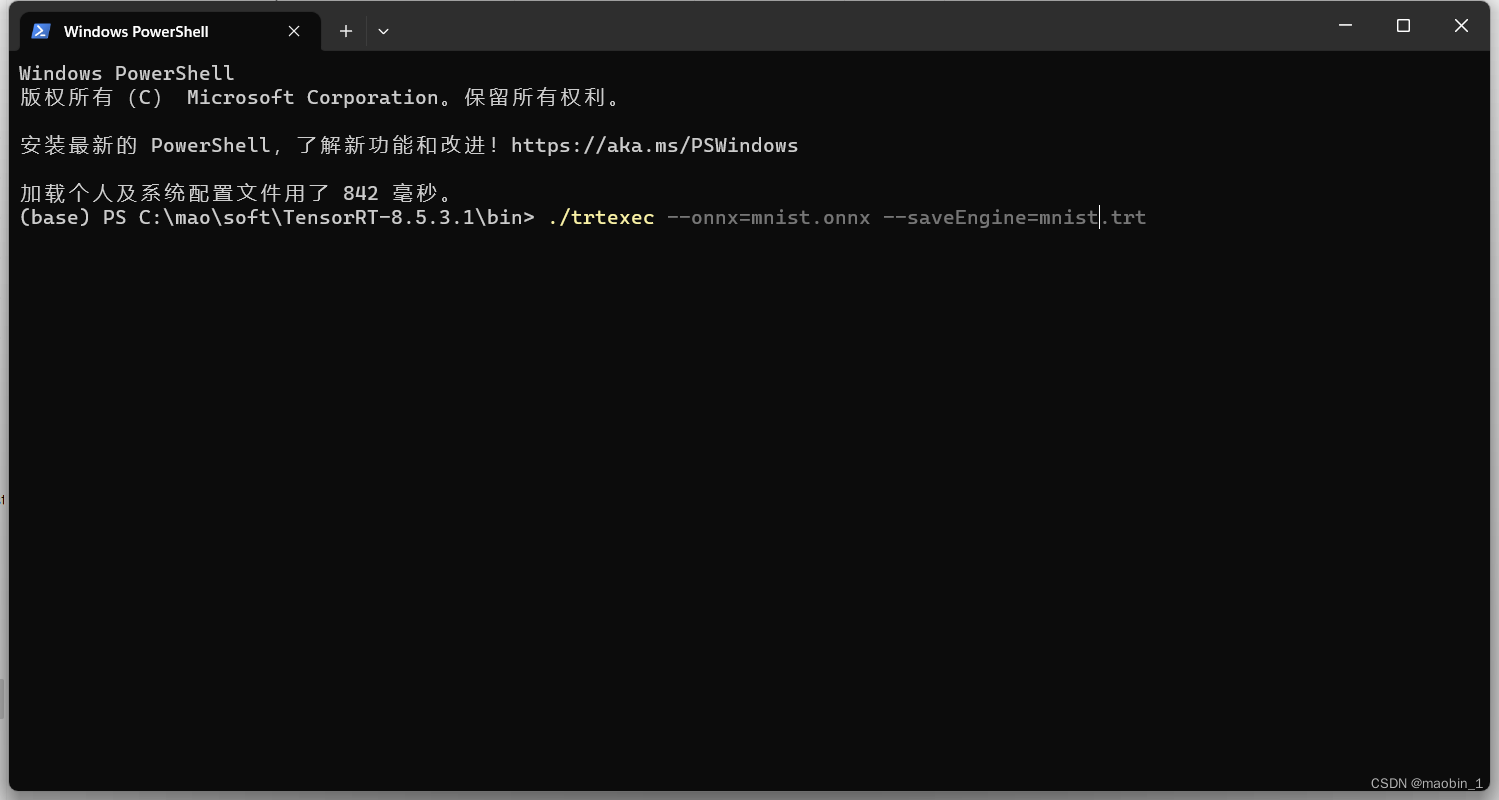
1、利用官方自带的trtexec.exe文件将Tensorrt自带的onnx导出为trt文件。命令为

./trtexec --onnx=mnist.onnx --saveEngine=mnist.trt

 2、导入相关的库,trt目录下有对应的tensorrt包。torch安装GPU版。参考

TensorRT的Python接口解析 - 知乎

import tensorrt as trt
import numpy as np
import pycuda.driver as cuda
import pycuda.autoinit
from pycuda.compiler import SourceModule
from PIL import Image
import torchvision.transforms as transforms
# 加载MNIST TensorRT模型文件 
TRT_LOGGER = trt.Logger(trt.Logger.WARNING) 
#从文件加载引擎、Runtime接口反序列化引擎、可以从内存缓冲区反序列化引擎
with open('mnist.trt', 'rb') as f, trt.Runtime(TRT_LOGGER) as runtime:
    engine = runtime.deserialize_cuda_engine(f.read())

# 创建推理引擎 
context = engine.create_execution_context()

# 创建输入和输出变量
input_shape = (1, 1, 28, 28)
output_shape = (1, 10)
input_host = np.empty(input_shape, dtype=np.float32)
print(input_shape)

output_host = np.empty(output_shape, dtype=np.float32)
input_device = cuda.mem_alloc(input_host.nbytes)
output_device = cuda.mem_alloc(output_host.nbytes)
bindings = [int(input_device), int(output_device)]

# 准备输入数据
input_host = Image.open("9.png").convert('L')
input_host = transforms.Resize((28, 28))(input_host)
input_host = transforms.ToTensor()(input_host)
input_host = input_host.numpy().reshape(1, 1, 28, 28).astype(np.float32)


# np.copyto(input_host, input_data.ravel())

# 执行推理
stream = cuda.Stream()
cuda.memcpy_htod_async(input_device, input_host, stream)
context.execute_async_v2(bindings=bindings, stream_handle=stream.handle)
cuda.memcpy_dtoh_async(output_host, output_device, stream)

# 等待推理完成
stream.synchronize()

# 输出结果
print(output_host)
print(np.argmax(output_host))

您可能感兴趣的与本文相关的镜像

PyTorch 2.5

PyTorch 2.5

PyTorch
Cuda

PyTorch 是一个开源的 Python 机器学习库,基于 Torch 库,底层由 C++ 实现,应用于人工智能领域,如计算机视觉和自然语言处理

### TensorRT 模型推理 示例代码 对于TensorRT中的模型推理过程,可以通过Python接口实现。下面是一个使用TensorRT进行MNIST数据集推理的简化本示例[^1]: ```python import tensorrt as trt import numpy as np import pycuda.driver as cuda import pycuda.autoinit def allocate_buffers(engine): inputs = [] outputs = [] bindings = [] stream = cuda.Stream() for binding in engine: size = trt.volume(engine.get_binding_shape(binding)) * engine.max_batch_size dtype = trt.nptype(engine.get_binding_dtype(binding)) # Allocate host and device buffers host_mem = cuda.pagelocked_empty(size, dtype) device_mem = cuda.mem_alloc(host_mem.nbytes) # Append the device buffer to device bindings. bindings.append(int(device_mem)) # Append to the appropriate list. if engine.binding_is_input(binding): inputs.append({'host': host_mem, 'device': device_mem}) else: outputs.append({'host': host_mem, 'device': device_mem}) return inputs, outputs, bindings, stream def do_inference(context, bindings, inputs, outputs, stream, batch_size=1): # Transfer input data to the GPU. [cuda.memcpy_htod_async(inp['device'], inp['host'], stream) for inp in inputs] # Run inference. context.execute_async(batch_size=batch_size, bindings=bindings, stream_handle=stream.handle) # Transfer predictions back from the GPU. [cuda.memcpy_dtoh_async(out['host'], out['device'], stream) for out in outputs] # Synchronize the stream stream.synchronize() return [out['host'] for out in outputs] # Load your previously created TensorRT engine file here (omitted) with open("mnist_engine.trt", "rb") as f, trt.Runtime(TRT_LOGGER) as runtime: engine = runtime.deserialize_cuda_engine(f.read()) context = engine.create_execution_context() inputs, outputs, bindings, stream = allocate_buffers(engine) input_data = np.random.rand(1, 1, 28, 28).astype(np.float32) # Replace with actual MNIST image preprocessing code np.copyto(inputs[0]['host'], input_data.ravel()) trt_outputs = do_inference(context, bindings=bindings, inputs=inputs, outputs=outputs, stream=stream)[0].reshape(-1) print(trt_outputs.argmax()) # Print predicted digit class index ``` 此段代码展示了如何创建输入输出缓冲区、执行实际推断以及处理结果的过程。 为了提升性能,在遇到吞吐量受限于排队时间和GPU计算时间不稳定的警告时,可以根据具体情况进行调整,比如尝试`--useCudaGraph`选项或锁定GPU时钟频率等措施来优化性能表现[^3]。
评论 1
添加红包

请填写红包祝福语或标题

红包个数最小为10个

红包金额最低5元

当前余额3.43前往充值 >
需支付:10.00
成就一亿技术人!
领取后你会自动成为博主和红包主的粉丝 规则
hope_wisdom
发出的红包
实付
使用余额支付
点击重新获取
扫码支付
钱包余额 0

抵扣说明:

1.余额是钱包充值的虚拟货币,按照1:1的比例进行支付金额的抵扣。
2.余额无法直接购买下载,可以购买VIP、付费专栏及课程。

余额充值