


用vscode调试需要传递参数,启动方式为sh文件的脚本
背景:我需要调试fcos3d,transformer等模型,启动方式都是sh,竟然找遍全网,没有找到一个详细解释如何实现的,呜呜,那么我写一篇吧,希望对大家有帮助。有用的话麻烦给我点个赞呀,全部都是自己一个字一个字码字的。
问题描述:
vscode 调试 sh文件启动 python
以sh文件为启动方式的脚本,启动文件是sh,且一般需要传参,难以用vscode调试。可以采用以下方式,实现调试。
例如我原本的启动命令为:
tools/dist_train.sh configs/fcos3d/fcos3d_r101-caffe-dcn_fpn_head-gn_8xb2-1x_nus-mono3d.py 1
其中tools/dist_train.sh为目标sh文件,
configs/fcos3d/fcos3d_r101-caffe-dcn_fpn_head-gn_8xb2-1x_nus-mono3d.py和 1为传入的两个参数。
这是很难调试的。
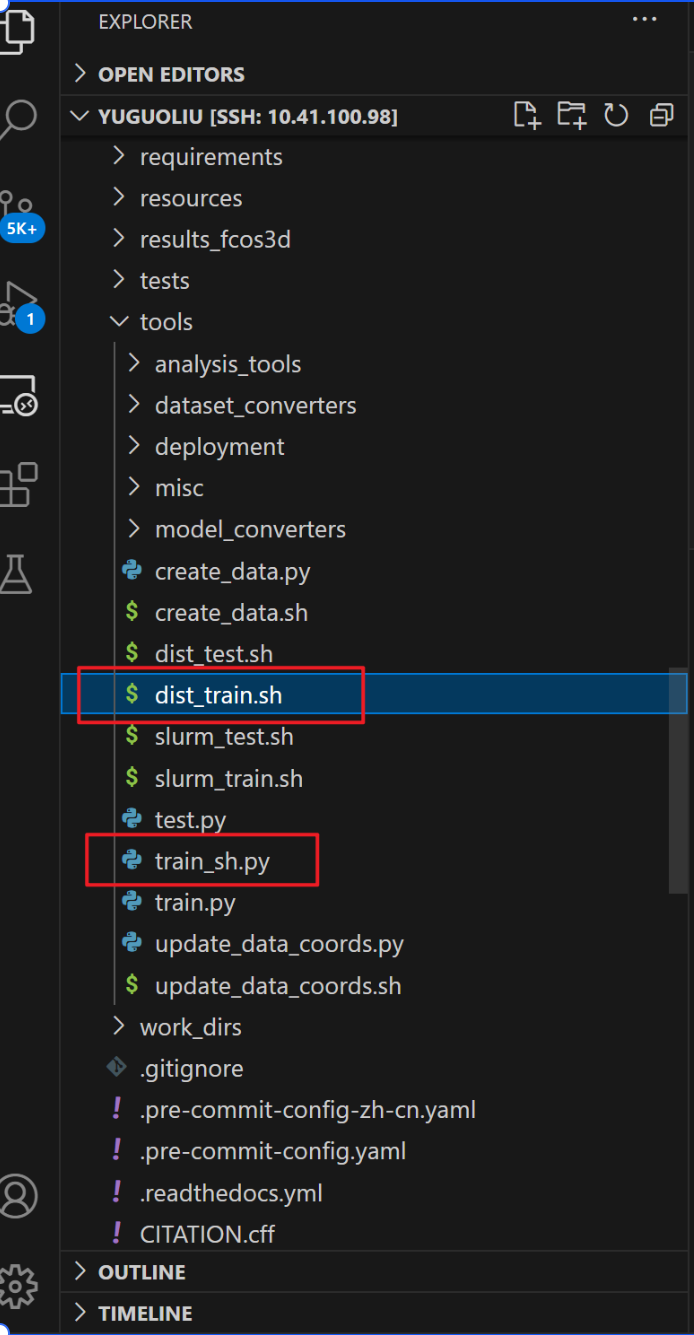
1.写一个和sh文件等效功能的py脚本。如把dist_train.sh改写成同一目录下的train_sh.py(这一部分交给deepseek,chatgpt,豆包,千问就行啦~)
代码的目录结构:
如原本的dist_train.sh内容为
#!/usr/bin/env bash

CONFIG=$1
GPUS=$2
NNODES=${NNODES:-1}
NODE_RANK=${NODE_RANK:-0}
PORT=${PORT:-29500}
MASTER_ADDR=${MASTER_ADDR:-"127.0.0.1"}

PYTHONPATH="$(dirname $0)/..":$PYTHONPATH \
python -m torch.distributed.launch \
    --nnodes=$NNODES \
    --node_rank=$NODE_RANK \
    --master_addr=$MASTER_ADDR \
    --nproc_per_node=$GPUS \
    --master_port=$PORT \
    $(dirname "$0")/train.py \
    $CONFIG \
    --launcher pytorch ${@:3}
改写为
import subprocess
import os
import sys

# 获取命令行参数
if len(sys.argv) < 3:
    print("Usage: python script.py <CONFIG> <GPUS> [other_args]")
    sys.exit(1)

config = sys.argv[1]
gpus = sys.argv[2]
other_args = sys.argv[3:]

# 获取环境变量或设置默认值
nnodes = os.getenv('NNODES', '1')
node_rank = os.getenv('NODE_RANK', '0')
port = os.getenv('PORT', '29500')
master_addr = os.getenv('MASTER_ADDR', '127.0.0.1')

# 获取当前脚本所在目录
current_dir = os.path.dirname(os.path.abspath(__file__))

# 设置 PYTHONPATH
python_path = f"{os.path.join(current_dir, '..')}:{os.getenv('PYTHONPATH', '')}"
os.environ['PYTHONPATH'] = python_path

# 构建命令列表
command = [
    sys.executable,  # 使用当前 Python 解释器
    '-m', 'torch.distributed.launch',
    f'--nnodes={nnodes}',
    f'--node_rank={node_rank}',
    f'--master_addr={master_addr}',
    f'--nproc_per_node={gpus}',
    f'--master_port={port}',
    os.path.join(current_dir, 'train.py'),
    config,
    '--launcher', 'pytorch'
] + other_args

# 执行命令
try:
    subprocess.run(command, check=True)
except subprocess.CalledProcessError as e:
    print(f"Error: {e}")
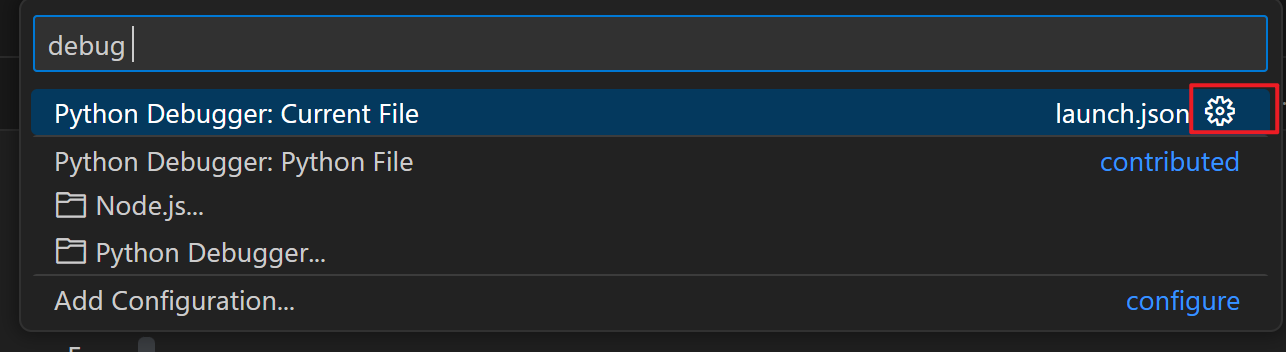
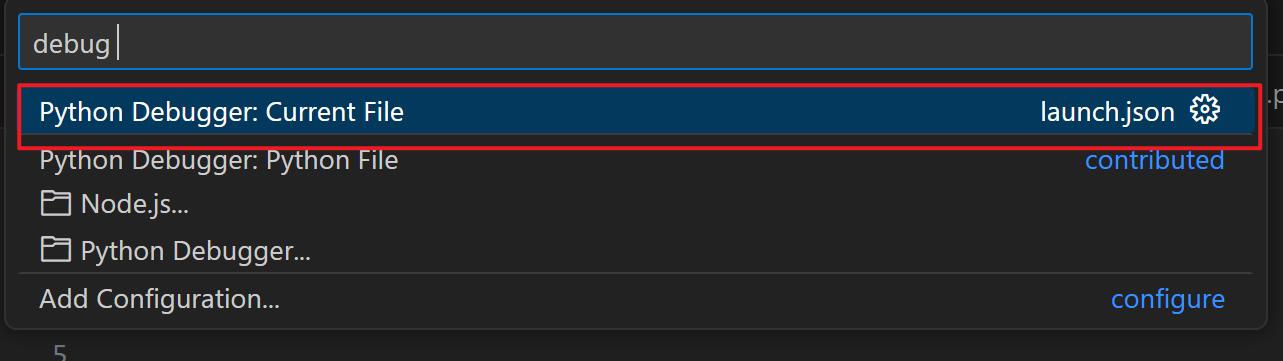
2.修改launch.json
找到launch.json文件的方法:
按照上一步骤后会弹出此窗口,点击齿轮就好:
修改原有的json为:
{
    // Use IntelliSense to learn about possible attributes.
    // Hover to view descriptions of existing attributes.
    // For more information, visit: https://go.microsoft.com/fwlink/?linkid=830387
    "version": "0.2.0",
    "configurations": [
        {
            "name": "Python Debugger: Current File",
            "type": "debugpy",
            "request": "launch",

            "program": "${file}",
            "console": "integratedTerminal",
            "args": "${command:pickArgs}"  #添加了这一行使得运行debug的时候会弹出传参入口
        }
    ]
}
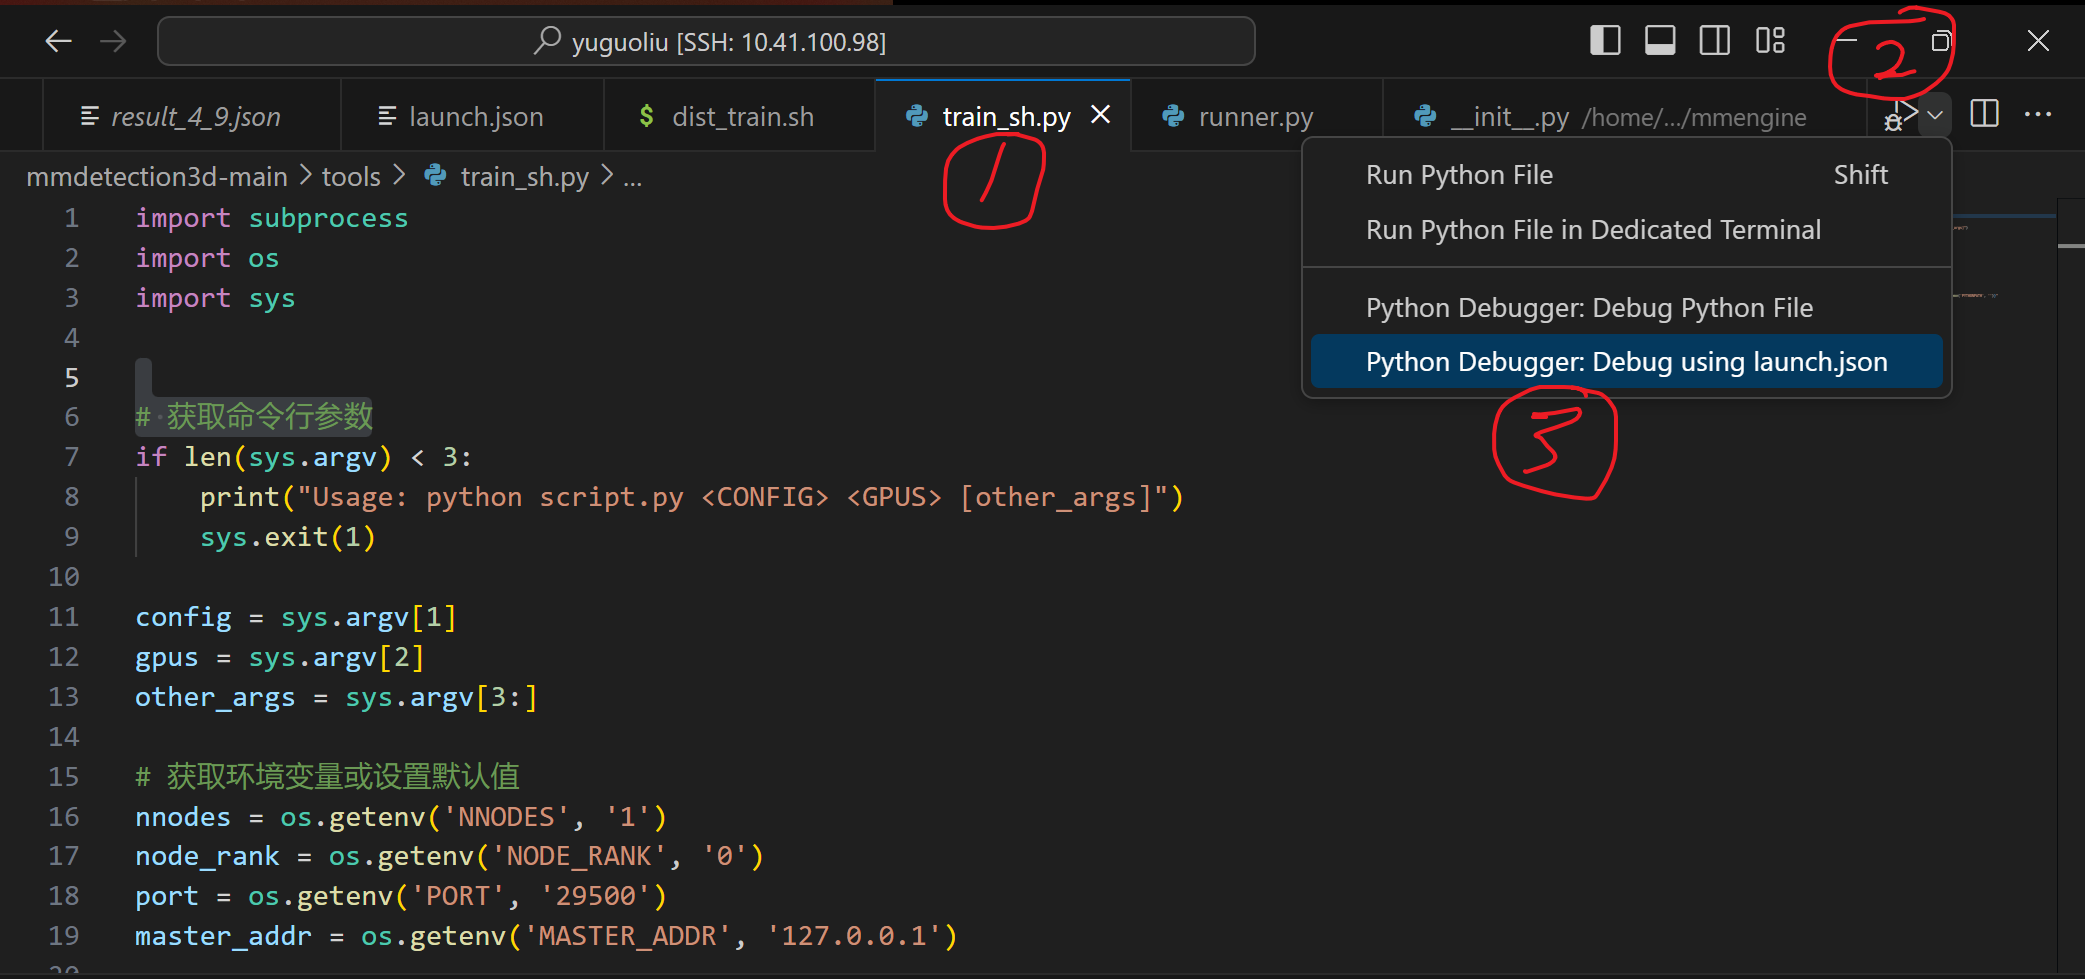
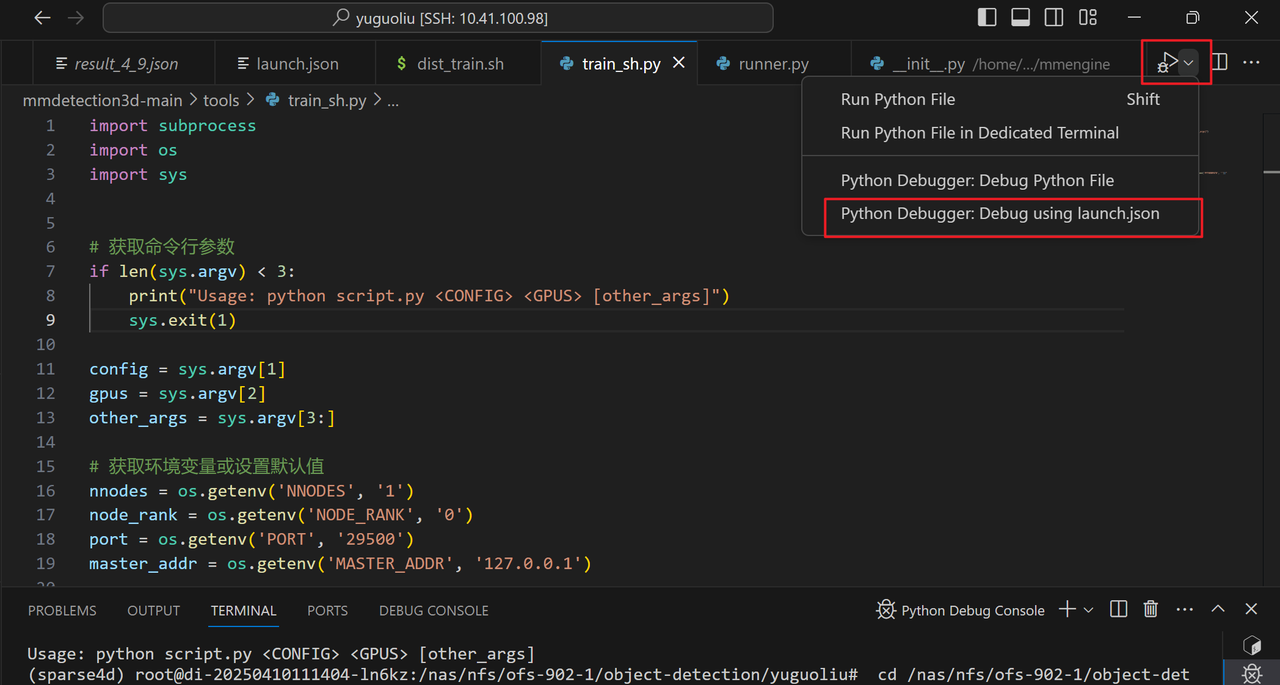
3.点击train_sh.py,再点击利用launch.json调试。
步骤1.
步骤2
步骤3

在步骤3弹出来的框中,写入自己调试脚本时需要添加的参数。
对我来说需要写入的是:configs/fcos3d/fcos3d_r101-caffe-dcn_fpn_head-gn_8xb2-1x_nus-mono3d.py 1
这样就能打断点,启动调试了。
tips:由于我传入的参数是相对路径,可能会产生找不到路径,把传入的路径改为绝对路径就好


 2833
2833

 被折叠的 条评论
为什么被折叠?
被折叠的 条评论
为什么被折叠?
 到【灌水乐园】发言


