


 本文介绍了一种使用Arduino Uno控制AD9850 DDS芯片制作变频振荡器(VFO)的方法。该装置可以通过旋转编码器调整频率,并利用LiquidCrystal库显示频率。文中还提供了完整的Arduino程序代码。
优快云话题挑战赛第2期
参赛话题:学习笔记
1、整体设计
有一天,我在浏览优快云时看到一篇关于 AD9850 的帖子。AD9850是一款可以产生1hz到40mhz左右正弦波的芯片。淘宝的产品经销商能够将芯片与提供 TTL 电平控制的小板配对,然后以令人难以置信的 60元(或更低!)的价格出售。
要控制 AD9850,您需要某种微控制器。无需过多详细说明,您需要向芯片发送一组串行或并行数据来设置频率。网上有很多帖子详细说明了如何做到这一点,所以我不会详细介绍。然而,很难找到一个好的 AD9850 引脚排列,所以你去吧。
2、硬件方案
GND = 地;Vss
CLK = 串行编程时钟
Latch = 串行编程锁存器(9850 上的 FQ_UD 引脚)
DATA = 串行编程 DATA(内部连接到 D7)
RST = 复位。保持连接到 GND
SQW = 方波输出(互补) 占空比可通过蓝色电位器调节。
SINA = 原始未滤波 AD9850 正弦输出
SINB = 70 MHz LPF 滤波 AD9850 输出。
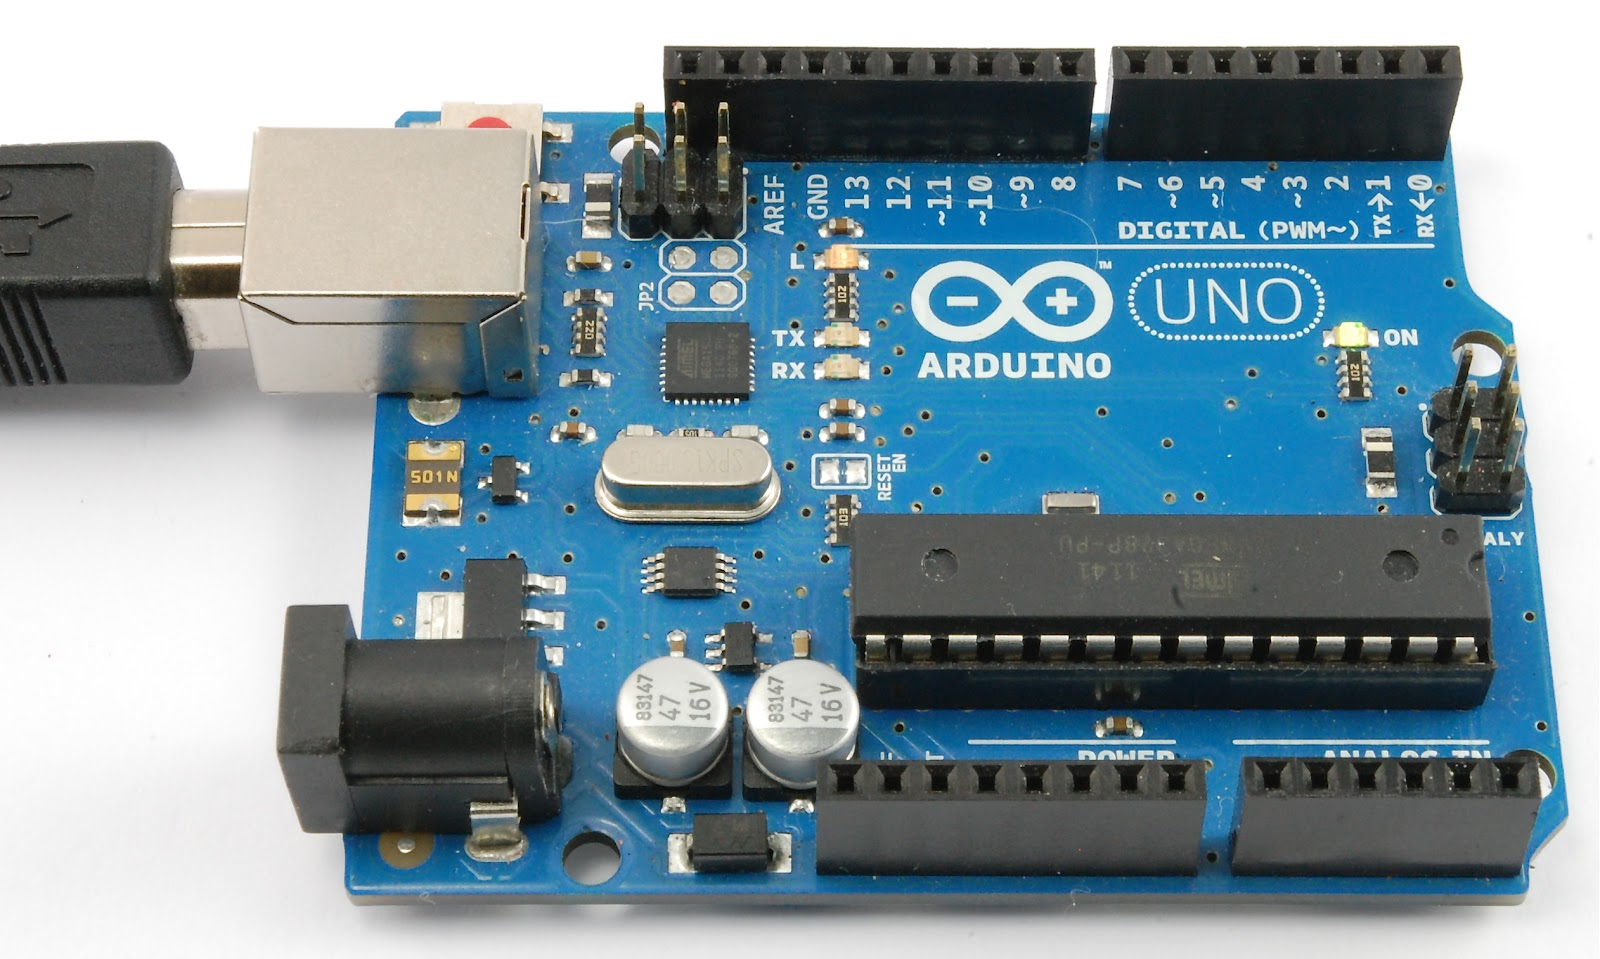
对我来说,管理 AD9850 的最简单方法是使用 Arduino Uno。如果您不了解 Arduino 平台,您应该查看官方网站www.arduino.cc。我使用 Arduino 好多年了,我已经发现它是一个很棒的开发平台。如果你是一个业余爱好者……你真的不会出错。
这个项目正在进行中。您应该能够从 Arduino Sketch 中推断出所有项目的引脚,但如果您有任何问题,请联系我。我的原理图有点粗糙,因为我不倾向于经常创建它们,所以如果你发现任何不合适的东西,请告诉我!
由于有很多请求,我还为 IF(超外差)类型的接收器创建了一个版本。VFO 现在支持中频,并且可以切换 Arduino 上一个模拟输入的高/低电平。IF 可以是您想要的任何东西,可以是加法或减法。
DDS VFO 的输出电压随频率而变化,因此如果您需要它在宽范围 VFO 上输出恒定电平,您需要在缓冲器中设计一个 AGC(或排序)以提供恒定电平输出. 我已经看到一些带有简单运算放大器的出色设计,它们通过接入反馈电路来实现这一点。
同时这个方案它适用于 nano。注意:Arduino 的 D10 连接到 AD9850 的 DATA 引脚,而不是 D7。
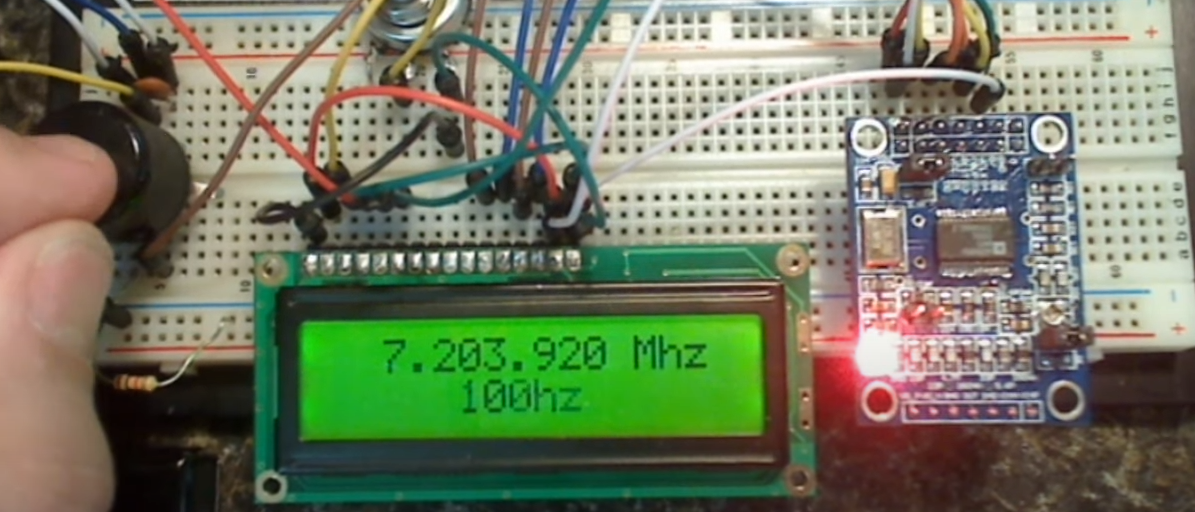
连接后的硬件电路如下:

3、软件程序
arduino的程序如下:
#include <LiquidCrystal.h>
#include <Rotary.h>
#include <EEPROM.h>

//Setup some items
#define W_CLK 8   // Pin 8 - connect to AD9850 module word load clock pin (CLK)
#define FQ_UD 9   // Pin 9 - connect to freq update pin (FQ)
#define DATA 10   // Pin 10 - connect to serial data load pin (DATA)
#define RESET 11  // Pin 11 - connect to reset pin (RST)
#define pulseHigh(pin) {digitalWrite(pin, HIGH); digitalWrite(pin, LOW); }
Rotary r = Rotary(2,3); // sets the pins the rotary encoder uses.  Must be interrupt pins.
LiquidCrystal lcd(12, 13, 7, 6, 5, 4); // I used an odd pin combination because I need pin 2 and 3 for the interrupts.
int_fast32_t rx=7000000; // Starting frequency of VFO
int_fast32_t rx2=1; // variable to hold the updated frequency
int_fast32_t increment = 100; // starting VFO update increment in HZ.
int buttonstate = 0;
String hertz = "100 Hz";
int  hertzPosition = 5;
byte ones,tens,hundreds,thousands,tenthousands,hundredthousands,millions ;  //Placeholders
String freq; // string to hold the frequency
int_fast32_t timepassed = millis(); // int to hold the arduino miilis since startup
int memstatus = 1;  // value to notify if memory is current or old. 0=old, 1=current.

int ForceFreq = 1;  // Change this to 0 after you upload and run a working sketch to activate the EEPROM memory.  YOU MUST PUT THIS BACK TO 0 AND UPLOAD THE SKETCH AGAIN AFTER STARTING FREQUENCY IS SET!

void setup() {
  Serial.begin(9600);
  Serial.println("Start...");
  pinMode(A0,INPUT); // Connect to a button that goes to GND on push
  digitalWrite(A0,HIGH);
  lcd.begin(16, 2);
  r.begin();
  PCICR |= (1 << PCIE2);
  PCMSK2 |= (1 << PCINT18) | (1 << PCINT19);
  sei();
  pinMode(FQ_UD, OUTPUT);
  pinMode(W_CLK, OUTPUT);
  pinMode(DATA, OUTPUT);
  pinMode(RESET, OUTPUT);
  pulseHigh(RESET);
  pulseHigh(W_CLK);
  pulseHigh(FQ_UD);  // this pulse enables serial mode on the AD9850 - Datasheet page 12.
  Serial.println("DDS v1.0.0");
  lcd.clear();
  lcd.setCursor(hertzPosition,1);
  lcd.print(hertz);
   // Load the stored frequency
  if (ForceFreq == 0) {
    freq = String(EEPROM.read(0))+String(EEPROM.read(1))+String(EEPROM.read(2))+String(EEPROM.read(3))+String(EEPROM.read(4))+String(EEPROM.read(5))+String(EEPROM.read(6));
    rx = freq.toInt();
    Serial.println(rx);
  }

}


void loop() {
  if (rx != rx2){
        showFreq();
        sendFrequency(rx);
        rx2 = rx;
      }

  buttonstate = digitalRead(A0);
  if(buttonstate == LOW) {
        setincrement();
    };

  // Write the frequency to memory if not stored and 20 seconds have passed since the last frequency change.
    if(memstatus == 0){
      if(timepassed+20000 < millis()){
        storeMEM();
      }
    }
}


ISR(PCINT2_vect) {
  unsigned char result = r.process();
  if (result) {
    if (result == DIR_CW){rx=rx+increment;}
    else {rx=rx-increment;};
      if (rx >=30000000){rx=rx2;}; // UPPER VFO LIMIT
      if (rx <=500000){rx=rx2;}; // LOWER VFO LIMIT
  }
}


// frequency calc from datasheet page 8 = <sys clock> * <frequency tuning word>/2^32
void sendFrequency(double frequency) {
  int32_t freq = frequency * 4294967295/125000000;  // note 125 MHz clock on 9850.  You can make 'slight' tuning variations here by adjusting the clock frequency.
  for (int b=0; b<4; b++, freq>>=8) {
    tfr_byte(freq & 0xFF);
  }
  tfr_byte(0x000);   // Final control byte, all 0 for 9850 chip
  pulseHigh(FQ_UD);  // Done!  Should see output
}
// transfers a byte, a bit at a time, LSB first to the 9850 via serial DATA line
void tfr_byte(byte data)
{
  for (int i=0; i<8; i++, data>>=1) {
    digitalWrite(DATA, data & 0x01);
    pulseHigh(W_CLK);   //after each bit sent, CLK is pulsed high
  }
}

void setincrement(){
  if(increment == 1){increment = 10; hertz = "10 Hz"; hertzPosition=5;}
  else if(increment == 10){increment = 50; hertz = "50 Hz"; hertzPosition=5;}
  else if (increment == 50){increment = 100;  hertz = "100 Hz"; hertzPosition=4;}
  else if (increment == 100){increment = 500; hertz="500 Hz"; hertzPosition=4;}
  else if (increment == 500){increment = 1000; hertz="1 Khz"; hertzPosition=6;}
  else if (increment == 1000){increment = 2500; hertz="2.5 Khz"; hertzPosition=4;}
  else if (increment == 2500){increment = 5000; hertz="5 Khz"; hertzPosition=6;}
  else if (increment == 5000){increment = 10000; hertz="10 Khz"; hertzPosition=5;}
  else if (increment == 10000){increment = 100000; hertz="100 Khz"; hertzPosition=4;}
  else if (increment == 100000){increment = 1000000; hertz="1 Mhz"; hertzPosition=6;}
  else{increment = 1; hertz = "1 Hz"; hertzPosition=5;};
   lcd.setCursor(0,1);
   lcd.print("                ");
   lcd.setCursor(hertzPosition,1);
   lcd.print(hertz);
   delay(250); // Adjust this delay to speed up/slow down the button menu scroll speed.
};

void showFreq(){
    millions = int(rx/1000000);
    hundredthousands = ((rx/100000)%10);
    tenthousands = ((rx/10000)%10);
    thousands = ((rx/1000)%10);
    hundreds = ((rx/100)%10);
    tens = ((rx/10)%10);
    ones = ((rx/1)%10);
    lcd.setCursor(0,0);
    lcd.print("                ");
   if (millions > 9){lcd.setCursor(1,0);}
   else{lcd.setCursor(2,0);}
    lcd.print(millions);
    lcd.print(".");
    lcd.print(hundredthousands);
    lcd.print(tenthousands);
    lcd.print(thousands);
    lcd.print(".");
    lcd.print(hundreds);
    lcd.print(tens);
    lcd.print(ones);
    lcd.print(" Mhz  ");
    timepassed = millis();
    memstatus = 0; // Trigger memory write
};

void storeMEM(){
  //Write each frequency section to a EPROM slot.  Yes, it's cheating but it works!
   EEPROM.write(0,millions);
   EEPROM.write(1,hundredthousands);
   EEPROM.write(2,tenthousands);
   EEPROM.write(3,thousands);
   EEPROM.write(4,hundreds);
   EEPROM.write(5,tens);
   EEPROM.write(6,ones);
   memstatus = 1;  // Let program know memory has been written
   Serial.println(rx);
};
4、实物验证


 7681
7681

 被折叠的 条评论
为什么被折叠?
被折叠的 条评论
为什么被折叠?
 到【灌水乐园】发言


