


PS:This file only provides the method which sets up the Virtual Environment by UV.Thus if you want to use the following examples,you ought to download that.
PS:You can open the file "UV And It's Functions.txt" or visit "https://docs.astral.sh/uv/" to learn more about UV.If you've already download UV,just type UV in the Power Shell.
PS:We use the VS Code and Cline to solve the tasks
I.MCP And MCP Server
MCP:Model Context Protocol
MCP (Model Context Protocol) is an open protocol that enables AI models to securely interact with local and remote resources through standardized server implementations. It follows a client-host-server architecture, allowing integration of AI functionality in applications while maintaining clear security boundaries and isolation focus.
MCP Sever:
A file or any other things that provides MCP serves.
II.Steps To Build Up A MCP Server
1st. Set Up Virtual Environment
Use the following codes to set up a new Virtual Environment:
uv venv <NAME>(If the <NAME> remains unfilled ,it uses <.venv>)
2nd.Alter And Check The Environment
Press "Ctrl" +"Shift"+"P",choose "Python:Select Interpreter" and then click your Virtual Environment(<.venv> etc.)If the environment variable has been changed,please reboot the VS Code to make sure the environment is available.The VS Code has already activated the environment so you needn't stir it up by yourself
3rd.Install The Required Resources
Use the following codes install the resources:
uv pip install <RESOURCE NAME>
4th.Write your MCP Server File(Python Files)
our file must include the following codes:
from fastmcp import FastMCP
# Initialize FastMCP server
mcp = FastMCP("<SERVER'S NAME>")
#Constants
@mcp.tool()
async def <TOOL NAME>(<PARAMETERS NAME1>:<INPUT TYPE>,<PARAMETERS NAME2>:<INPUT TYPE>,......)-><OUTPUT TYPE>:
"""<FUNCTION AND DESCRIPTION OF THE TOOL>
Args:
<PARAMETERS NAME1>:<FUNCTION AND DESCRIPTION OF THE PARAMETERS>
<PARAMETERS NAME2>:<FUNCTION AND DESCRIPTION OF THE PARAMETERS>
......
"""
<SUBJECT OF THE TOOL>
if __name__ == "__main__":
# Initialize and run the server
mcp.run()
5th.Write your MCP Settings File("mcp_settings.json")
Your file must include the following codes:
{
"mcpServers": {
"<SERVER'S NAME>": {
"disabled": <BOOL>,
"timeout": <TIME>,
"type": <INTERACTION TYPE>,
"command": "uv",
"args": [
"--directory",
"<LOCTION OF YOUR FILE>",
"run",
"<NAME OF YOUR MCP SERVER FILE>"
]
}
AI大模型学习福利
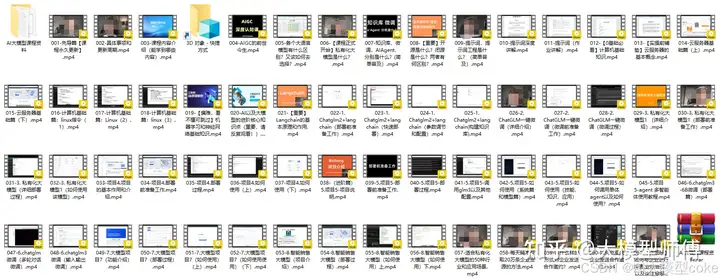
作为一名热心肠的互联网老兵,我决定把宝贵的AI知识分享给大家。 至于能学习到多少就看你的学习毅力和能力了 。我已将重要的AI大模型资料包括AI大模型入门学习思维导图、精品AI大模型学习书籍手册、视频教程、实战学习等录播视频免费分享出来。
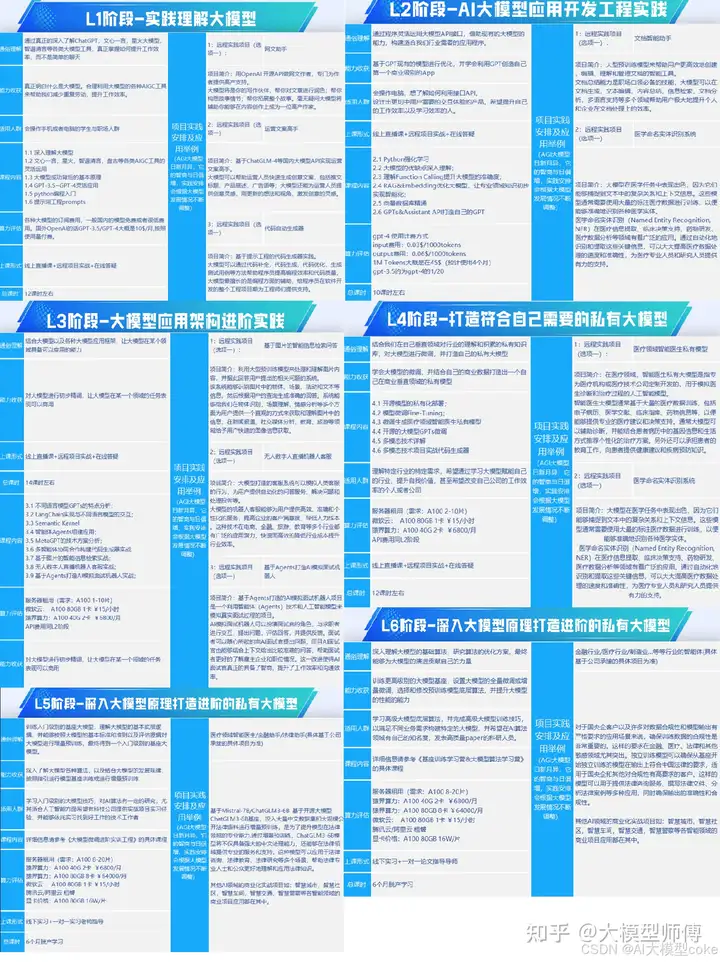
一、全套AGI大模型学习路线
AI大模型时代的学习之旅:从基础到前沿,掌握人工智能的核心技能!
因篇幅有限,仅展示部分资料,需要点击文章最下方名片即可前往获取
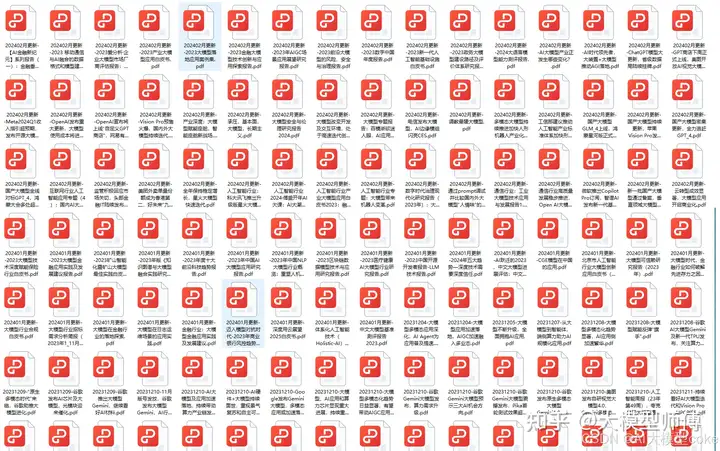
二、640套AI大模型报告合集
这套包含640份报告的合集,涵盖了AI大模型的理论研究、技术实现、行业应用等多个方面。无论您是科研人员、工程师,还是对AI大模型感兴趣的爱好者,这套报告合集都将为您提供宝贵的信息和启示。
因篇幅有限,仅展示部分资料,需要点击文章最下方名片即可前往获
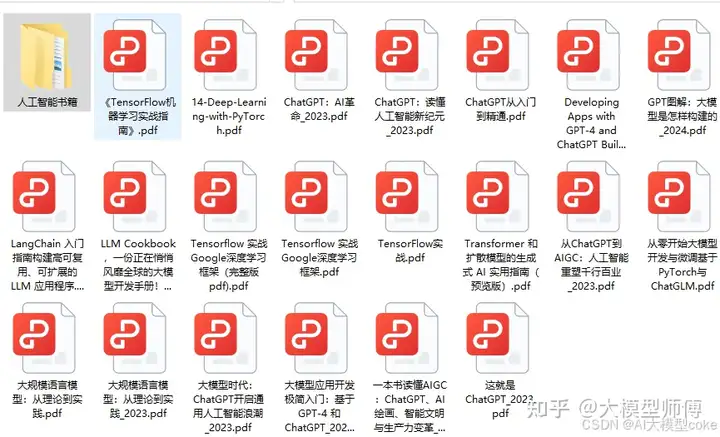
三、AI大模型经典PDF籍
随着人工智能技术的飞速发展,AI大模型已经成为了当今科技领域的一大热点。这些大型预训练模型,如GPT-3、BERT、XLNet等,以其强大的语言理解和生成能力,正在改变我们对人工智能的认识。 那以下这些PDF籍就是非常不错的学习资源。
因篇幅有限,仅展示部分资料,需要点击文章最下方名片即可前往获
四、AI大模型商业化落地方案
因篇幅有限,仅展示部分资料,需要点击文章最下方名片即可前往获
作为普通人,入局大模型时代需要持续学习和实践,不断提高自己的技能和认知水平,同时也需要有责任感和伦理意识,为人工智能的健康发展贡献力量。


 794
794

 被折叠的 条评论
为什么被折叠?
被折叠的 条评论
为什么被折叠?
 到【灌水乐园】发言


