


1 准备
环境:python3.9,python虚拟环境,dify 1.80
包:flask、dashscope
ai模型:qwen-image-edit
模型调用文档:https://bailian.console.aliyun.com/?tab=api#/api/?type=model&url=2976416
2 思路
- 了解flask:Flask是Python Web开发领域最受欢迎的微框架之一。相关教程:https://www.runoob.com/flask/flask-tutorial.html
- 为什么要用flask调用本地python脚本,而不是直接用dify上的执行代码节点的python?
- dify上的python只有一些基本的包,比如说requests和json包。如果我们要用SDK调用某些模型就需要在dify环境中装相关包,太麻烦了。
- 为了方便调试代码,我还是在pycharm中写,然后用flask生成一个接口,用dify的函数执行调用。
3 工作流过程
工作流的功能:输入图片地址(url)和提示词(prompt),代码执行调用千问图片编辑模型(qwen-image-edit),输出新图片的地址。
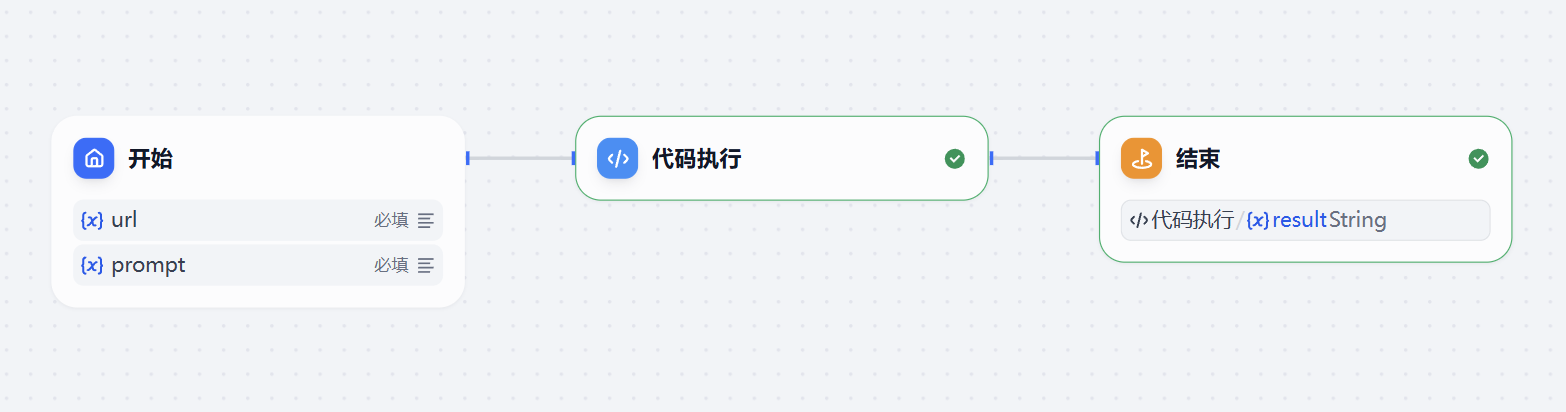
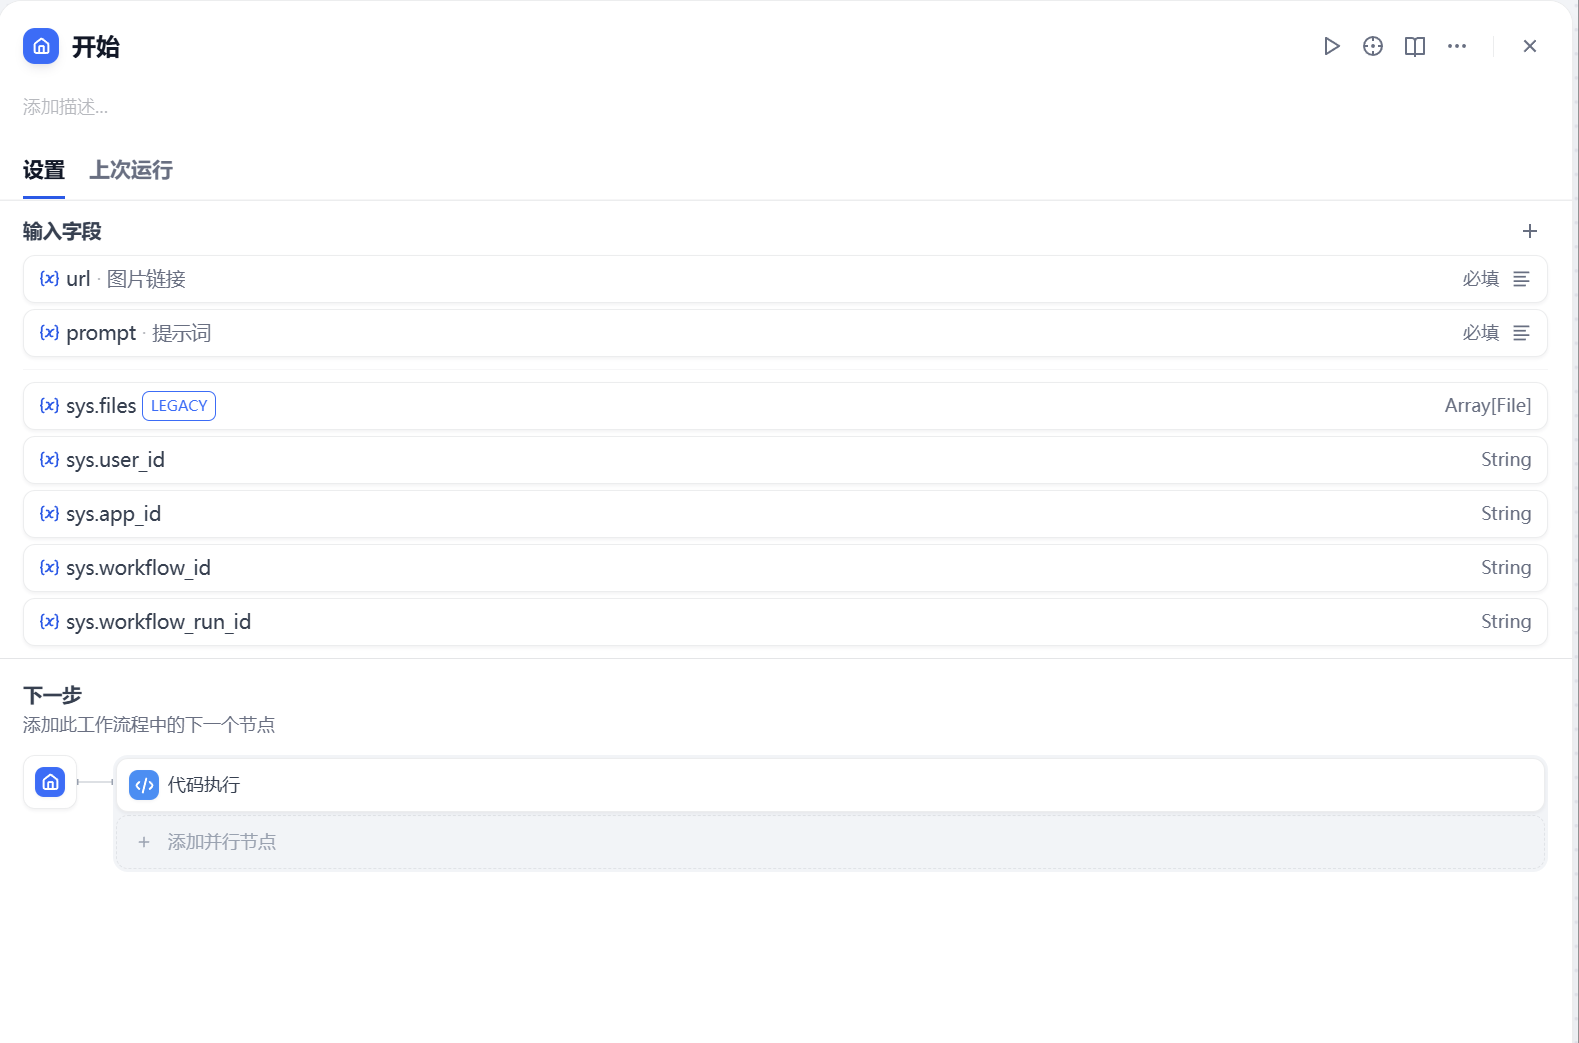
开始节点:
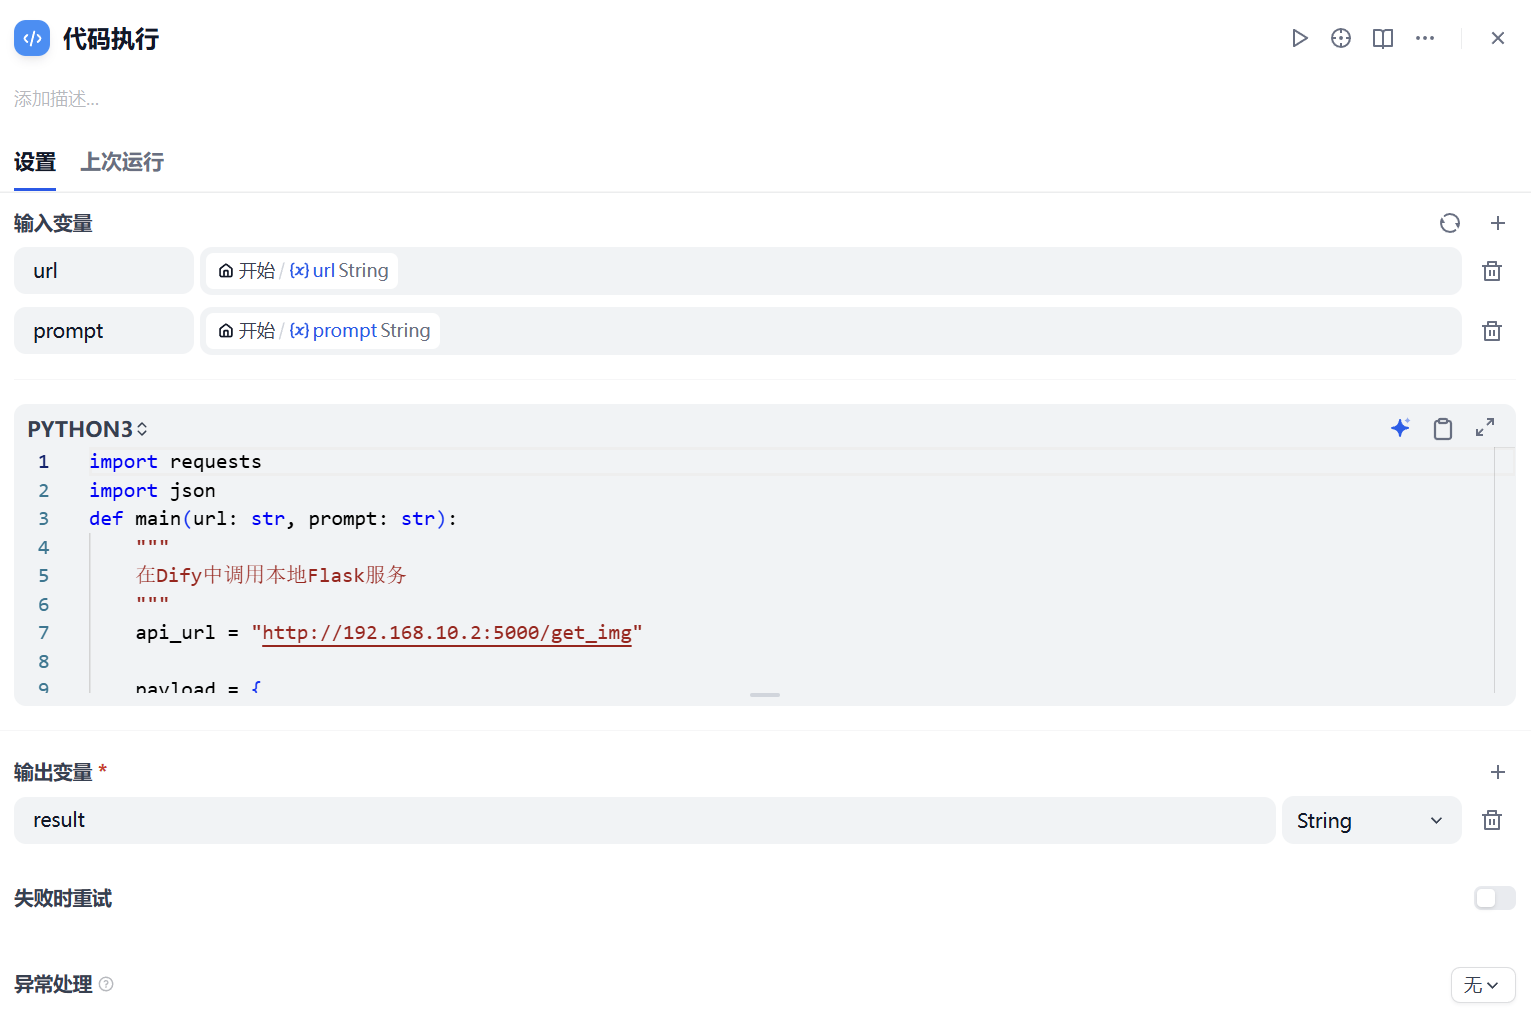
代码执行节点:代码见第4节
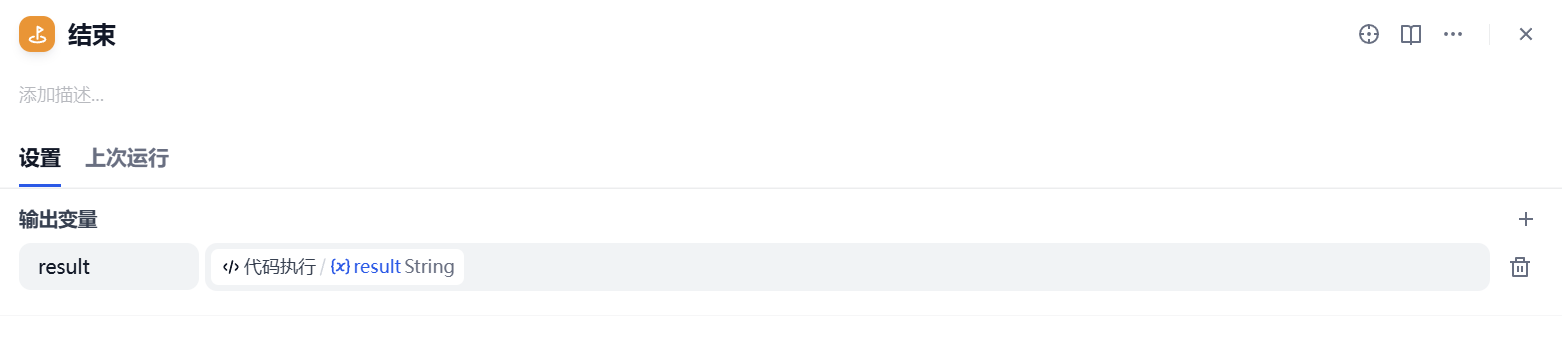
结束节点:
4 dify代码执行节点
这段代码的意思就是用'POST'方法,向本地接点http://<本地端口>/get_img发送url和prompt,然后接口给我们返回这个应用(也就是本文第5节中的脚本)的输出结果。
import requests
import json
def main(url: str, prompt: str):
    """
    在Dify中调用本地Flask服务
    """
    api_url = "http://host:5000/get_img"

    payload = {
        "url": url,
        "prompt": prompt,
    }

    headers = {
        "Content-Type": "application/json"
    }

    try:
        # 增加总超时时间到5分钟
        response = requests.post(
            api_url,
            json=payload,
            headers=headers,
            timeout=(10, 300)
        )

        if response.status_code == 200:
            response_data = response.json()
            # 修正字段检查逻辑
            if "generated_image_url" in response_data:
                return {"result": str(response_data["generated_image_url"])}
            else:
                return {"result": "响应中未找到generated_image_url字段"}
        else:
            return {"result": f"请求失败,状态码: {response.status_code}, 响应内容: {response.text}"}
    except Exception as e:
        return {"result": f"请求异常: {str(e)}"}
5 flask接口和qwen-image-edit模型调用代码
在pycharm中创建脚本qwen_image_edit.py,代码如下:
from flask import Flask, request, jsonify
from dashscope import MultiModalConversation
import dashscope
app = Flask(__name__)
def generate_image(prompt, image_url):
# 以下为中国(北京)地域url,若使用新加坡地域的模型,需将url替换为:https://dashscope-intl.aliyuncs.com/api/v1
dashscope.base_http_api_url = 'https://dashscope.aliyuncs.com/api/v1'
# 模型支持输入1-3张图片
messages = [
{
"role": "user",
"content": [
{"image": image_url},
{"text": prompt}
]
}
]
# 新加坡和北京地域的API Key不同。获取API Key:https://help.aliyun.com/zh/model-studio/get-api-key
# 若没有配置环境变量,请用百炼 API Key 将下行替换为:api_key="sk-xxx"
api_key = "sk-"
# 模型仅支持单轮对话,复用了多轮对话的接口
response = MultiModalConversation.call(
api_key=api_key,
model="qwen-image-edit",
messages=messages,
stream=False,
watermark=False,
negative_prompt=" "
)
if response.status_code == 200:
print("输出图像的URL:", response.output.choices[0].message.content[0]['image'])
return response.output.choices[0].message.content[0]['image']
else:
error_msg = f"Error: HTTP返回码:{response.status_code}, 错误码:{response.code}, 错误信息:{response.message}"
print(error_msg)
print("请参考文档:https://help.aliyun.com/zh/model-studio/developer-reference/error-code")
return error_msg # 返回错误信息而不是None
@app.route('/get_img', methods=['POST'])
def handle_image_generatio():
try:
data = request.get_json()
if not data or 'url' not in data or 'prompt' not in data:
return jsonify({'error': 'Missing url or prompt in request'}), 400
url = data['url']
prompt = data['prompt']
result = generate_image(prompt, url)
if result.startswith('Error:'):
# 确保错误信息也能正确返回
response = jsonify({'error': result})
response.status_code = 500
response.headers['Connection'] = 'close'
return response
else:
# 确保成功响应正确返回
response = jsonify({'generated_image_url': result})
response.headers['Connection'] = 'close'
return response
except Exception as e:
error_response = jsonify({'error': f'Internal server error: {str(e)}'})
error_response.status_code = 500
error_response.headers['Connection'] = 'close'
return error_response
if __name__ == '__main__':
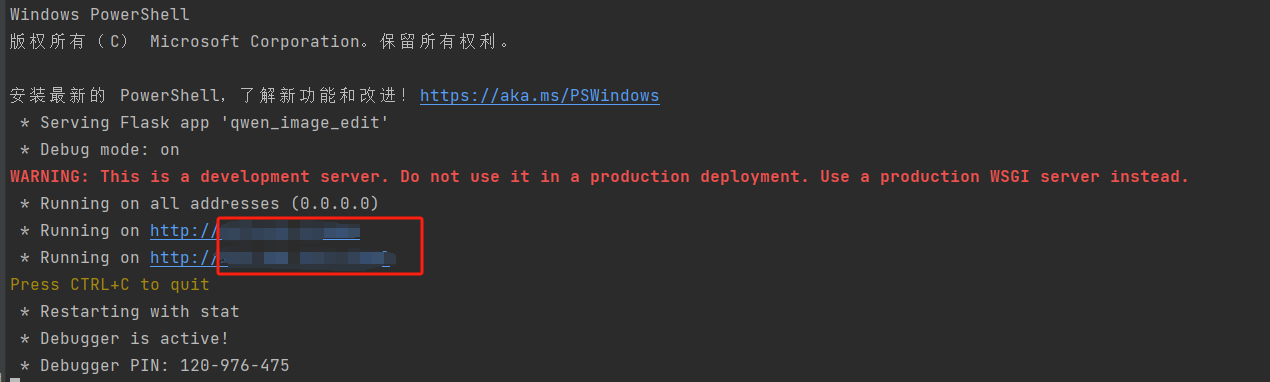
app.run(host='0.0.0.0', port=5000, debug=True)在终端中运行:输入qwen_image_edit.py,这两个就是第四节中的<本地端口>
6 运行过程
a.先在终端中运行:输入qwen_image_edit.py。
表示运行成功
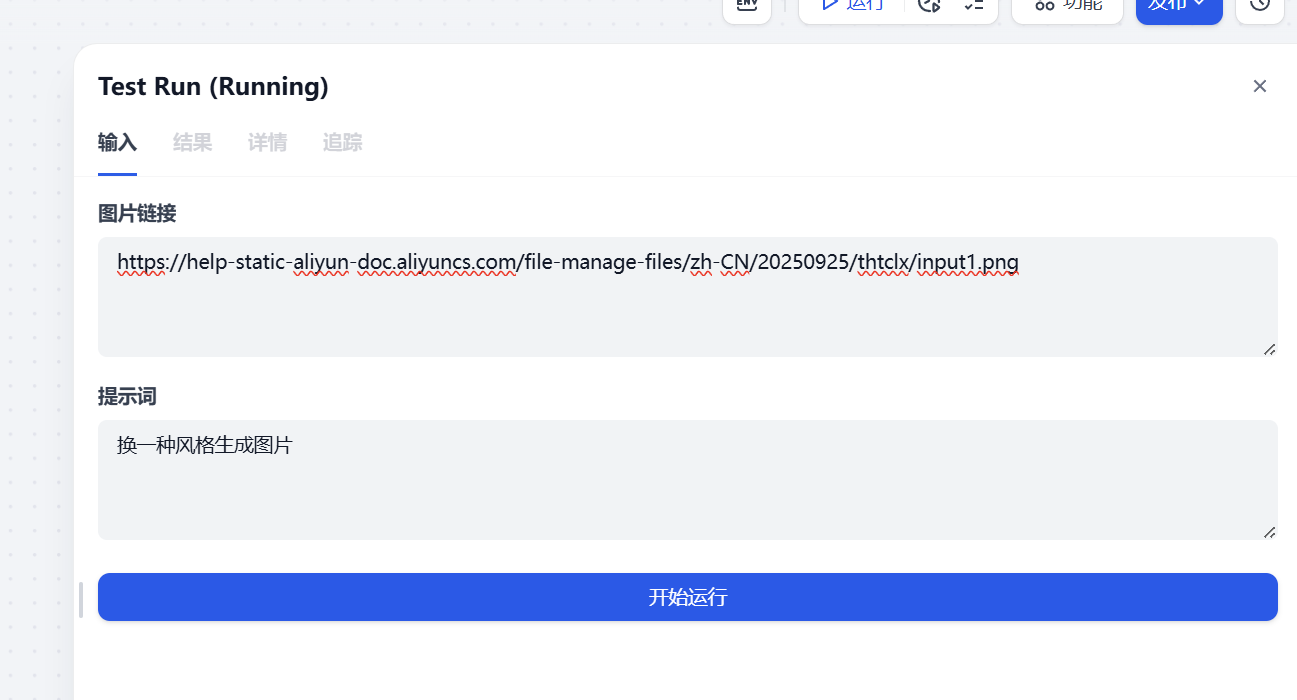
b.在dify中运行。
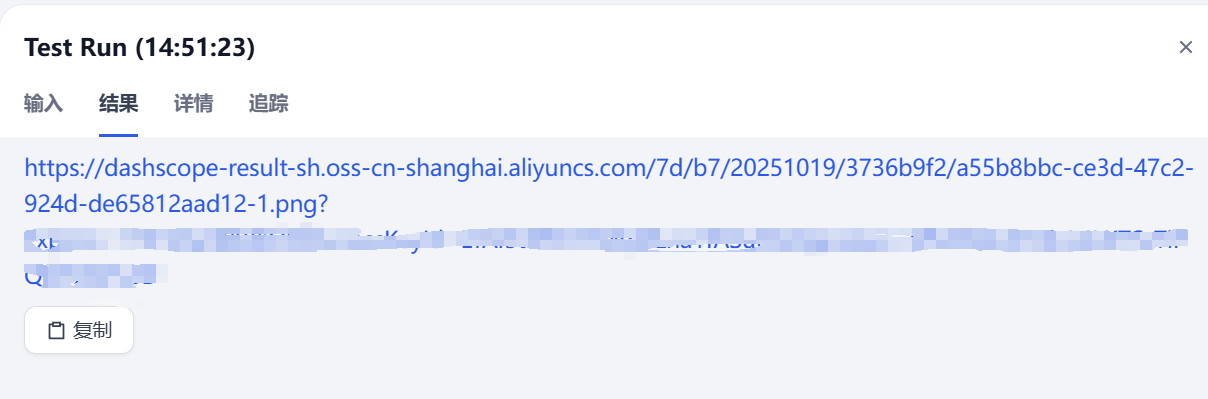
c.输出结果
7 报错问题解决
- dify报错:Run failed: error: timeout error: signal: killed
因为模型调用加载的时间会较长,而dify环境默认加载时间15s就会中断运行,所以要更改dify文件里的环境文件。
解决方法:
找到你docker中的.env文件,打开找到SANDBOX_WORKER_TIMEOUT=15和CODE_EXECUTION_READ_TIMEOUT=60,改成SANDBOX_WORKER_TIMEOUT=300和CODE_EXECUTION_READ_TIMEOUT=300。
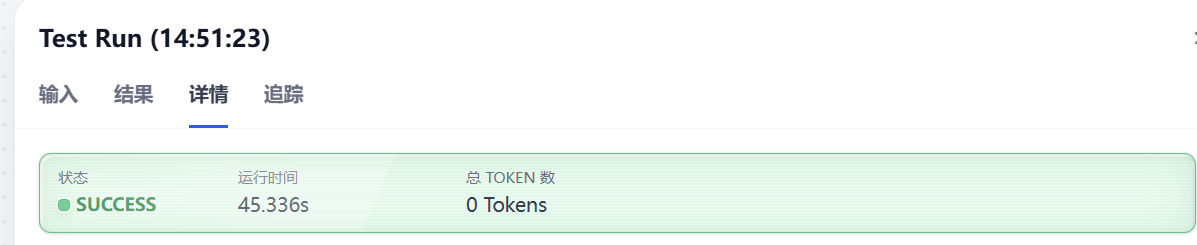
然后在当前文件夹,cmd依次运行docker compose down,docker compose up -d,重启dify。看你的运行时间超过15s说明更改成功了。
8 附言
- 作者是计算机小白,自学的python,文章中什么问题大家请在评论区指教[抱拳]。
- 这个工作流只能改一张图片,但qwen-image-edit理论上可以输入三张图片进行编辑,目前作者正在完善这个功能,后续会继续更新,大家想看的话点个关注,感谢😊。


 660
660

 被折叠的 条评论
为什么被折叠?
被折叠的 条评论
为什么被折叠?
 到【灌水乐园】发言


