


 本文详细指导在Ubuntu虚拟机上利用emsdk配置OpenCV并构建JavaScript版本,避免Window系统常见问题。重点讲解了环境设置、emsdk的使用和模块选择,适合前端开发者进行Web应用集成。
重点说明:不要使用window 进行编译,不然会出现各种奇葩的错误。(我花啦一周的时间尝试wind10 没有成功。)
一。系统安装步骤说明:
- 如果是window 系统,请直接安装VMware 虚拟机。然后在虚拟机里面安装Ubuntu 20 版本。
- VMware 下载地址:https://www.vmware.com/products/workstation-pro/workstation-pro-evaluation.html
- Ubuntu下载地址:https://cn.ubuntu.com/download
二。OpenCV相关环境设置:
- 首先安装python 。如果是使用的Ubuntu 20,系统会自动python 3.8 版本。否则自己百度安装教程。
- 安装cmake:
sudo apt install cmake - 安装emsdk。参考官网教程:https://emscripten.org/docs/getting_started/downloads.html
重点说明:emsdk 不会全局激活。只会在当前控制台激活。重新打开控制台需要执行最后一行命令,验证是否激活:直接输入 emcc -v 会看到版本信息,则成功。# Get the emsdk repo git clone https://github.com/emscripten-core/emsdk.git # Enter that directory cd emsdk # Fetch the latest version of the emsdk (not needed the first time you clone) git pull # Download and install the latest SDK tools. ./emsdk install latest # Make the "latest" SDK "active" for the current user. (writes .emscripten file) ./emsdk activate latest # Activate PATH and other environment variables in the current terminal source ./emsdk_env.sh - 拉取OpenCV 代码:通过GitHub直接下载
三。通过上面两步环境都配置完成。官网教程:https://docs.opencv.org/master/d4/da1/tutorial_js_setup.html
首先进入到下载的OpenCV里面去,然后执行下面命令即可。(注意python看看是python 还是 python3或者是python2)
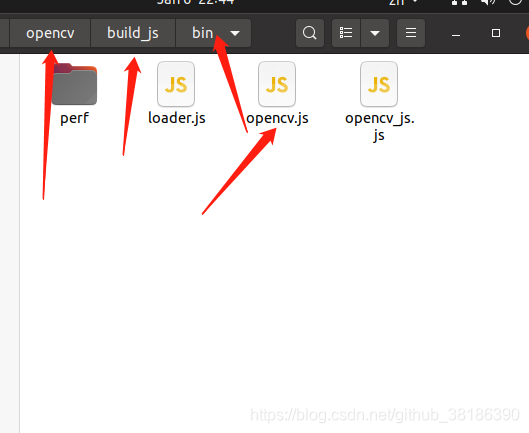
emcmake python3 ./platforms/js/build_js.py build_js说明:build_js 代表的是构建后js的目录。构建成功会在build_js/bin 文件里面出现对应的js文件。如下图。
四。引入:
<script type="application/javascript" src="opencv.js"></script>
文件加载成功后。
function loadCV() {
            cv.then(data => {
                console.log(data)
                window.cv = data
            })
        }
执行loadCV 函数,然后就可以通过window.cv 访问对应的方法啦。
五。局部打包。可以通过修改opencv-master\platforms\js\opencv_js.config 进行。
打开该文件看最下面一行:
white_list = makeWhiteList([core, imgproc, objdetect, video, dnn, features2d, photo, aruco, calib3d])这行代码代表的是打包全部模块。我们可以通过修改后面的参数进行.core 必须包含在里面。例如我只打包core、imgproc
则将最后一行改为:white_list = makeWhiteList([core, imgproc])。此时打包出来的大小为3.2M左右。
其次我们还可以修改 imgproc 这个对象里面的模块,进行更细的区分。
六。相关文件下载:https://gitee.com/huangzuomin/opencv_js.git


 2万+
2万+

 被折叠的 条评论
为什么被折叠?
被折叠的 条评论
为什么被折叠?
 到【灌水乐园】发言


