


1.基础文件和目录操作
(1). 在用户主目录下创建一个名为test_dir的目录,并在该目录中创建一个名为test_file.txt的空文本文件。
[root@localhost ~]# mkdir test_dir
[root@localhost ~]# cd test_dir/
[root@localhost test_dir]# touch test_file.txt
(2). 将test_file.txt文件复制到/tmp目录下,并将复制后的文件重命名为copy_of_test.txt。
~ 是用户的主目录,root用户的主目录是/root,普通用户的主目录是“/home/普通用户名”

[root@localhost ~]# cp /root/test_dir/test_file.txt /tmp/copy_of_test.txt
(3). 删除test_dir目录及其下的所有文件(包括test_file.txt),请使用一个命令完成此操作。
[root@localhost ~]# rm -rf /root/test_dir/*
[root@localhost ~]# cd test_dir/
[root@localhost test_dir]# ll
    total 0
(4)在test_dir目录(如果已删除可重新创建)下创建一个test_file.txt文件,然后再创建该文件的软链接链接名为soft_link.txt,再创建一个硬链接,链接名为hard_link.txt。
[root@localhost ~]# cd test_dir/

[root@localhost test_dir]# touch test_file_txt

[root@localhost test_dir]# ln -s test_file_txt soft_link.txt

[root@localhost test_dir]# ln -n test_file_txt hard_link.txt

lrwxrwxrwx. 1 root root 13 Oct 16 19:01 soft_link.txt -> test_file_txt
-rw-r--r--. 2 root root 0 Oct 16 19:01 test_file_txt
-rw-r--r--. 2 root root 0 Oct 16 19:01 hard_link.txt
(5). 删除test_file.txt文件,查看软链接和硬链接文件是否还能访问,分别说明原因。
软链接(soft_link.txt)

无法访问(会报"No such file or directory"错误)

原因:软链接只是保存了原文件的路径指针,当原文件被删除后,这个指针就悬空了


硬链接(hard_link.txt)

仍然可以正常访问和使用

原因:硬链接是原文件的另一个完整独立的名字,它与原文件在文件系统中是平等的,删除原文件名只会减少链接计数(从2减到1),不会影响数据
2.文件内容查看与编辑
(1). 使用合适的命令查看/etc/passwd文件的前 10 行内容。
[root@localhost ~]# head -10 /etc/passwd
(2). 向copy_of_test.txt文件中追加一行内容 “这是追加的测试内容”,并使用命令查看文件内容确认追加成功。
[root@localhost ~]# echo '这是追加的测试内容' >> /tmp/copy_of_test.txt
[root@localhost ~]# cat /tmp/copy_of_test.txt
    这是追加的测试内容
(3). 使用文本编辑器(如vim)打开copy_of_test.txt文件,将 “测试” 替换为 “练习”,保存并退出编辑器。
[root@localhost ~]# vim /tmp/copy_of_test.txt

:%s/测试/练习/g

[root@localhost ~]# cat /tmp/copy_of_test.txt
    这是追加的练习内容
3.综合操作
(1).在/home目录下创建一个名为backup的目录,将/etc目录下所有以.conf结尾的文件复制到backup目录中。
# 创建 backup 目录
mkdir -p /home/backup


# 复制 /etc 下所有 .conf 文件到 /home/backup
cp /etc/*.conf /home/backup/
(2). 统计backup目录中文件的数量,并输出结果。
[root@localhost ~]# find /home/backup/ -type f | wc -l
问:为什么要加-type f? 强调 文件二字,不加的话会把目录算进去,结果会变多
(3).将backup目录打包成一个名为etc_backup.tar.gz的压缩包,并删除原始的backup目录。
[root@localhost ~]# tar -czvf /home/etc_backup.tar.gz -C /home backup
tar -czvf:
-c:创建压缩包。
-z:使用 gzip 压缩。
-v:显示详细过程(可选)。
-f /home/etc_backup.tar.gz:指定输出文件路径。
-C /home backup:切换到 /home 目录后再打包 backup

[root@localhost ~]# cd /home
[root@localhost home]# rm -rf backup/
强制递归删除目录(-r 递归,-f 强制)。
4. 文件权限管理
(1).将copy_of_test.txt文件的所有者修改为当前系统中的普通用户user1(假设user1存在),文件所属组修改为group1(假设group1存在)。
[root@localhost ~]# useradd user1
[root@localhost ~]# groupadd group1
[root@localhost ~]# cd /tmp
[root@localhost tmp]# chown user1:group1 copy_of_test.txt
(2).为copy_of_test.txt文件设置权限,使得所有者有读写执行权限,所属组有读和执行权限,其他用户只有读权限,写出具体命令。
[root@localhost tmp]# chmod 774 copy_of_test.txt
(3).查看copy_of_test.txt文件的详细权限信息。
[root@localhost tmp]# ll copy_of_test.txt

-rwxrwxr--. 1 user1 group1 28 Oct 16 19:10 copy_of_test.txt
5.用户和用户组基础操作
(1).创建一个名为newuser1的普通用户,并指定其默认登录 Shell 为/bin/bash。
[root@localhost ~]# useradd newuser1 -s /bin/bash
(2).创建一个名为newgroup1的用户组,然后将newuser1添加到该用户组中。
[root@localhost ~]# groupadd newgroup1

[root@localhost ~]# groupmod -a newuser1
(3).删除用户newuser1,要求保留其家目录。
[root@localhost ~]# userdel newuser1
6. 文件和目录权限设置与修改
(1).在用户主目录下创建一个名为perm_test_dir的目录和perm_test_file.txt的文件,分别为该目录和文件设置权限:目录的所有者有读写执行权限,所属组有读和执行权限,其他用户无任何权限;文件的所有者有读写权限,所属组和其他用户只有读权限。
# 进入用户主目录(~ 表示当前用户的主目录)
cd ~

# 创建目录 perm_test_dir
mkdir perm_test_dir

# 创建文件 perm_test_file.txt
touch perm_test_file.txt

chmod 750 perm_test_dir

chmod 640 perm_test_file.txt
(2).将perm_test_dir目录及其下所有文件的所属组修改为newgroup1。
[root@localhost ~]# chgrp -R newgroup1 perm_test_dir
(3).递归地将perm_test_dir目录的权限修改为:所有者和所属组有读写执行权限,其他用户只有读权限。
[root@localhost ~]# chmod -R 774 perm_test_dir
7.写出通过dnf安装cockpit的详细过程。
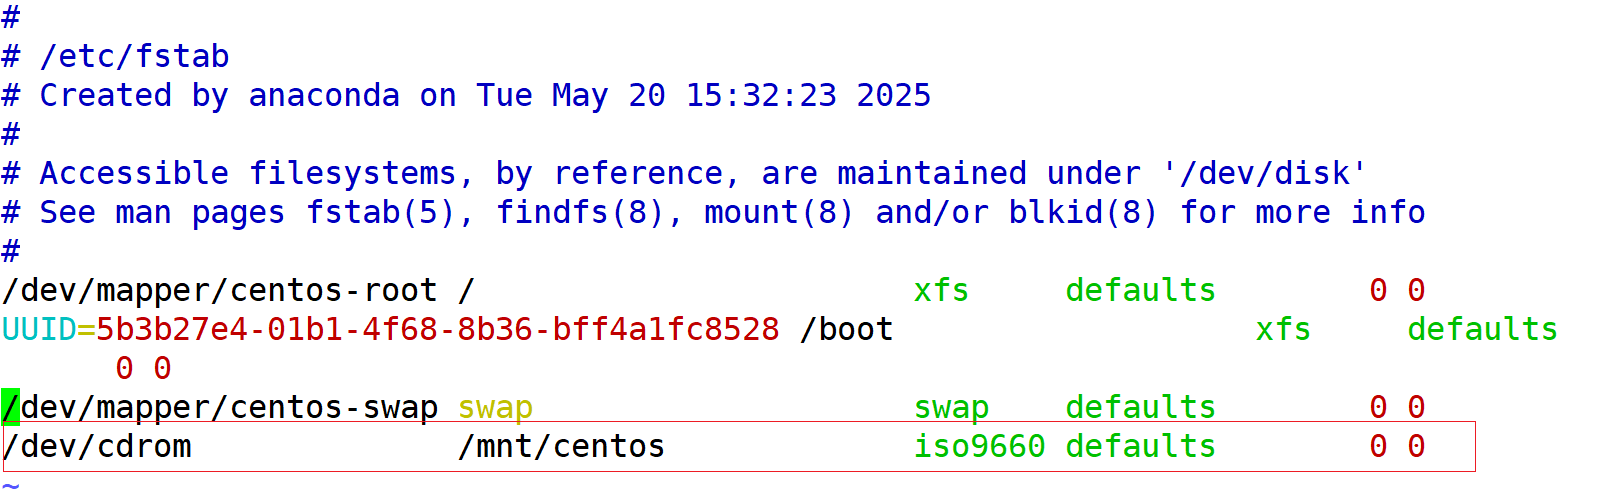
#挂载光盘到指定目录/mnt/centos
vim /etc/fstab
/dev/cdrom /mnt/centos iso9660 defaults 0 0
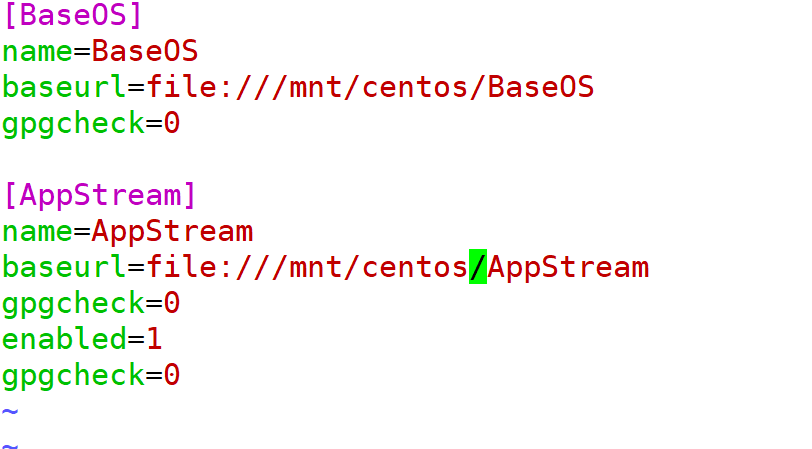
#配置本地YUM源:
[root@localhost centos]# vim /etc/yum.repos.d/local.repo
[BaseOS]
name=BaseOS
baseurl=file:///mnt/centos/BaseOS
gpgcheck=0
[AppStream]
name=AppStream
baseurl=file:///mnt/centos/AppStream
gpgcheck=0
enabled=1
gpgcheck=0
:wq保存
配置本地YUM仓库
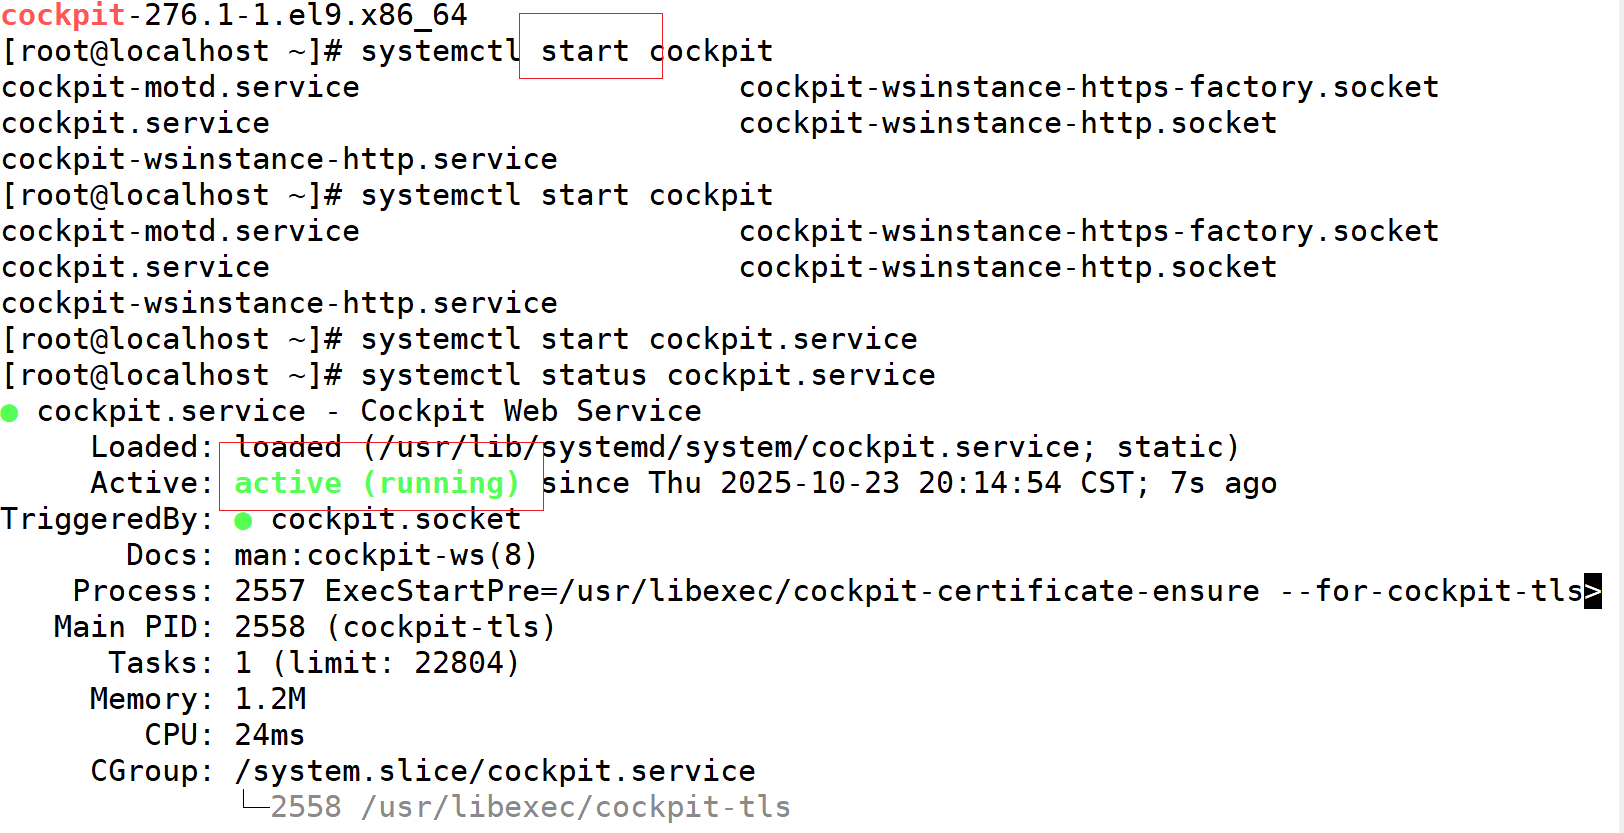
#安装cockpit
dnf install cockpit

#启动coclpit
systemctl start cockpit

#查看状态
systemctl status cockpit

#打开防火墙
systemctl start firewalld

# 开放 9090 端口(Cockpit 默认端口)
firewall-cmd --permanent --add-port=9090/tcp firewall-cmd --reload

systemctl restart firewalld
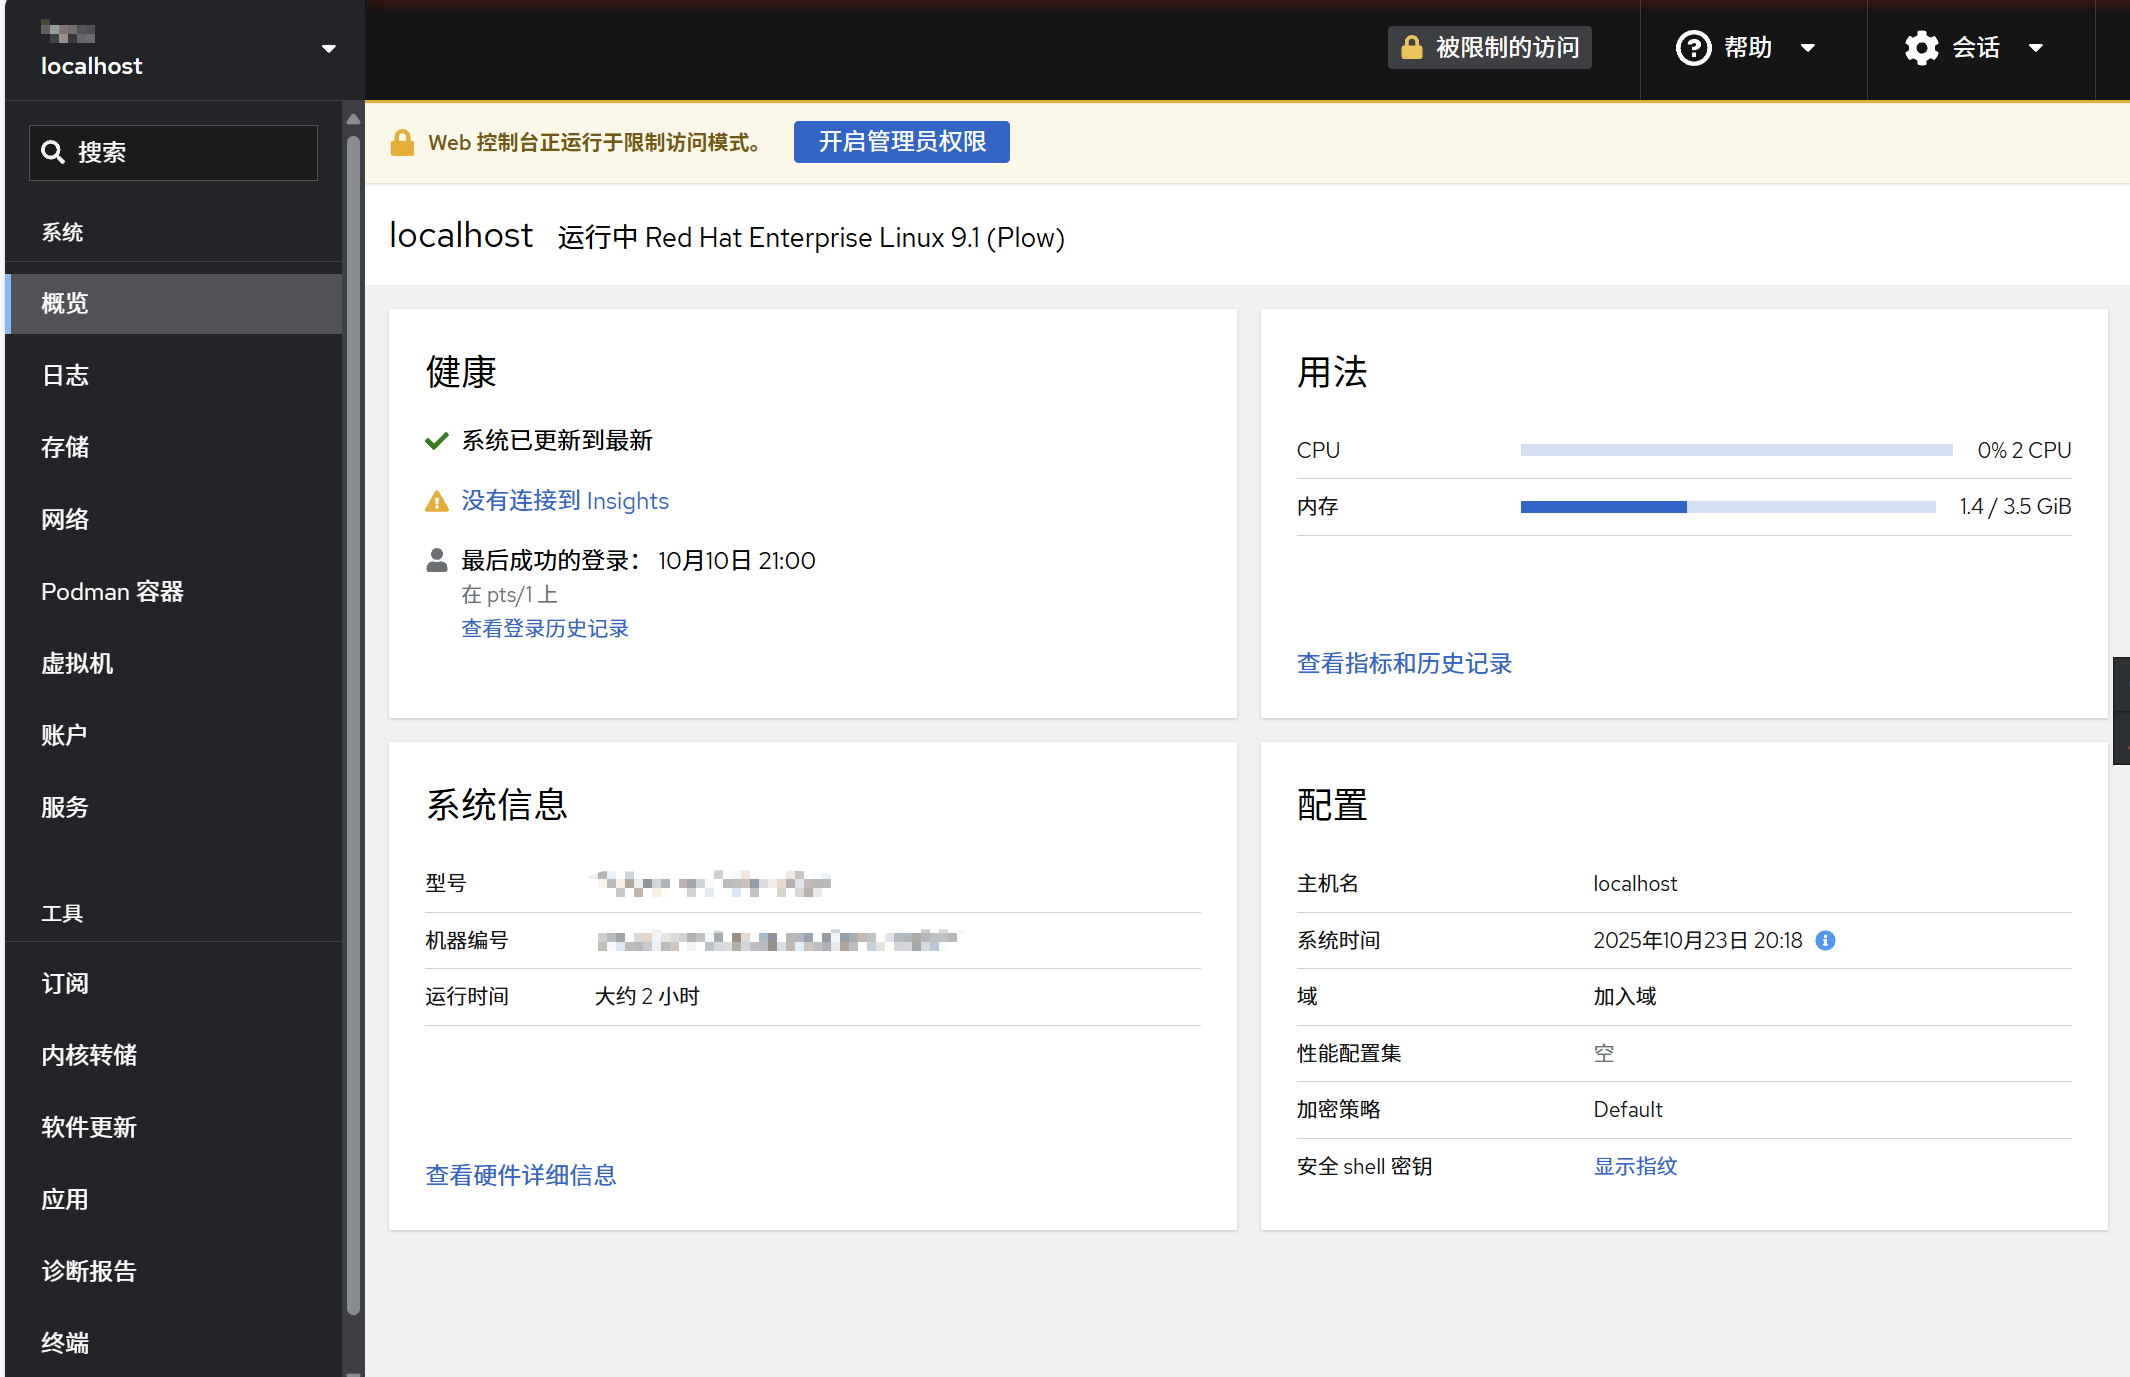
192.168.111.138:9090
#ip a,输入你主机的ip
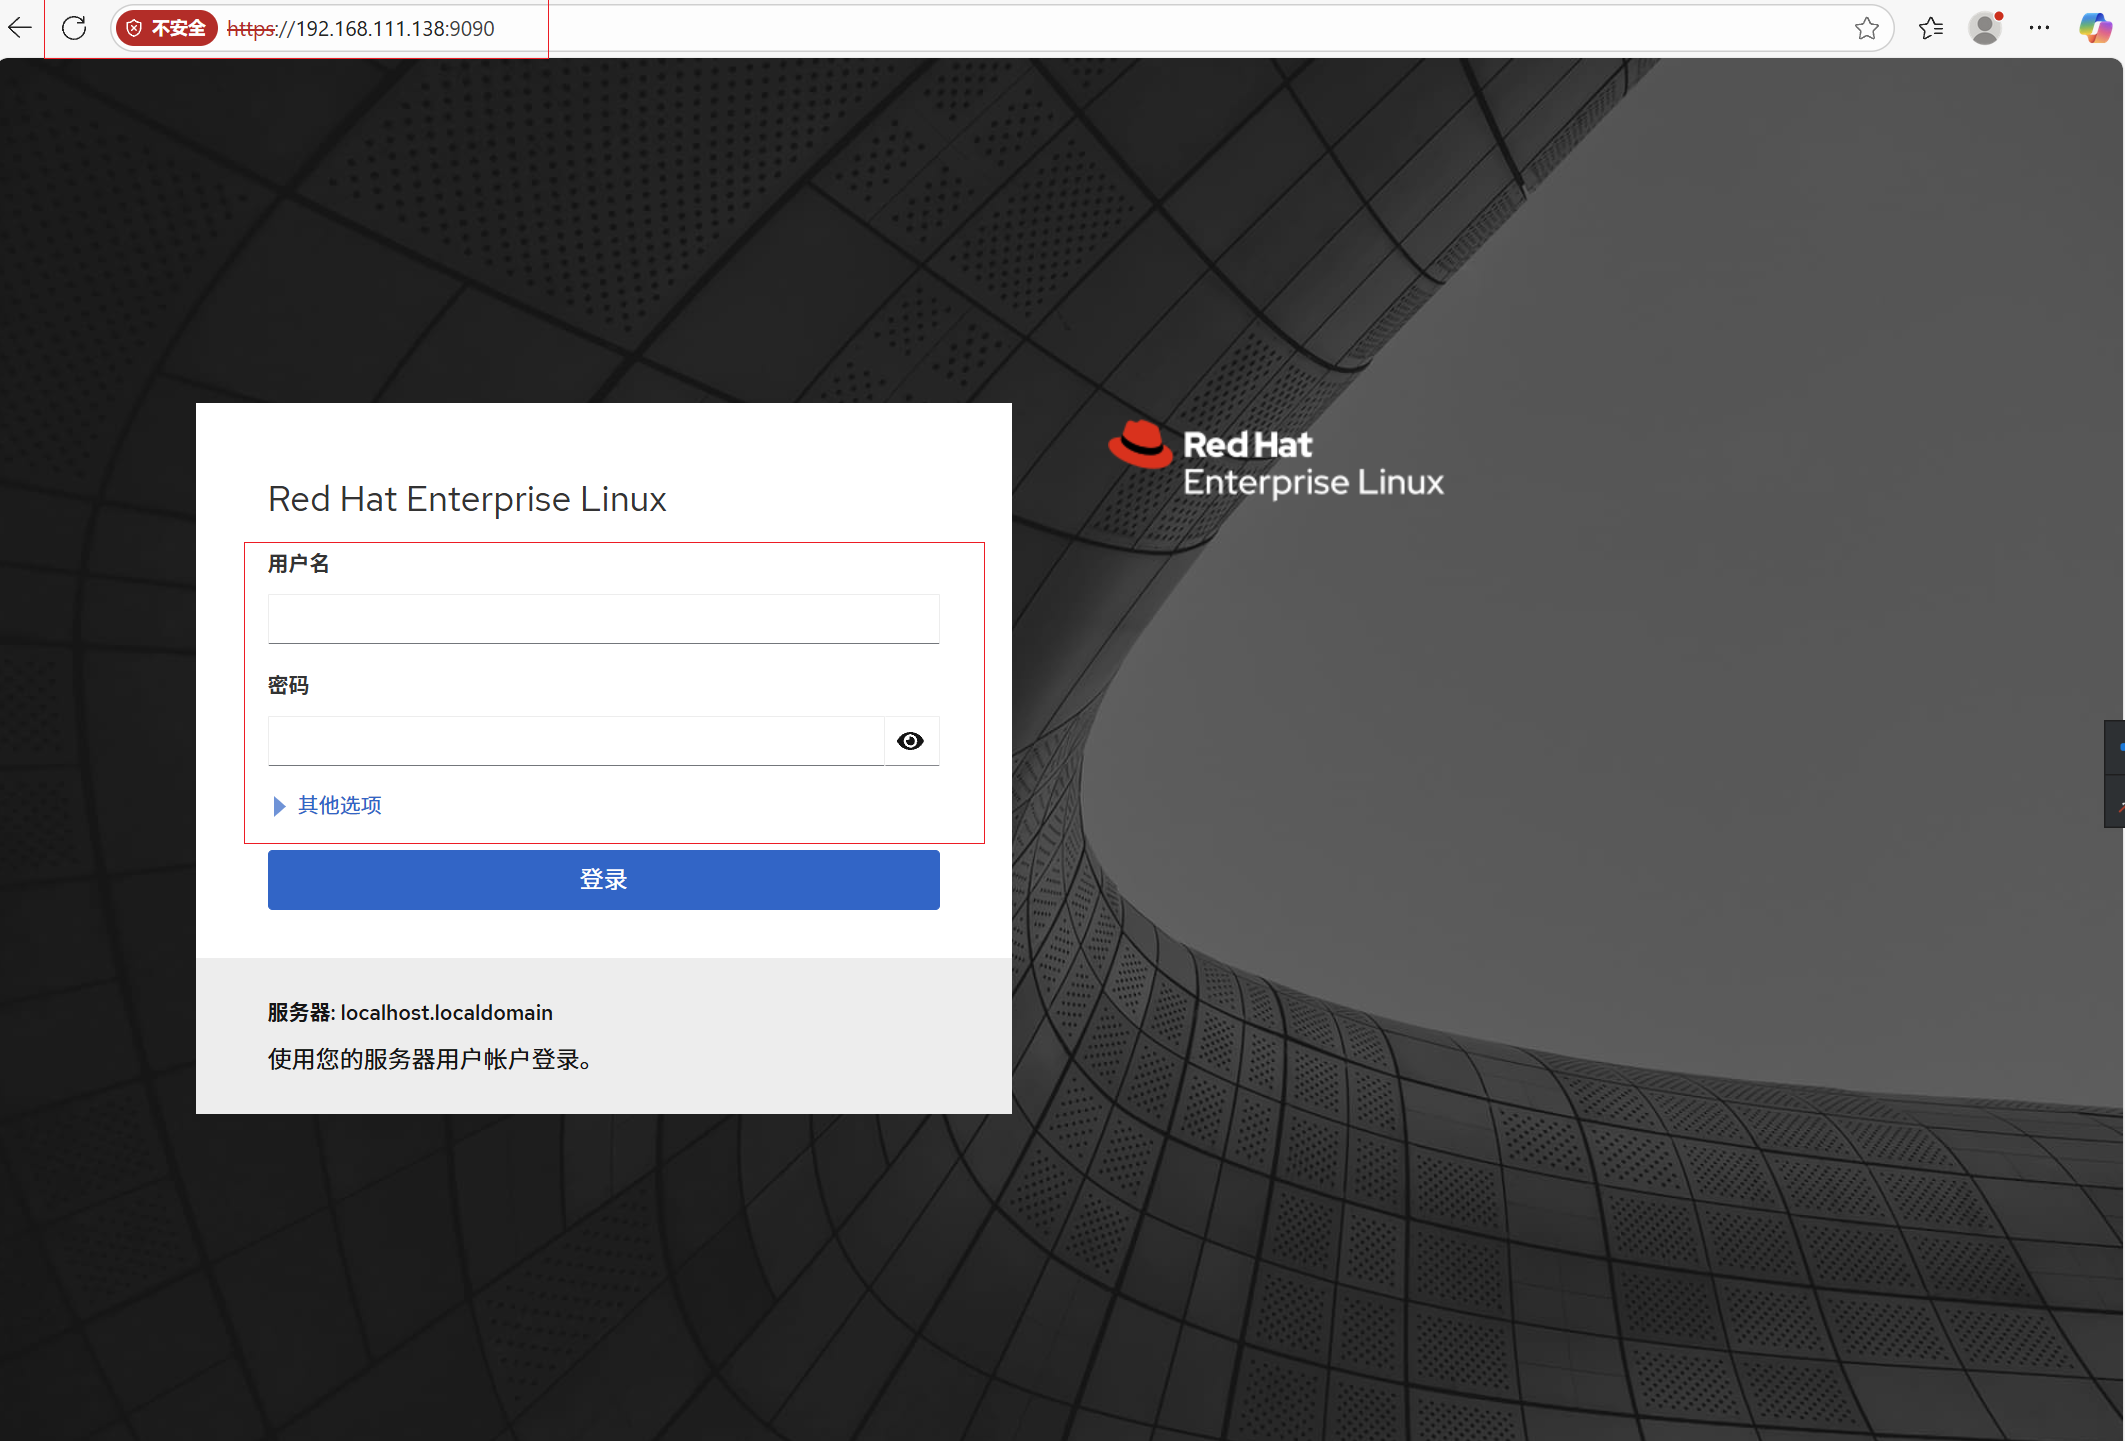
输入你创建的用户名和密码。登录成功!


 4263
4263

 被折叠的 条评论
为什么被折叠?
被折叠的 条评论
为什么被折叠?
 到【灌水乐园】发言


