


 本文介绍了如何利用osgFX库在3D场景中实现模型的高亮显示和网格化效果。代码示例展示了如何创建一个轮廓线以突出模型,并应用网格化效果。通过设置宽度、颜色等参数,可以自定义高亮效果。同时,网格化模型展示了将3D模型表面划分为线条网格的方法。
目录
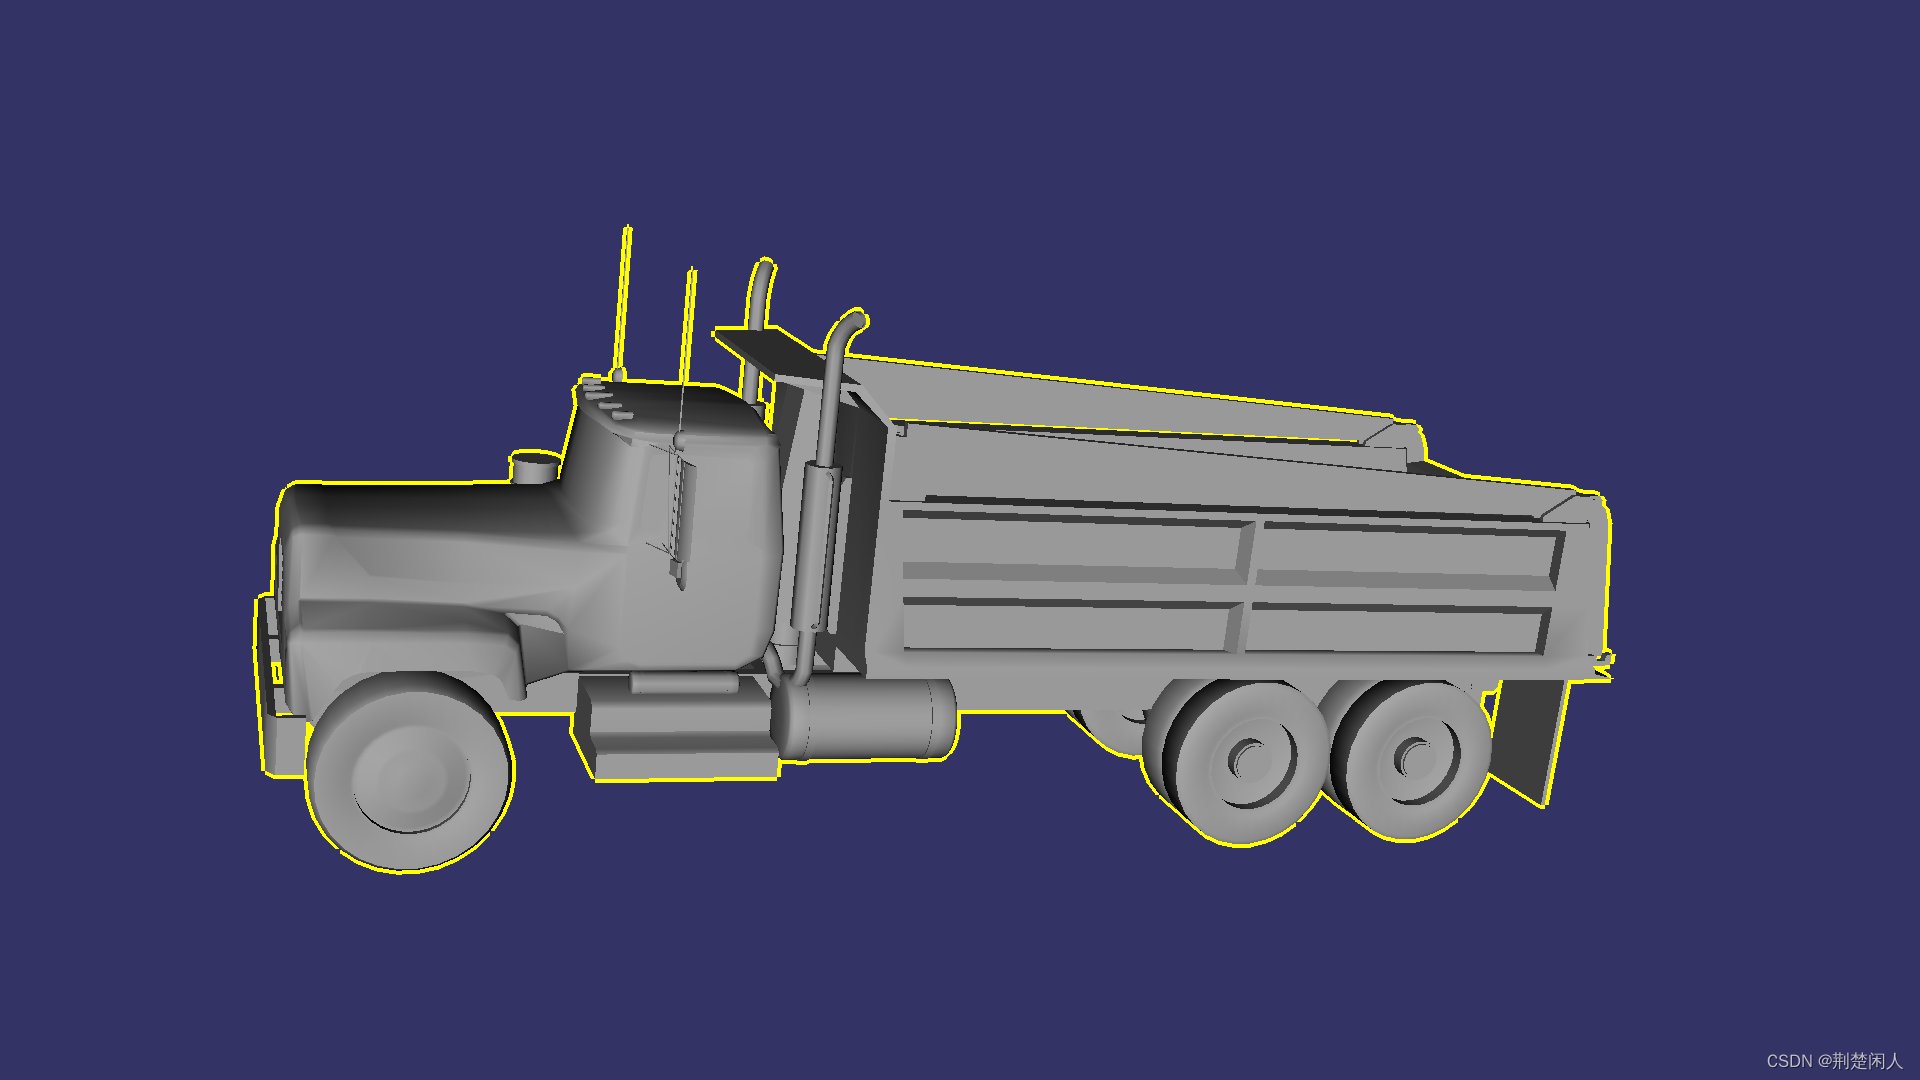
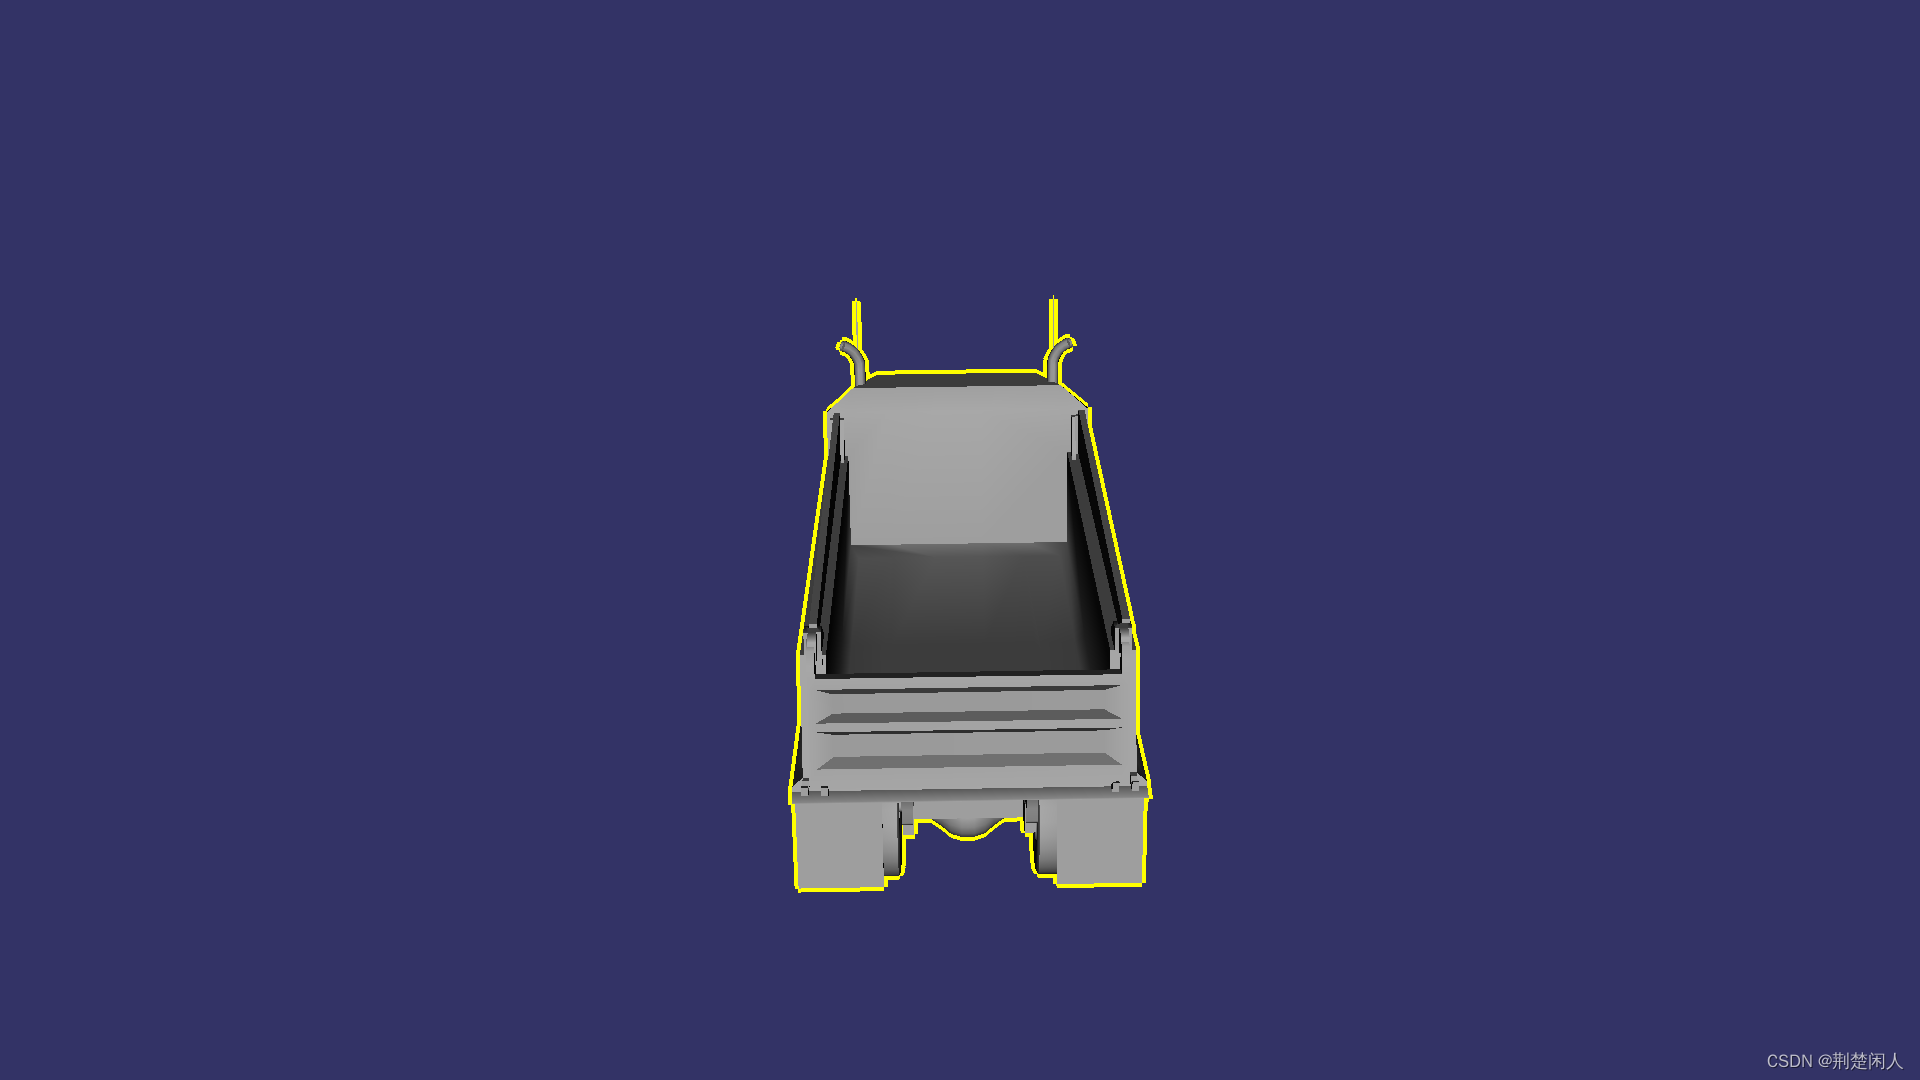
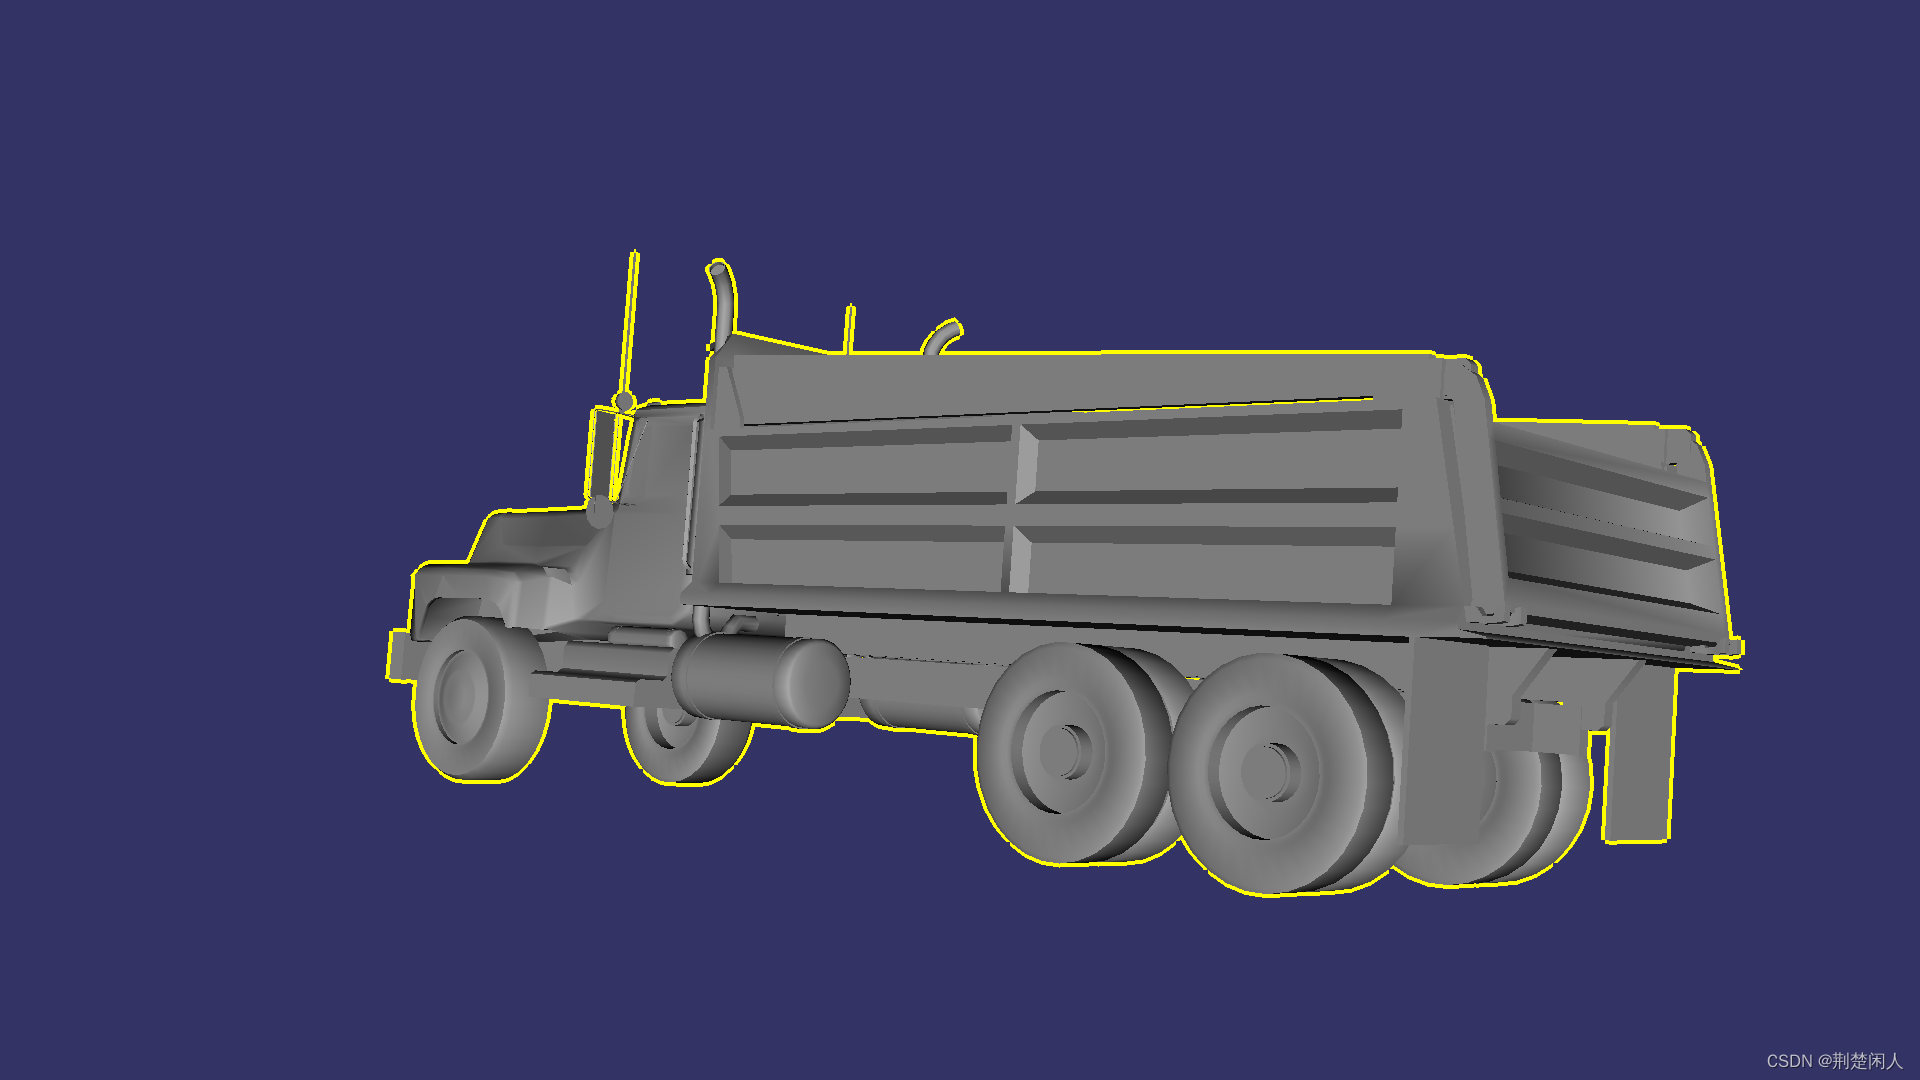
1. 高亮显示
代码如下:
// -*-c++-*-

/*
 * Draw an outline around a model.
 */

#include <osg/Group>
#include <osg/PositionAttitudeTransform>
#include <osgDB/ReadFile>
#include <osgViewer/Viewer>
#include <osgFX/Outline>


int main(int argc, char** argv)
{
	osg::ArgumentParser arguments(&argc, argv);
	arguments.getApplicationUsage()->setCommandLineUsage(arguments.getApplicationName() + " [options] <file>");
	arguments.getApplicationUsage()->addCommandLineOption("-h or --help", "Display this information");


	// load outlined object
	std::string modelFilename = arguments.argc() > 1 ? arguments[1] : "dumptruck.osgt";
	osg::ref_ptr<osg::Node> outlineModel = osgDB::readRefNodeFile(modelFilename);
    if(nullptr == outlineModel)
    {
         return -1;
    }

    // create scene
    osg::ref_ptr<osg::Group> pRoot = new osg::Group;

    // create outline effect
    osg::ref_ptr<osgFx::Outline> pOutLine = new osgFx::Outline;
    pRoot->addChild(pOutLine);

    pOutLine->setWidth(8);
    pOutLine->setColor(osg::Vec4(1, 1, 0, 1));
    pOutLine->addChild(outlineModel);

	// must have stencil buffer...
	osg::DisplaySettings::instance()->setMinimumNumStencilBits(1);

	// construct the viewer
	osgViewer::Viewer viewer;
	viewer.setSceneData(root);

	// must clear stencil buffer...
	unsigned int clearMask = viewer.getCamera()->getClearMask();
	viewer.getCamera()->setClearMask(clearMask | GL_STENCIL_BUFFER_BIT);
	viewer.getCamera()->setClearStencil(0);

	return viewer.run();
}
运行结果如下:
本文仅仅只是对高亮显示的简单描述,更具有项目实战意义的高亮显示参见如下博文:
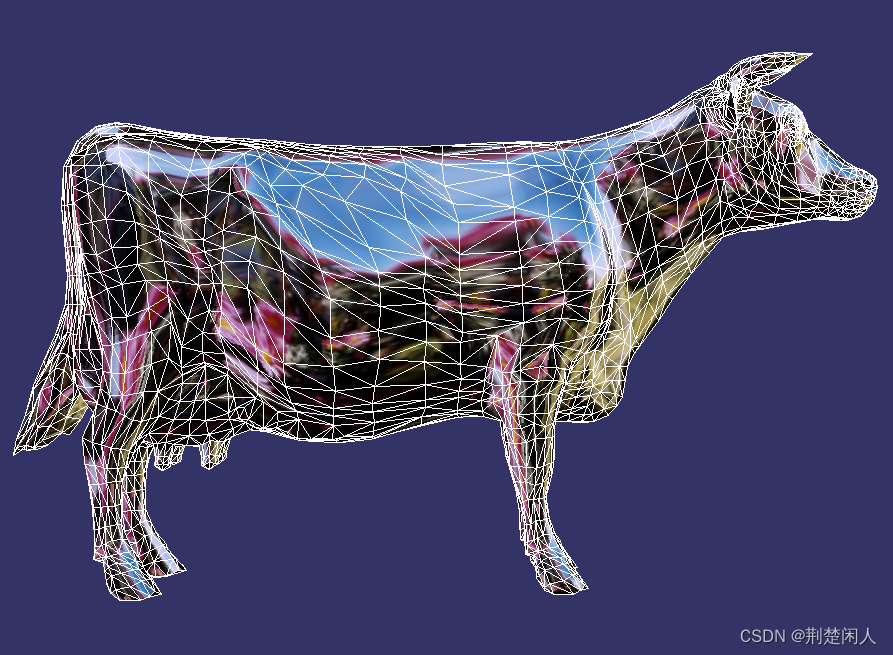
2. 网格化模型
代码如下:
#include<osgViewer/viewer>
#include<osgDB/ReadFile>
#include<osgFX/Scribe>
int main()
{
    auto pCowNode = osgDB::readNodeFile("cow.osg");
    if (nullptr == pCowNode)
    {
        OSG_WARN << "node is nullptr";
        return 1;
    }

    osgViewer::Viewer viewer;

    auto pRoot = new osg::Group;

    // 网格化
    auto pScribe = new osgFX::Scribe();
    pScribe->addChild(pCowNode);
    pRoot->addChild(pScribe );

    viewer.setSceneData(pRoot);

    return viewer.run();
}
效果如下:


 1375
1375

 被折叠的 条评论
为什么被折叠?
被折叠的 条评论
为什么被折叠?
 到【灌水乐园】发言


