


 本文介绍了ROS2中的component机制,探讨了两种节点启动方式:可执行程序和动态库启动,重点讲解了如何使用component进行合并进程启动,以及与nodelet的区别。通过示例展示了如何创建和配置component,以及合并进程启动对负载的影响。
ros2 高级组件其一之 component 合并进程启动
1 前言和资料
第十章我们将学习 ros2 的多个高级组件,包括 component,复杂 launch 文件,TF2,gazebo 和 rviz。本文我们学习 ros2 的 component 机制,其中会用到 ros2 intra-process 通信方式。
本文参考资料如下:
(1)ROS2高效学习第一章 – ros2整体介绍及DDS引入
(2)ROS2高效学习第七章 – ros2 plugins编程
(3)ROS高效进阶第四章 – 机器视觉处理之ros集成zbar实现二维码检测 第2.3节
(4)About-Composition
(5)Writing-a-Composable-Node
(6)Intra-Process-Communication
(7)humble-composition 样例
本系列博客汇总:ROS2 高效学习系列。
2 正文
2.1 component 引入
(1)两种节点启动方式:在前面几章的样例中,每个节点都被单独编译成一个可执行文件,启动后会是一个独立的进程,这些节点的 main 函数也都很类似(如下),本人称之为可执行程序启动方式。
int main(int argc, char * argv[]) {
    rclcpp::init(argc, argv);
    rclcpp::spin(std::make_shared<Subscriber>());
    rclcpp::shutdown();
    return 0;
}
由于 main 函数具有高度雷同性,很自然的就可以想到:用一个公共的启动程序,加载各个节点的动态库来启动,这种方式本人称之为动态库启动方式。ROS2高效学习第七章 – ros2 plugins编程 验证了这种思路的可行性。
通常情况下,小规模的程序,样例程序,使用可执行程序启动方式;大型的商业项目,比如智驾,都使用动态库启动方式。而动态库启动方式又通常支持两种启动模式,一是每个节点单独一个进程启动,方便调试,一般开发阶段使用;二是多个节点合并进程启动,可以大大降低负载,一般发版阶段使用。
(2)ros1 nodelet VS ros2 component:ros2 component 是 ros1 nodelet 的替代品,两者都是动态库启动方式,都支持每个节点单独一个进程启动和多个节点合并进程启动两种模式。两者的不同之处在于,ros1 nodelet 在合并节点模式时,默认通过指针实现消息传递,节约通信开销;ros2 component 在合并节点模式时,默认仍通过 DDS 中间件通信,只有在配置节点使用 intra-process 通信时,才通过指针实现消息传递。
关于 ros1 nodelet 参考 ROS高效进阶第四章 – 机器视觉处理之ros集成zbar实现二维码检测 第2.3节。
关于 DDS 和 intra-process 参考 ROS2高效学习第一章 – ros2整体介绍及DDS引入 ;
2.2 component_demo
(1)创建 component_demo 以及相关文件
cd ~/colcon_ws/src
ros2 pkg create --build-type ament_cmake --license Apache-2.0 component_demo --dependencies rclcpp rclcpp_components std_msgs
cd component_demo
mkdir launch
touch include/component_demo/pub_component.hpp
touch include/component_demo/sub_component.hpp
touch include/component_demo/visibility_control.h
touch launch/merge_node_launch.py
touch launch/separate_node_launch.py
touch src/pub_component.cpp src/sub_component.cpp
(2)编写 pub_component.hpp
#ifndef COMPONENT_DEMO__PUB_COMPONENT_HPP_
#define COMPONENT_DEMO__PUB_COMPONENT_HPP_

// 必须配置可见头文件,主要是为了兼容 lunix 和 windows
#include "component_demo/visibility_control.h"
#include "rclcpp/rclcpp.hpp"
#include "std_msgs/msg/string.hpp"
namespace component_demo
{
class PubComponent : public rclcpp::Node
{
public:
    // 来自可见头文件
    COMPONENT_DEMO_PUBLIC
    // explicit 是为了防止实例化PubComponent时的隐式转换
    explicit PubComponent(const rclcpp::NodeOptions & options);

protected:
    void on_timer();

private:
    size_t count_;
    std::string msg_inner_;
    rclcpp::Publisher<std_msgs::msg::String>::SharedPtr pub_msg_;
    rclcpp::TimerBase::SharedPtr timer_;
};
} // namespace component_demo

#endif // COMPONENT_DEMO__PUB_COMPONENT_HPP_
(3)编写 sub_component.hpp
#ifndef COMPONENT_DEMO__SUB_COMPONENT_HPP_
#define COMPONENT_DEMO__SUB_COMPONENT_HPP_

#include "component_demo/visibility_control.h"
#include "rclcpp/rclcpp.hpp"
#include "std_msgs/msg/string.hpp"

namespace component_demo
{
// 注释请查看 pub_component.hpp
class SubComponent : public rclcpp::Node
{
public:
    COMPONENT_DEMO_PUBLIC
    explicit SubComponent(const rclcpp::NodeOptions & options);
private:
    rclcpp::Subscription<std_msgs::msg::String>::SharedPtr sub_msg_;
};

} // namespace component_demo

#endif // COMPONENT_DEMO__SUB_COMPONENT_HPP_
(4)编写 visibility_control.h:让程序兼容 windows 和 linux,直接套模板改一下就行
#ifndef COMPONENT_DEMO__VISIBILITY_CONTROL_H_
#define COMPONENT_DEMO__VISIBILITY_CONTROL_H_

#ifdef __cplusplus
extern "C"
{
#endif

// This logic was borrowed (then namespaced) from the examples on the gcc wiki:
//     https://gcc.gnu.org/wiki/Visibility

#if defined _WIN32 || defined __CYGWIN__
  #ifdef __GNUC__
    #define COMPONENT_DEMO_EXPORT __attribute__ ((dllexport))
    #define COMPONENT_DEMO_IMPORT __attribute__ ((dllimport))
  #else
    #define COMPONENT_DEMO_EXPORT __declspec(dllexport)
    #define COMPONENT_DEMO_IMPORT __declspec(dllimport)
  #endif
  #ifdef COMPONENT_DEMO_BUILDING_DLL
    #define COMPONENT_DEMO_PUBLIC COMPONENT_DEMO_EXPORT
  #else
    #define COMPONENT_DEMO_PUBLIC COMPONENT_DEMO_IMPORT
  #endif
  #define COMPONENT_DEMO_PUBLIC_TYPE COMPONENT_DEMO_PUBLIC
  #define COMPONENT_DEMO_LOCAL
#else
  #define COMPONENT_DEMO_EXPORT __attribute__ ((visibility("default")))
  #define COMPONENT_DEMO_IMPORT
  #if __GNUC__ >= 4
    #define COMPONENT_DEMO_PUBLIC __attribute__ ((visibility("default")))
    #define COMPONENT_DEMO_LOCAL  __attribute__ ((visibility("hidden")))
  #else
    #define COMPONENT_DEMO_PUBLIC
    #define COMPONENT_DEMO_LOCAL
  #endif
  #define COMPONENT_DEMO_PUBLIC_TYPE
#endif

#ifdef __cplusplus
}
#endif
#endif  // COMPONENT_DEMO__VISIBILITY_CONTROL_H_
(5)编写 pub_component.cpp
#include <chrono>
#include <iostream>
#include <memory>
#include <utility>
#include "rclcpp/rclcpp.hpp"
#include "std_msgs/msg/string.hpp"
#include "component_demo/pub_component.hpp"
#include "rclcpp_components/register_node_macro.hpp"
RCLCPP_COMPONENTS_REGISTER_NODE(component_demo::PubComponent)
namespace component_demo
{
PubComponent::PubComponent(const rclcpp::NodeOptions & options)
: Node("pub_component", options), count_(0) {
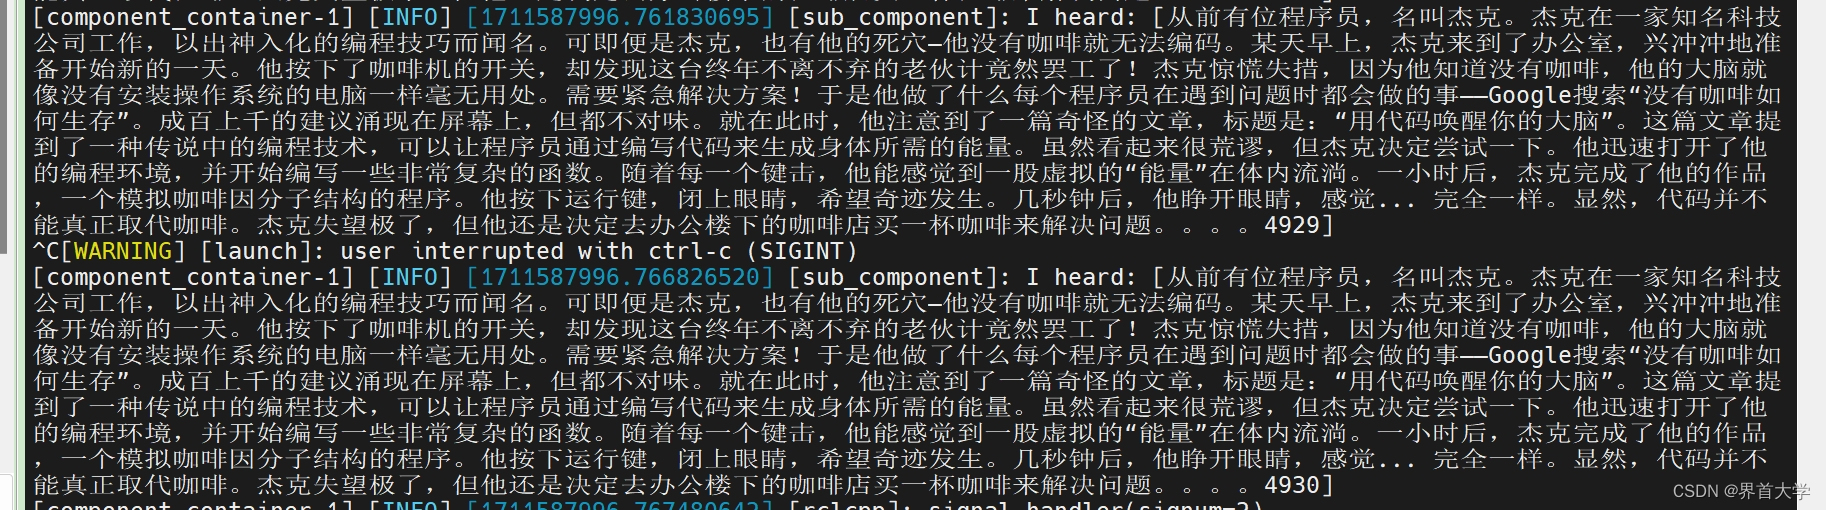
msg_inner_ = "从前有位程序员,名叫杰克。杰克在一家知名科技公司工作,以出神入化的编程技巧而闻名。"
"可即便是杰克,也有他的死穴—他没有咖啡就无法编码。"
"某天早上,杰克来到了办公室,兴冲冲地准备开始新的一天。"
"他按下了咖啡机的开关,却发现这台终年不离不弃的老伙计竟然罢工了!"
"杰克惊慌失措,因为他知道没有咖啡,他的大脑就像没有安装操作系统的电脑一样毫无用处。"
"需要紧急解决方案!于是他做了什么每个程序员在遇到问题时都会做的事——Google搜索“没有咖啡如何生存”。"
"成百上千的建议涌现在屏幕上,但都不对味。就在此时,他注意到了一篇奇怪的文章,标题是:“用代码唤醒你的大脑”。"
"这篇文章提到了一种传说中的编程技术,可以让程序员通过编写代码来生成身体所需的能量。"
"虽然看起来很荒谬,但杰克决定尝试一下。"
"他迅速打开了他的编程环境,并开始编写一些非常复杂的函数。"
"随着每一个键击,他能感觉到一股虚拟的“能量”在体内流淌。"
"一小时后,杰克完成了他的作品,一个模拟咖啡因分子结构的程序。"
"他按下运行键,闭上眼睛,希望奇迹发生。"
"几秒钟后,他睁开眼睛,感觉... 完全一样。"
"显然,代码并不能真正取代咖啡。"
"杰克失望极了,但他还是决定去办公楼下的咖啡店买一杯咖啡来解决问题。。。。";
pub_msg_ = create_publisher<std_msgs::msg::String>("hello_msg", 10);
// 帧率设置为 200 hz,较高的帧率,可以比较明显的看出合并进程与分离进程负载的变化
timer_ = create_wall_timer(std::chrono::milliseconds(5), std::bind(&PubComponent::on_timer, this));
}
void PubComponent::on_timer() {
// 如果想使用 ros2 的 intra-process 通信,最好使用 unique_ptr,然后发送时使用std::move()转移所有权
// 这种方式可以明确告诉 ros2 , 这个消息你拥有唯一的所有权,可以使用 intra-process 直接传递指针进行通信
auto msg = std::make_unique<std_msgs::msg::String>();
msg->data = msg_inner_ + std::to_string(++count_);
pub_msg_->publish(std::move(msg));
}
} // namespace component_demo
(6)编写 sub_component.cpp
#include <iostream>
#include <memory>

#include "rclcpp/rclcpp.hpp"
#include "component_demo/sub_component.hpp"

#include "rclcpp_components/register_node_macro.hpp"
RCLCPP_COMPONENTS_REGISTER_NODE(component_demo::SubComponent)

namespace component_demo
{
SubComponent::SubComponent(const rclcpp::NodeOptions & options)
                            : Node("sub_component", options) {
    auto msg_callback = [this](std_msgs::msg::String::ConstSharedPtr msg) {
        RCLCPP_INFO(this->get_logger(), "I heard: [%s]", msg->data.c_str());
    };

    sub_msg_ = create_subscription<std_msgs::msg::String>("hello_msg", 10, msg_callback);
}

};  // namespace component_demo
(7)编写 separate_node_launch.py
import launch
from launch_ros.actions import ComposableNodeContainer
from launch_ros.descriptions import ComposableNode


def generate_launch_description():
    # 两个组件放在两个 container 里,也就是分别在两个进程,这种状况比较容易排查问题,当然负载也要高一些
    # 通常情况下,开发阶段使用这种方式,生产环境使用合并进程的方式
    pub_container = ComposableNodeContainer(
            name='pub_container',
            namespace='',
            package='rclcpp_components',
            # component_container_mt
            executable='component_container',
            composable_node_descriptions=[
                ComposableNode(
                    package='component_demo',
                    plugin='component_demo::PubComponent',
                    name='pub_component')
            ],
            output='screen',
    )

    sub_container = ComposableNodeContainer(
            name='sub_container',
            namespace='',
            package='rclcpp_components',
            executable='component_container',
            composable_node_descriptions=[
                ComposableNode(
                    package='component_demo',
                    plugin='component_demo::SubComponent',
                    name='sub_component')
            ],
            output='screen',
    )

    return launch.LaunchDescription([pub_container, sub_container])
(8)编写 merge_node_launch.py
import launch
from launch_ros.actions import ComposableNodeContainer
from launch_ros.descriptions import ComposableNode


def generate_launch_description():
    # 两个组件放在一个 container 里,也就是共享一个进程,可以降低负载
    # 通常情况下,开发阶段使用分开进程的方式,生产环境使用这种方式
    container = ComposableNodeContainer(
            name='my_container',
            namespace='',
            package='rclcpp_components',
            # component_container 是单线程容器,容器内所有组件共享一个线程,没有并发问题,但是效率低
            # component_container_mt 是多线程容器,容器内每个组件都有自己的线程,可以并发处理,效率高,但需要考虑并发风险
            executable='component_container',
            composable_node_descriptions=[
                ComposableNode(
                    package='component_demo',
                    plugin='component_demo::PubComponent',
                    name='pub_component',
                    # 尽管多个组件合并在同一个进程,ros2 也是默认走 DDS 中间件通信
                    # 下面的参数,可以设置组件之间通过 intra-process 通信
                    # 理论上,intra-process 直接传递指针,效率更高
                    # 但是本样例太小了,实际测试无法看出使用 intra-process 的优势
                    extra_arguments=[{'use_intra_process_comms': True}]
                ),
                ComposableNode(
                    package='component_demo',
                    plugin='component_demo::SubComponent',
                    name='sub_component',
                    # 接收端也要配置 intra-process
                    extra_arguments=[{'use_intra_process_comms': True}]
                )
            ],
            output='screen',
    )

    return launch.LaunchDescription([container])
(9)编写 CMakeLists.txt
cmake_minimum_required(VERSION 3.8)
project(component_demo)

if(CMAKE_COMPILER_IS_GNUCXX OR CMAKE_CXX_COMPILER_ID MATCHES "Clang")
  add_compile_options(-Wall -Wextra -Wpedantic)
endif()

# find dependencies
find_package(ament_cmake REQUIRED)
find_package(rclcpp REQUIRED)
find_package(rclcpp_components REQUIRED)
find_package(std_msgs REQUIRED)

include_directories(include)

add_library(sub_component SHARED src/sub_component.cpp)
ament_target_dependencies(sub_component rclcpp rclcpp_components std_msgs)
rclcpp_components_register_nodes(sub_component "component_demo::SubComponent")

add_library(pub_component SHARED src/pub_component.cpp)
ament_target_dependencies(pub_component rclcpp rclcpp_components std_msgs)
rclcpp_components_register_nodes(pub_component "component_demo::PubComponent")

install(TARGETS
  sub_component
  pub_component
  LIBRARY DESTINATION lib
)

install(DIRECTORY
  launch
  DESTINATION share/${PROJECT_NAME}
)

ament_package()
(10)编译并运行
cd ~/colcon_ws/src
colcon build --packages-select component_demo
source install/local_setup.bash
# 两个节点独立进程启动
ros2 launch component_demo separate_node_launch.py
# 两个节点合并进程启动
ros2 launch component_demo merge_node_launch.py
两个节点独立进程启动负载截图:

两个节点合并进程启动负载截图:整体几乎少了一半负载

3 总结
本文代码托管在本人的github上:component_demo


 7203
7203

 被折叠的 条评论
为什么被折叠?
被折叠的 条评论
为什么被折叠?
 到【灌水乐园】发言


