Docker安装Elasticsearch9.0.1与Kibana9.0.1 保姆教程

  1. 创建 elasticsearch与kibana 所用网络
docker network create docker_network_es
  1. 安装elasticsearch
#创建 临时elasticsearch 用于cp相关配置信息

docker run -d \
--restart=always \
--name elasticsearch \
--network docker_network_es \
-p 9200:9200 \
-p 9300:9300 \
--privileged \
-e "discovery.type=single-node" \
-e "ES_JAVA_OPTS=-Xms4g -Xmx4g" \
elasticsearch:9.0.1

#创建elasticsearch相关配置目录用于容器外部挂载
mkdir /Users/{yourhostname}/elasticsearch/

#从容器中复制相关目录到挂载目录下
docker cp elasticsearch:/usr/share/elasticsearch/data  /Users/{yourhostname}/elasticsearch/
docker cp elasticsearch:/usr/share/elasticsearch/plugins /Users/{yourhostname}/elasticsearch/
docker cp elasticsearch:/usr/share/elasticsearch/config /Users/{yourhostname}/elasticsearch/

#赋权限
cd /Users/{yourhostname}/elasticsearch/
chmod 777 -R config/ data/ plugins/

#停止、移除 临时elasticsearch
docker stop elasticsearch && docker rm elasticsearch

#启动 elasticsearch
docker run -d \
--restart=always \
--name elasticsearch \
--network docker_network_es \
-p 9200:9200 \
-p 9300:9300 \
--privileged \
-v /Users/{yourhostname}/elasticsearch/data:/usr/share/elasticsearch/data \
-v /Users/{yourhostname}/elasticsearch/plugins:/usr/share/elasticsearch/plugins \
-v /Users/{yourhostname}/elasticsearch/config:/usr/share/elasticsearch/config \
-e "discovery.type=single-node" \
-e "ES_JAVA_OPTS=-Xms4g -Xmx4g" \
elasticsearch:9.0.1

#修改容器外挂载目录中的elasticsearch.yml
#新增 开启http 9200端口
http.port: 9200
#修改 关闭https
xpack.security.http.ssl.enabled: false
xpack.security.http.transport.enabled: false

#重启
docker restart elasticsearch

3.安装kibana

#创建 临时kibana 用于cp相关配置信息
docker run -d \
  --restart=always \
  --name kibana \
  --network docker_network_es \
  -p 5601:5601 \
  --privileged \
  -e ELASTICSEARCH_HOSTS=http://elasticsearch:9200 \
  kibana:9.0.1


#创建kibana相关配置目录用于容器外部挂载
mkdir /Users/{yourhostname}/kibana/

#从容器中复制相关目录到挂载目录下
docker cp kibana:/usr/share/kibana/data /Users/{yourhostname}/kibana
docker cp kibana:/usr/share/kibana/config /Users/{yourhostname}/kibana

#赋权限
cd /Users/{yourhostname}/kibana/
chmod -R 777 config/ data/

#停止、移除 临时kibana
docker stop kibana && docker rm kibana

#创建为kibana创建新账户,用于访问elasticsearch
#容器内 /usr/share/elasticsearch/bin 目录下 
elasticsearch-users useradd admin
#给账户授权
elasticsearch-users roles -a superuser admin
elasticsearch-users roles -a kibana_system admin

#修改容器外挂载目录中的kibana.yml
#新增
xpack.screenshotting.browser.chromium.disableSandbox: true
elasticsearch.username: admin
elasticsearch.password: admin123

#启动 kibana
docker run -d \
--restart=always \
--name kibana \
--network docker_network_es \
-p 5601:5601 \
--privileged \
-v /Users/{yourhostname}/kibana/data:/usr/share/kibana/data \
-v /Users/{yourhostname}/kibana/config:/usr/share/kibana/config \
-e ELASTICSEARCH_HOSTS=http://elasticsearch:9200 \
kibana:9.0.1

kibana log中 建议 修改xpack相关配置

#kibana log
[2025-05-27T03:56:57.599+00:00][WARN ][plugins.encryptedSavedObjects] Saved objects encryption key is not set. This will severely limit Kibana functionality. Please set xpack.encryptedSavedObjects.encryptionKey in the kibana.yml or use the bin/kibana-encryption-keys command.

Kibana容器中/bin目录下 执行kibana-encryption-keys generate
在这里插入图片描述
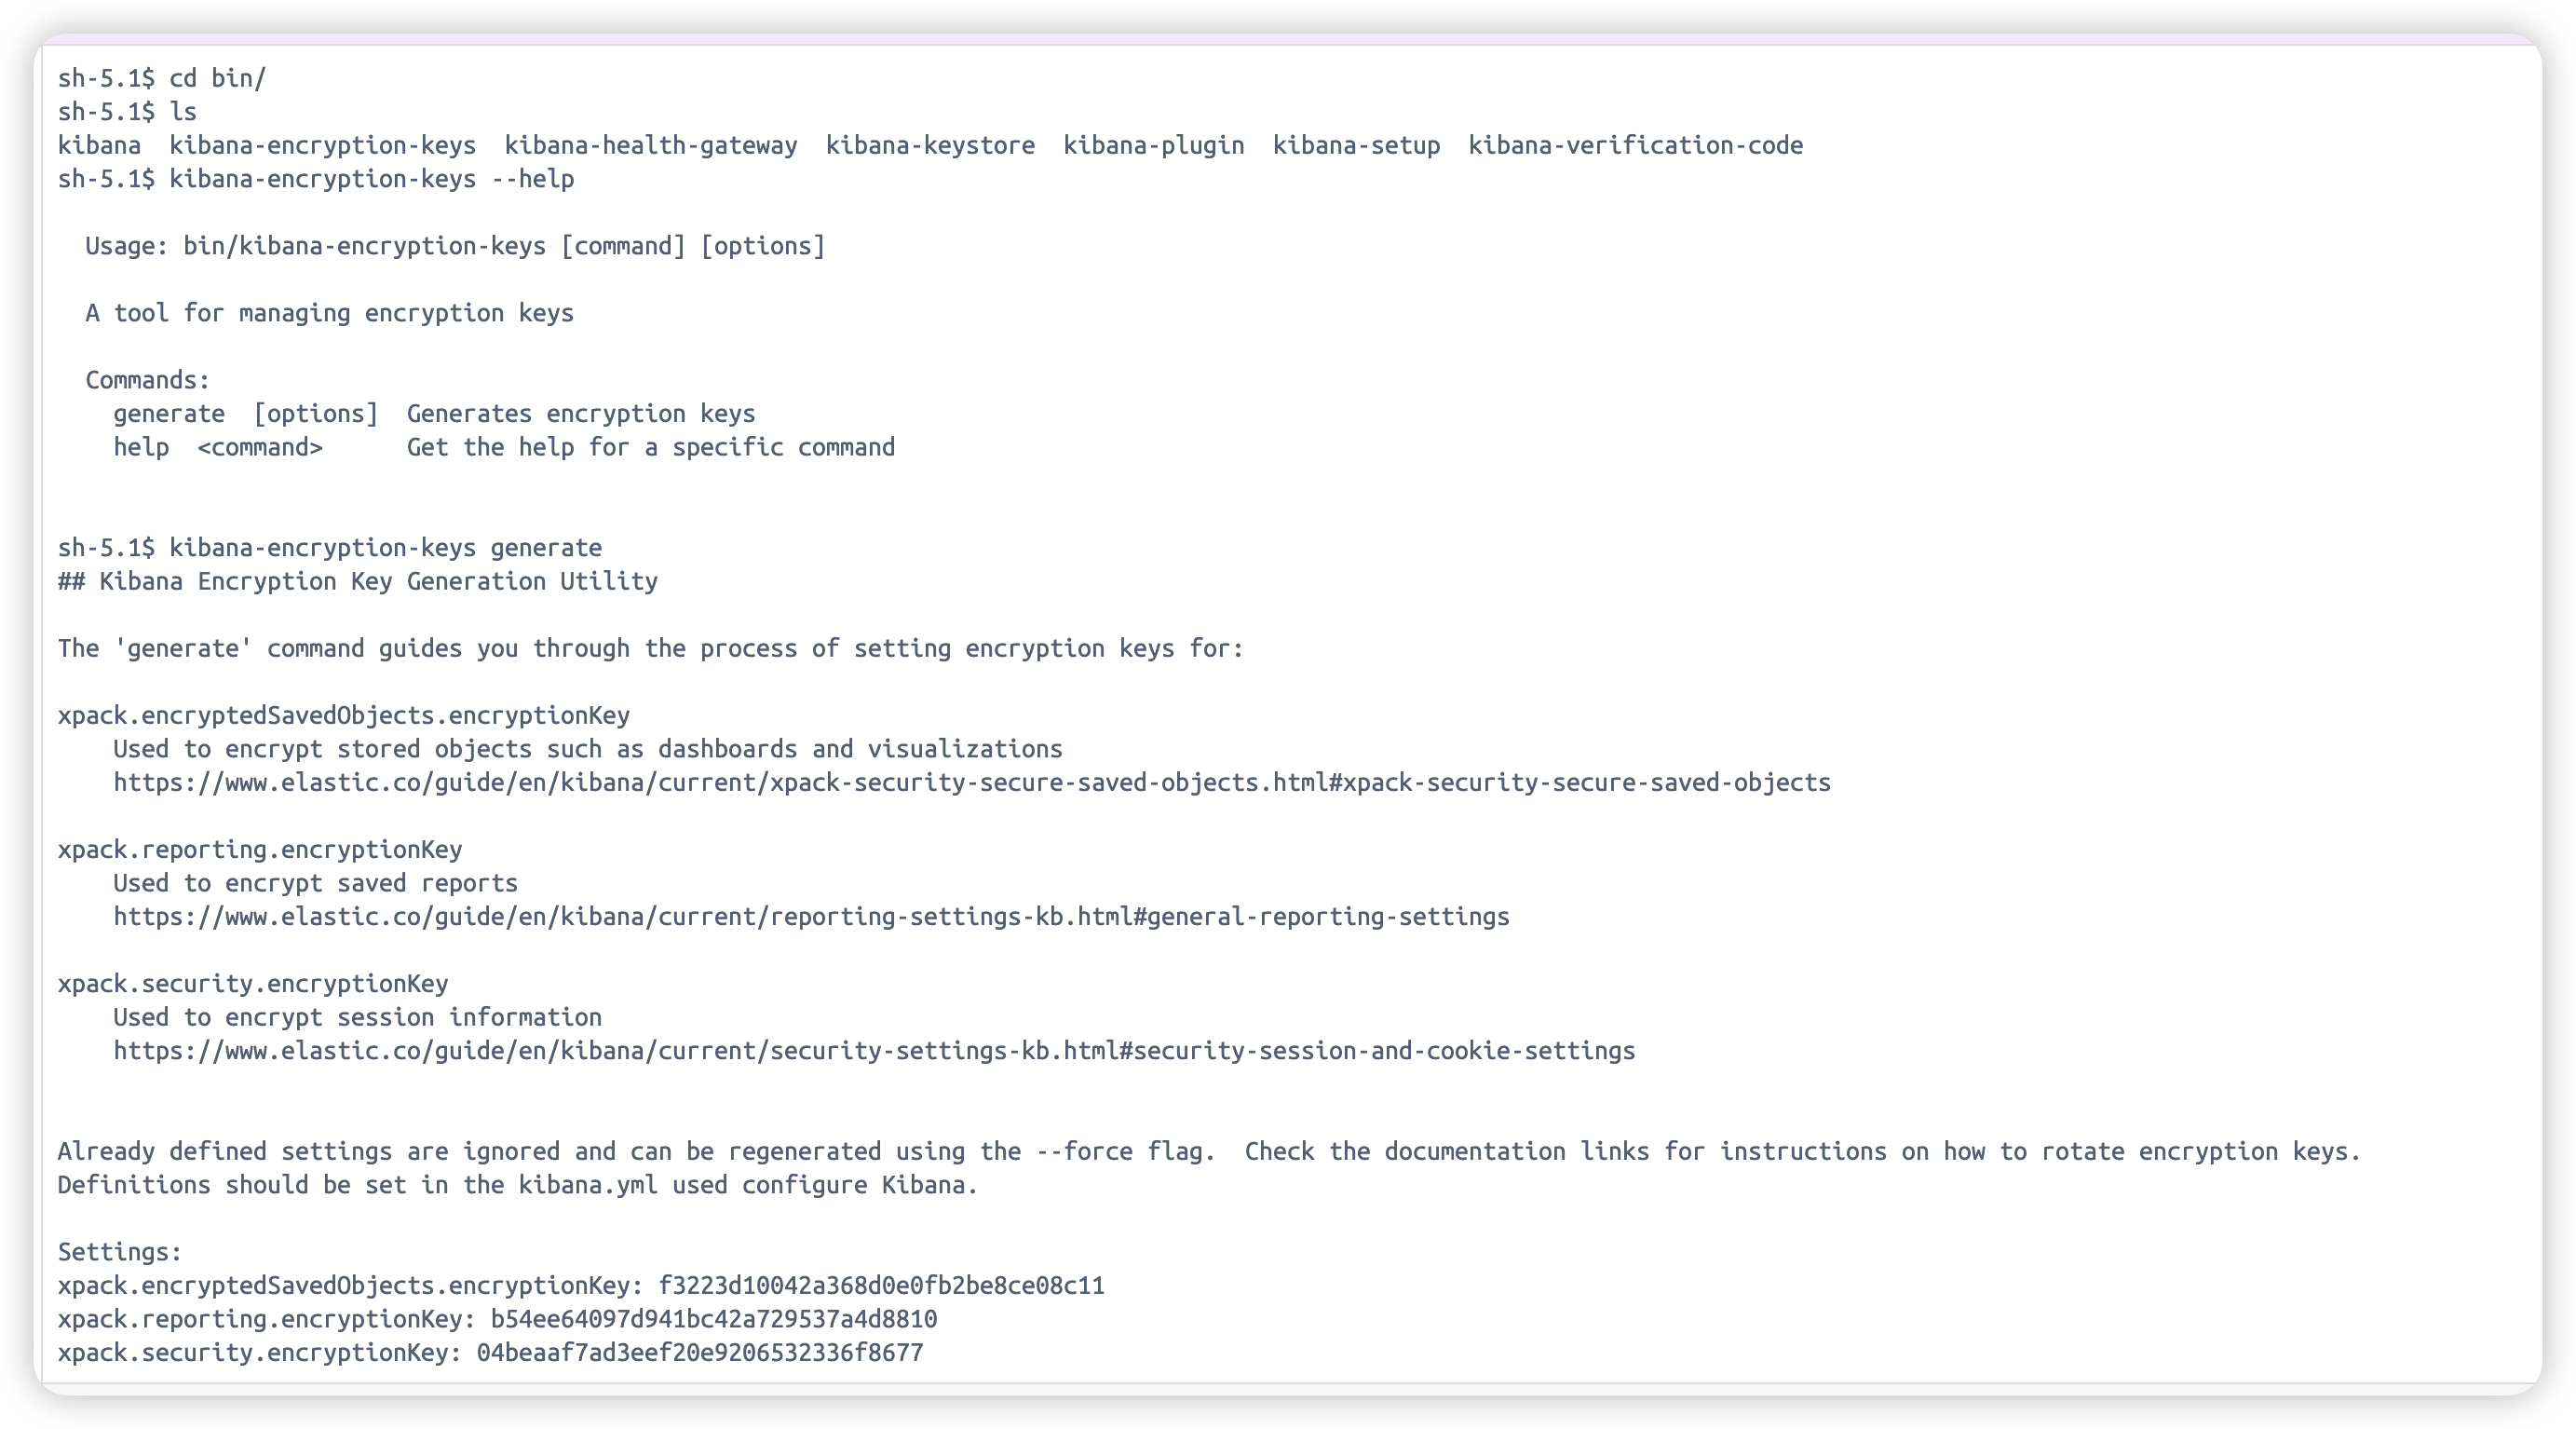
修改kibana.yml 并 重启kibana

#修改kibana.yml
xpack.encryptedSavedObjects.encryptionKey: f3223d10042a368d0e0fb2be8ce08c11
xpack.reporting.encryptionKey: b54ee64097d941bc42a729537a4d8810
xpack.security.encryptionKey: 04beaaf7ad3eef20e9206532336f8677

#重启kibana

docker restart kibana

在这里插入图片描述

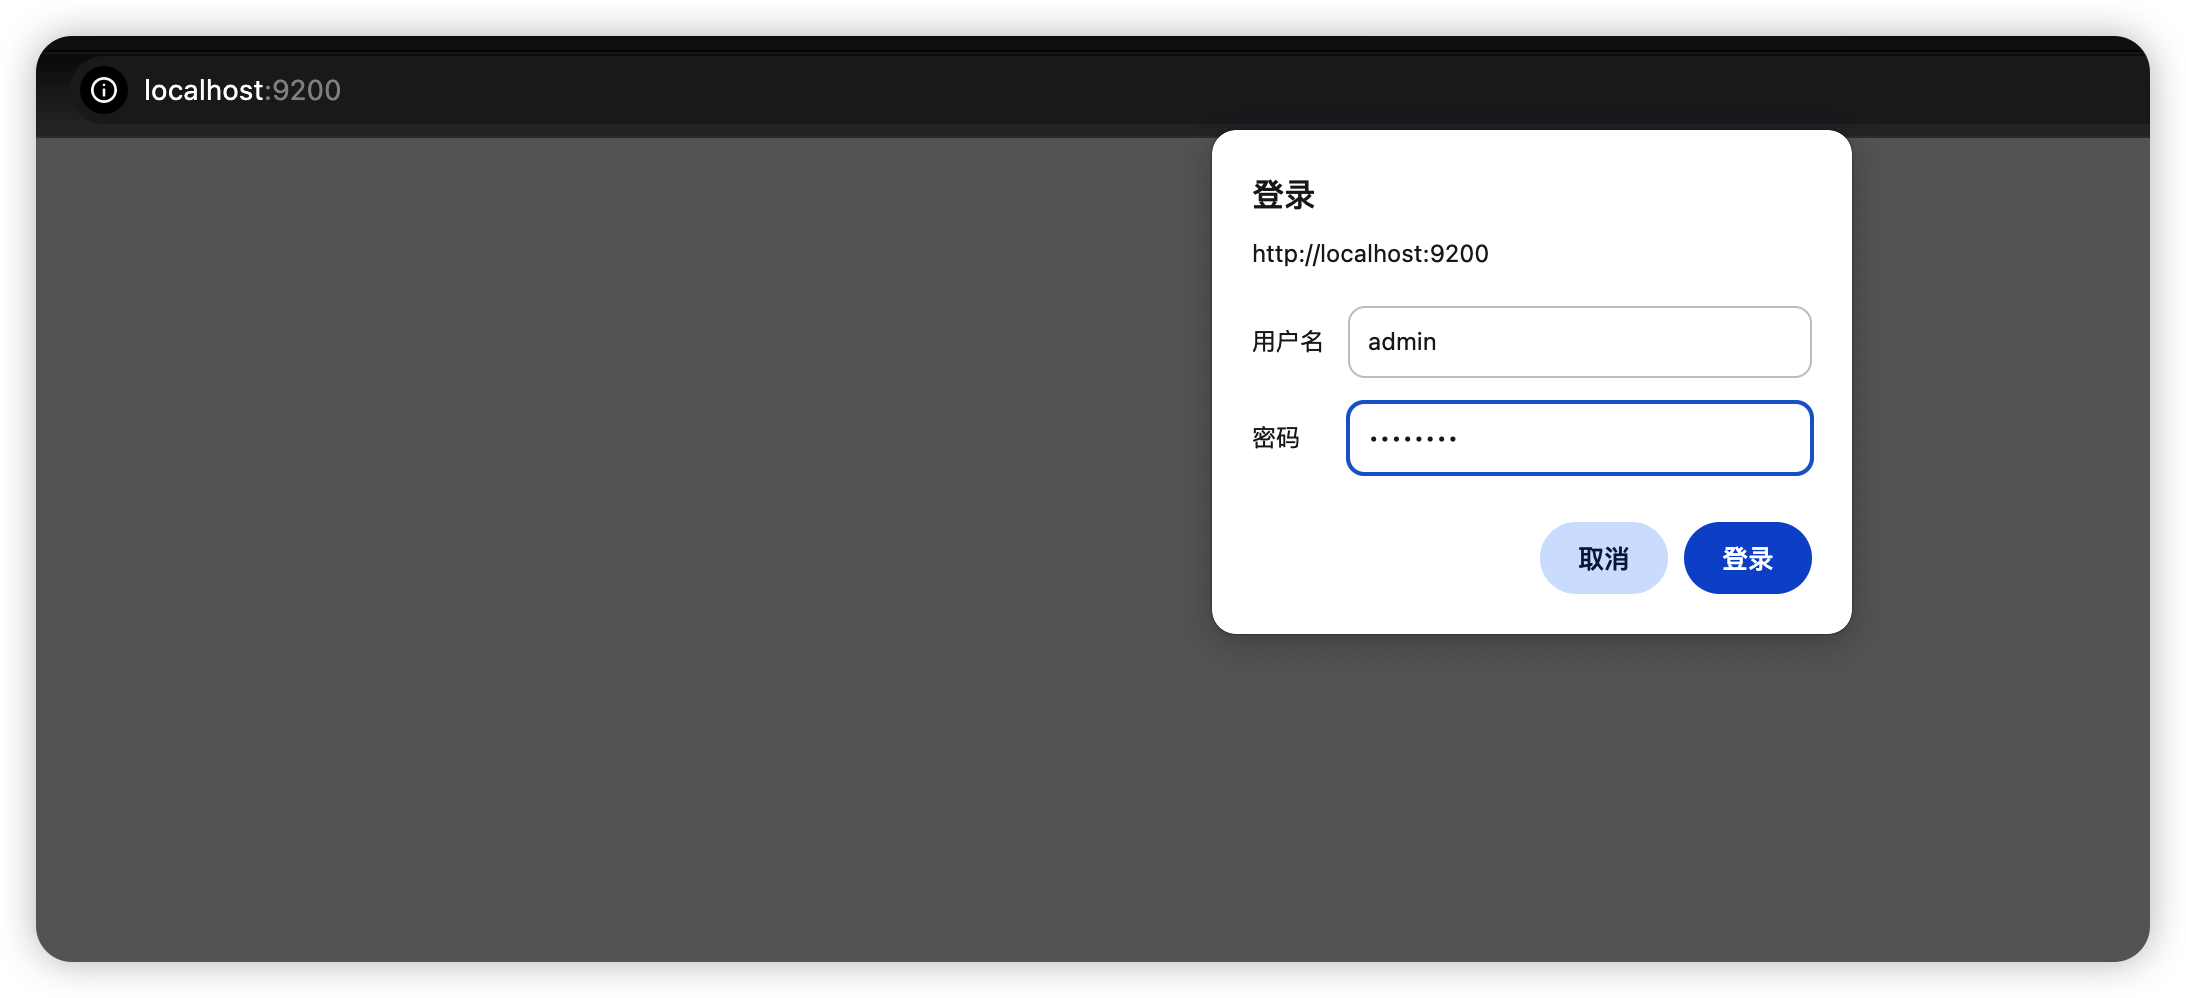
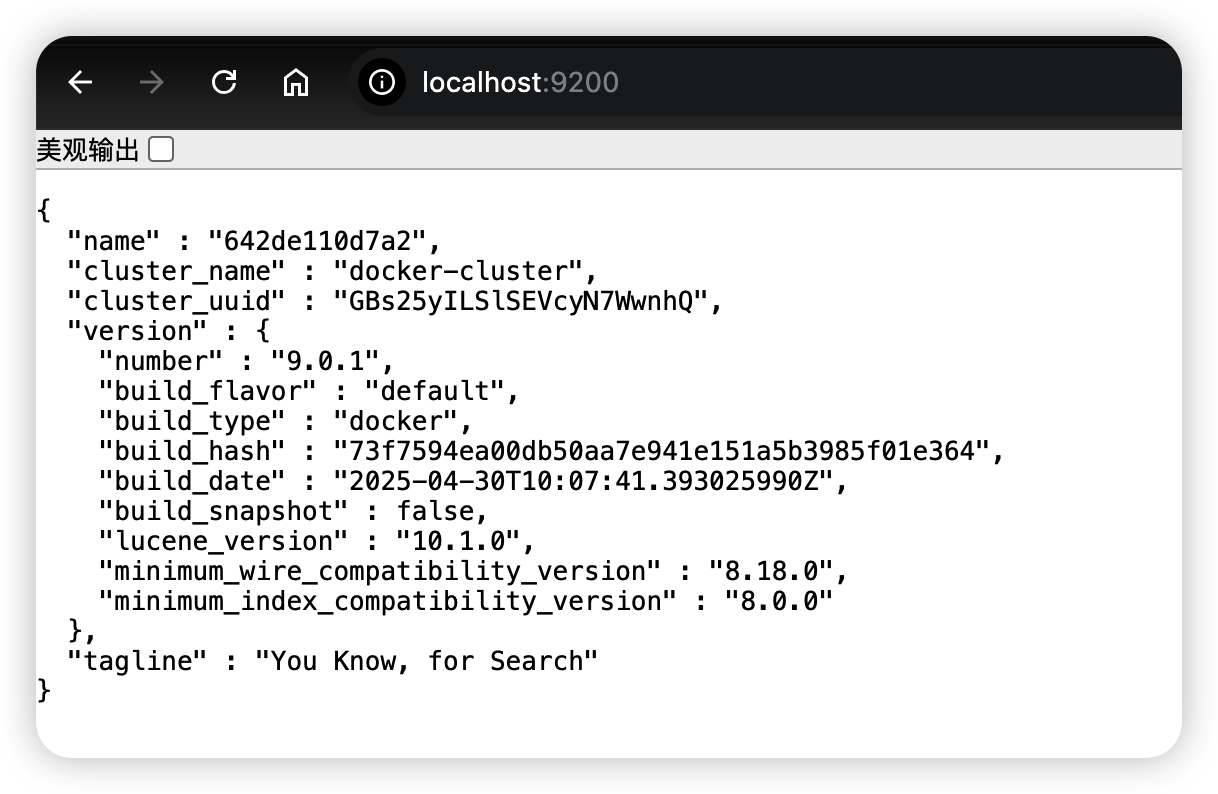
  1. 打开 http://localhost:9200 用admin登录, 验证Elasticsearch 是否正常启动

在这里插入图片描述
在这里插入图片描述
4.1 打开 http://localhost:9200/_cat/health?v 查看节点健康状态
在这里插入图片描述
如果状态为red,单机部署经常会出现以下日志,[index_not_green_timeout]

[2025-05-27T04:49:42.658+00:00][ERROR][savedobjects-service] [.kibana_alerting_cases] Action failed with '[index_not_green_timeout] Timeout waiting for the status of the [.kibana_alerting_cases_9.0.1_001] index to become 'green' Refer to https://www.elastic.co/guide/en/kibana/9.0/resolve-migrations-failures.html#_repeated_time_out_requests_that_eventually_fail⁠ for information on how to resolve the issue.'. Retrying attempt 1 in 2 seconds.

[2025-05-27T04:49:42.658+00:00][INFO ][savedobjects-service] [.kibana_alerting_cases] CREATE_NEW_TARGET -> CREATE_NEW_TARGET. took: 300032ms.

在这里插入图片描述
Tips:
本地单机部署多为内存不足,注意给Elasticsearch部署留6G+的内存
先 docker stop elasticsearch && docker stop kibana
再 docker restart elasticsearch
后 docker restart kibana
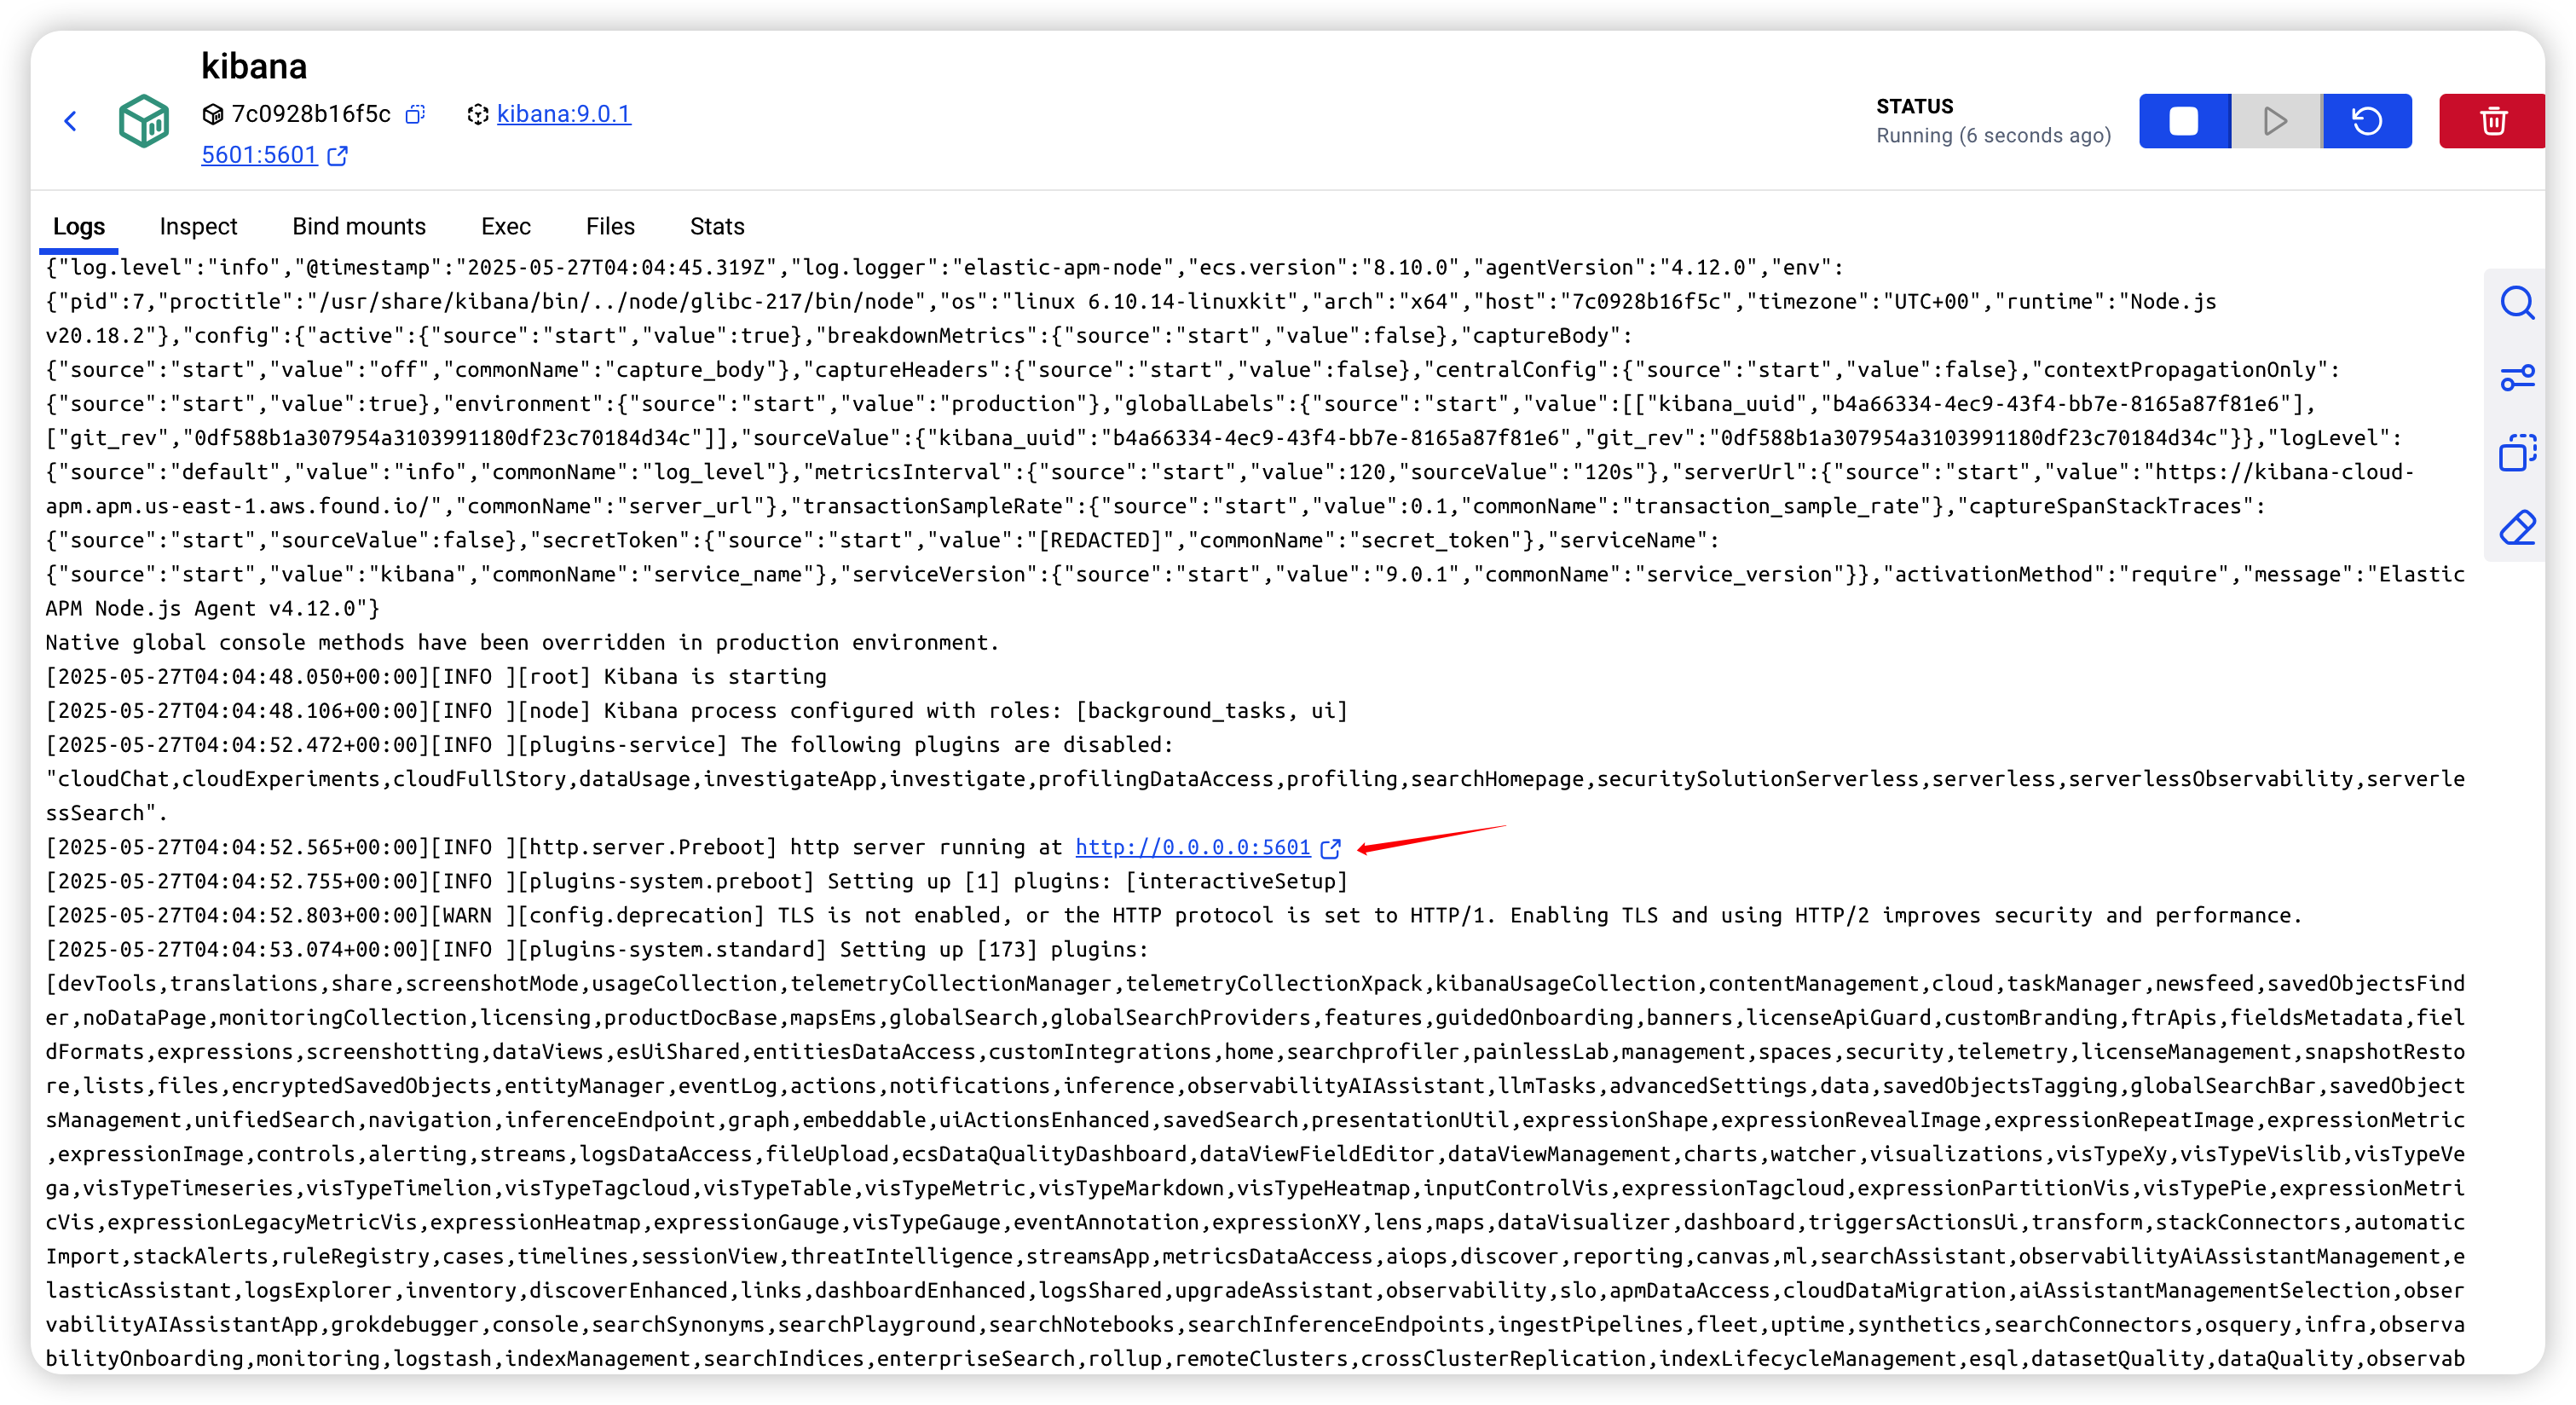
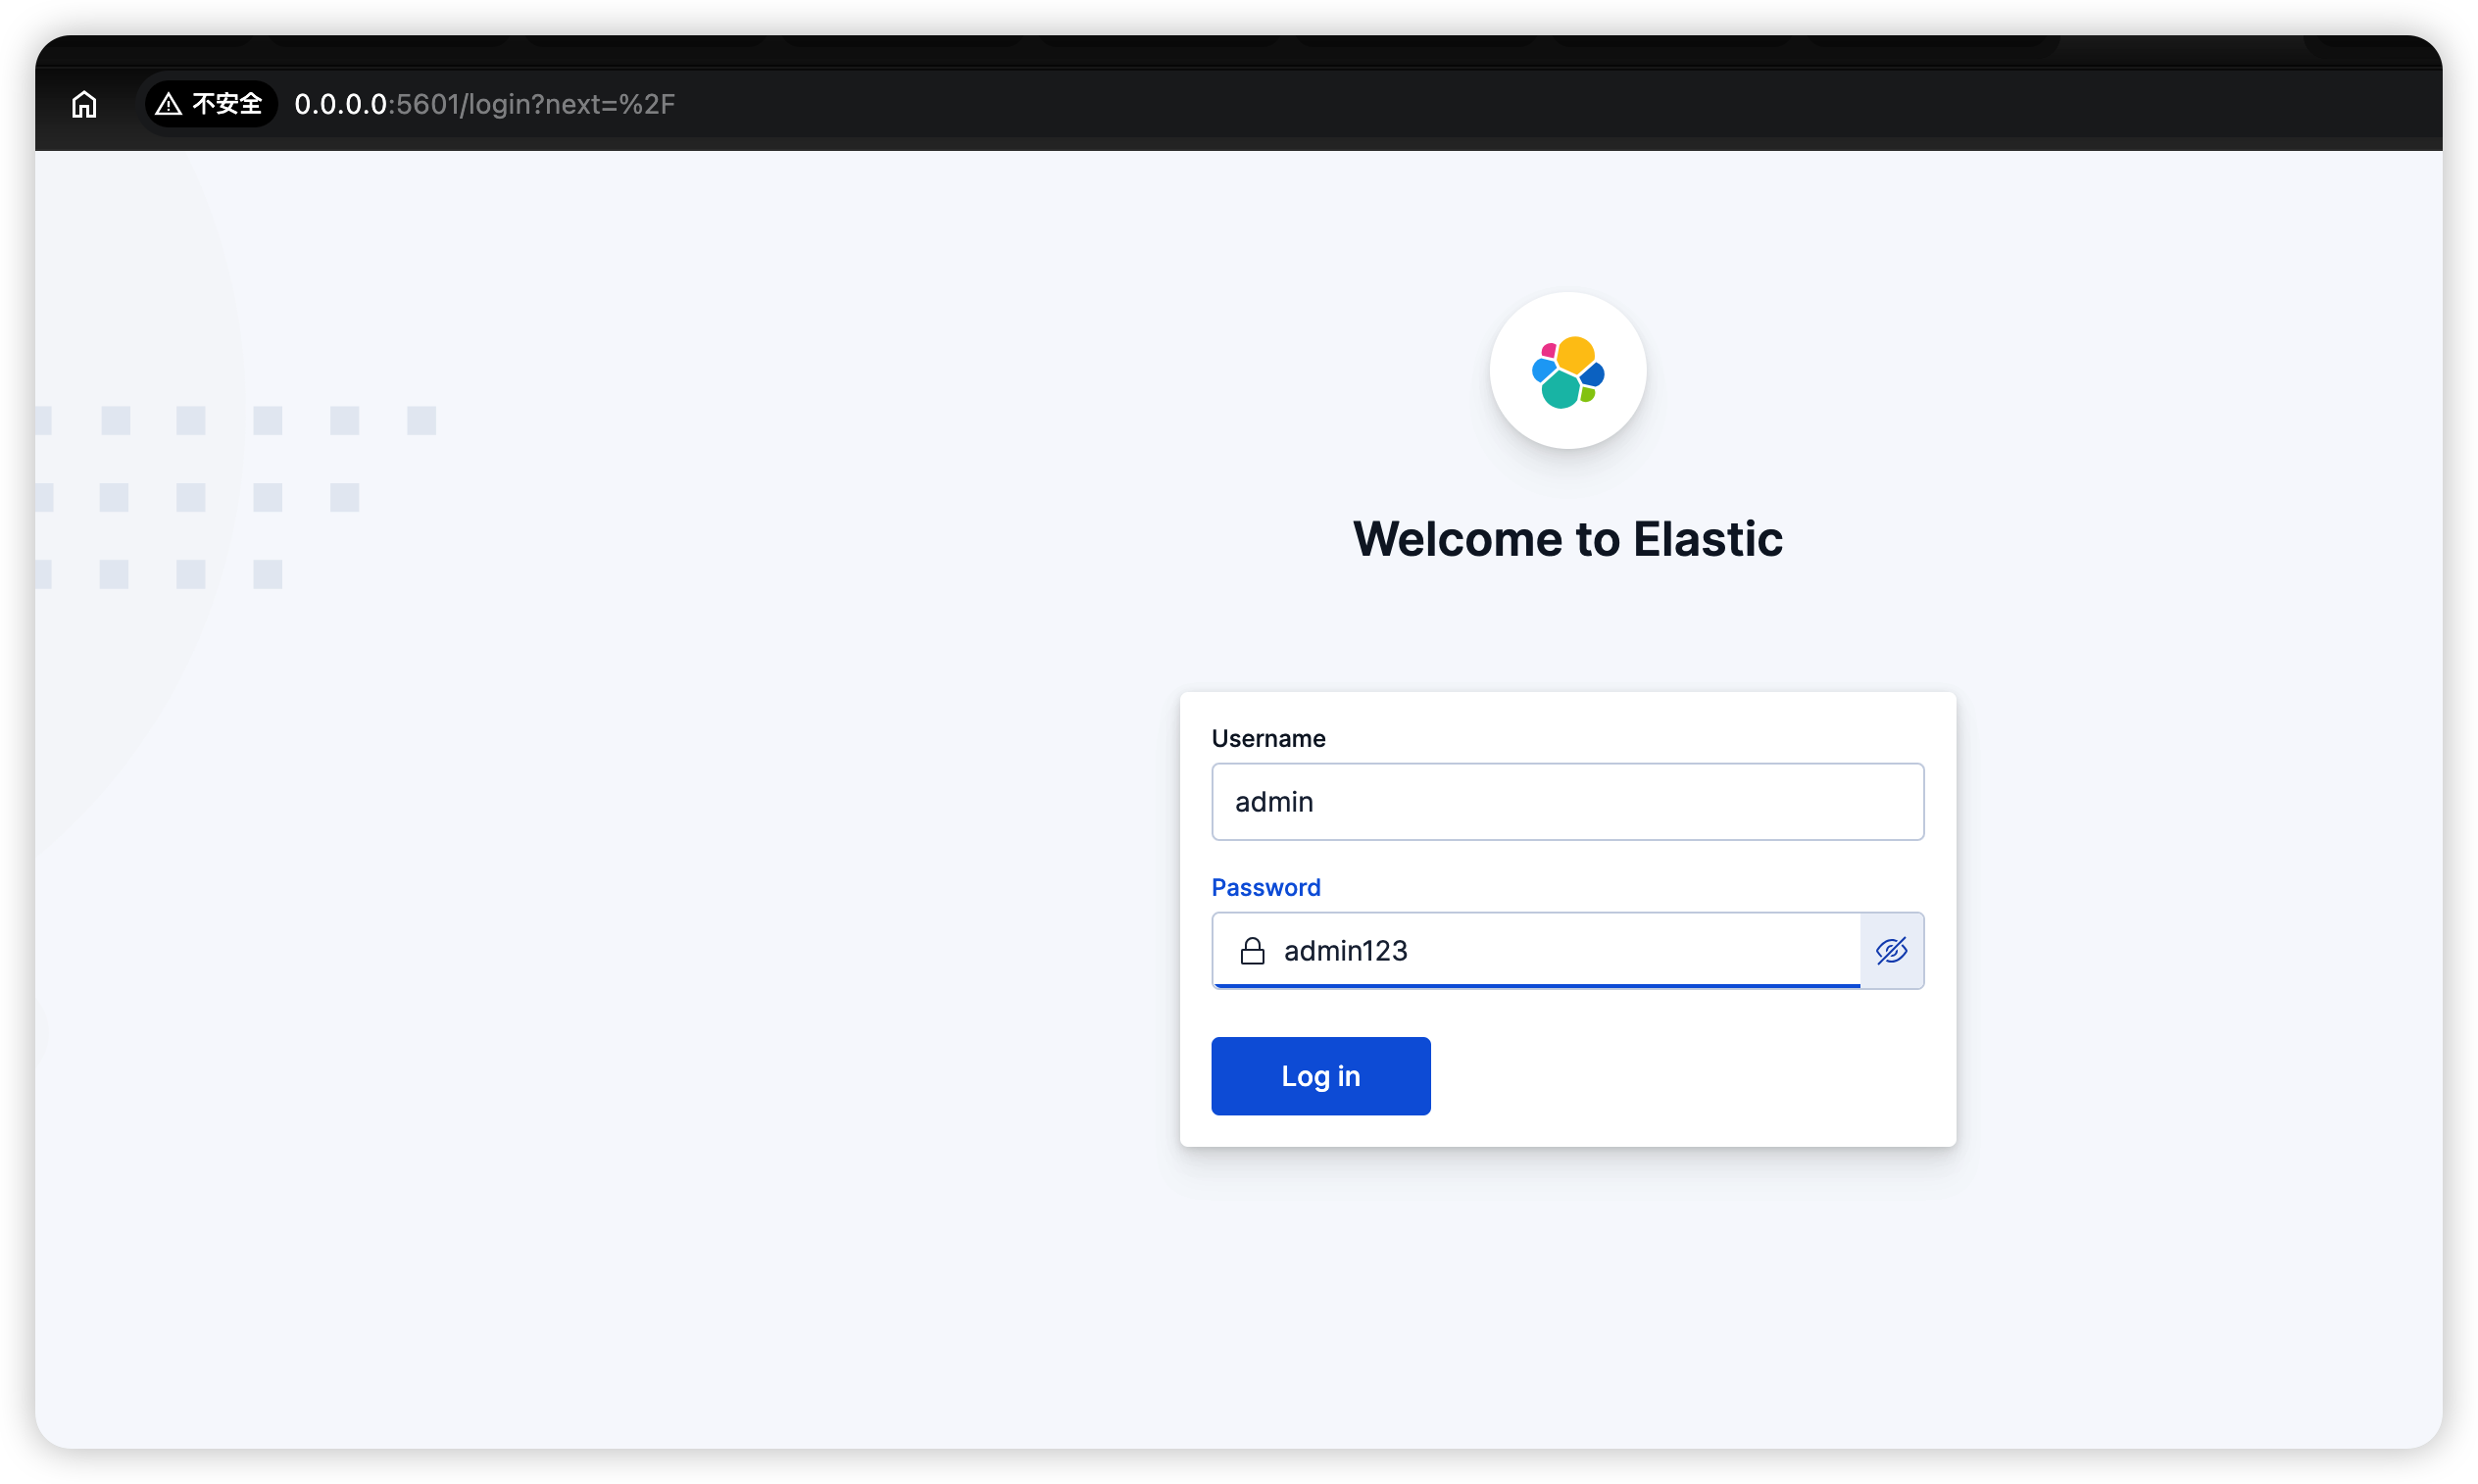
  1. 打开 http://0.0.0.0:5601⁠用admin登录,验证Kibana 是否正常启动

在这里插入图片描述
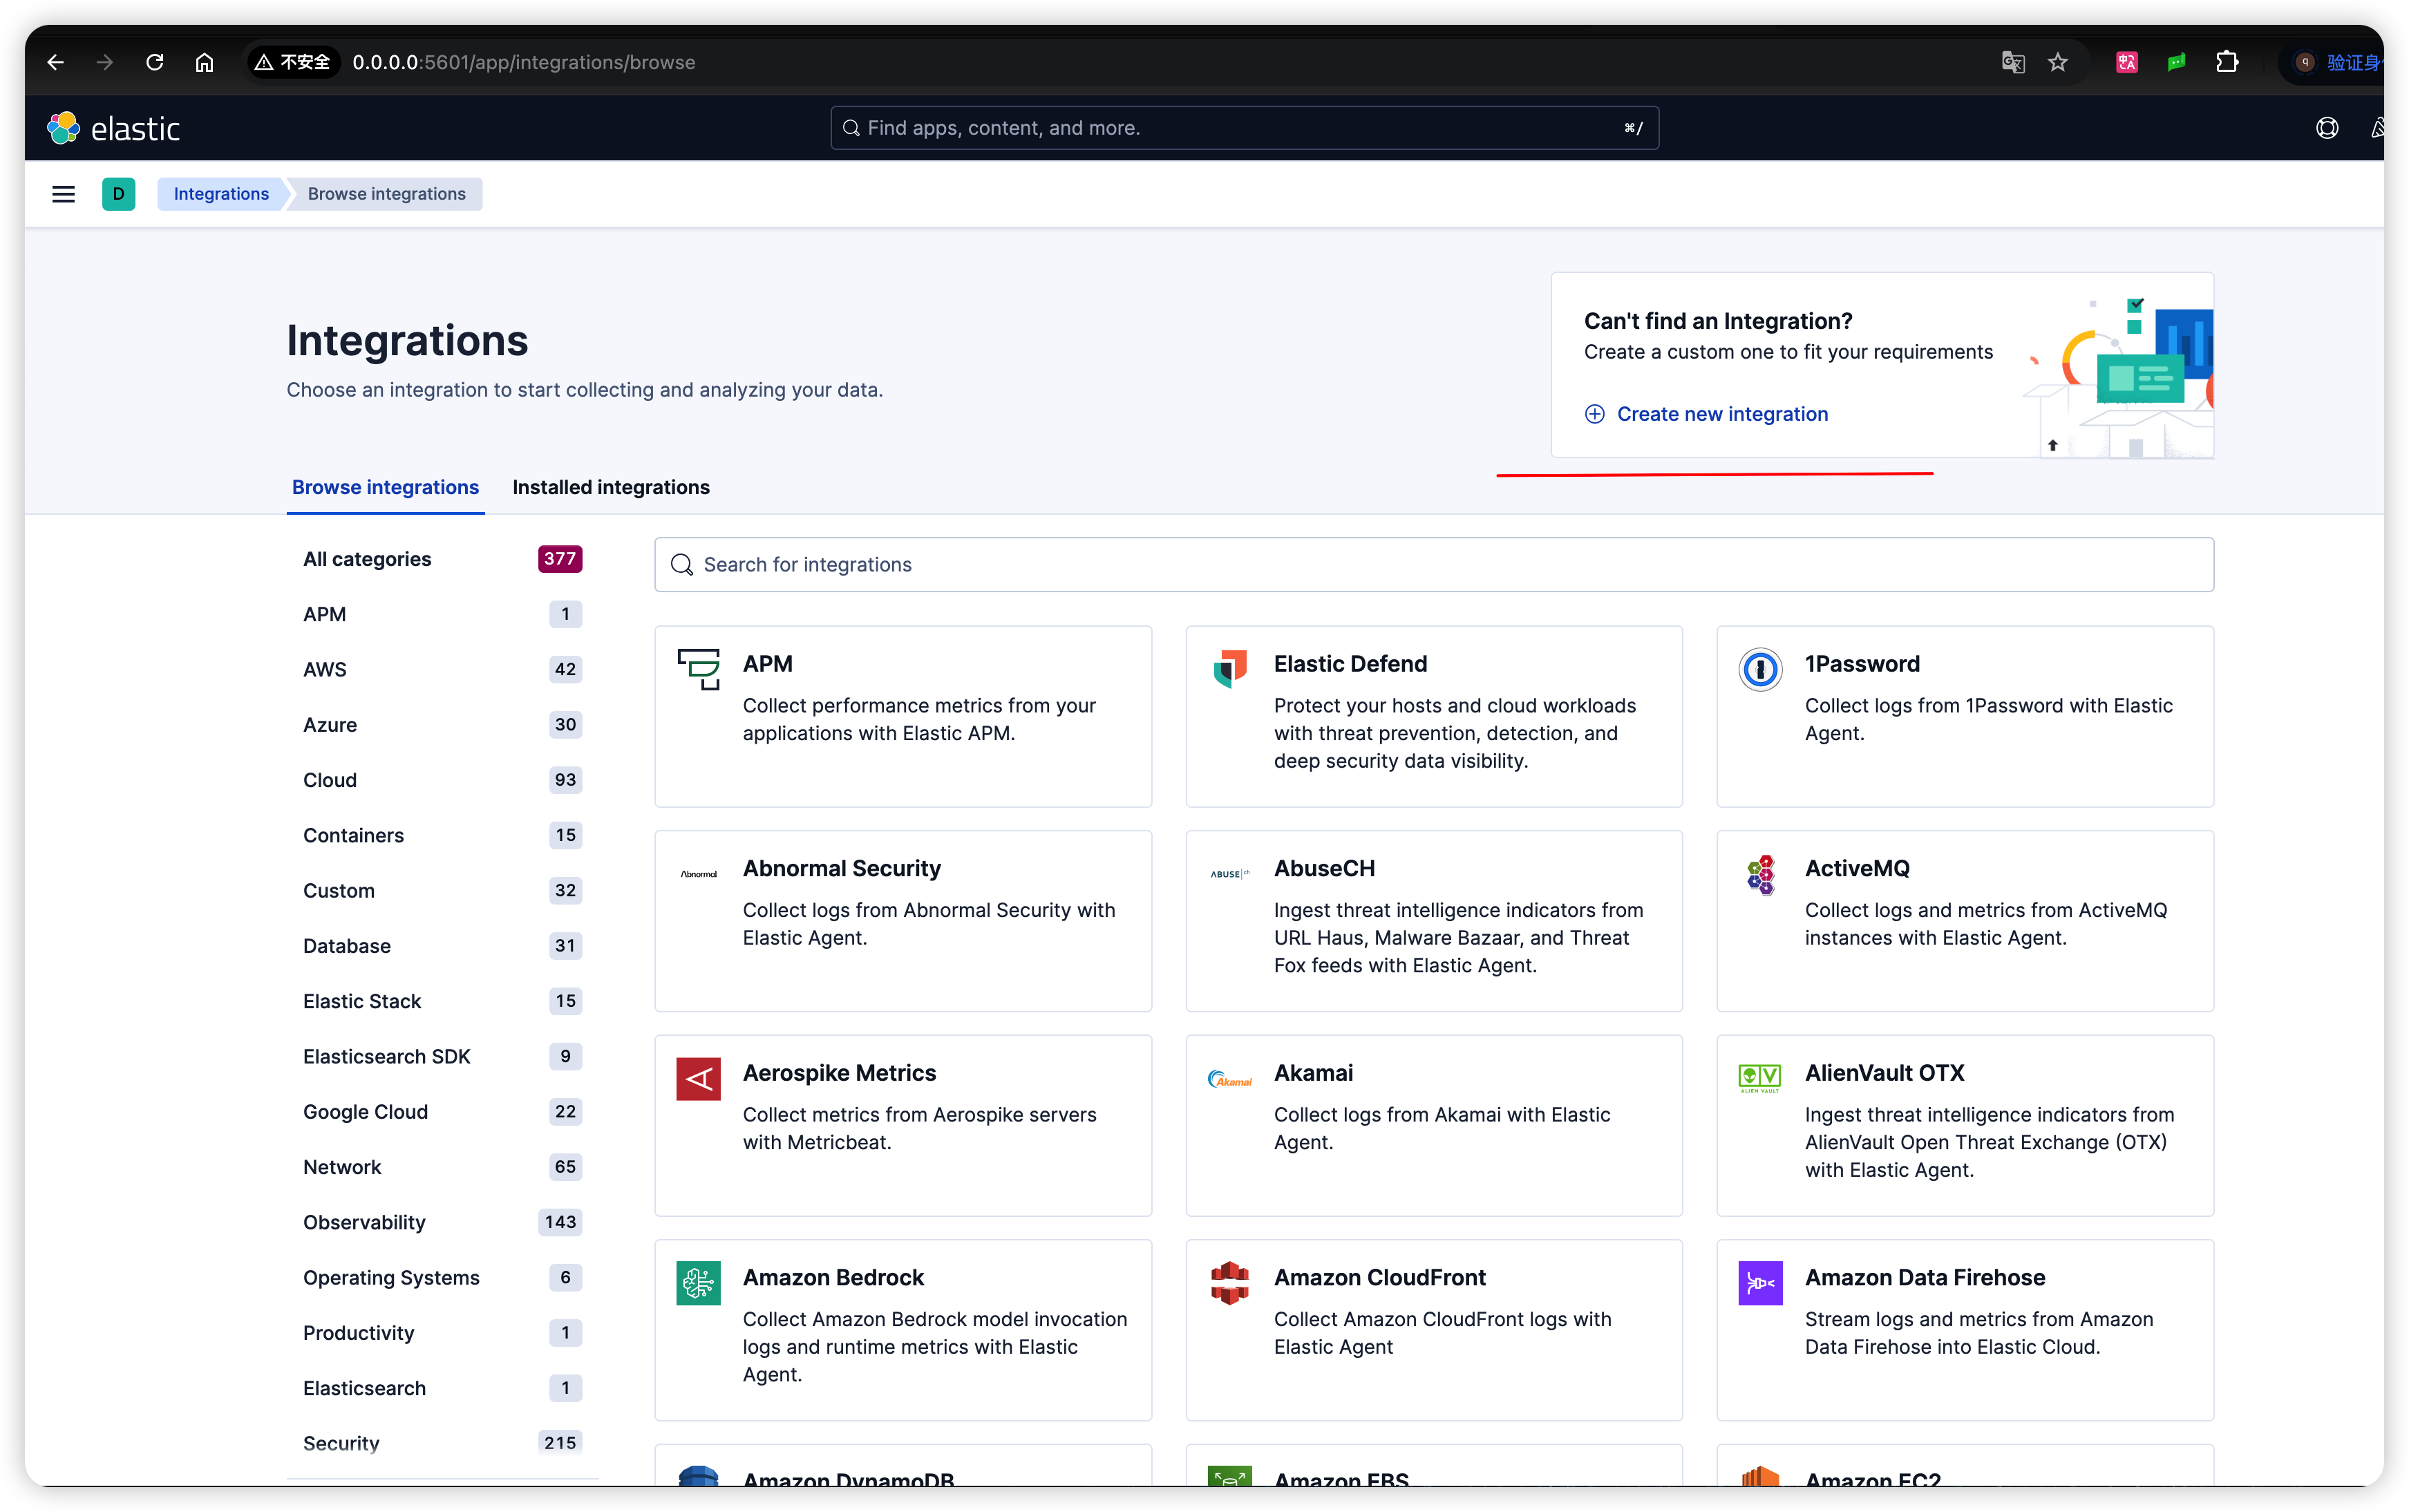
6. 开始Elasticsearch+Kibana 愉快之旅
在这里插入图片描述

# ======================== Elasticsearch Configuration ========================= # # NOTE: Elasticsearch comes with reasonable defaults for most settings. # Before you set out to tweak and tune the configuration, make sure you # understand what are you trying to accomplish and the consequences. # # The primary way of configuring a node is via this file. This template lists # the most important settings you may want to configure for a production cluster. # # Please consult the documentation for further information on configuration options: # https://www.elastic.co/guide/en/elasticsearch/reference/index.html # # ---------------------------------- Cluster ----------------------------------- # # Use a descriptive name for your cluster: # #cluster.name: my-application cluster.name: douban-cluster # # ------------------------------------ Node ------------------------------------ # # Use a descriptive name for the node: # #node.name: node-1 node.name: windows-node # # Add custom attributes to the node: # #node.attr.rack: r1 # # ----------------------------------- Paths ------------------------------------ # # Path to directory where to store the data (separate multiple locations by comma): # #path.data: /path/to/data path.data: E:\elasticsearch-9.0.1-windows-x86_64\elasticsearch-9.0.1\data # # Path to log files: # #path.logs: /path/to/logs path.logs: E:\elasticsearch-9.0.1-windows-x86_64\elasticsearch-9.0.1\logs # # ----------------------------------- Memory ----------------------------------- # # Lock the memory on startup: # #bootstrap.memory_lock: true # # Make sure that the heap size is set to about half the memory available # on the system and that the owner of the process is allowed to use this # limit. # # Elasticsearch performs poorly when the system is swapping the memory. # # ---------------------------------- Network ----------------------------------- # # By default Elasticsearch is only accessible on localhost. Set a different # address here to expose this node on the network: # #network.host: 192.168.0.1 network.host: 0.0.0.0 # By default Elasticsearch listens for HTTP traffic on the first free port it # finds starting at 9200. Set a specific HTTP port here: # #http.port: 9200 http.port: 9200 # # For more information, consult the network module documentation. # # --------------------------------- Discovery ---------------------------------- # # Pass an initial list of hosts to perform discovery when this node is started: # The default list of hosts is ["127.0.0.1", "[::1]"] # # discovery.seed_hosts: ["host1", "host2"] # discovery.type: single-node # Bootstrap the cluster using an initial set of master-eligible nodes: # # # For more information, consult the discovery and cluster formation module documentation. # # ---------------------------------- Various ----------------------------------- # # Allow wildcard deletion of indices: # # action.destructive_requires_name: false #----------------------- BEGIN SECURITY AUTO CONFIGURATION ----------------------- # # The following settings, TLS certificates, and keys have been automatically # generated to configure Elasticsearch security features on 26-05-2025 02:15:52 # # -------------------------------------------------------------------------------- # Enable security features xpack.security.enabled: false xpack.security.enrollment.enabled: true # Enable encryption for HTTP API client connections, such as Kibana, Logstash, and Agents xpack.security.http.ssl: enabled: true keystore.path: certs/http.p12 # Enable encryption and mutual authentication between cluster nodes xpack.security.transport.ssl: enabled: true verification_mode: certificate keystore.path: certs/transport.p12 truststore.path: certs/transport.p12 # Create a new cluster with the current node only # Additional nodes can still join the cluster later cluster.initial_master_nodes: ["DESKTOP-QRJI156"] # Allow HTTP API connections from anywhere # Connections are encrypted and require user authentication http.host: 0.0.0.0 # Allow other nodes to join the cluster from anywhere # Connections are encrypted and mutually authenticated #transport.host: 0.0.0.0 #----------------------- END SECURITY AUTO CONFIGURATION ------------------------- 运行出现[2025-05-26T15:23:17,442][ERROR][o.e.b.Elasticsearch ] [windows-node] fatal exception while booting Elasticsearchjava.lang.IllegalArgumentException: setting [cluster.initial_master_nodes] is not allowed when [discovery.type] is set to [single-node] at org.elasticsearch.server@9.0.1/org.elasticsearch.cluster.coordination.ClusterBootstrapService.<init>(ClusterBootstrapService.java:88) at org.elasticsearch.server@9.0.1/org.elasticsearch.cluster.coordination.Coordinator.<init>(Coordinator.java:300) at org.elasticsearch.server@9.0.1/org.elasticsearch.discovery.DiscoveryModule.<init>(DiscoveryModule.java:188) at org.elasticsearch.server@9.0.1/org.elasticsearch.node.NodeConstruction.createDiscoveryModule(NodeConstruction.java:1600) at org.elasticsearch.server@9.0.1/org.elasticsearch.node.NodeConstruction.construct(NodeConstruction.java:1069) See logs for more details. ERROR: Elasticsearch did not exit normally - check the logs at E:\elasticsearch-9.0.1-windows-x86_64\elasticsearch-9.0.1\logs\douban-cluster.log
05-27
评论
添加红包

请填写红包祝福语或标题

红包个数最小为10个

红包金额最低5元

当前余额3.43前往充值 >
需支付:10.00
成就一亿技术人!
领取后你会自动成为博主和红包主的粉丝 规则
hope_wisdom
发出的红包
实付
使用余额支付
点击重新获取
扫码支付
钱包余额 0

抵扣说明:

1.余额是钱包充值的虚拟货币,按照1:1的比例进行支付金额的抵扣。
2.余额无法直接购买下载,可以购买VIP、付费专栏及课程。

余额充值