


 本文介绍了如何使用EISeg自动标注软件进行语义分割,包括环境搭建、模型安装、标注步骤及数据集的创建。通过EISeg,可以便捷地对图像进行自动和交互式标注,支持自动保存和多种格式的输出,便于后续的深度学习任务。
1、主要参考
(1)使用过程,建议先看一下下面博主的视频
(2)软件使用,主要参考!
百度飞浆EISeg高效交互式标注分割软件的使用教程_Leonard2021的博客-优快云博客_安装eiseg
和
EISeg——应用于语义分割的自动标注软件_万里鹏程转瞬至的博客-优快云博客_语义分割标注软件
(3)测试算法
2、EISeg的介绍
PaddleSeg是基于飞桨PaddlePaddle的端到端图像分割套件,内置40+模型算法及140+预训练模型,支持配置化驱动和API调用开发方式,打通数据标注、模型开发、训练、压缩、部署的全流程,提供语义分割、交互式分割、Matting、全景分割四大分割能力,助力算法在医疗、工业、遥感、娱乐等场景落地应用。
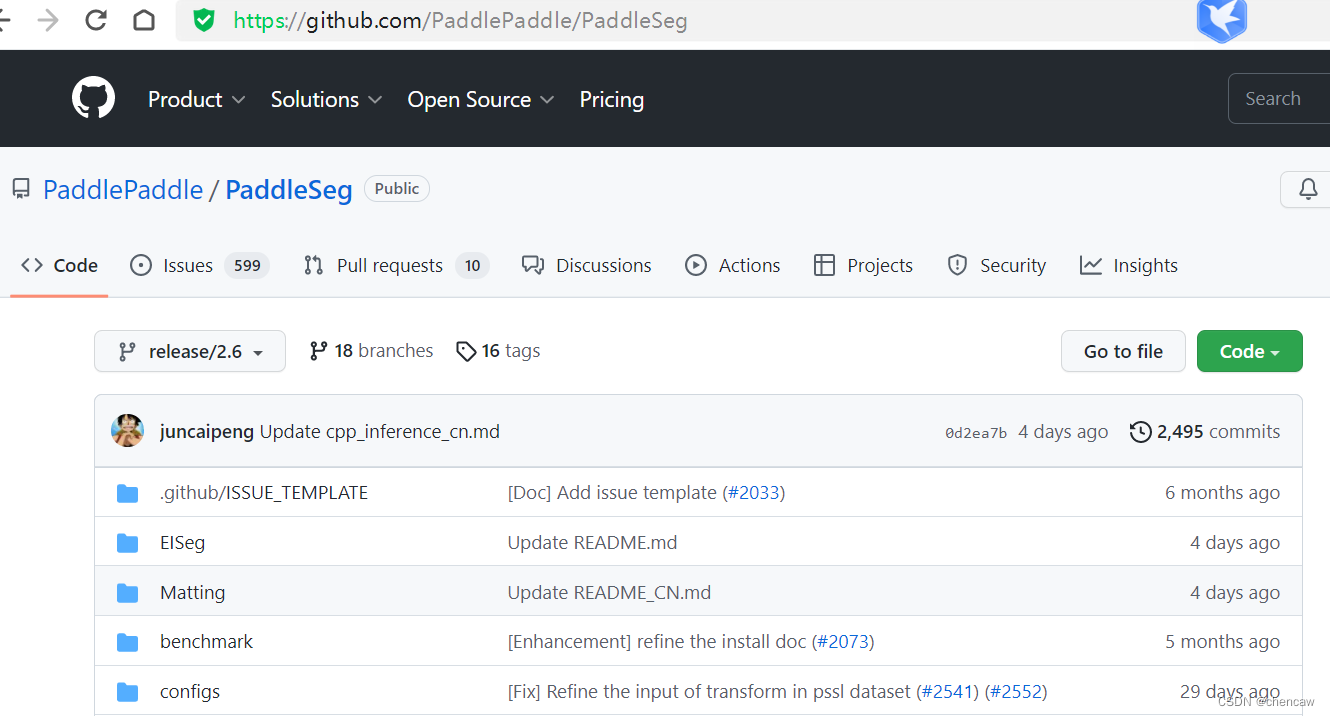
官方的介绍地址
PaddleSeg/README_CN.md at release/2.6 · PaddlePaddle/PaddleSeg · GitHub
3、EISeg的安装
废话少说,anaconda创建一个paddlepaddle的环境先,不知道百度更新的如何,用百度一波先,看看支持python哪个版本。安装向导页面
(1)官方页面
飞桨PaddlePaddle-源于产业实践的开源深度学习平台
(2)推荐使用下面的github!
Paddle/README_cn.md at develop · PaddlePaddle/Paddle · GitHub
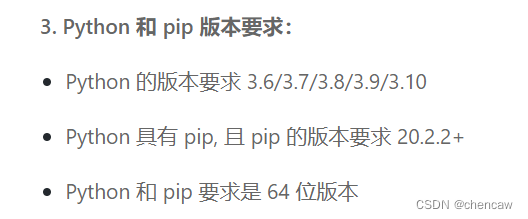
(3)文档页面,发现python支持到3.10了
3.1 创建一个anaconda的环境先
conda create --name chenpaddle_cp310 python=3.103.2 安装 paddlepaddle
conda activate chenpaddle_cp310
# CPU
pip install paddlepaddle
# GPU
pip install paddlepaddle-gpu
3.3 安装EISeg
pip install eiseg3.4 命令行启动EISeg
eiseg3.5 启动后的界面

4、安装模型
4.1 模型的下载地址藏在下面的位置
(1)EISeg本来就在PaddleSeg项目下面
(2)具体位置为
PaddleSeg/image.md at release/2.6 · PaddlePaddle/PaddleSeg · GitHub

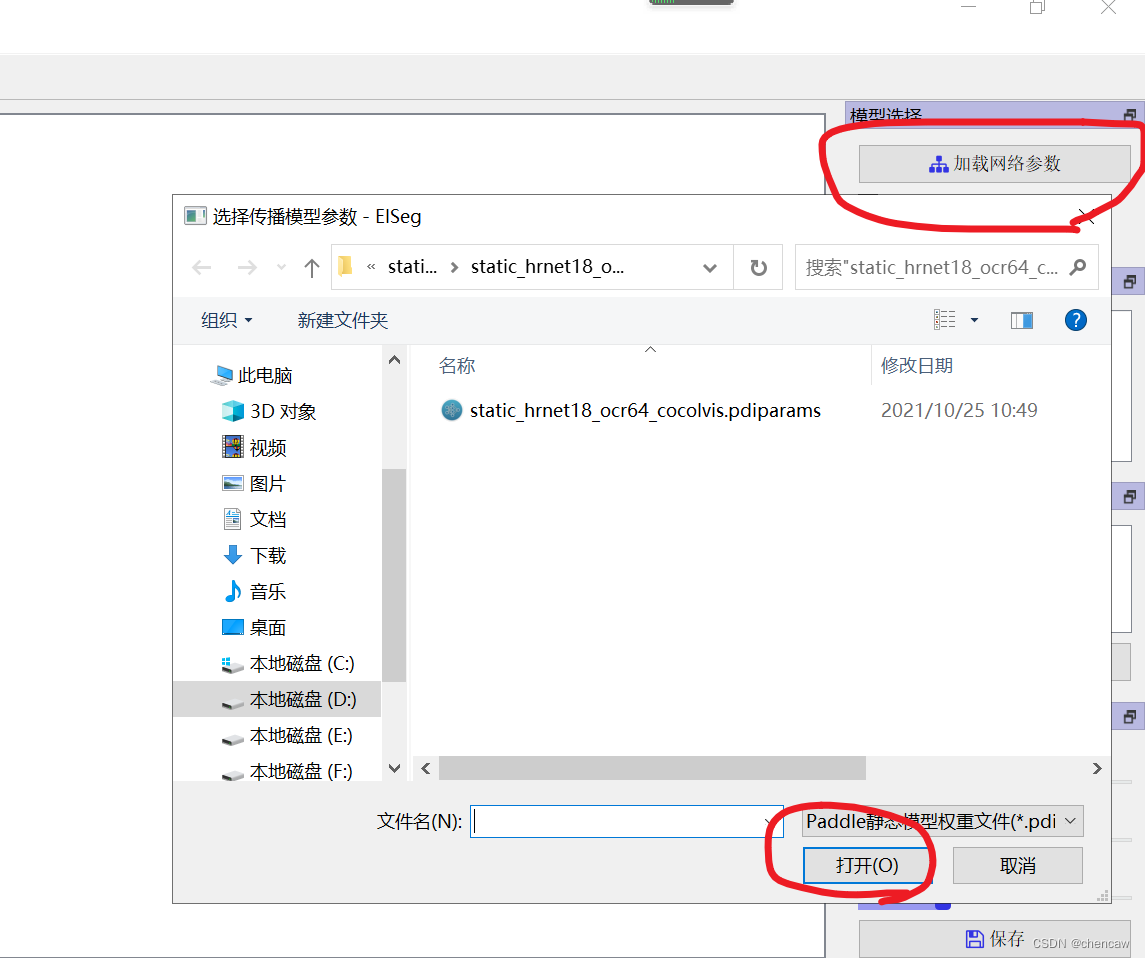
NOTE: 将下载的模型结构*.pdmodel及相应的模型参数*.pdiparams需要放到同一个目录下,加载模型时只需选择*.pdiparams结尾的模型参数位置即可, *.pdmodel会自动加载。在使用EdgeFlow模型时,请将使用掩膜关闭,其他模型使用时请勾选使用掩膜。其中,高精度模型推荐使用带有显卡的电脑,以便获得更流畅的标注体验。
4.2 从“加载网络参数”按钮中加载模型
5、文件重命名工具类
参照下面编写了一个文件重命名工具类,复制原始文件到新文件夹并按顺序命名
文件重命名工具类
import os
import shutil  #复制文件用到
#任何格式的文件都适用
path = r"D:/pytorch_learning2022/data/road_old"
newpath = r"D:/pytorch_learning2022/data/road"
if not os.path.exists(newpath):
    os.makedirs(newpath)                       # 创建路径
    print("create newpath",newpath)
filelist = os.listdir(path)
count=1
# for file in filelist:
#     print(file)
for file in filelist:
    src_file=os.path.join(path,file)
    if os.path.isdir(src_file):  #如果是目录跳过
        continue
    filename=os.path.splitext(file)[0]
    filetype=os.path.splitext(file)[1]
    # Newdir=os.path.join(path,str(count).zfill(6)+filetype)
    Newdir_file=os.path.join(newpath,str(count).zfill(6)+filetype) #6位数的命名
    shutil.copy(src_file, Newdir_file)          # 复制文件
    print ("copy %s -> %s"%(file, Newdir_file))
    # os.rename(Olddir,Newdir)
    count+=1
6、开始标注
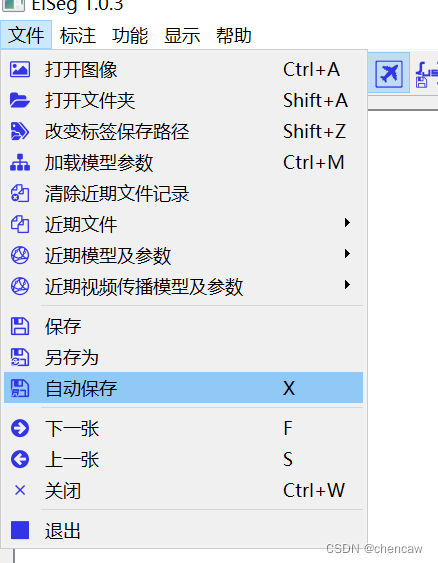
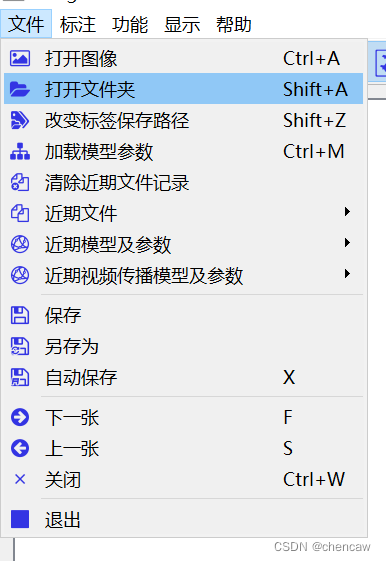
6.1 选择自动保存功能
建议,这样简单些
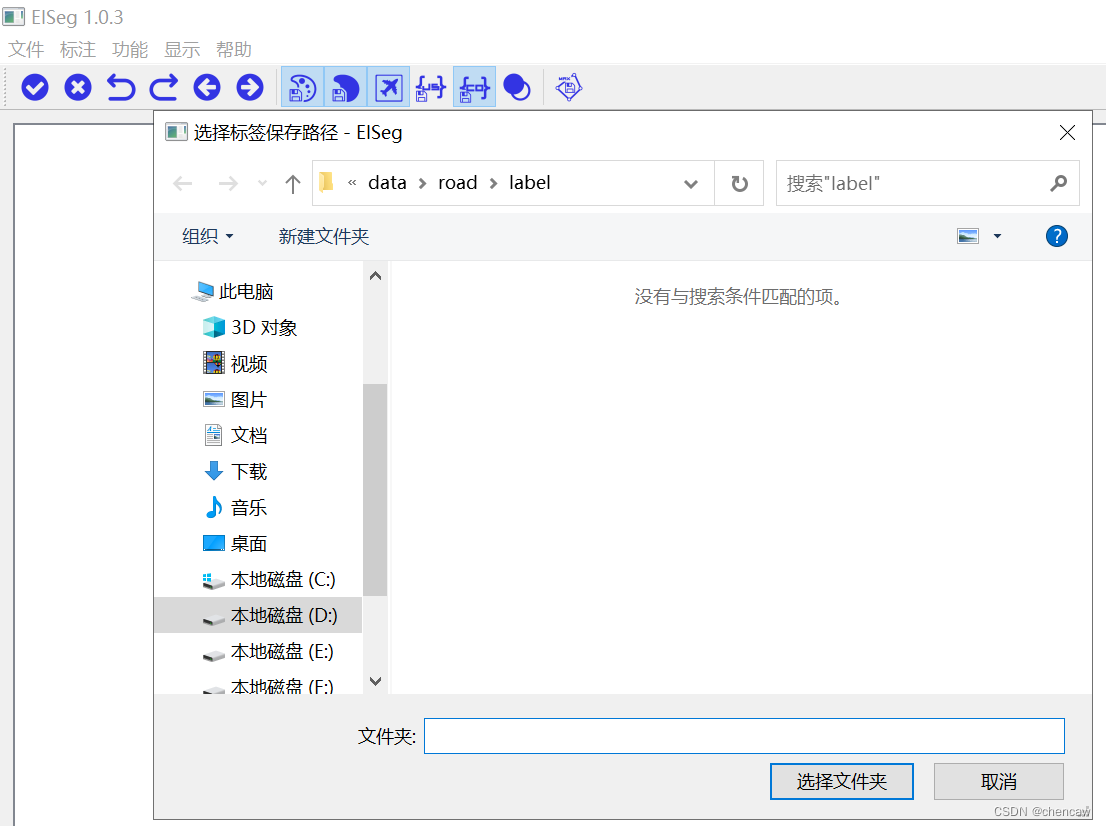
选择你自己保存label的位置
6.2点击打开文件夹按钮
(1)
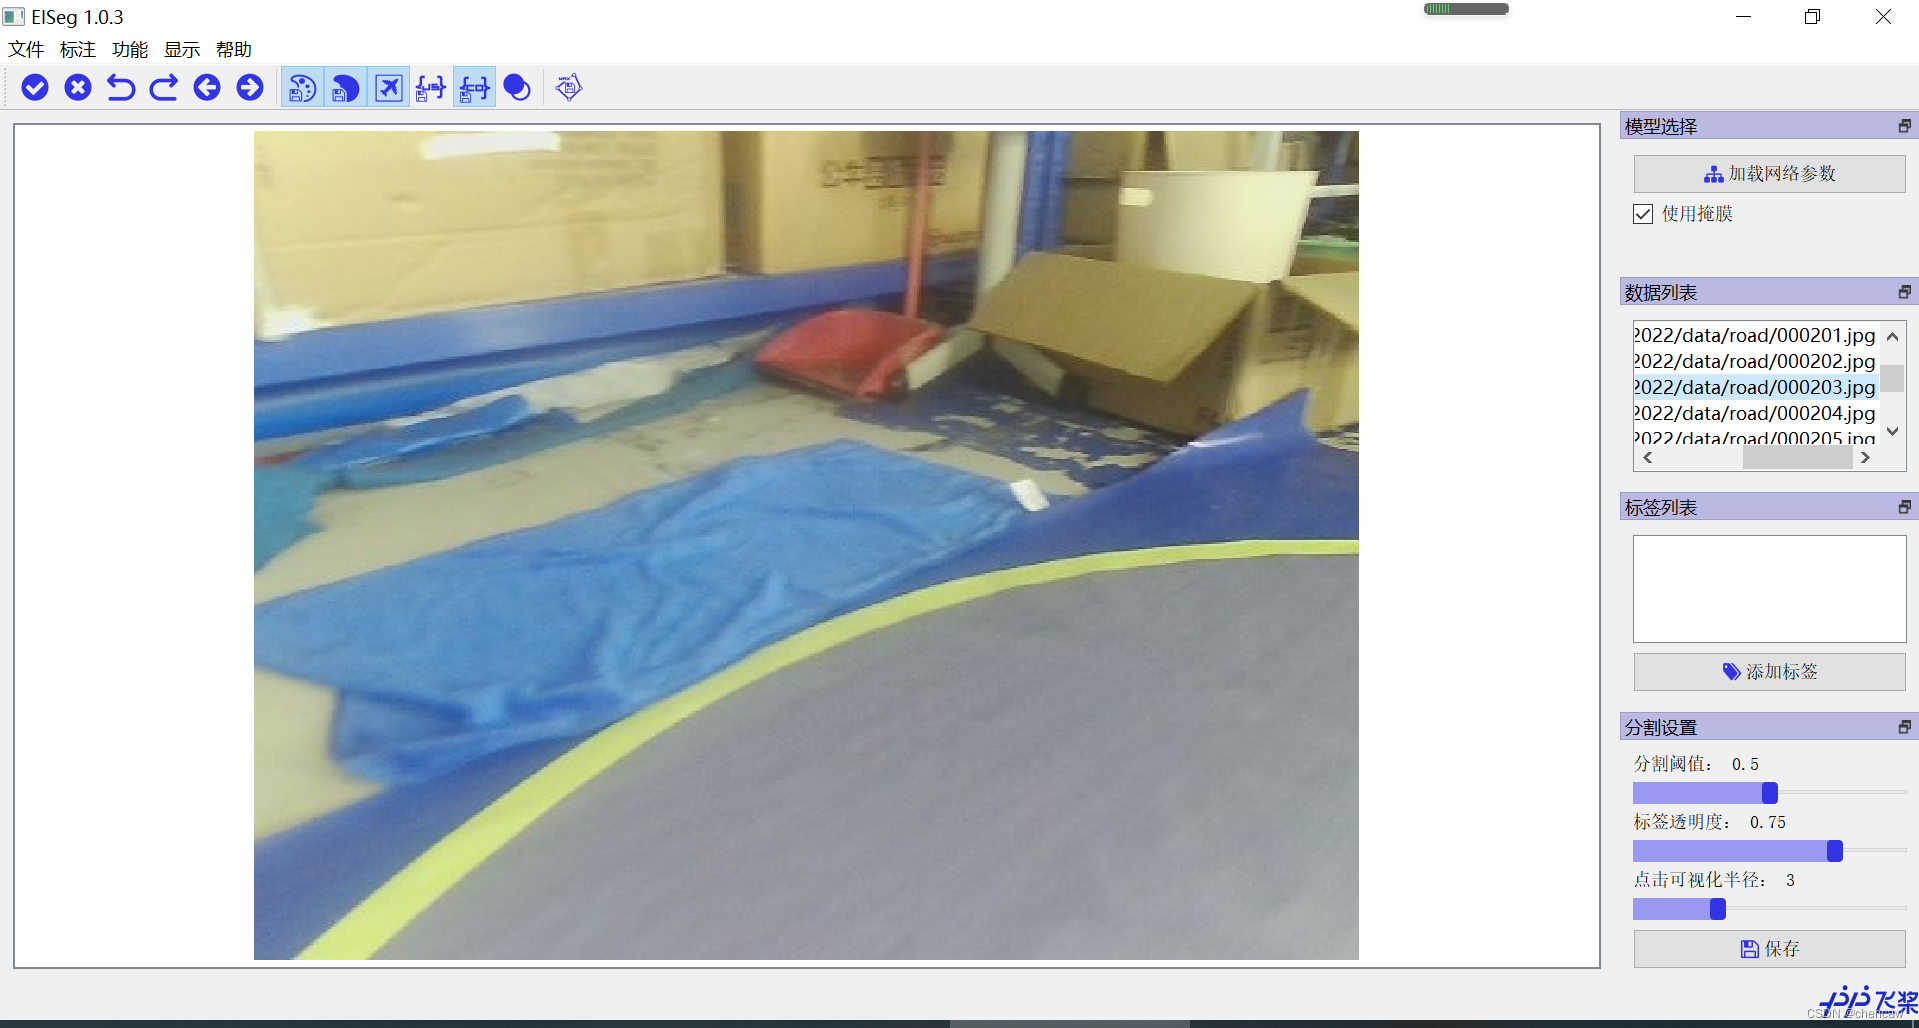
(2)文件夹打开的界面如下图所示
(3)在右侧的标签列表中添加列表,比如说添加了标签road
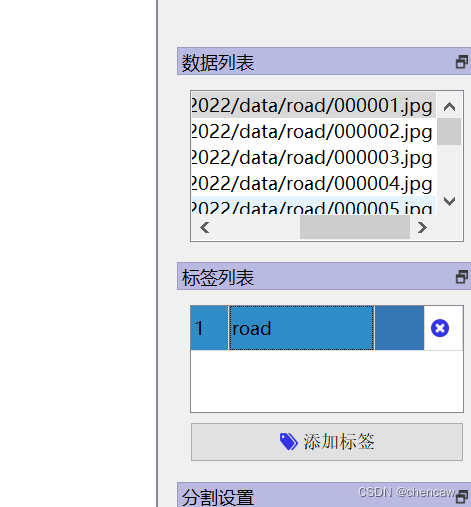
标签栏目分为4个内容:标签值,备注,颜色,删除
6.3点击保存为coco模式
(1)
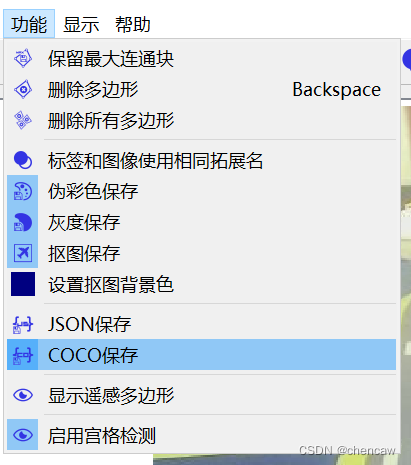
(2)其它其实也用不到,图片保存选项只选择“灰度保存”好了

6.4通过鼠标左右键点击图片选择对象
完成一个对象后一定要点击“空格”按键
可以点击e按键,跳出快捷方式
(1)左键选择(左键正样本),右键排除(右键负样本)
(2)一个对象标注后,点击“空格”按键,可以查看框和调整边缘点
(3)在边缘线上双击点从而添加点,双击存在的点从而删除改点
(4)通过拖动可以修改边缘
6.5标签也能导出和保存

7、标注好的灰度图转换为伪彩色图
为了和voc的数据集看起来一样,强迫症转换一下
简单的改了一下eiseg的tools
# coding: utf8
# Copyright (c) 2019 PaddlePaddle Authors. All Rights Reserve.
#
# Licensed under the Apache License, Version 2.0 (the "License");
# you may not use this file except in compliance with the License.
# You may obtain a copy of the License at
#
#    http://www.apache.org/licenses/LICENSE-2.0
#
# Unless required by applicable law or agreed to in writing, software
# distributed under the License is distributed on an "AS IS" BASIS,
# WITHOUT WARRANTIES OR CONDITIONS OF ANY KIND, either express or implied.
# See the License for the specific language governing permissions and
# limitations under the License.

from __future__ import print_function

import argparse
import os
import os.path as osp
import sys
import numpy as np
from PIL import Image


def parse_args():
    parser = argparse.ArgumentParser(
        formatter_class=argparse.ArgumentDefaultsHelpFormatter)
    parser.add_argument(
        'dir_or_file', help='input gray label directory or file list path')
    parser.add_argument('output_dir', help='output colorful label directory')
    parser.add_argument('--dataset_dir', help='dataset directory')
    parser.add_argument('--file_separator', help='file list separator')
    return parser.parse_args()


def get_color_map_list(num_classes):
    """
    Returns the color map for visualizing the segmentation mask,
    which can support arbitrary number of classes.
    Args:
        num_classes (int): Number of classes.
    Returns:
        (list). The color map.
    """

    num_classes += 1
    color_map = num_classes * [0, 0, 0]

    for i in range(0, num_classes):
        j = 0
        lab = i
        while lab:
            color_map[i * 3] |= (((lab >> 0) & 1) << (7 - j))
            color_map[i * 3 + 1] |= (((lab >> 1) & 1) << (7 - j))
            color_map[i * 3 + 2] |= (((lab >> 2) & 1) << (7 - j))
            j += 1
            lab >>= 3
    # color_map = color_map[3:]#第一个背景给颜色[0,0,0],陈20221019

    return color_map


# def gray2pseudo_color(args):
#     """将灰度标注图片转换为伪彩色图片"""
#     input = args.dir_or_file
#     output_dir = args.output_dir
#     if not osp.exists(output_dir):
#         os.makedirs(output_dir)
#         print('Creating colorful label directory:', output_dir)

def gray2pseudo_color_run(input,output_dir):
    """将灰度标注图片转换为伪彩色图片"""
    # input = args.dir_or_file
    # output_dir = args.output_dir
    if not osp.exists(output_dir):
        os.makedirs(output_dir)
        print('Creating colorful label directory:', output_dir)


    # color_map = get_color_map_list(256)
    color_map = get_color_map_list(255)#第一个背景给颜色[0,0,0],陈20221019
    if os.path.isdir(input):
        for fpath, dirs, fs in os.walk(input):
            for f in fs:
                try:
                    grt_path = osp.join(fpath, f)
                    _output_dir = fpath.replace(input, '')
                    _output_dir = _output_dir.lstrip(os.path.sep)

                    im = Image.open(grt_path)
                    lbl = np.asarray(im)

                    lbl_pil = Image.fromarray(lbl.astype(np.uint8), mode='P')
                    lbl_pil.putpalette(color_map)

                    real_dir = osp.join(output_dir, _output_dir)
                    if not osp.exists(real_dir):
                        os.makedirs(real_dir)
                    new_grt_path = osp.join(real_dir, f)

                    lbl_pil.save(new_grt_path)
                    print('New label path:', new_grt_path)
                except:
                    continue
    # elif os.path.isfile(input):
    #     if args.dataset_dir is None or args.file_separator is None:
    #         print('No dataset_dir or file_separator input!')
    #         sys.exit()
    #     with open(input) as f:
    #         for line in f:
    #             parts = line.strip().split(args.file_separator)
    #             grt_name = parts[1]
    #             grt_path = os.path.join(args.dataset_dir, grt_name)

    #             im = Image.open(grt_path)
    #             lbl = np.asarray(im)

    #             lbl_pil = Image.fromarray(lbl.astype(np.uint8), mode='P')
    #             lbl_pil.putpalette(color_map)

    #             grt_dir, _ = osp.split(grt_name)
    #             new_dir = osp.join(output_dir, grt_dir)
    #             if not osp.exists(new_dir):
    #                 os.makedirs(new_dir)
    #             new_grt_path = osp.join(output_dir, grt_name)

    #             lbl_pil.save(new_grt_path)
    #             print('New label path:', new_grt_path)
    else:
        print('It\'s neither a dir nor a file')


def chentest_colormap():
    color_map = get_color_map_list(256)
    print(color_map)


if __name__ == '__main__':
    # args = parse_args()
    # gray2pseudo_color(args)
    # chentest_colormap()
    input_dir = "D:/pytorch_learning2022/data/road_little/chen_to_be_convert"
    output_diar = "D:/pytorch_learning2022/data/road_little/chen_output"
    gray2pseudo_color_run(input_dir,output_diar)
8、按voc格式创建一个数据集
8.1 按格式创建模板和复制
(1)创建voc2012的文件夹空模板

(2)将原图放入JPEGImages目录下

(3)将上面得到的伪彩色图放入SegmentationClass目录下

8.2 用自己编程的工具类简单划分一下
(1)代码
import os
import random
import xml.etree.ElementTree as ET
import numpy as np
# 陈20221019 编写
#针对voc数据集
#在ImageSets目录下的Segmentation文件夹(不存在着生成)
#生成下面三个txt文件
#train.txt trainval.txt val.txt
def chen_write_to_txtfile(file_name_list,path):
file_write = open(path, 'w')
for name in file_name_list:
file_write.write(str(name)+"\n")
file_write.close()
def chen_segmentation_train_val_test(VOCdevkit_path, train_rate, val_rate):
random.seed(0)
if " " in os.path.abspath(VOCdevkit_path):
raise ValueError("数据集存放的文件夹路径与图片名称中不可以存在空格,否则会影响正常的模型训练,请注意修改。")
print("Generate txt in ImageSets.")
# xmlfilepath = os.path.join(VOCdevkit_path, 'VOC2007/Annotations')
saveBasePath = os.path.join(VOCdevkit_path, 'VOC2012/ImageSets/Segmentation')
if not os.path.exists(saveBasePath):
os.makedirs(saveBasePath) # 创建路径
#(1)首先获取该语义分割目录下的所有文件
# class_path = os.path.join(VOCdevkit_path, 'VOC2012/JPEGImages')
class_path = os.path.join(VOCdevkit_path, 'VOC2012/SegmentationClass')
all_file_name = []
for file_name in sorted(os.listdir(os.path.join(class_path))):
#考虑全面起见,过滤掉文件夹,只剩下文件
if os.path.isdir(os.path.join(class_path, file_name)):
continue
only_file_name,only_suffix = os.path.splitext(file_name) # 去除后缀,只有文件名,陈
all_file_name.append(only_file_name)
print("原始的数据分布: ")
print(all_file_name)
#(2)对获取的分类文件list进行置乱
random.shuffle(all_file_name)
print("置乱后的数据分别: ")
print(all_file_name)
#(3)按比例放入train.txt trainval.txt val.txt
total_file_num = len(all_file_name)
print("total文件个数: ",total_file_num)
#注意trainval_file_list包括了所有文件
trainval_file_list = all_file_name
train_file_list = all_file_name[:int(train_rate*total_file_num)]
val_file_list = all_file_name[int(train_rate*total_file_num):int((train_rate+val_rate)*total_file_num)]
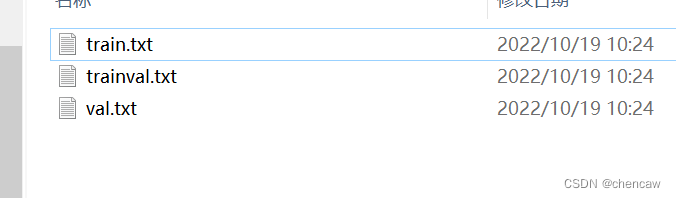
#(4)按比例写入对应的train.txt trainval.txt val.txt
chen_write_to_txtfile(trainval_file_list, os.path.join(saveBasePath,'trainval.txt'))
chen_write_to_txtfile(train_file_list, os.path.join(saveBasePath,'train.txt'))
chen_write_to_txtfile(val_file_list, os.path.join(saveBasePath,'val.txt'))
print("Generate txt in Segmentation done.")
if __name__ == "__main__":
# 训练集、验证集、测试集的比例
# 研究voc2012后发现,
# 总共有图2913个
# 原始比例为个数1464,2913,1449
# train_rate = 0.5
# trainval_rate = 1
# val_rate = 0.5
train_rate = 0.5
trainval_rate = 1
val_rate = 0.5
VOCdevkit_path = 'D:/pytorch_learning2022/data/road/VOCdevkit'
chen_segmentation_train_val_test(VOCdevkit_path, train_rate, val_rate)
(2)结果生成


 1367
1367

 被折叠的 条评论
为什么被折叠?
被折叠的 条评论
为什么被折叠?
 到【灌水乐园】发言


