maptalks.three+threejs建筑物上下扫描效果

该文章介绍了如何使用THREE.js库中的MeshPhongMaterial材质结合geometry构建mesh,并通过计算包围盒和重写shaders实现建筑物的上下扫描动画效果。主要步骤包括处理geometry数据、创建材质、组合成mesh、计算包围盒尺寸以及在onBeforeCompile中修改shaders进行动画控制。

摘要生成于 C知道 ,由 DeepSeek-R1 满血版支持, 前往体验 >

主要思路:

  • geometry数据
  • THREE.MeshPhongMaterial材质
  • 使用threeLayer将geometry和material 组合成mesh
  • 计算geometry.computeBoundingBox(),获取包围盒的尺寸
  • 使用material.onBeforeCompile函数重写shader
  • shader实现,根据时间判断当前片原位置与包围盒最上方的关系

1.geometry数据(数据过多,只展示一条)
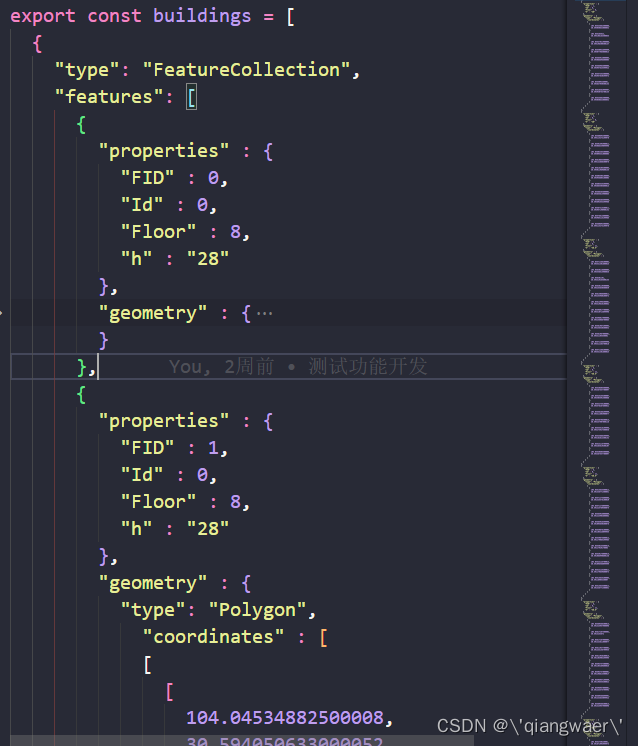
在这里插入图片描述

const buildings = [
  {
    "type": "FeatureCollection",
    "features": [
      {
        "properties" : {
          "FID" : 0,
          "Id" : 0,
          "Floor" : 8,
          "h" : "28"
        },
        "geometry" : {
          "type": "Polygon",
            "coordinates" : [
            [
              [
                104.04551999800009,
                30.594714973800023
              ],
              [
                104.04547719400011,
                30.594788921700115
              ],
              [
                104.04559489400009,
                30.59484406170003
              ],
              [
                104.04566980200008,
                30.594723885400015
              ],
              [
                104.04596941700009,
                30.594621694700038
              ],
              [
                104.04612992100004,
                30.594685978100131
              ],
              [
                104.04617272999991,
                30.594538174900038
              ],
              [
                104.04605502500004,
                30.594529192499976
              ],
              [
                104.04605503200014,
                30.594372247600063
              ],
              [
                104.04586242400001,
                30.59437265720004
              ],
              [
                104.04586241699991,
                30.594529602000136
              ],
              [
                104.04571261000007,
                30.594576081600053
              ],
              [
                104.04560561099998,
                30.594474757800015
              ],
              [
                104.04542370100006,
                30.594622860000072
              ],
              [
                104.04551999800009,
                30.594714973800023
              ]
            ]
          ]
        }
      },
      ]}]

2.材质

const material = new THREE.MeshPhongMaterial({
      color: '#1B3045',
      transparent: true,
      needsUpdate: true,
      side: THREE.DoubleSide
    });

3.合并geometry和material
this._threeLayer为new ThreeLayer的实例

const polygons:any[] = []
buildings[0].features.forEach(feature => {
      const height = Number(feature.properties.h)
      const polygon = GeoJSON.toGeometry(feature.geometry);
      polygon.setProperties({height:height});
      polygons.push(polygon);
    })
    const mesh = this._threeLayer.toExtrudePolygons(polygons.slice(0, Infinity), { topColor: '#fff', interactive: false, bloom: false }, material);

4.计算computeBoundingBox
通过mesh.getObject3d()获取threejs原生object3d对象

object.geometry.computeBoundingBox();
object.geometry.computeBoundingSphere();
const {
        geometry
    } = object;

    // 获取geometry的长宽高 中心点
    const {
        center,
        radius
    } = geometry.boundingSphere;

    const {
        max,
        min
    } = geometry.boundingBox;
    // 计算包围盒尺寸,,,z+5的原因是 增加包围盒的高度,让后续的动画执行周期增长
    const size = new THREE.Vector3(
        max.x - min.x,
        max.y - min.y,
        max.z - min.z + 5
    );

5.material.onBeforeCompile重写材质

this.time = {
      value: 0
    };
    this.StartTime = {
      value: 0
    };
material.onBeforeCompile = (shader:any) => {
	shader.uniforms.time = this.time;
            shader.uniforms.uStartTime = this.StartTime;
            shader.uniforms.uSize = {
                value: size
            }
            // 上下扫描参数
            shader.uniforms.uFlow = {
                value: new THREE.Vector3(
                    1, // 0 1开关
                    0.1, // 范围
                    0.2 // 速度
                )
            };
            shader.uniforms.uColor = {
                value: new THREE.Color("#1B3045")
            }
            // 效果颜色
            shader.uniforms.uFlowColor = {
                value: new THREE.Color("#FFFFDC")
            }
            /**
             * 对片元着色器进行修改
             */
            const fragment = `
                    float distanceTo(vec2 src, vec2 dst) {
                        float dx = src.x - dst.x;
                        float dy = src.y - dst.y;
                        float dv = dx * dx + dy * dy;
                        return sqrt(dv);
                    }

                    float lerp(float x, float y, float t) {
                        return (1.0 - t) * x + t * y;
                    }

                    vec3 getGradientColor(vec3 color1, vec3 color2, float index) {
                        float r = lerp(color1.r, color2.r, index);
                        float g = lerp(color1.g, color2.g, index);
                        float b = lerp(color1.b, color2.b, index);
                        return vec3(r, g, b);
                    }

                    varying vec4 vPositionMatrix;
                    varying vec3 vPosition;

                    uniform float time;
                    // 扩散参数
                    uniform float uRadius;
                    uniform float uOpacity;
                    // 初始动画参数
                    uniform float uStartTime;

                    uniform vec3 uMin;
                    uniform vec3 uMax;
                    uniform vec3 uSize;
                    uniform vec3 uFlow;
                    uniform vec3 uColor;
                    uniform vec3 uCenter;
                    uniform vec3 uSwitch;
                    uniform vec3 uTopColor;
                    uniform vec3 uFlowColor;
                    uniform vec3 uDiffusion;
                    uniform vec3 uDiffusionCenter;
                    uniform float uHeight;
                    void main() {
                 `;
            const fragmentColor = `
                  // #include <aomap_fragment>
                  // 给建筑设置从上到下的渐变颜色
                  float indexPct = vPosition.z / uSize.z;
                  //像素混合mix(x,y,a)-->x * (1 - a) + y * a
                  vec3 color = uColor;
                  // 根据时间和速度计算出当前扫描点的位置, 以上顶点为准
                  //求两个数相除的余数
                  float flowTop = mod(uFlow.z * time, uSize.z);
                  // 判断当前点是否在扫描范围内
                  if (flowTop > vPosition.z && flowTop - uFlow.y < vPosition.z) {
                      // 扫描范围内的位置设置从上到下的渐变颜色
                      float flowPct = (uFlow.y - ( flowTop -  vPosition.z)) / uFlow.y;
                      color = mix(color ,uFlowColor, flowPct);
                  }
                  // gl_FragColor = vec4(color, 1.0);
                  vec4 diffuseColor = vec4( color, 1.0 );
                `;

            shader.fragmentShader = shader.fragmentShader.replace("void main() {", fragment)
            shader.fragmentShader = shader.fragmentShader.replace("vec4 diffuseColor = vec4( diffuse, opacity );", fragmentColor);
            /**
             * 对顶点着色器进行修改
             */
            const vertex = `
                varying vec4 vPositionMatrix;
                varying vec3 vPosition;
                uniform float uStartTime;
                void main() {
                        vPositionMatrix = projectionMatrix * vec4(position, 1.0);
                        vPosition = position;
                        gl_Position = projectionMatrix * modelViewMatrix * vec4(position, 1.0);
             `
            const vertexPosition = `
                vec3 transformed = vec3(position.x, position.y, position.z * uStartTime);
             `

            shader.vertexShader = shader.vertexShader.replace("void main() {", vertex);
            shader.vertexShader = shader.vertexShader.replace("#include <begin_vertex>", vertexPosition);
}

6.最后执行动画函数

init() {
    this.clock = new THREE.Clock()
    this.isStart = true;
    this.animate()
  }
  animate () {
    const dt = this.clock ? this.clock.getDelta() : 0
    this.time.value += dt;
    // 启动
    if (this.isStart) {
        this.StartTime.value += dt * 0.5;
        if (this.StartTime.value >= 1) {
            this.StartTime.value = 1;
            this.isStart = false;
        }
    }
    return requestAnimationFrame(this.animate.bind(this))
}

maptalks+threejs建筑物上下扫描效果

评论
添加红包

请填写红包祝福语或标题

红包个数最小为10个

红包金额最低5元

当前余额3.43前往充值 >
需支付:10.00
成就一亿技术人!
领取后你会自动成为博主和红包主的粉丝 规则
hope_wisdom
发出的红包
实付
使用余额支付
点击重新获取
扫码支付
钱包余额 0

抵扣说明:

1.余额是钱包充值的虚拟货币,按照1:1的比例进行支付金额的抵扣。
2.余额无法直接购买下载,可以购买VIP、付费专栏及课程。

余额充值