


参考:《Tensorflow和keras-深度学习人工智能实践应用》
第9、10章
GitHub:点我
部分封装函数请看文章:【keras】1. MNIST手写数据集识别(重要)_myaijarvis notebook-优快云博客
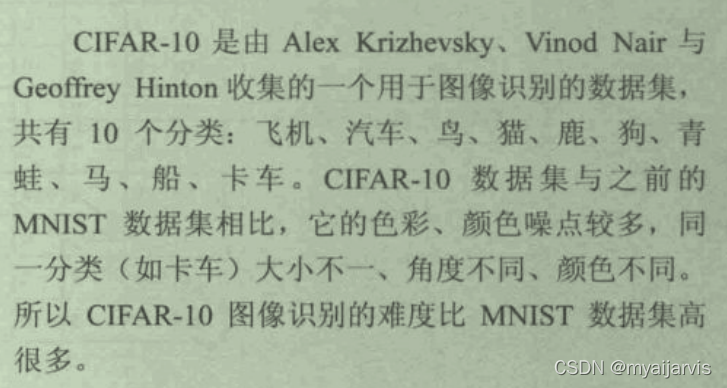
数据集
数据预处理
import numpy as np
import pandas as pd
import matplotlib.pyplot as plt
np.random.seed(10)
下载数据
文章:keras离线下载cifar数据集_lsh呵呵-优快云博客
from keras.datasets import cifar10
# 第一次下载时间消耗可能会比较长,建议自己下载然后放到默认目录下(压缩包改名为cifar-10-batches-py.tar.gz)
# https://www.cs.toronto.edu/~kriz/cifar-10-python.tar.gz
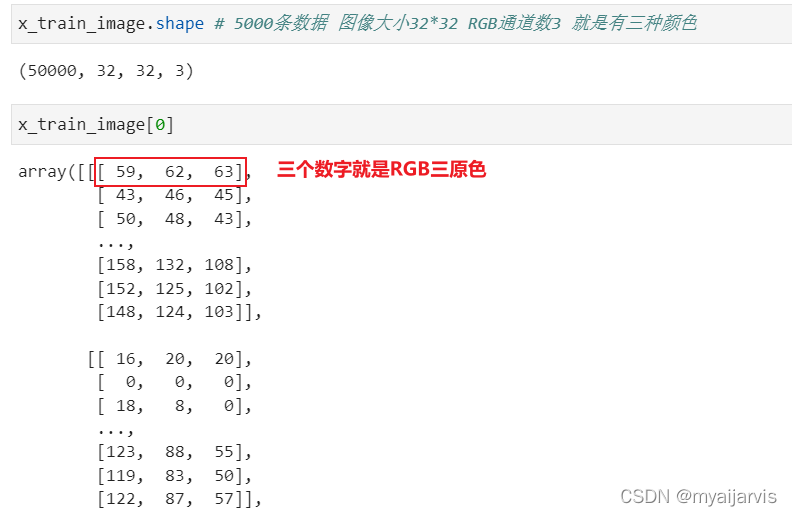
(x_train_image,y_train_label),\
(x_test_image,y_test_label) = cifar10.load_data() # 默认路径C:\Users\Jarvis\.keras\datasets
显示图像
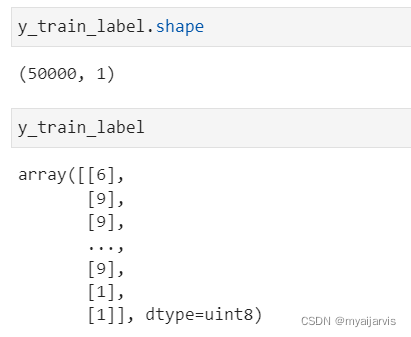
# y_train_label的结构
label_dict={0:'airplane',1:'automobile',2:'bird',3:'cat',4:'deer',5:'dog',6:'frog',7:'horse',8:'ship',9:'truck'}
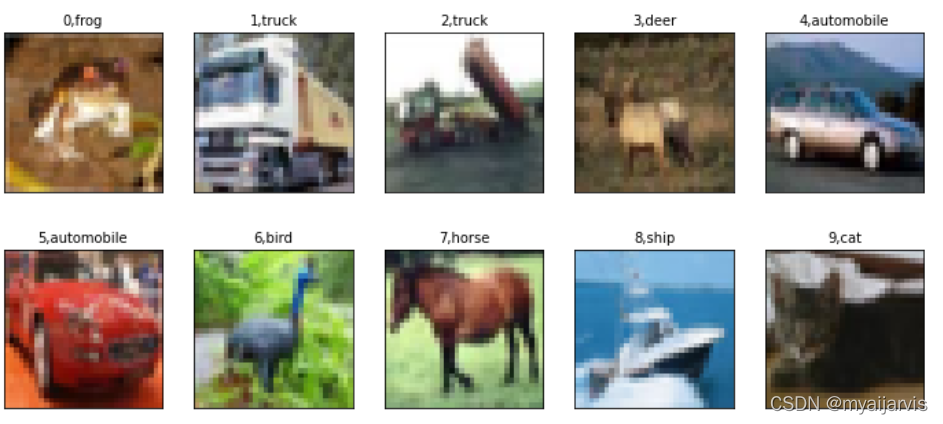
# 批量显示
# 查看多条数据的images与label
# idx是起始数据下标 总共有idx+num个数据
def plot_images_labels_prediction(images,labels,prediction,idx,num=10):
fig=plt.gcf()
fig.set_size_inches(12,14)
if num>25: num=25 # 最多显示25个
for i in range(0,num):
ax=plt.subplot(5,5,1+i) # 5*5=25个 最多显示25个
ax.imshow(images[idx],cmap='binary')
title=str(i)+','+label_dict[labels[i][0]]
if len(prediction)>0: # 如果传入预测数据
title+="=>"+label_dict[prediction[i]]
ax.set_title(title,fontsize=10)
ax.set_xticks([]) # 设置坐标轴为空
ax.set_yticks([])
idx+=1
plt.show()
plot_images_labels_prediction(x_train_image,y_train_label,[],0)
标准化
x_Train_normalize=x_train_image/255
x_Test_normalize=x_test_image/255
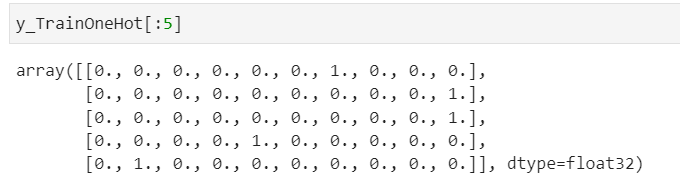
独热编码
from keras.utils import np_utils
y_TrainOneHot=np_utils.to_categorical(y_train_label)
y_TestOneHot=np_utils.to_categorical(y_test_label)
CNN
建立模型
from tensorflow.python.keras.models import Sequential
from tensorflow.python.keras.layers import Dense,Dropout,Flatten,Activation
from tensorflow.python.keras.layers import Conv2D,MaxPooling2D,ZeroPadding2D

model=Sequential()
model.add(Conv2D(filters=32,kernel_size=(3,3)
                 ,padding='SAME'
                 ,input_shape=(32,32,3) # 宽,高,通道数
                 ,activation='relu')) # =>32个32*32的图像
model.add(Dropout(0.25))
model.add(MaxPooling2D(pool_size=(2,2))) # =>32个16*16的图像
model.add(Conv2D(filters=64,kernel_size=(3,3),padding='SAME',activation='relu')) # =>64个16*16的图像
model.add(Dropout(0.25))
model.add(MaxPooling2D(pool_size=(2,2))) # =>64个8*8的图像
model.add(Flatten()) # 64*8*8=4096
model.add(Dropout(0.25))
model.add(Dense(1024,activation='relu')) # 1024
model.add(Dropout(0.25))
model.add(Dense(10,activation='softmax')) # 十分类 10
model.summary()
训练
10轮笔记本比较吃力,建议2轮先试试看
model.compile(loss='categorical_crossentropy',optimizer='adam',metrics=['accuracy'])
train_history=model.fit(x=x_Train_normalize # 经过标准化处理的图像
                        ,y=y_TrainOneHot # 经过独热编码的标签
                        ,validation_split=0.2
                        ,epochs=10
                        ,batch_size=128
                        ,verbose=1)
训练准确率
show_train_history(train_history,'accuracy','val_accuracy')
训练误差
show_train_history(train_history,'loss','val_loss')
评估
scores=model.evaluate(x_Test_normalize,y_TestOneHot)
print('Test loss:', scores[0])
print('Test accuracy:', scores[1])
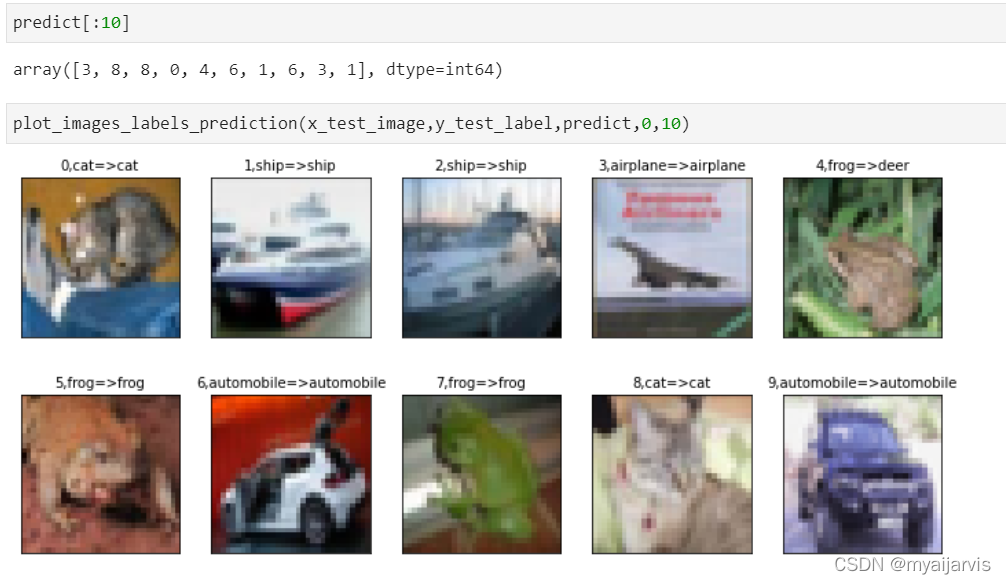
预测
这里注意
# prediction=model.predict_classes(x_Test_normalize)# predict_classes返回的是类别,打印出来的值就是类别值
# predict_classes 在2.6 被删除了

predict=model.predict(x_Test_normalize)
predict=np.argmax(predict,axis=1)
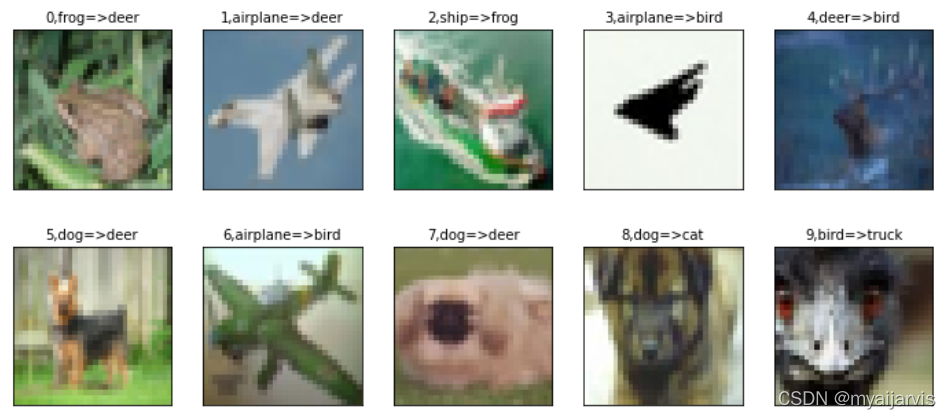
把认错的拿出来
to_show_x=x_test_image[y_test_label!=predict]
to_show_y=y_test_label[y_test_label!=predict]
to_show_p=prediction[y_test_label!=predict]
plot_images_labels_predict(to_show_x,to_show_y,to_show_p,idx=0)
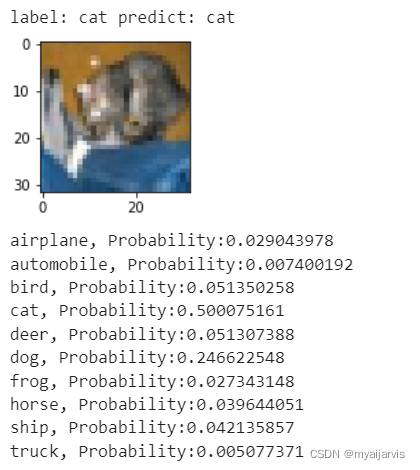
查看每一种的预测概率
Predicted_Probability = model.predict(x_Test_normalize)

def show_Predicted_Probability(y,prediction,x_img,Predicted_Probability,i):
    print('label:',label_dict[y[i][0]],'predict:',label_dict[prediction[i]])
    plt.figure(figsize=(2,2))
    plt.imshow(np.reshape(x_img[i],(32,32,3)))
    plt.show()
    for j in range(10):
        print(label_dict[j]+', Probability:%1.9f'%(Predicted_Probability[i][j]))

show_Predicted_Probability(y_test_label,predict,x_test_image,Predicted_Probability,0)

显示混淆矩阵
pd.crosstab(y_test_label.reshape(-1) # 二维转一维
            ,predict
            ,rownames=['label'] # 行名
            ,colnames=['predict'] # 列名
           )
三次的卷积运算网络
model=Sequential()
model.add(Conv2D(filters=32,kernel_size=(3,3),padding='SAME',input_shape=(32,32,3),activation='relu'))
model.add(Dropout(0.3))
model.add(MaxPooling2D(pool_size=(2,2)))
model.add(Conv2D(filters=64,kernel_size=(3,3),padding='SAME',activation='relu'))
model.add(Dropout(0.3))
model.add(MaxPooling2D(pool_size=(2,2)))
model.add(Conv2D(filters=128,kernel_size=(3,3),padding='SAME',activation='relu'))
model.add(Dropout(0.3))
model.add(Conv2D(filters=128,kernel_size=(3,3),padding='SAME',activation='relu'))
model.add(MaxPooling2D(pool_size=(2,2)))
model.add(Flatten())
model.add(Dropout(0.3))
model.add(Dense(2500,activation='relu'))
model.add(Dropout(0.3))
model.add(Dense(1500,activation='relu'))
model.add(Dropout(0.3))
model.add(Dense(10,activation='softmax'))
model.summary()
模型保存与加载
model.save_weights("cifarCnnModel.h5")
print("Save OK!")


try:
    model.load_weights('cifarCnnModel.h5')
    print('Load OK!')
except:
    print('Load Failed!')
文章:Keras ModelCheckpoint 保存训练过程中的最佳模型权重_庆志的小徒弟-优快云博客_keras训练过程中保存模型
from keras.callbacks import ModelCheckpoint, TensorBoard

#记录所有训练过程,每隔一定步数记录最大值
log_dir='logs/'
tensorboard = TensorBoard(log_dir=log_dir)
checkpoint = ModelCheckpoint(log_dir + "best_weights.h5",
                                 monitor="val_loss",
                                 mode='min',
                                 save_weights_only=True, # 只保留权重信息
                                 save_best_only=True,
                                 verbose=1,
                                 period=1)

callback_lists=[tensorboard,checkpoint]

train_history=model.fit(x=x_Train_normalize # 经过标准化处理的图像
                        ,y=y_TrainOneHot # 经过独热编码的标签
                        ,validation_split=0.2
                        ,epochs=3
                        ,batch_size=32
                        ,callbacks=callback_lists
                        ,verbose=1)

文章:Keras中使用ModelCheckpoint对训练完成的模型进行保存及载入_小龙蜀黍的博客-优快云博客
参数:
save_weights_only:
若设置为True,占用内存小(只保存模型权重),但下次想调用的话,需要搭建和训练时一样的网络。
若设置为False,占用内存大(包括了模型结构和配置信息),下次调用可以直接载入,不需要再次搭建神经网络结构。
False:

model=load_model('xxx.h5')
#  model.fit() # 可以继续训练

True:

model.load_weights('xxx.h5')
model.fit()


 3829
3829

 被折叠的 条评论
为什么被折叠?
被折叠的 条评论
为什么被折叠?
 到【灌水乐园】发言


