


 该博客记录了yml配置文件传递值的过程。包括创建Spring Boot Web应用、全局配置文件application.yml,创建Person和Dog类,导入配置文件处理器依赖,以及进行单元测试。通过这些步骤,成功将yml配置文件中的数据传给person实例。
这篇笔记主要是记录yml配置文件传递值的过程
1.创建一个spring boot的Web应用
https://blog.youkuaiyun.com/AXIMI/article/details/88649270
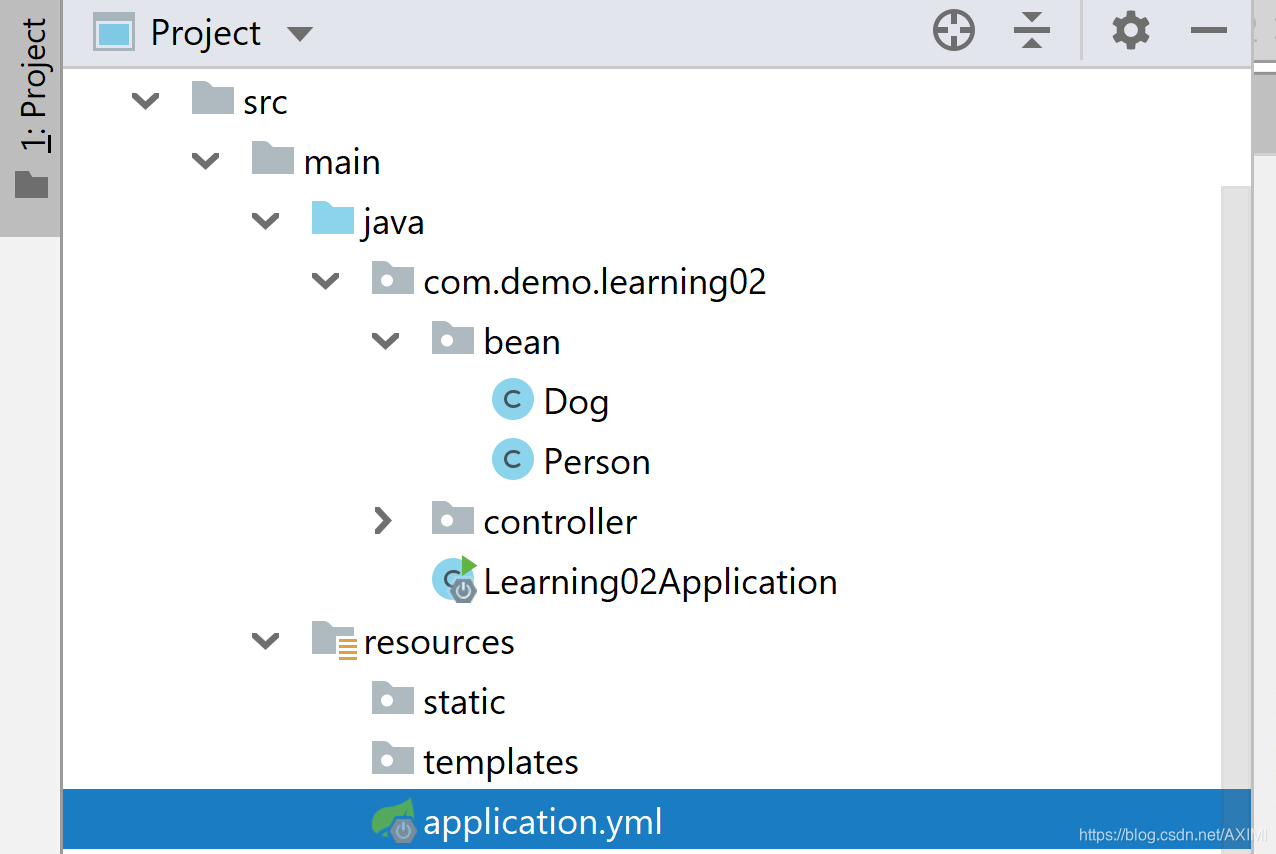
2.创建全局配置文件application.yml
路径结构如下图所示:
application.yml的代码:
server:
  port: 8081
  path: /hello
person:
  name: Tom
  age: 8
  birthday: 2010/10/2
  maps: {k1: v1,k2: v2}
  lists:
    - Tom
    - Mary
    - Jack
  dog:
    name: lucky
    age: 1
// yml语言的书写规则:https://blog.youkuaiyun.com/AXIMI/article/details/88649270
3.创建两个类
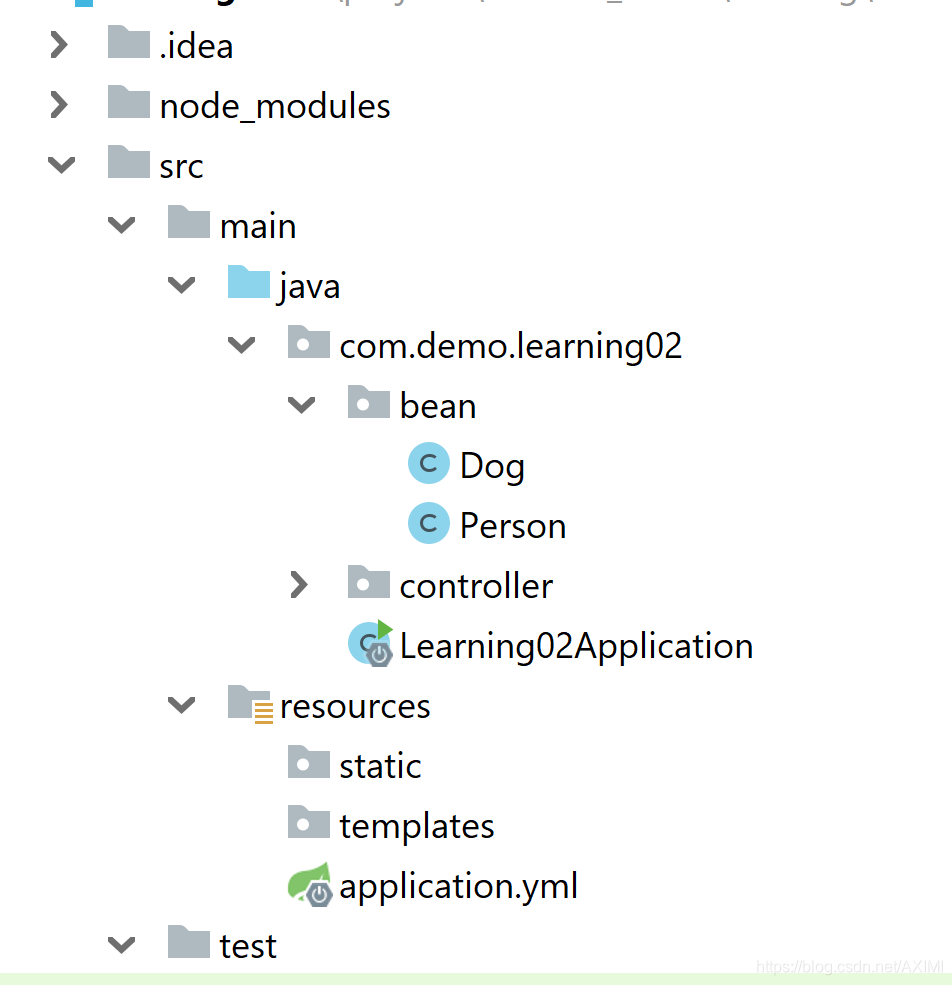
目录结构如上图所示,我们需要创建两个类,Person和Dog
Person的代码如下:
package com.demo.learning02.bean;
import org.springframework.boot.context.properties.ConfigurationProperties;
import org.springframework.boot.context.properties.EnableConfigurationProperties;
import org.springframework.context.annotation.ComponentScan;
import org.springframework.context.annotation.Configuration;
import org.springframework.stereotype.Component;
import org.springframework.validation.annotation.Validated;

import java.util.*;

@Component
@ConfigurationProperties(prefix = "person")
public class Person {
    private String name;
    private Integer age;
    private Date birthday;

    private Map<String,Object> maps;
    private List<Object> lists;
    private Dog dog;

    @Override
    public String toString() {
        return "Person{" +
                "name='" + name + '\'' +
                ", age=" + age +
                ", birthday=" + birthday +
                ", maps=" + maps +
                ", lists=" + lists +
                ", dog=" + dog +
                '}';
    }

    public String getName() {
        return name;
    }

    public void setName(String name) {
        this.name = name;
    }

    public Integer getAge() {
        return age;
    }

    public void setAge(Integer age) {
        this.age = age;
    }

    public Date getBirthday() {
        return birthday;
    }

    public void setBirthday(Date birthday) {
        this.birthday = birthday;
    }

    public Map<String, Object> getMaps() {
        return maps;
    }

    public void setMaps(Map<String, Object> maps) {
        this.maps = maps;
    }

    public List<Object> getLists() {
        return lists;
    }

    public void setLists(List<Object> lists) {
        this.lists = lists;
    }

    public Dog getDog() {
        return dog;
    }

    public void setDog(Dog dog) {
        this.dog = dog;
    }
}
类的上方有两个注解:
- @ConfigurationProperties(prefix = “person”) 可以从全局配置文件中获取值
- 只有容器中的组件才提供@ConfigurationProperties 的功能,所以还要加上@Component
此外,@ConfigurationProperties的功能也可以通过@Value注解来实现。例如,对于上面的代码,也可以写为:
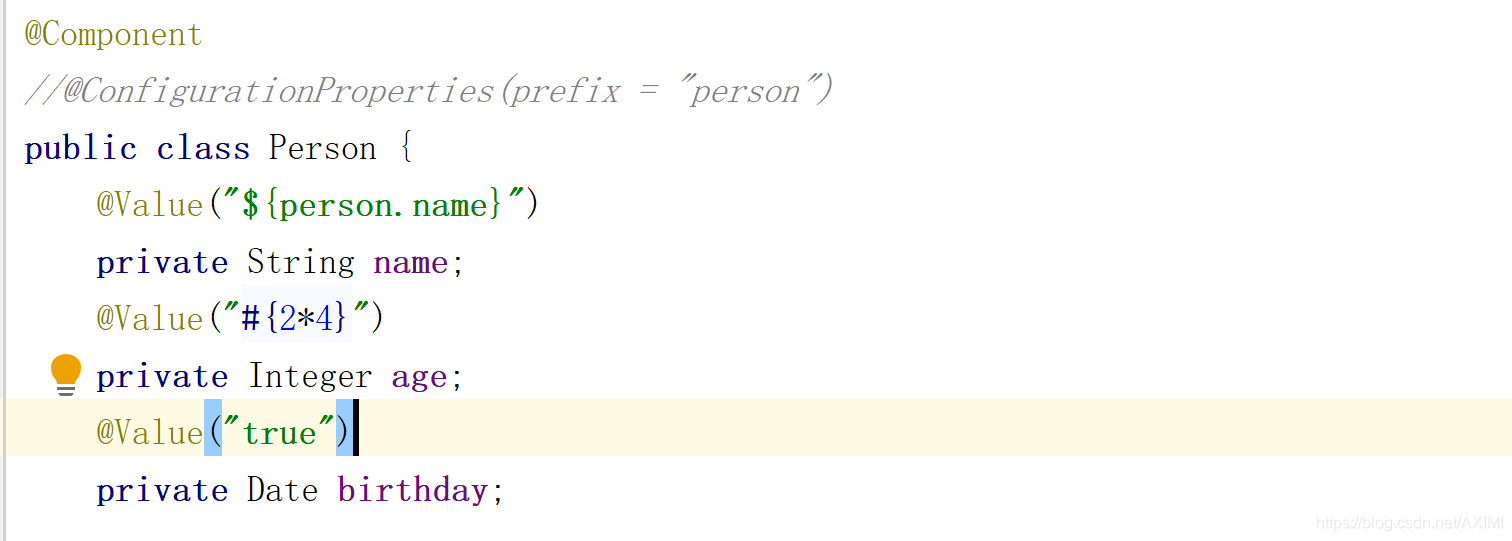
@ConfigurationProperties和@Value的区别:
| @ConfigurationProperties | @Value |
|---|---|
| 支持松散绑定(松散语法) | 不支持 |
| 不支持 | 支持SpEL(Spring的表达式), 例如"#{2*8}" |
| 支持JSR303数据校验(@Validated) | 不支持 |
| 支持复杂类型封装(例如map) | 不支持复杂类型封装 |
Dog的代码如下:
package com.demo.learning02.bean;

public class Dog {
    private String name;
    private Integer age;

    @Override
    public String toString() {
        return "Dog{" +
                "name='" + name + '\'' +
                ", age=" + age +
                '}';
    }

    public String getName() {
        return name;
    }

    public void setName(String name) {
        this.name = name;
    }

    public Integer getAge() {
        return age;
    }

    public void setAge(Integer age) {
        this.age = age;
    }
}
4.导入配置文件处理器依赖
在pom.xml文件中添加依赖:
<dependency>
            <groupId>org.springframework.boot</groupId>
            <artifactId>spring-boot-configuration-processor</artifactId>
            <optional>true</optional>
</dependency>
5.进行单元测试
在根目录/src/test/java文件夹下面有单元测试的代码,目录结构如下:
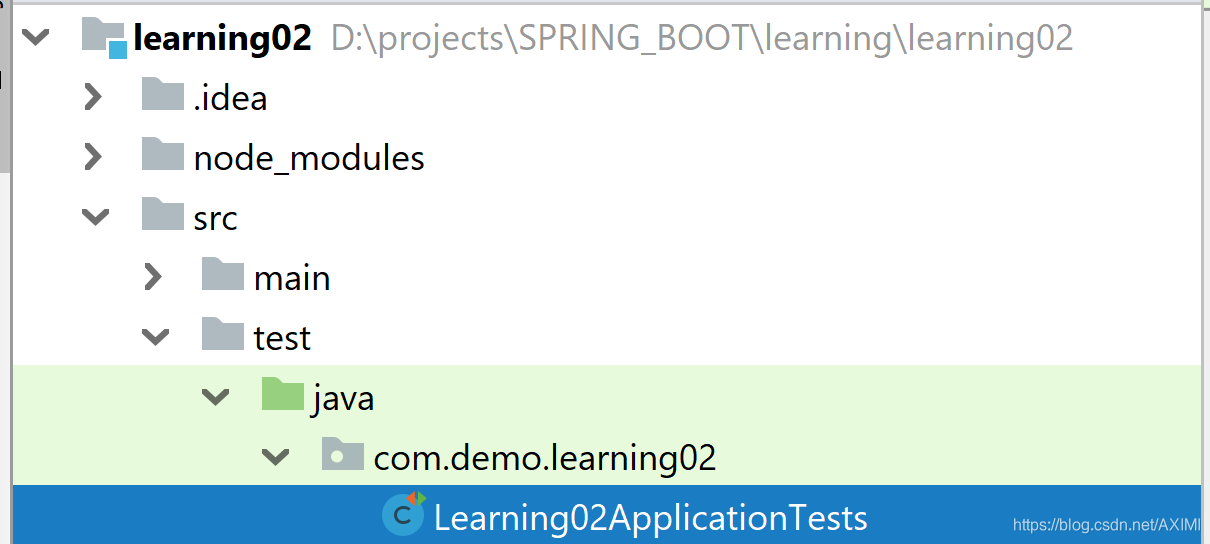
例如我这里单元测试的代码文件是Learning02ApplicationTest2。打开这个文件进行修改,最终的单元测试代码为:
package com.demo.learning02;

import com.demo.learning02.bean.Person;
import org.junit.Test;
import org.junit.runner.RunWith;
import org.springframework.beans.factory.annotation.Autowired;
import org.springframework.boot.test.context.SpringBootTest;
import org.springframework.test.context.junit4.SpringRunner;

@RunWith(SpringRunner.class)
@SpringBootTest
public class Learning02ApplicationTests {
    @Autowired
    Person person;

    @Test
    public void contextLoads() {
        System.out.println(person);
    }

}
类的上方有两个注解:
- @SpringBootTest 说明这是个单元测试类
- @RunWith(SpringRunner.class)说明单元测试使用的是spring的启动器
运行单元测试代码后,可以看到:

成功将yml配置文件中的数据传给了person实例。


 3716
3716

 被折叠的 条评论
为什么被折叠?
被折叠的 条评论
为什么被折叠?
 到【灌水乐园】发言


