


在pytroch官网历史版本中查找对应的torch版本 torchvision torchaudio 在linux终端输入nvcc --version查看所支持的cuda版本

我这里是11.1的版本,对应找到cu111。
CUDA 11.1
pip install torch==1.10.1+cu111 torchvision==0.11.2+cu111 torchaudio==0.10.1 -f https://download.pytorch.org/whl/cu111/torch_stable.html
由于下面的命令下载太慢。建议先下载在本地电脑,再上传至远程,通过在文件所在的目录下执行pip install +文件名。会快一些。具体就是下面三个网址。
https://download.pytorch.org/whl/cu111/torch-1.10.1%2Bcu111-cp39-cp39-linux_x86_64.whl
https://download.pytorch.org/whl/cu111/torchvision-0.11.2%2Bcu111-cp39-cp39-linux_x86_64.whl
https://download.pytorch.org/whl/cu111/torchaudio-0.10.1%2Bcu111-cp39-cp39-linux_x86_64.whl
这里装完后可能会遇到问题:module 'distutils' has no attribute 'version'这个问题。原因在于setuptools版本问题”,版本过高导致的问题。解决方案:https://zhuanlan.zhihu.com/p/556704117 亲测有效!
数据处理
数据盘autodl-tmp下原本只有解压后的CASIA-B文件,经过预处理,生成了CASIA-B-pkl文件,后面进行训练用的就是CASIA-B-pkl文件 python datasets/pretreatment.py --input_path /root/autodl-tmp/CASIA-B --output_path /root/autodl-tmp/CASIA-B-pkl
删除已解压文件命令:rm -rf */
注意这里是要直接解压到当前文件下,不需要子目录了:如下:
#!/bin/bash # 遍历当前目录下的所有 .tar.gz 文件 for file in *.tar.gz; do # 打印解压信息 echo "正在解压: $file" # 直接解压到当前目录 tar -xzf "$file" # 打印解压完成信息 echo "解压完成: $file" done echo "所有文件解压完成!"
终于可以开始处理数据了··· ···

遇到这个问题:AttributeError: module 'PIL.Image' has no attribute 'ANTIALIAS'
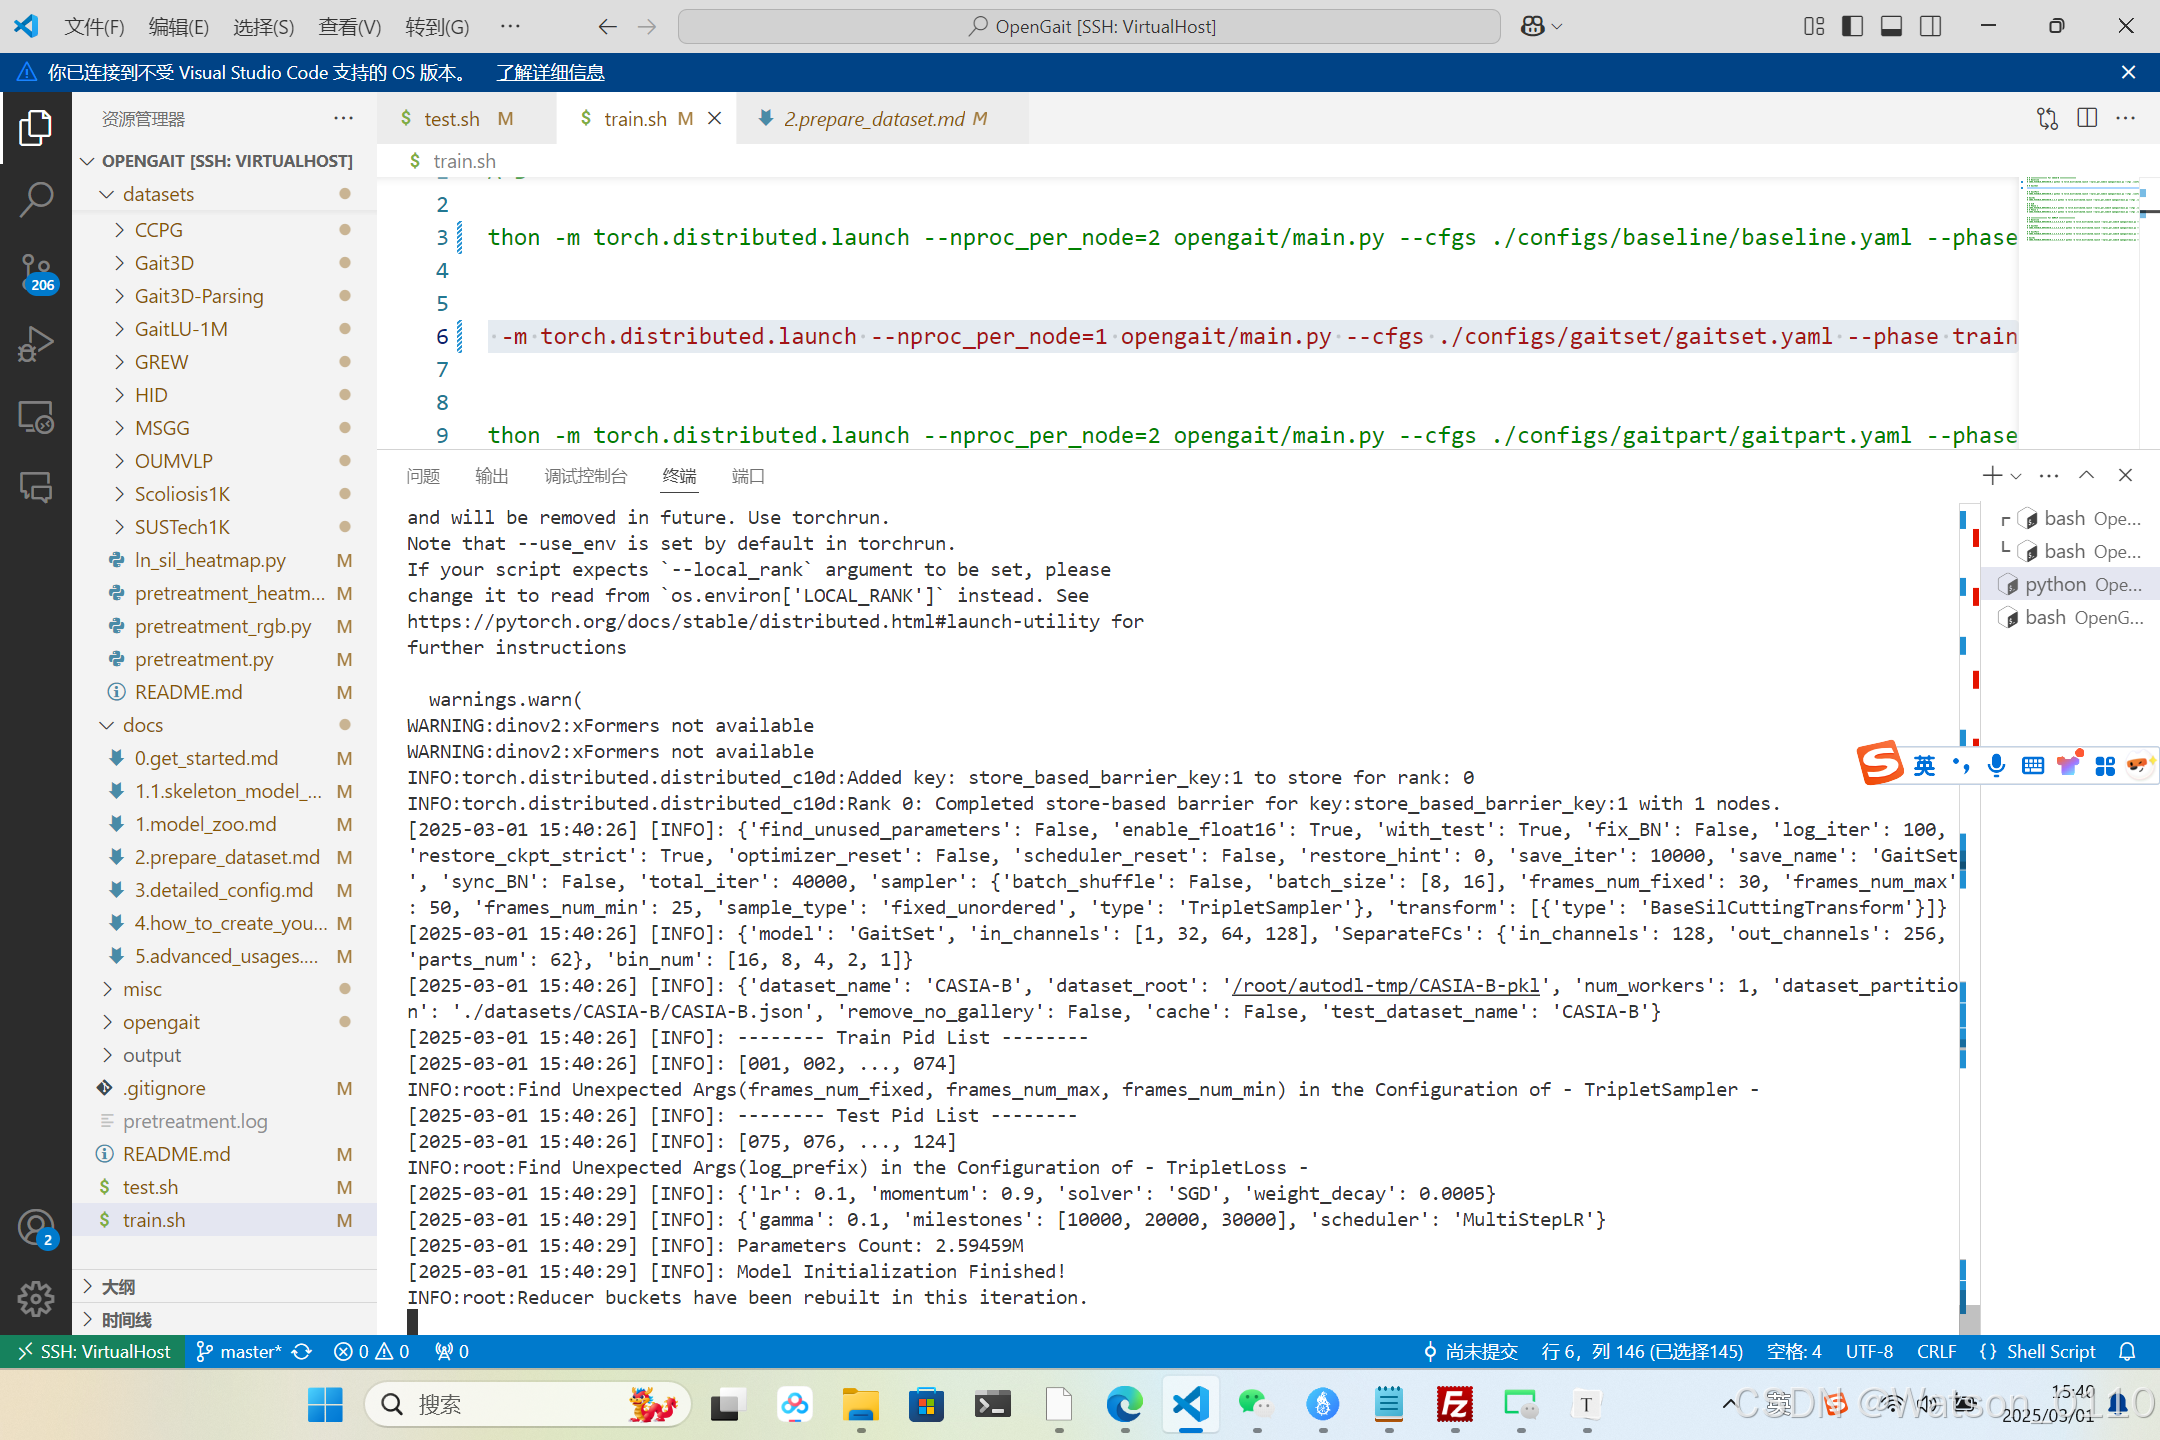
在OpenGait文件下运行get_start.md里面的命令即可。
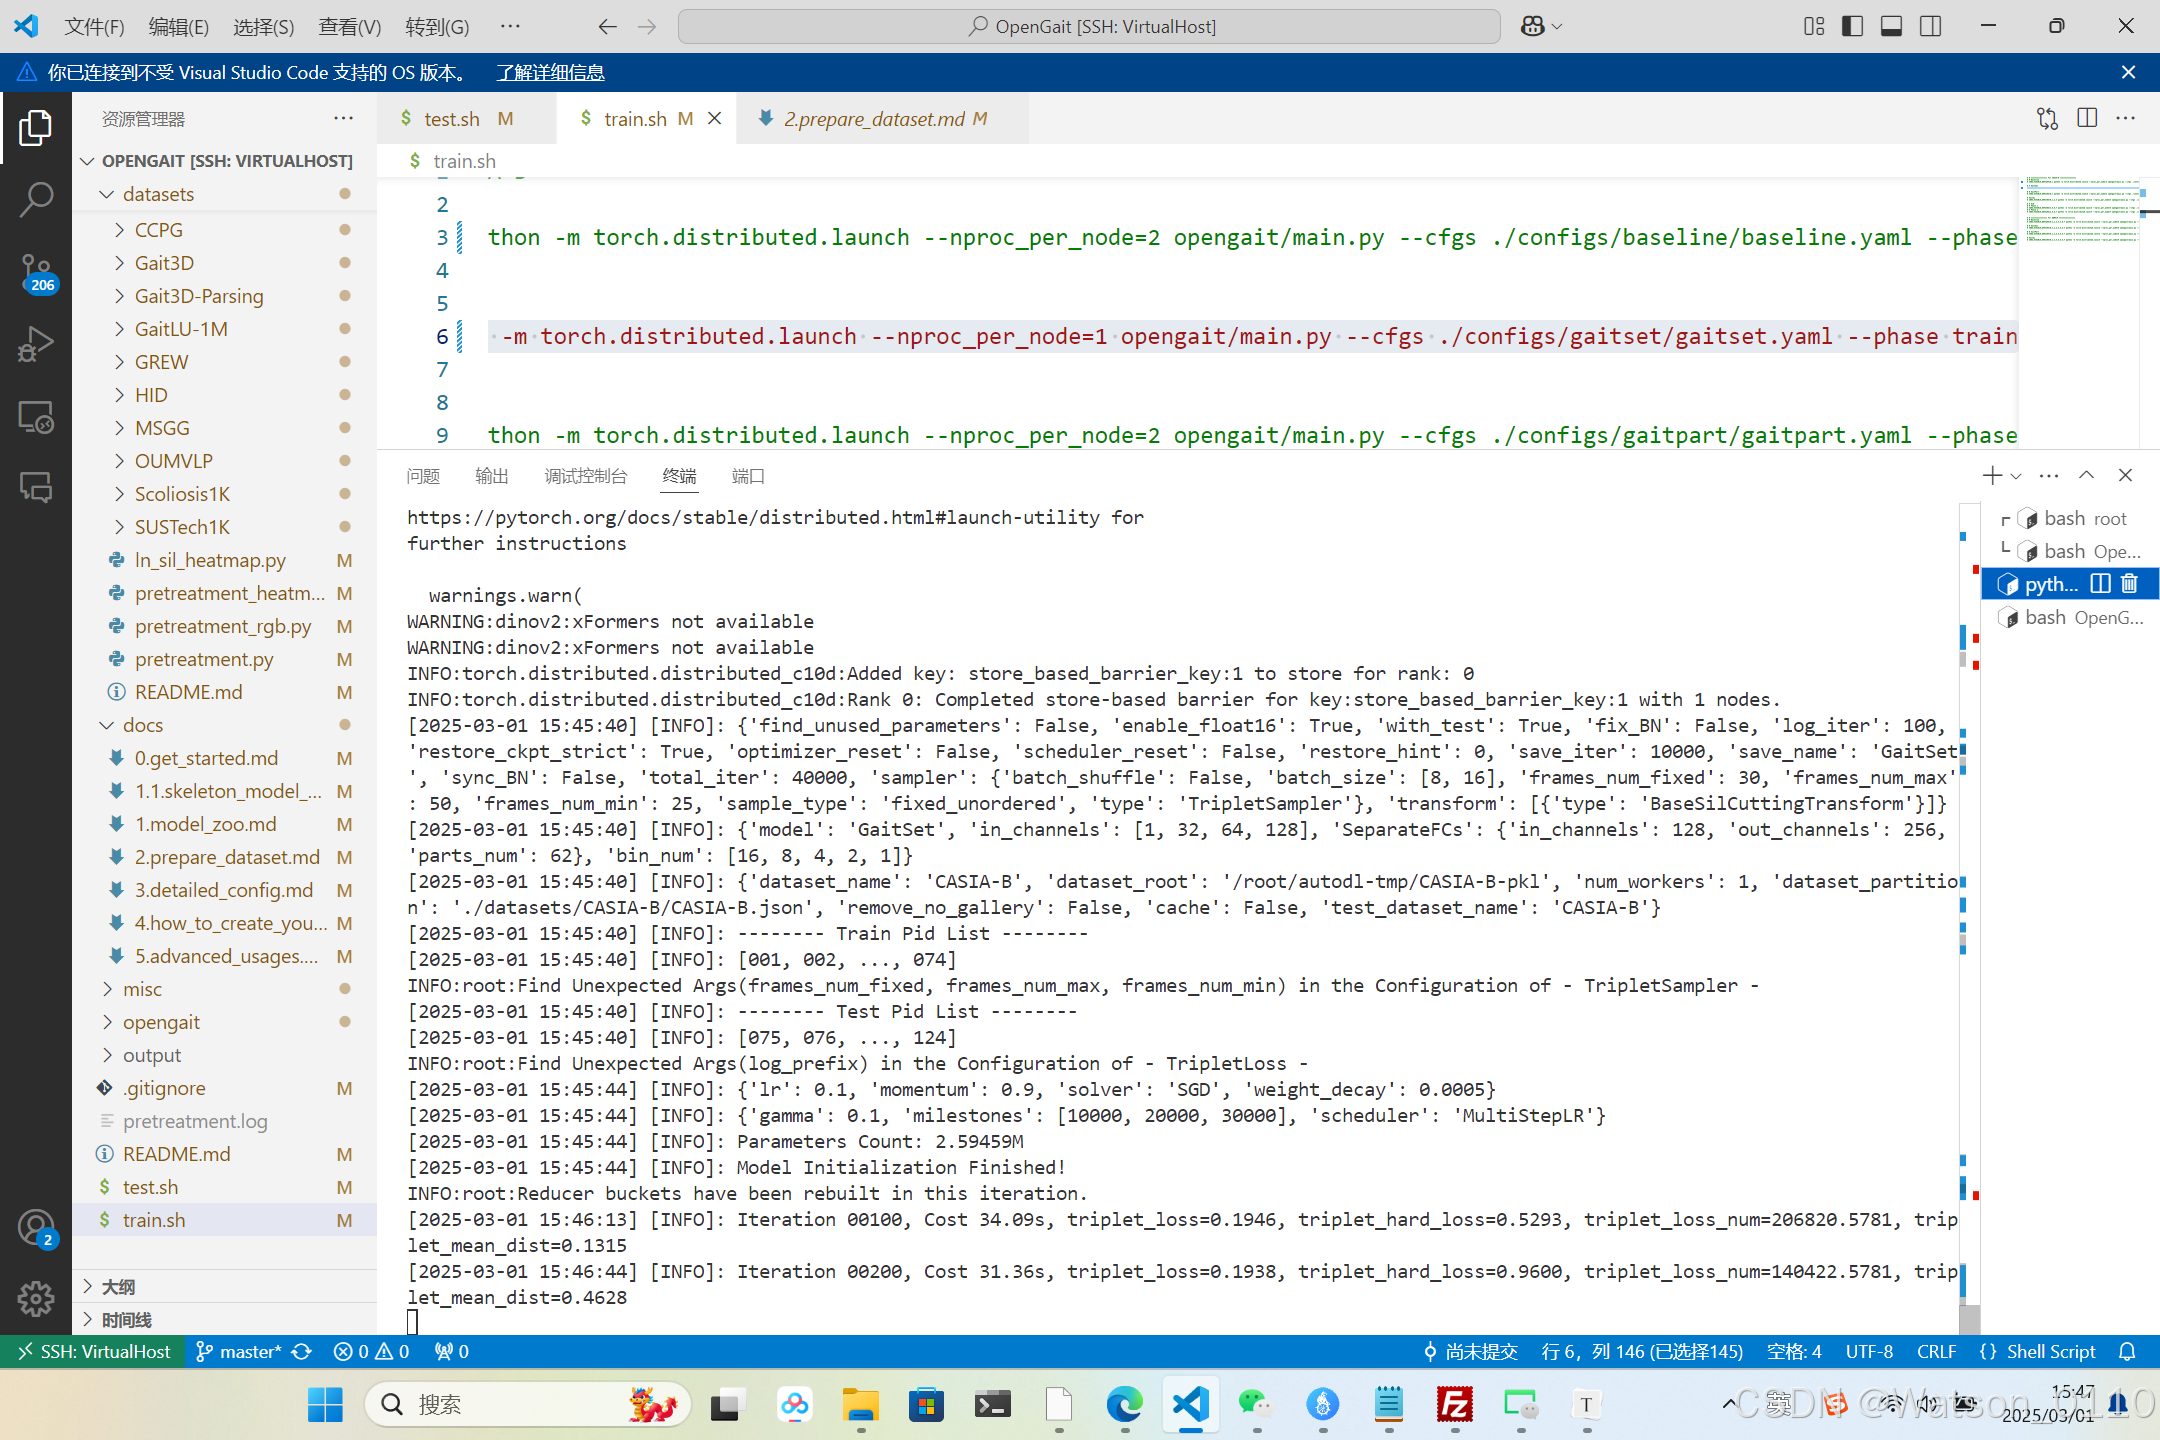
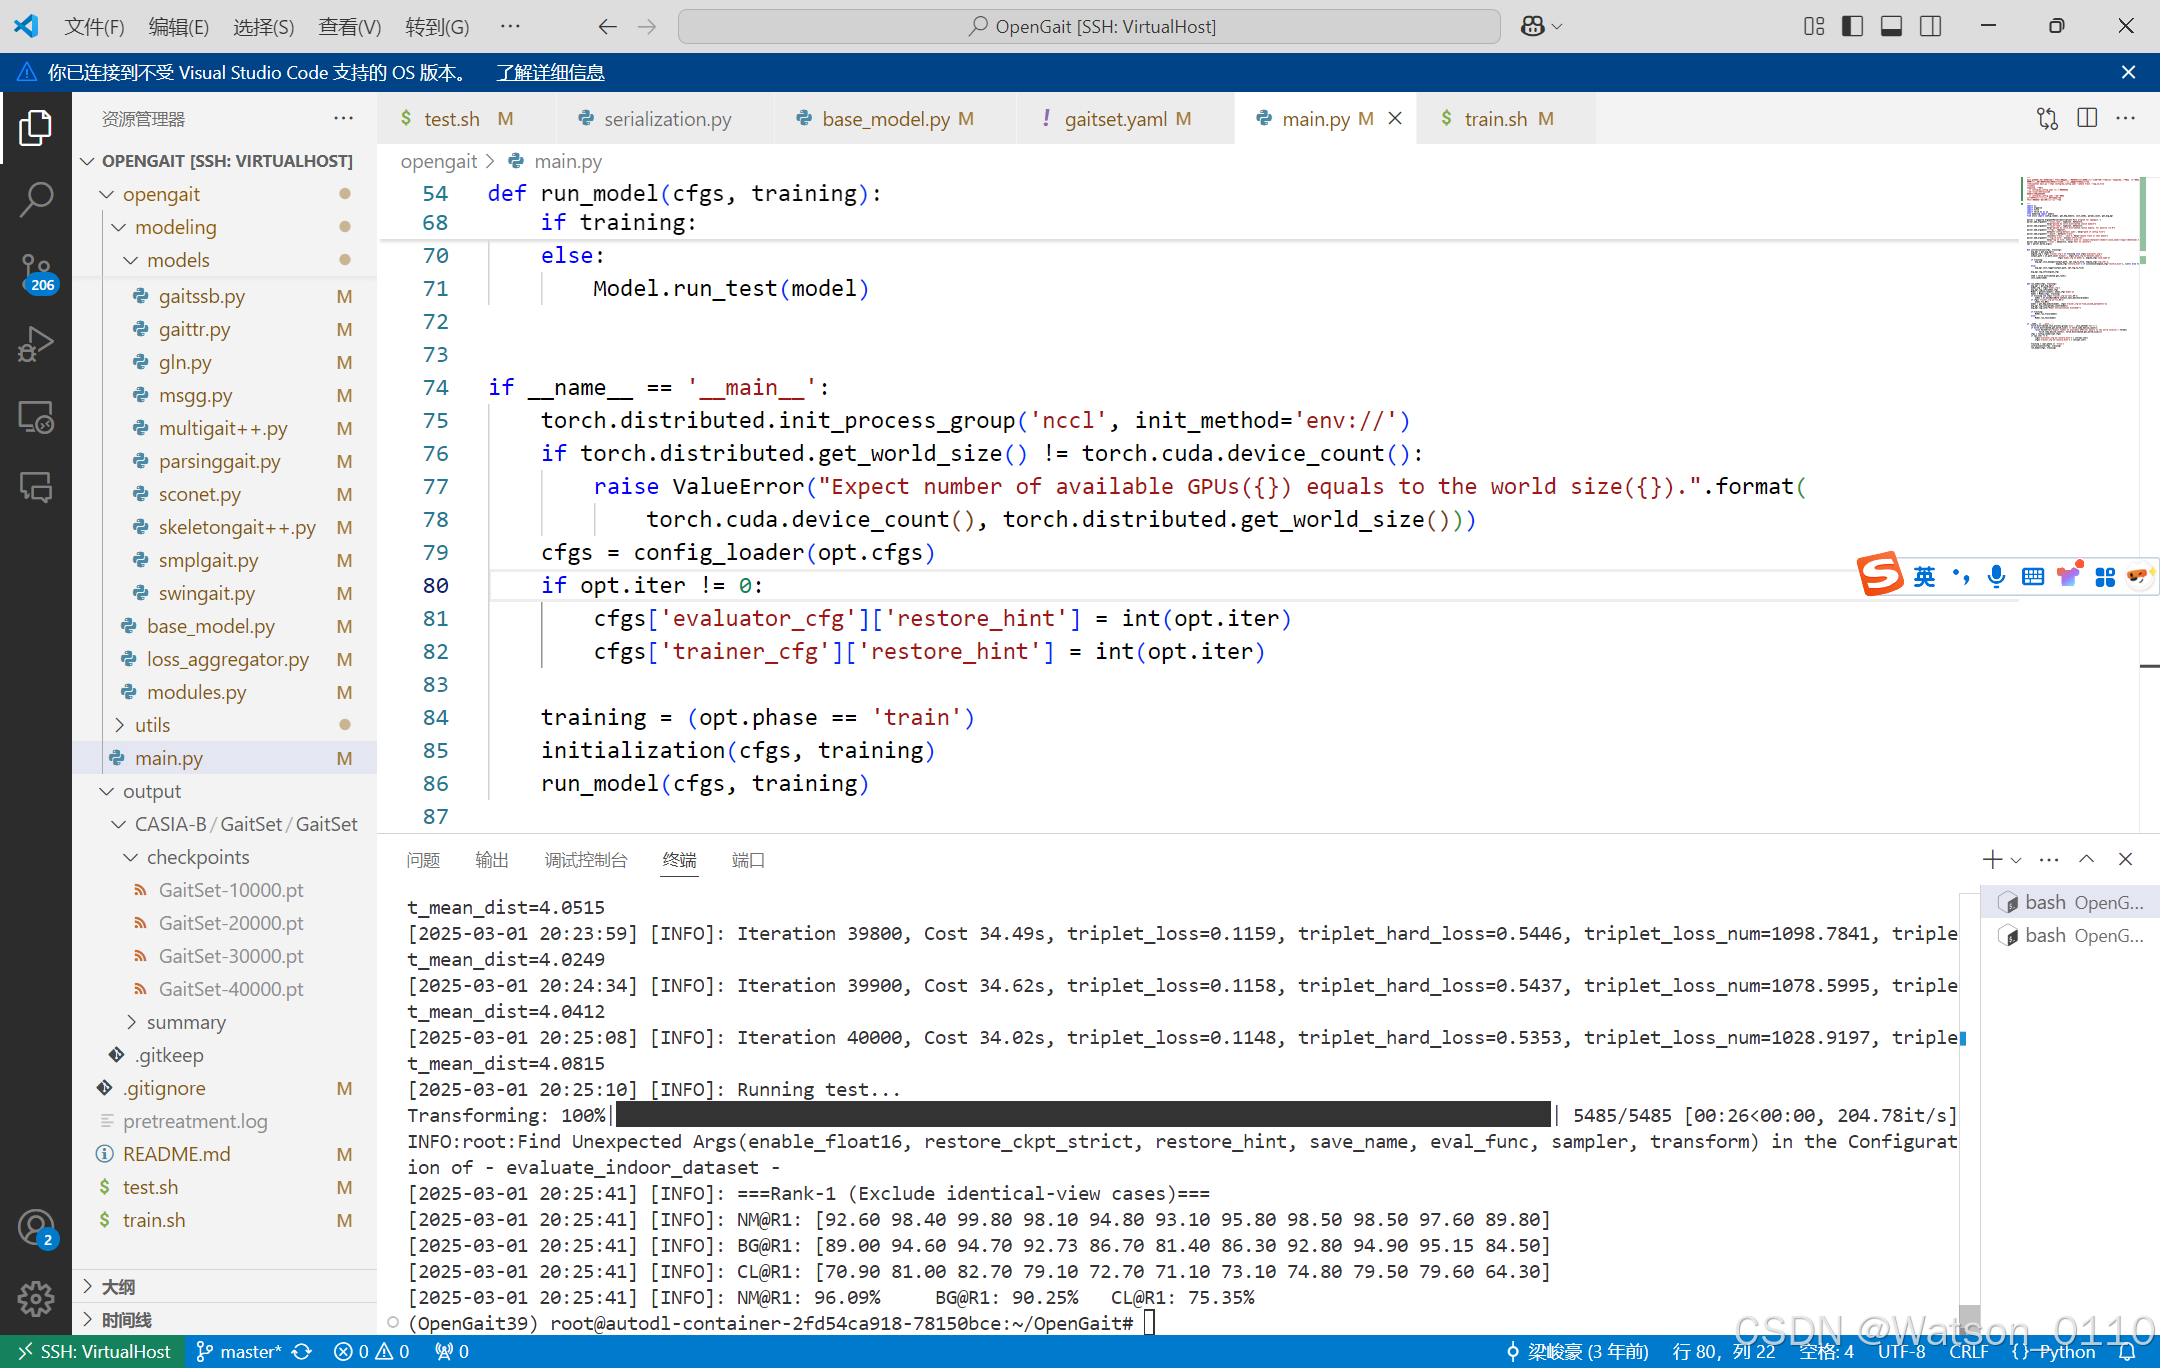
可以开始运行了!
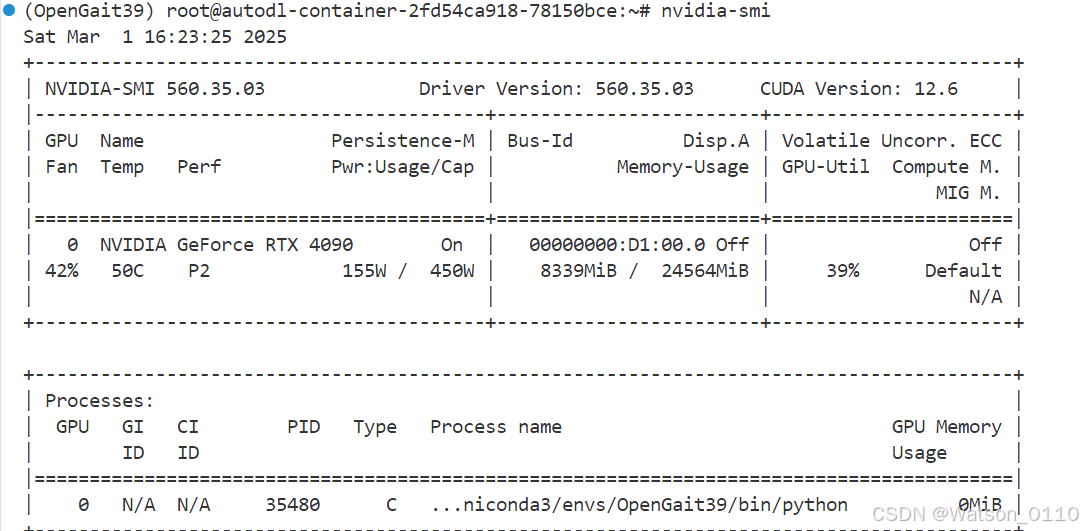
24G的显存实际上只占用了8G,1/3左右,后面可能尝试调整一下训练时的batch_size。
还有一点要提的是,如果在模型配置文件yaml中trainer_cfg部分with_tset:True,那么每迭代10000次都会进行test。
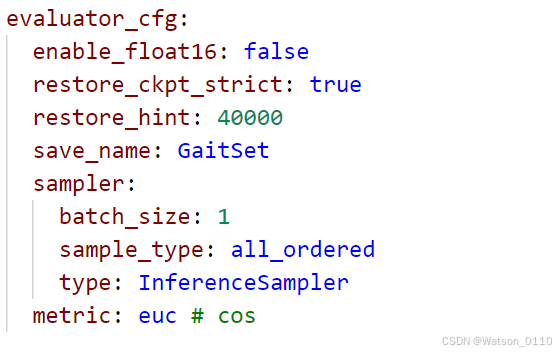
由于测试模型的设置问题:所以batch_size的个数要与GPU个数相等。我只有1个GPU所以这里batch_size:1。
  if torch.distributed.get_world_size() != torch.cuda.device_count():
        raise ValueError("Expect number of available GPUs({}) equals to the world size({}).".format(
            torch.cuda.device_count(), torch.distributed.get_world_size()))
迭代至30000次的结果:

| NM | BG | CL | |
| 原文 | 95.0% | 87.2% | 70.4% |
| 复现 | 96.09% | 90.25% | 75.35% |


 9920
9920

 被折叠的 条评论
为什么被折叠?
被折叠的 条评论
为什么被折叠?
 到【灌水乐园】发言


