


图像匹配的superpoint算法训练
官方没有开源的训练代码,从github上找了野生的基于pytorch实现训练。
1.检测器magicpoint以及人工数据的生成
2.用magicpoint给自己的数据集打上伪标签
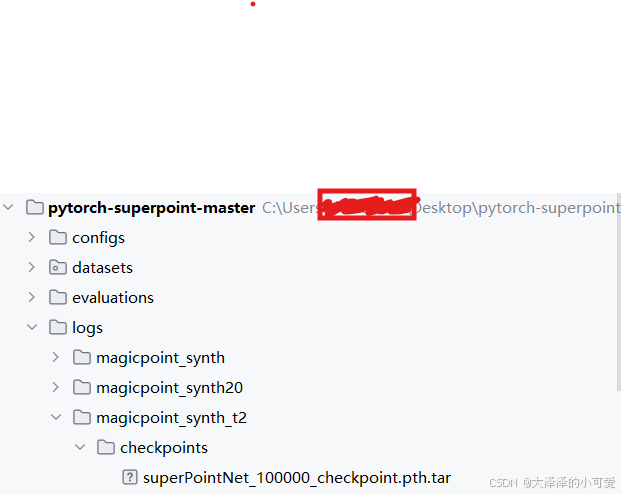
我没有训练magicpoint了,直接用已经训练好的预训练权重,在这里:
2.1 main
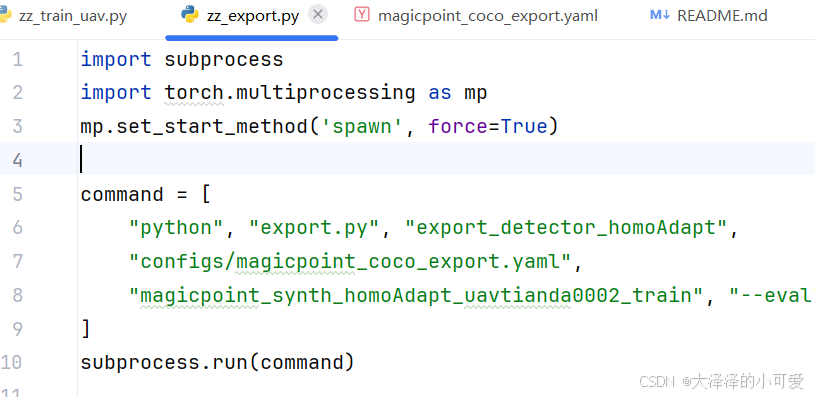
自己编写一个文件然后运行,内容如下下面
这是官方的说明:
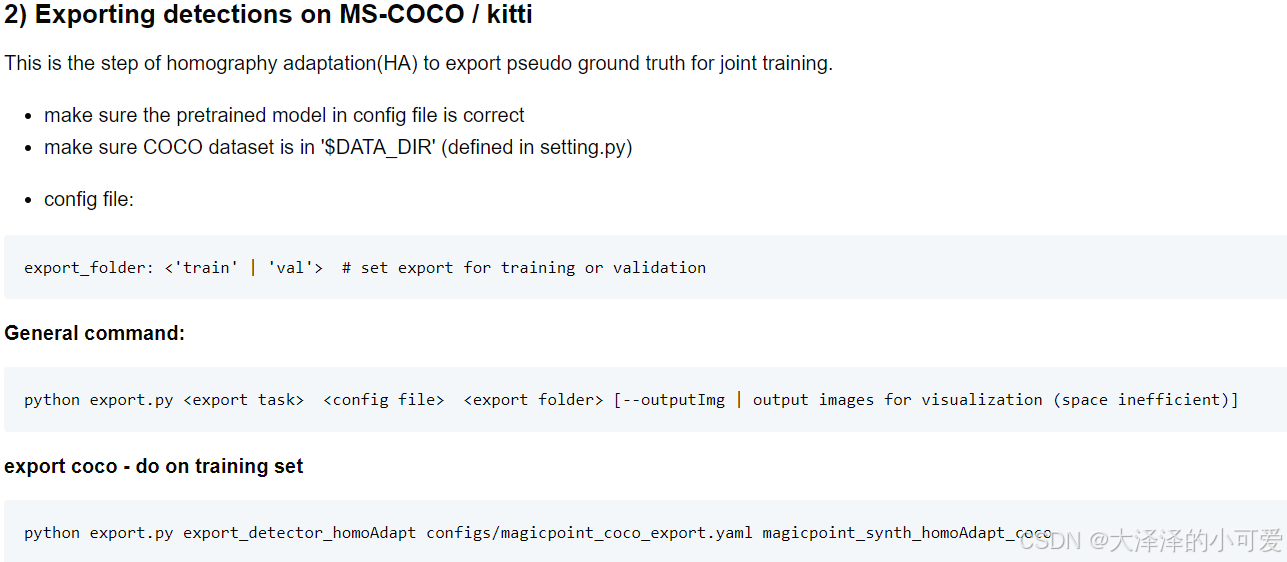
其中
任务:export_detector_homoAdapt
配置文件: “configs/magicpoint_coco_export.yaml”
输出保存伪标签的文件夹:“magicpoint_synth_homoAdapt_uavtianda0002_train”
2.2 接下来我们看setting.py文件
DATA_PATH = 'zz_datasets' # path for datasets 也就是输入图片存放的位置
EXPER_PATH = 'zz_logs' # path for saving checkpoints 也就是输出图片存放的位置,伪标签也在。
SYN_TMPDIR = './zz_temp_datasets/'  # path for dumping synthetic data 没啥用
DEBUG = False # true: will make synthetic data only uses draw_checkboard and ignore other classes,
# DEBUG = False
前面提到的"magicpoint_synth_homoAdapt_uavtianda0002_train"也就是在’zz_logs’ 文件夹下,这个你可以自己命名
2.3然后看yaml配置文件
data:
    dataset: 'Coco'  # 'coco' 'hpatches'
    export_folder: 'val' # train, val
    preprocessing
最低0.47元/天 解锁文章


 8854
8854


 到【灌水乐园】发言


