


目录
摘要:
介绍了利用神经网络技术实现图像分割与数字识别的全过程。报告中的核心任务是基于 MNIST 数据集,通过构建 U-Net 卷积神经网络(CNN),实现手写数字的检测与分割。
数据准备与预处理
- 从 MNIST 数据集中提取训练和测试数据,并对数据进行必要的格式处理和存储为 PNG 图像。
- 使用
labelme工具对数据集进行标注,每个标注生成对应的 JSON 文件,描述了目标区域的位置和标签信息。 - 使用 OpenCV 从原始图像中裁剪出标注的感兴趣区域 (Area of Interest, AOI) 并保存。
模型构建与损失函数
- U-Net 网络结构:报告详细说明了 U-Net 的编码器(Encoder)、桥接层(Bridge)和解码器(Decoder)的具体实现,每一层使用卷积、批归一化、池化与上采样操作,保证特征提取和还原的有效性。
- 损失函数:采用了 Dice Loss,用于衡量预测结果与真实标签的重叠度,特别适用于像素级分割任务。
训练与优化过程
- 使用了 AdamW 优化器 和多种回调函数(包括早停机制、学习率调整等),提升模型训练的稳定性和性能。
- 数据增强技术(如旋转、平移、缩放等)应用于训练数据集,以提升模型的泛化能力。
预测与结果处理
- 训练完成后,通过加载训练好的模型权重,对新的测试图像进行预测。
- 生成的掩模图像进一步用于提取数字的边界框信息,并存储为结果表格,便于后续分析和可视化。
- 准备:
- 数据准备:
我们在这题目中所用的数据集均来自“MINIST”数据集,现在我们先下载数据集:
import torch
import torchvision
from torchvision import datasets, transforms
import os

os.makedirs('mnist_images/train', exist_ok=True)
os.makedirs('mnist_images/labels', exist_ok=True)

transform = transforms.Compose([transforms.ToTensor(),])

mnist_train = datasets.MNIST(root='mnist_data', train=True, download=True, transform=transform)
下载完毕之后,我们可以得到下面几个文件:
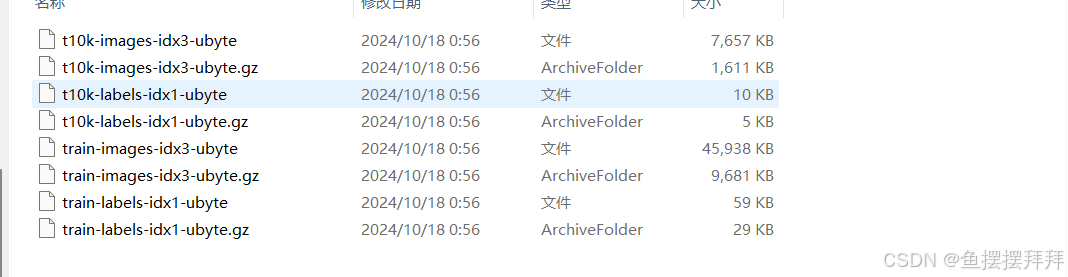
很显然,这些文件现在我们并不能直接使用,我们还需要进行处理,所以,现在我们将对于这些文件进行处理:
import numpy as np
import struct
from PIL import Image
import os

data_file =  'train-images.idx3-ubyte'

data_file_size = 47040016
data_file_size = str(data_file_size - 16) + 'B'

data_buf = open(data_file, 'rb').read()

magic, numImages, numRows, numColumns = struct.unpack_from('>IIII', data_buf, 0)
datas = struct.unpack_from('>' + data_file_size, data_buf, struct.calcsize('>IIII'))
datas = np.array(datas).astype(np.uint8).reshape(numImages, 1, numRows, numColumns)

label_file =  'train-labels.idx1-ubyte'

# It's 60008B, but we should set to 60000B
label_file_size = 60008
label_file_size = str(label_file_size - 8) + 'B'

label_buf = open(label_file, 'rb').read()

magic, numLabels = struct.unpack_from('>II', label_buf, 0)
labels = struct.unpack_from('>' + label_file_size, label_buf, struct.calcsize('>II'))
labels = np.array(labels).astype(np.int64)

train_path =  'mnist_train'
if not os.path.exists(train_path):
    os.mkdir(train_path)

for i in range(10):
    file_name = train_path + os.sep + str(i)
    if not os.path.exists(file_name):
        os.mkdir(file_name)

for ii in range(numLabels):
    img = Image.fromarray(datas[ii, 0, 0:28, 0:28])
    label = labels[ii]
    file_name = train_path + os.sep + str(label) + os.sep + str(ii) + '.png'
    img.save(file_name)
import numpy as np
import struct
from PIL import Image
import os

data_file = 't10k-images.idx3-ubyte'

# It's 7840016B, but we should set to 7840000B
data_file_size = 7840016
data_file_size = str(data_file_size - 16) + 'B'

data_buf = open(data_file, 'rb').read()

magic, numImages, numRows, numColumns = struct.unpack_from('>IIII', data_buf, 0)
datas = struct.unpack_from('>' + data_file_size, data_buf, struct.calcsize('>IIII'))
datas = np.array(datas).astype(np.uint8).reshape(numImages, 1, numRows, numColumns)

label_file = 't10k-labels.idx1-ubyte'

label_file_size = 10008
label_file_size = str(label_file_size - 8) + 'B'

label_buf = open(label_file, 'rb').read()

magic, numLabels = struct.unpack_from('>II', label_buf, 0)
labels = struct.unpack_from('>' + label_file_size, label_buf, struct.calcsize('>II'))
labels = np.array(labels).astype(np.int64)

test_path =  'mnist_test'
if not os.path.exists(test_path):
    os.mkdir(test_path)

for i in range(10):
    file_name = test_path + os.sep + str(i)
    if not os.path.exists(file_name):
        os.mkdir(file_name)

for ii in range(numLabels):
    img = Image.fromarray(datas[ii, 0, 0:28, 0:28])
    label = labels[ii]
    file_name = test_path + os.sep + str(label) + os.sep + str(ii) + '.png'
    img.save(file_name)
经过这些处理之后,我们就可以得到我们所需要的Train和Test文件:

![]()
![]()
![]()
![]()
![]()
![]()
![]()
![]()
![]()
![]()
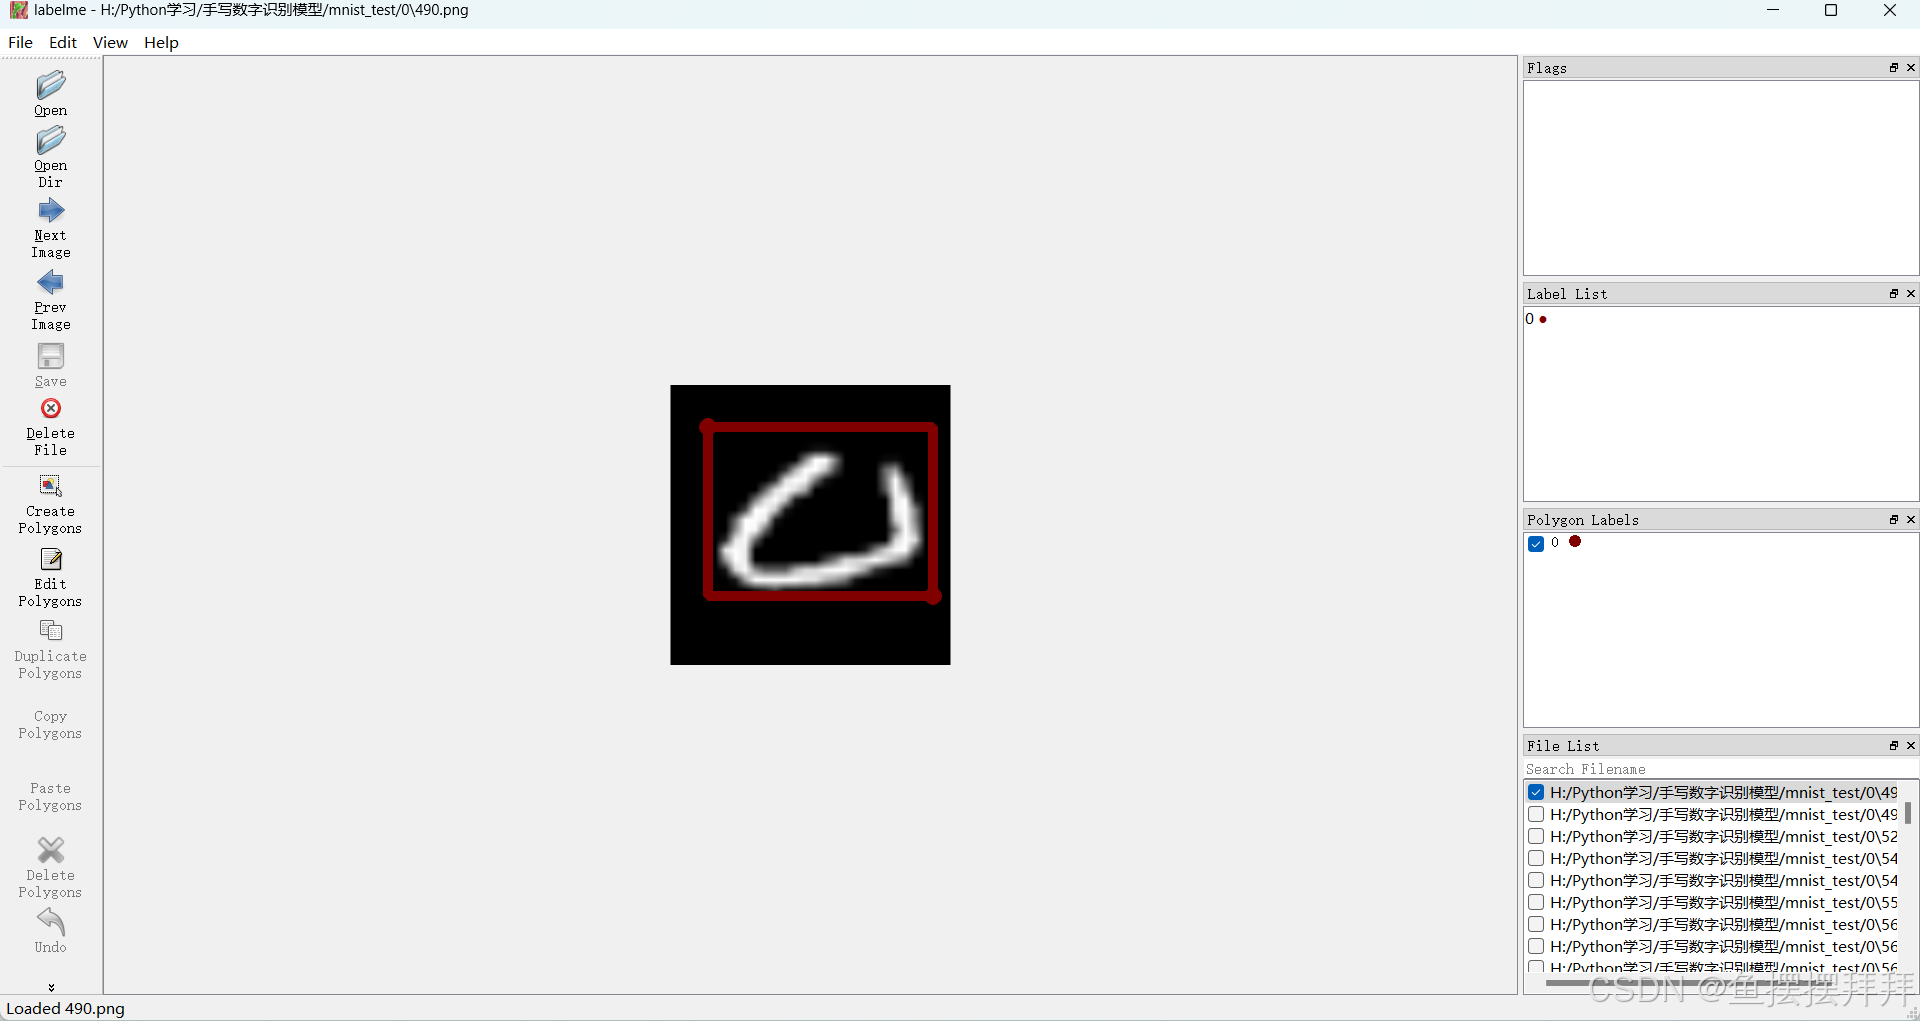
我们得到了图片,现在我们只在每一个数字中选取33中图片,一共330中图片作为我的数据集,现在我们对于我们的数据集进行一个标定,这是我们需要一个软件labelme进行标定:
每一次标定之后,我们会得到一个json文件,最后我们标定完毕之后,我们可以得到像下面这样的文件:
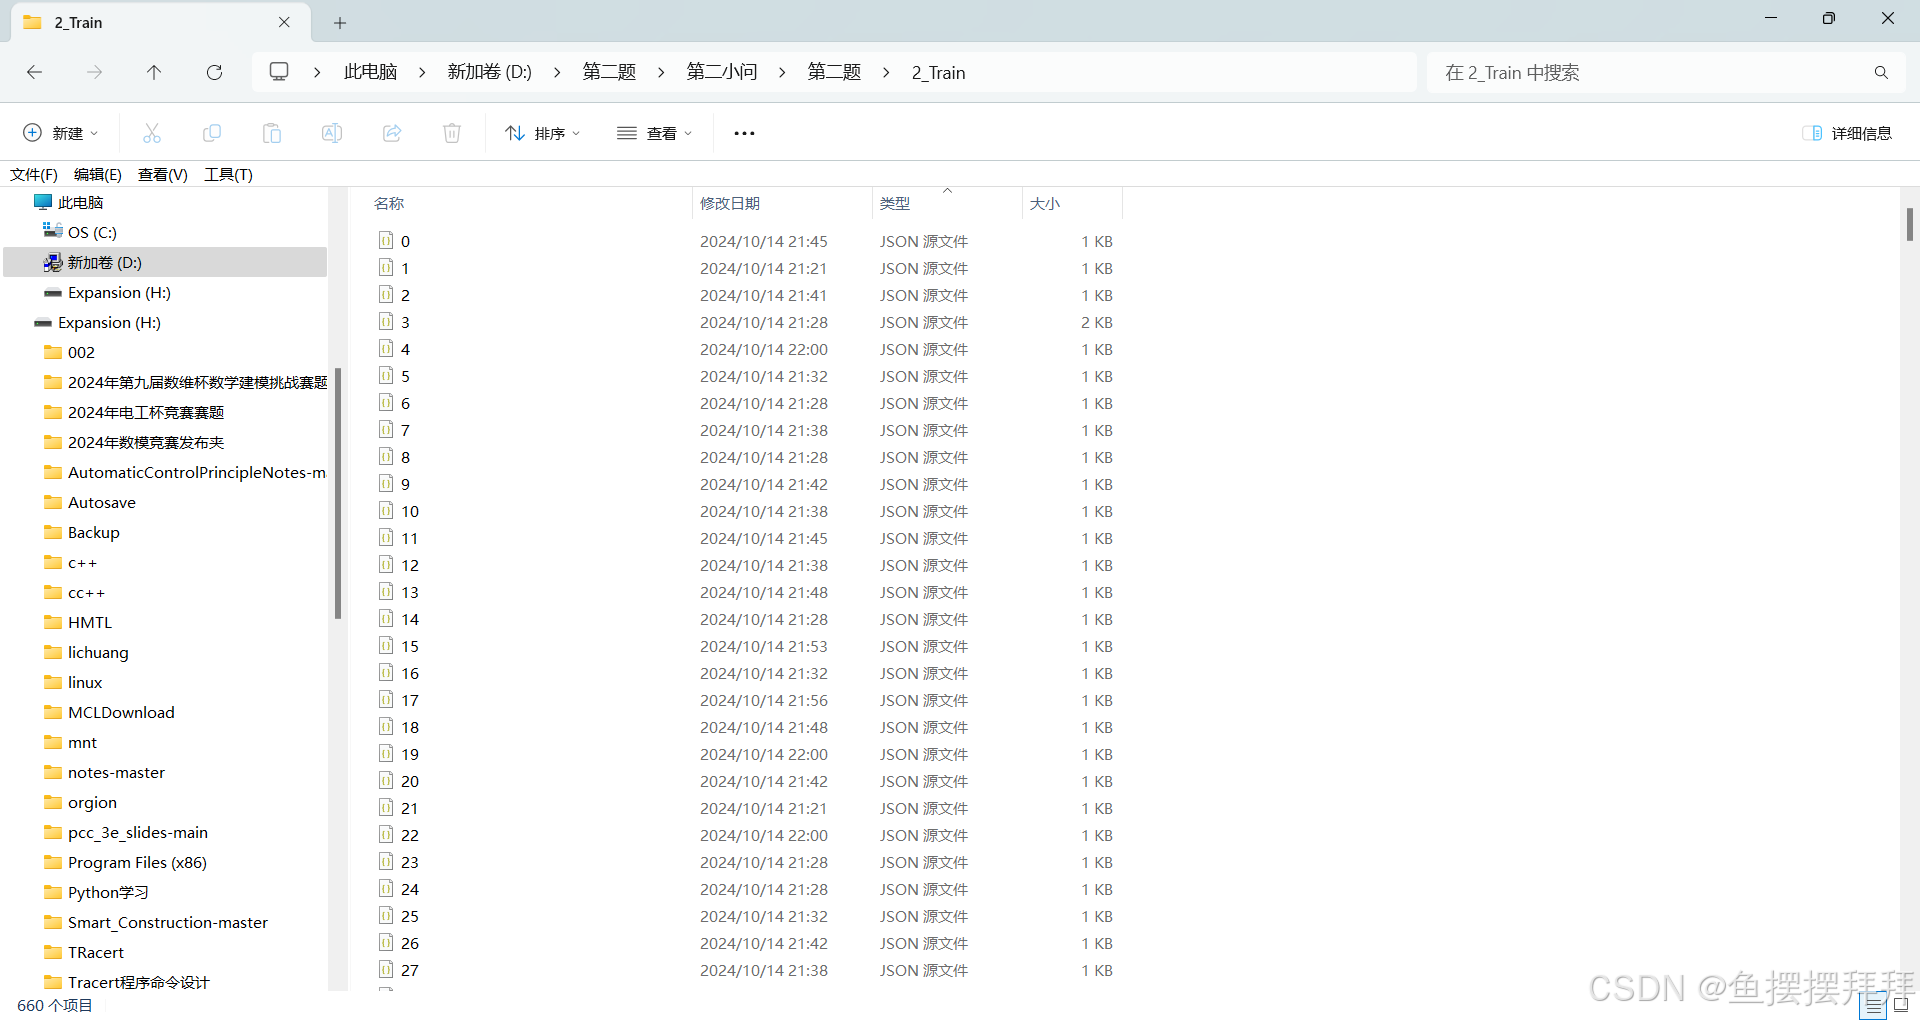
其中,json文件中的内容是像这样的:
{
  "version": "5.1.1",
  "flags": {},
  "shapes": [
    {
      "label": "5",
      "points": [
        [
          5.25,
          4.300000000000004
        ],
        [
          23.65,
          25.1
        ]
      ],
      "group_id": null,
      "shape_type": "rectangle",
      "flags": {}
    }
  ],
  "imagePath": "0.png",
  "imageData": "iVBORw0KGgoAAAANSUhEUgAAABwAAAAcCAAAAABXZoBIAAABAE
lEQVR4nGNgGMyAWUhIqK5jvdSy/9/rGRgYGFhgEnJsVjYCwQwMDAxPJgV+vniQg
YGBgREqZ7iXH8r6l/SV4dn7m8gmCt3++/fv37/Htn3/iMW+gDnZf/+e5WbQnoXNNXyMs/
5GoQoxwVmf/n9kSGFiwAW49/11wynJoPzx4YIcRlyygR/+/i2XxCWru+vv32nSuGQFYv/
83Y3b4p9/fzpAmSyoMnohpiwM1w5h06Q+5enfv39/bcMiJVF09+/fv39P+mFKiTtd/fv37
99jgZiBJLT69t+/f/8eDuDEkDJf8+jv379/v7Ryo4qzMDAwMAQGMjBc3/y35wM2V1IfAAB
FF16Aa0wAOwAAAABJRU5ErkJggg==",
  "imageHeight": 28,
  "imageWidth": 28
}
到此为止,我们的数据集的准备就结束了,接下来我们就需要对于我们的数据集进行预处理阶段
- 数据集预处理:
我们现在需要根据json文件来得到我们所需要Area of interest,我们通过Opencv库来达到我们的要求:
x1, y1 = int(points[0][0]), int(points[0][1])
x2, y2 = int(points[1][0]), int(points[1][1])
下面我们就根据代码来的到我们所需要的部分:
import json
import cv2
import os

def load_annotations(json_file):
    with open(json_file, 'r', encoding='utf-8') as f:
        data = json.load(f)
    return data

def extract_characters_from_image(img_path, annotations, output_dir, img_name):
    image = cv2.imread(img_path)

    if image is None:
        print(f"Failed to load image from {img_path}")
        return

    for i, shape in enumerate(annotations['shapes']):
        label = shape['label']
        points = shape['points']

        x1, y1 = int(points[0][0]), int(points[0][1])
        x2, y2 = int(points[1][0]), int(points[1][1])

        char_img = image[y1:y2, x1:x2]

        label_dir = os.path.join(output_dir, 'numbers')
        if not os.path.exists(label_dir):
            os.makedirs(label_dir)

        char_img_path = os.path.join(label_dir, f"{img_name}_char_{i}.jpg")
        cv2.imwrite(char_img_path, char_img)
        print(f"Saved cropped image to {char_img_path}")

def process_directory(directory, output_dir):
    for filename in os.listdir(directory):
        if filename.endswith('.json'):
            json_file = os.path.join(directory, filename)
            annotations = load_annotations(json_file)

            img_name = os.path.splitext(filename)[0]
            img_path = os.path.join(directory, annotations['imagePath'])  # 从 annotations 中读取 imagePath

            if os.path.exists(img_path):
                extract_characters_from_image(img_path, annotations, output_dir, img_name)
            else:
                print(f"Image file {img_path} not found in the directory.")

directory = '2_Train'
output_dir = 'output'

process_directory(directory, output_dir)
![]()
![]()
![]()
![]()
![]()
![]()
![]()
![]()
![]()
![]()
![]()
![]()
![]()
![]()
![]()
![]()
1.3.U-Net&CNN网络:
接下来,我们将要绘制出我们所需要的掩膜图片:
 def load_and_process_images(data_dir, target_size=(128, 128)):
    images = []
    masks = []
    output_dir = 'output'
    if not os.path.exists(output_dir):
        os.makedirs(output_dir)

    color_palette = [(255, 0, 0), (0, 255, 0), (0, 0, 255), (255, 255, 0)]  # Red, Green, Blue, Yellow

    for filename in os.listdir(data_dir):
        if filename.endswith('.png'):
            image_path = os.path.join(data_dir, filename)
            annotation_path = os.path.join(data_dir, filename.replace('.jpg', '.json'))
            if not os.path.exists(annotation_path):
                continue
            image = cv2.imread(image_path)
            if image is None:
                continue
            image = cv2.cvtColor(image, cv2.COLOR_BGR2RGB)
            image_resized = resize(image, target_size, mode='reflect', anti_aliasing=True)

            scale_y = image_resized.shape[0] / image.shape[0]
            scale_x = image_resized.shape[1] / image.shape[1]

            mask_resized = np.zeros((target_size[0], target_size[1]), dtype=np.float32)
            with open(annotation_path, 'r') as file:
                data = json.load(file)
                for idx, region in enumerate(data['ann']):
                    x1, y1, x2, y2, _ = [int(coord) for coord in region]
                    x1_resized = int(x1 * scale_x)
                    x2_resized = int(x2 * scale_x)
                    y1_resized = int(y1 * scale_y)
                    y2_resized = int(y2 * scale_y)
                    mask_resized[y1_resized:y2_resized, x1_resized:x2_resized] = 1

                    # Use different colors for different regions
                    color = color_palette[idx % len(color_palette)]

                    # Draw colored contour on the mask
                    contours, _ = cv2.findContours((mask_resized * 255).astype(np.uint8), cv2.RETR_EXTERNAL,
                                                   cv2.CHAIN_APPROX_SIMPLE)
                    mask_contour = np.zeros_like(image_resized, dtype=np.float32)
                    cv2.drawContours(mask_contour, contours, -1, color, 2)  # Color contour
                    image_resized = cv2.addWeighted(image_resized.astype(np.float32), 0.8,
                                                    mask_contour.astype(np.float32), 0.2, 0)

            images.append(image_resized.astype(np.float16))
            masks.append(mask_resized[..., np.newaxis].astype(np.float16))

            # Save the segmented image
            output_image_path = os.path.join(output_dir, filename)
            output_mask_path = os.path.join(output_dir, filename.replace('.jpg', '_mask.jpg'))

            cv2.imwrite(output_image_path,
                        cv2.cvtColor((image_resized * 255).astype(np.uint8), cv2.COLOR_RGB2BGR))
            cv2.imwrite(output_mask_path, (mask_resized * 255).astype(np.uint8))

            # Clean up memory
            del image, image_resized, mask_resized
            gc.collect()

    return np.array(images, dtype=np.float16), np.array(masks, dtype=np.float16)
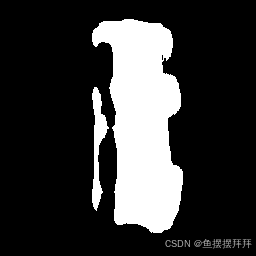
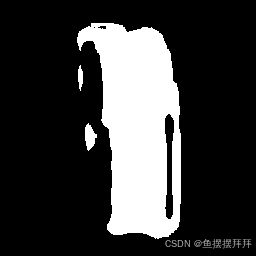
我们通过代码所得到的掩模图像类似于下面这样:
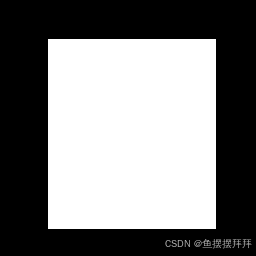
其中,白色部分就是我们所圈出来的数字部分。
针对与这个模型,我们选取一个针对于这个问题的loss函数:
def dice_loss(y_true, y_pred, smooth=1):
    y_true_f = tf.keras.backend.flatten(y_true)
    y_pred_f = tf.keras.backend.flatten(y_pred)
    intersection = tf.keras.backend.sum(y_true_f * y_pred_f)
    return 1 - (2. * intersection + smooth) / (tf.keras.backend.sum(y_true_f) + tf.keras.backend.sum(y_pred_f) + smooth)
Dice 系数是一种常用于评估两个集合(在这里是真实标签和预测结果)的相似度的指标。对于二值分割任务,它的公式如下:
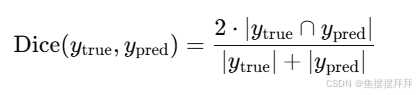
其中:
Dice 系数的取值范围在 [0, 1] 之间,其中 1 表示预测结果和真实标签完全重叠,0 表示完全不重叠。
Dice 系数 是:

最终,Dice Loss 通过 1 - Dice 系数 进行定义,确保损失越小,Dice 系数越大,说明预测结果与真实标签越相似。
下面是我的训练代码:
import os
import json
import cv2
import numpy as np
from skimage.transform import resize
import tensorflow as tf
from tensorflow.keras.models import Model
from tensorflow.keras.layers import Input, Conv2D, UpSampling2D, Concatenate, Dropout, BatchNormalization, MaxPooling2D
from tensorflow.keras.optimizers import Adam, AdamW
from tensorflow.keras.callbacks import ModelCheckpoint, EarlyStopping, ReduceLROnPlateau, LearningRateScheduler
from tensorflow.keras.metrics import Precision, Recall, AUC
from sklearn.model_selection import train_test_split
from tensorflow.keras.preprocessing.image import ImageDataGenerator
import gc

print("可用的GPU设备列表: ", tf.config.list_physical_devices('GPU'))

gpus = tf.config.experimental.list_physical_devices('GPU')
if gpus:
    try:
        for gpu in gpus:
            tf.config.experimental.set_memory_growth(gpu, True)
    except RuntimeError as e:
        print(e)

strategy = tf.distribute.MirroredStrategy()


def load_and_process_images(data_dir, target_size=(256, 256)):
    images = []
    masks = []
    output_dir = 'output'
    if not os.path.exists(output_dir):
        os.makedirs(output_dir)

    for filename in os.listdir(data_dir):
        if filename.endswith('.png'):
            image_path = os.path.join(data_dir, filename)
            annotation_path = os.path.join(data_dir, filename.replace('.png', '.json'))
            if not os.path.exists(annotation_path):
                continue
            image = cv2.imread(image_path)
            if image is None:
                continue
            image = cv2.cvtColor(image, cv2.COLOR_BGR2RGB)
            image_resized = resize(image, target_size, mode='reflect', anti_aliasing=True).astype(np.float32)

            scale_y = image_resized.shape[0] / image.shape[0]
            scale_x = image_resized.shape[1] / image.shape[1]

            mask_resized = np.zeros((target_size[0], target_size[1]), dtype=np.float32)
            with open(annotation_path, 'r') as file:
                data = json.load(file)
                if 'shapes' not in data:
                    print(f"Skipping file {annotation_path} as 'shapes' key is missing")
                    continue

                for shape in data['shapes']:
                    if shape['shape_type'] == 'rectangle':
                        x1, y1 = shape['points'][0]
                        x2, y2 = shape['points'][1]
                        x1_resized = int(x1 * scale_x)
                        x2_resized = int(x2 * scale_x)
                        y1_resized = int(y1 * scale_y)
                        y2_resized = int(y2 * scale_y)
                        mask_resized[y1_resized:y2_resized, x1_resized:x2_resized] = 1

            images.append(image_resized)
            masks.append(mask_resized[..., np.newaxis])

            output_image_path = os.path.join(output_dir, filename)
            output_mask_path = os.path.join(output_dir, filename.replace('.jpg', '_mask.jpg'))

            cv2.imwrite(output_image_path, cv2.cvtColor((image_resized * 255).astype(np.uint8), cv2.COLOR_RGB2BGR))
            cv2.imwrite(output_mask_path, (mask_resized * 255).astype(np.uint8))

            del image, image_resized, mask_resized
            gc.collect()

    return np.array(images, dtype=np.float32), np.array(masks, dtype=np.float32)


def dice_loss(y_true, y_pred, smooth=1):
    y_true_f = tf.keras.backend.flatten(y_true)
    y_pred_f = tf.keras.backend.flatten(y_pred)
    intersection = tf.keras.backend.sum(y_true_f * y_pred_f)
    return 1 - (2. * intersection + smooth) / (tf.keras.backend.sum(y_true_f) + tf.keras.backend.sum(y_pred_f) + smooth)


def build_unet_cnn(input_shape=(256, 256, 3)):
    inputs = Input(shape=input_shape)

    c1 = Conv2D(64, (3, 3), activation='relu', padding='same')(inputs)
    c1 = BatchNormalization()(c1)
    c1 = Conv2D(64, (3, 3), activation='relu', padding='same')(c1)
    c1 = BatchNormalization()(c1)
    p1 = MaxPooling2D((2, 2))(c1)
    p1 = Dropout(0.2)(p1)

    c2 = Conv2D(128, (3, 3), activation='relu', padding='same')(p1)
    c2 = BatchNormalization()(c2)
    c2 = Conv2D(128, (3, 3), activation='relu', padding='same')(c2)
    c2 = BatchNormalization()(c2)
    p2 = MaxPooling2D((2, 2))(c2)
    p2 = Dropout(0.3)(p2)

    c3 = Conv2D(256, (3, 3), activation='relu', padding='same')(p2)
    c3 = BatchNormalization()(c3)
    c3 = Conv2D(256, (3, 3), activation='relu', padding='same')(c3)
    c3 = BatchNormalization()(c3)
    p3 = MaxPooling2D((2, 2))(c3)
    p3 = Dropout(0.4)(p3)

    # Bridge
    b = Conv2D(512, (3, 3), activation='relu', padding='same')(p3)
    b = BatchNormalization()(b)
    b = Dropout(0.5)(b)

    u1 = UpSampling2D((2, 2))(b)
    u1 = Concatenate()([u1, c3])
    u1 = Conv2D(256, (3, 3), activation='relu', padding='same')(u1)
    u1 = BatchNormalization()(u1)

    u2 = UpSampling2D((2, 2))(u1)
    u2 = Concatenate()([u2, c2])
    u2 = Conv2D(128, (3, 3), activation='relu', padding='same')(u2)
    u2 = BatchNormalization()(u2)

    u3 = UpSampling2D((2, 2))(u2)
    u3 = Concatenate()([u3, c1])
    u3 = Conv2D(64, (3, 3), activation='relu', padding='same')(u3)
    u3 = BatchNormalization()(u3)

    outputs = Conv2D(1, (1, 1), activation='sigmoid')(u3)

    model = Model(inputs=[inputs], outputs=[outputs])

    return model

data_dir = '2_Train'
images, masks = load_and_process_images(data_dir)
X_train, X_val, y_train, y_val = train_test_split(images, masks, test_size=0.2, random_state=42)

data_gen_args = dict(rotation_range=15.,
                     width_shift_range=0.2,
                     height_shift_range=0.2,
                     shear_range=0.3,
                     zoom_range=0.3,
                     horizontal_flip=True,
                     fill_mode='nearest')
image_datagen = ImageDataGenerator(**data_gen_args)
mask_datagen = ImageDataGenerator(**data_gen_args)

image_datagen.fit(X_train, augment=True)
mask_datagen.fit(y_train, augment=True)

image_generator = image_datagen.flow(X_train, batch_size=8, seed=42)
mask_generator = mask_datagen.flow(y_train, batch_size=8, seed=42)
train_generator = zip(image_generator, mask_generator)

def lr_scheduler(epoch, lr):
    if epoch > 10:
        return lr * 0.5
    return lr

with strategy.scope():
    model = build_unet_cnn()

    optimizer = AdamW(learning_rate=1e-4, weight_decay=1e-5)
    model.compile(optimizer=optimizer,
                  loss=dice_loss,
                  metrics=['accuracy', Precision(), Recall(), AUC()])
    callbacks = [
        ModelCheckpoint('best_model.h5', save_best_only=True, monitor='val_loss'),
        EarlyStopping(patience=10, monitor='val_loss'),
        ReduceLROnPlateau(patience=5, factor=0.5, monitor='val_loss'),
        LearningRateScheduler(lr_scheduler)
    ]
    history = model.fit(train_generator,
                        steps_per_epoch=len(X_train) // 8,
                        validation_data=(X_val, y_val),
                        epochs=50,
                        callbacks=callbacks)
model.summary()
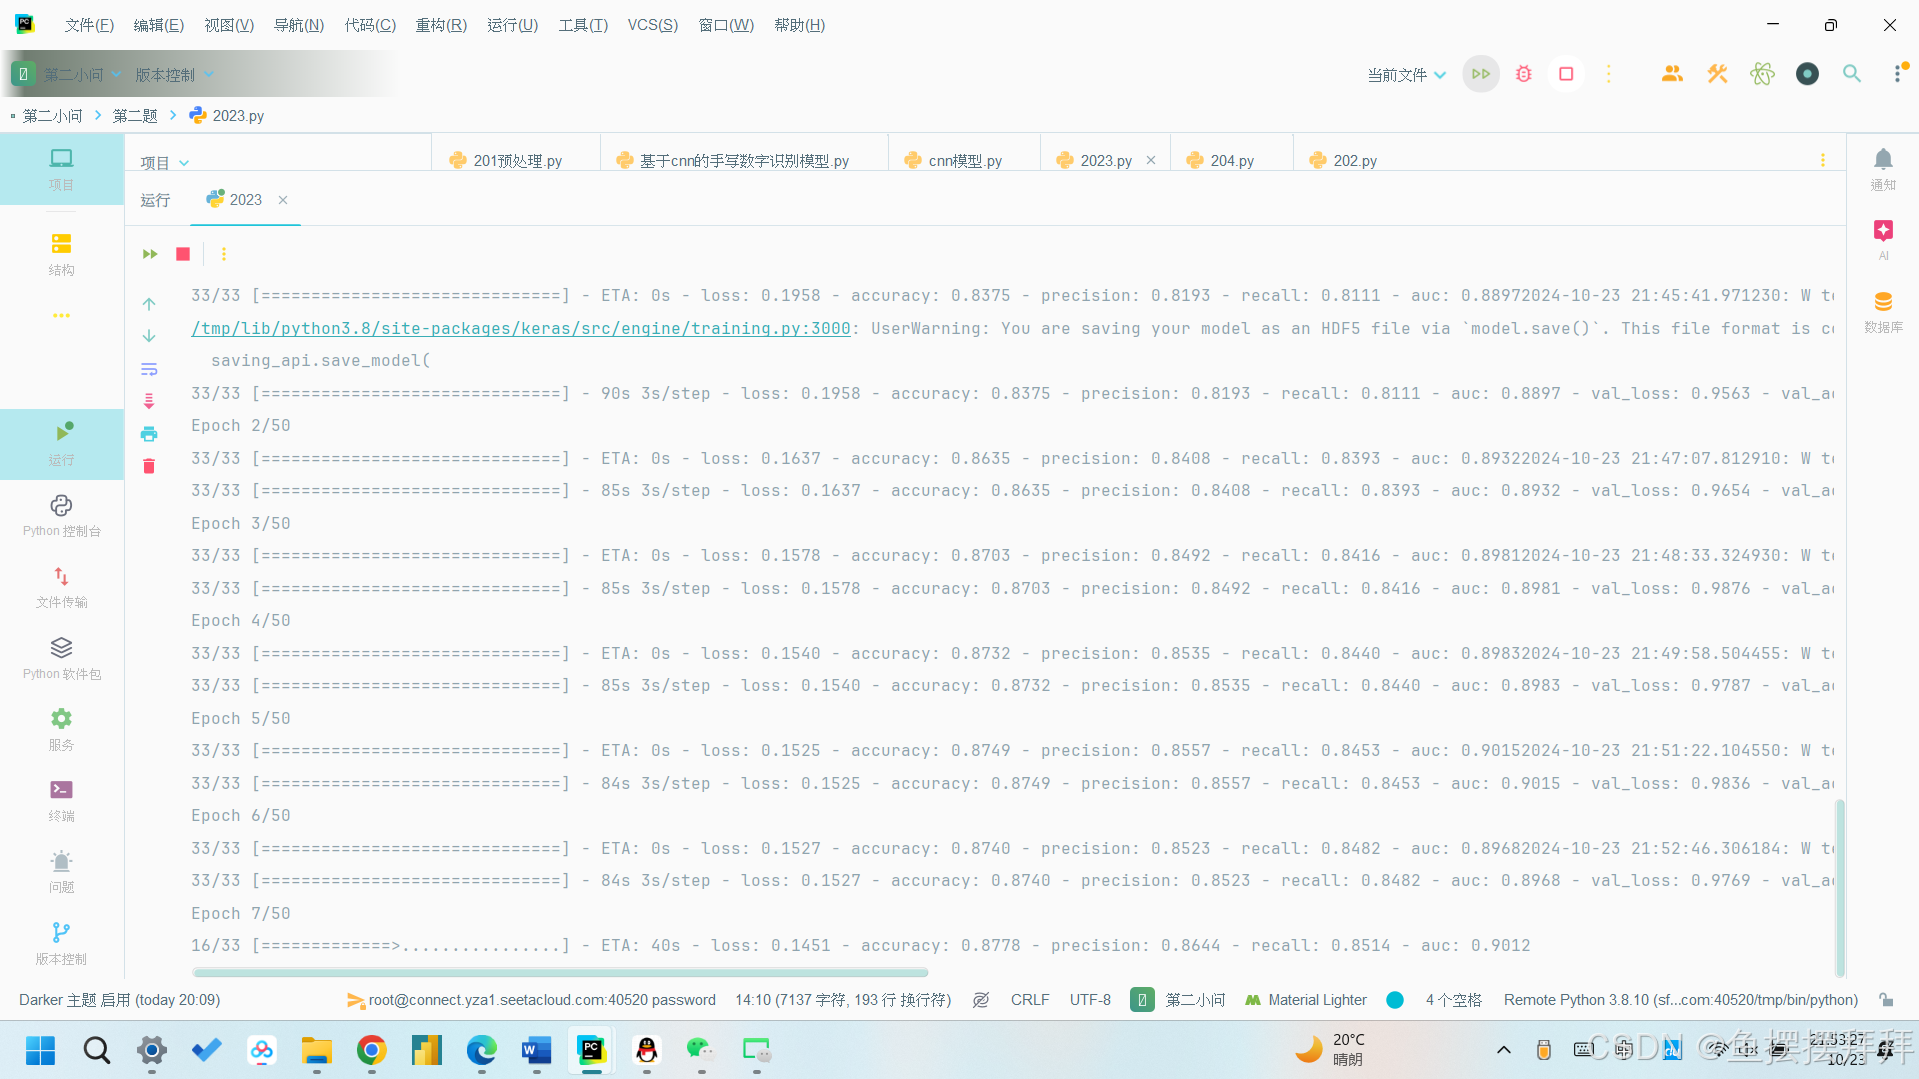
在训练过程中,我们可以得到50个epch中,每一次的loss值以及 置信区间:
训练结束之后,我们可以得到我们整个神经网络的架构以及所对应的h5文件:

输入图像 -> 编码器(3层) -> 桥接层 -> 解码器(3层) -> 输出层
这个就是我们的神经网络架构图,现在我们来解释一下该神经网络每一层的含义以及作用:
编码路径 (Encoder)
- 第一层编码器
- 两次卷积 (Conv2D) + 批归一化 (BatchNormalization) + 池化 (MaxPooling2D)
- 每层卷积都使用 ReLU 激活函数,确保非线性。
- 第二层编码器
- 类似第一层,但卷积核数量从 64 增加到 128。
- Dropout 被用来防止过拟合。
- 第三层编码器
- 卷积核数量进一步增加到 256。
- 继续使用 Dropout 提升正则化效果。
Bridge(桥接层)
- 连接编码路径和解码路径。这里桥接层的卷积核数量增加到 512,以捕捉图像的深层次语义信息。
解码路径 (Decoder)
- 第一层解码器
- 上采样 (UpSampling2D) 将特征图放大。
- 将上采样结果与编码器第三层的输出特征图拼接(Concatenate),实现跳跃连接。
- 第二层解码器
- 上采样和跳跃连接,恢复与第二层编码器同样的分辨率。
- 卷积核数量逐渐减小到 128。
- 第三层解码器
- 同样的操作,恢复与第一层编码器相同的分辨率。
输出层 (Output Layer)
- 使用 1x1 卷积核的 Conv2D 层将输出映射为单通道掩膜图(mask),并使用 sigmoid 激活函数,以便于生成 0~1 之间的分割概率值。
Model summary:
input_1 (InputLayer)        [(None, 256, 256, 3)]        0         []

 conv2d (Conv2D)             (None, 256, 256, 64)         1792      ['input_1[0][0]']

 batch_normalization (Batch  (None, 256, 256, 64)         256       ['conv2d[0][0]']
 Normalization)

 conv2d_1 (Conv2D)           (None, 256, 256, 64)         36928     ['batch_normalization[0][0]']

 batch_normalization_1 (Bat  (None, 256, 256, 64)         256       ['conv2d_1[0][0]']
 chNormalization)

 max_pooling2d (MaxPooling2  (None, 128, 128, 64)         0         ['batch_normalization_1[0][0]'
 D)                                                                 ]

 dropout (Dropout)           (None, 128, 128, 64)         0         ['max_pooling2d[0][0]']

 conv2d_2 (Conv2D)           (None, 128, 128, 128)        73856     ['dropout[0][0]']

 batch_normalization_2 (Bat  (None, 128, 128, 128)        512       ['conv2d_2[0][0]']
 chNormalization)

 conv2d_3 (Conv2D)           (None, 128, 128, 128)        147584    ['batch_normalization_2[0][0]'
                                                                    ]

 batch_normalization_3 (Bat  (None, 128, 128, 128)        512       ['conv2d_3[0][0]']
 chNormalization)

 max_pooling2d_1 (MaxPoolin  (None, 64, 64, 128)          0         ['batch_normalization_3[0][0]'
 g2D)                                                               ]

 dropout_1 (Dropout)         (None, 64, 64, 128)          0         ['max_pooling2d_1[0][0]']

 conv2d_4 (Conv2D)           (None, 64, 64, 256)          295168    ['dropout_1[0][0]']

 batch_normalization_4 (Bat  (None, 64, 64, 256)          1024      ['conv2d_4[0][0]']
 chNormalization)

 conv2d_5 (Conv2D)           (None, 64, 64, 256)          590080    ['batch_normalization_4[0][0]'
                                                                    ]

 batch_normalization_5 (Bat  (None, 64, 64, 256)          1024      ['conv2d_5[0][0]']
 chNormalization)

 max_pooling2d_2 (MaxPoolin  (None, 32, 32, 256)          0         ['batch_normalization_5[0][0]'
 g2D)                                                               ]

 dropout_2 (Dropout)         (None, 32, 32, 256)          0         ['max_pooling2d_2[0][0]']

 conv2d_6 (Conv2D)           (None, 32, 32, 512)          1180160   ['dropout_2[0][0]']

 batch_normalization_6 (Bat  (None, 32, 32, 512)          2048      ['conv2d_6[0][0]']
 chNormalization)

 dropout_3 (Dropout)         (None, 32, 32, 512)          0         ['batch_normalization_6[0][0]'
                                                                    ]

 up_sampling2d (UpSampling2  (None, 64, 64, 512)          0         ['dropout_3[0][0]']
 D)

 concatenate (Concatenate)   (None, 64, 64, 768)          0         ['up_sampling2d[0][0]',
                                                                     'batch_normalization_5[0][0]'
                                                                    ]

 conv2d_7 (Conv2D)           (None, 64, 64, 256)          1769728   ['concatenate[0][0]']

 batch_normalization_7 (Bat  (None, 64, 64, 256)          1024      ['conv2d_7[0][0]']
 chNormalization)

 up_sampling2d_1 (UpSamplin  (None, 128, 128, 256)        0         ['batch_normalization_7[0][0]'
 g2D)                                                               ]

 concatenate_1 (Concatenate  (None, 128, 128, 384)        0         ['up_sampling2d_1[0][0]',
 )                                                                   'batch_normalization_3[0][0]'
                                                                    ]

 conv2d_8 (Conv2D)           (None, 128, 128, 128)        442496    ['concatenate_1[0][0]']

 batch_normalization_8 (Bat  (None, 128, 128, 128)        512       ['conv2d_8[0][0]']
 chNormalization)

 up_sampling2d_2 (UpSamplin  (None, 256, 256, 128)        0         ['batch_normalization_8[0][0]'
 g2D)                                                               ]

 concatenate_2 (Concatenate  (None, 256, 256, 192)        0         ['up_sampling2d_2[0][0]',
 )                                                                   'batch_normalization_1[0][0]'
                                                                    ]

 conv2d_9 (Conv2D)           (None, 256, 256, 64)         110656    ['concatenate_2[0][0]']

 batch_normalization_9 (Bat  (None, 256, 256, 64)         256       ['conv2d_9[0][0]']
 chNormalization)

 conv2d_10 (Conv2D)          (None, 256, 256, 1)          65        ['batch_normalization_9[0][0]'
                                                                    ]
其中,h5文件中的内容是这样的;
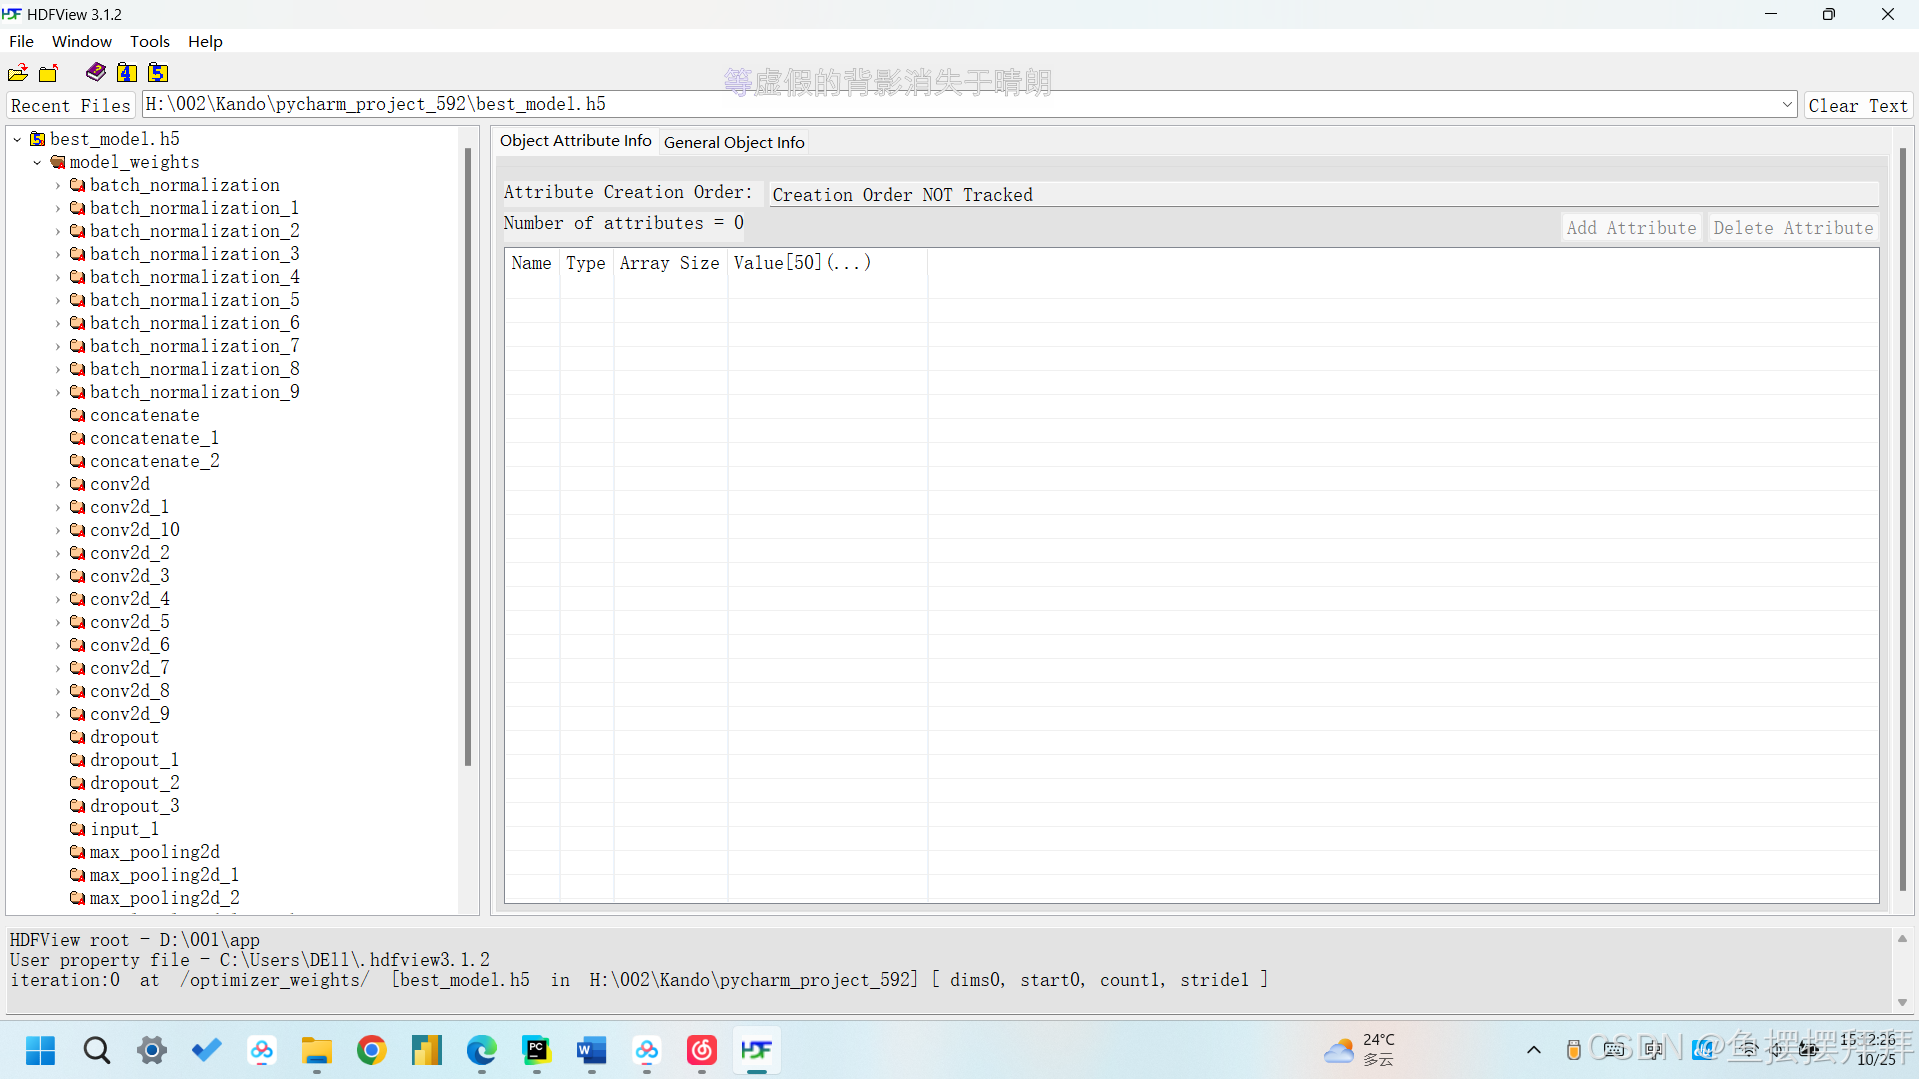
这里面的就是我们所训练好的神经网络。
接下来我们就用我们所训练好的权重文件来进行预测:
import os
import cv2
import numpy as np
from skimage.transform import resize
import tensorflow as tf
from tensorflow.keras.models import Model
from tensorflow.keras.layers import Input, Conv2D, UpSampling2D, Concatenate, Dropout, BatchNormalization, MaxPooling2D
from tensorflow.keras.optimizers import Adam
from tensorflow.keras.metrics import Precision, Recall, AUC
import pandas as pd

def build_unet(input_shape=(256, 256, 3)):
    inputs = Input(shape=input_shape)
    c1 = Conv2D(64, (3, 3), activation='relu', padding='same')(inputs)
    c1 = BatchNormalization()(c1)
    c1 = Conv2D(64, (3, 3), activation='relu', padding='same')(c1)
    c1 = BatchNormalization()(c1)
    p1 = MaxPooling2D((2, 2))(c1)
    p1 = Dropout(0.2)(p1)
    c2 = Conv2D(128, (3, 3), activation='relu', padding='same')(p1)
    c2 = BatchNormalization()(c2)
    c2 = Conv2D(128, (3, 3), activation='relu', padding='same')(c2)
    c2 = BatchNormalization()(c2)
    p2 = MaxPooling2D((2, 2))(c2)
    p2 = Dropout(0.3)(p2)
    c3 = Conv2D(256, (3, 3), activation='relu', padding='same')(p2)
    c3 = BatchNormalization()(c3)
    c3 = Conv2D(256, (3, 3), activation='relu', padding='same')(c3)
    c3 = BatchNormalization()(c3)
    p3 = MaxPooling2D((2, 2))(c3)
    p3 = Dropout(0.4)(p3)
    b = Conv2D(512, (3, 3), activation='relu', padding='same')(p3)
    b = BatchNormalization()(b)
    b = Dropout(0.5)(b)
    u1 = UpSampling2D((2, 2))(b)
    u1 = Concatenate()([u1, c3])
    u1 = Conv2D(256, (3, 3), activation='relu', padding='same')(u1)
    u1 = BatchNormalization()(u1)
    u2 = UpSampling2D((2, 2))(u1)
    u2 = Concatenate()([u2, c2])
    u2 = Conv2D(128, (3, 3), activation='relu', padding='same')(u2)
    u2 = BatchNormalization()(u2)
    u3 = UpSampling2D((2, 2))(u2)
    u3 = Concatenate()([u3, c1])
    u3 = Conv2D(64, (3, 3), activation='relu', padding='same')(u3)
    u3 = BatchNormalization()(u3)
    outputs = Conv2D(1, (1, 1), activation='sigmoid')(u3)
    model = Model(inputs=[inputs], outputs=[outputs])
    return model

model = build_unet()
model.load_weights('best_model.h5')
model.compile(optimizer=Adam(learning_rate=1e-4), loss='binary_crossentropy',
              metrics=['accuracy', Precision(), Recall(), AUC()])
def load_and_preprocess_images(image_dir, target_size=(256, 256)):
    images = []
    image_filenames = [f for f in os.listdir(image_dir) if f.endswith('.png')]
    original_shapes = []
    for filename in image_filenames:
        image_path = os.path.join(image_dir, filename)
        image = cv2.imread(image_path)
        image = cv2.cvtColor(image, cv2.COLOR_BGR2RGB)
        original_shapes.append(image.shape[:2])
        image_resized = resize(image, target_size, mode='reflect', anti_aliasing=True)
        images.append(image_resized)
    return np.array(images), image_filenames, original_shapes

new_images, image_filenames, original_shapes = load_and_preprocess_images('Figures')

predicted_masks = model.predict(new_images)

predicted_masks_binary = (predicted_masks > 0.5).astype(np.uint8)

def extract_bounding_boxes(mask, original_shape):
    contours, _ = cv2.findContours(mask, cv2.RETR_EXTERNAL, cv2.CHAIN_APPROX_SIMPLE)
    bounding_boxes = []
    for contour in contours:
        x, y, w, h = cv2.boundingRect(contour)
        scale_x = original_shape[1] / mask.shape[1]
        scale_y = original_shape[0] / mask.shape[0]
        x1 = x * scale_x
        y1 = y * scale_y
        x2 = (x + w) * scale_x
        y2 = (y + h) * scale_y
        bounding_boxes.append([x1, y1, x2, y2, 1.0])
    return bounding_boxes
output_dir = 'output1'
if not os.path.exists(output_dir):
    os.makedirs(output_dir)
all_bounding_boxes = []
for i, filename in enumerate(image_filenames):
    mask = predicted_masks_binary[i].squeeze()
    output_path = os.path.join(output_dir, filename.replace('.png', '_mask.png'))
    cv2.imwrite(output_path, mask * 255)
    bounding_boxes = extract_bounding_boxes(mask, original_shapes[i])
    all_bounding_boxes.extend([[filename] + box for box in bounding_boxes])
df = pd.DataFrame(all_bounding_boxes, columns=['Image', 'X1', 'Y1', 'X2', 'Y2', 'Class'])
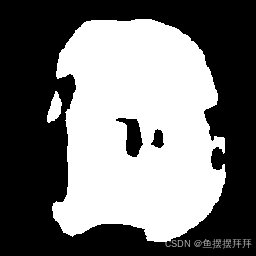
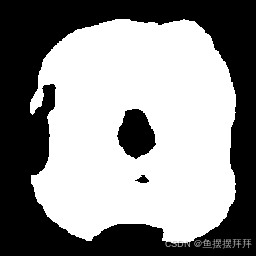
最后我们可以得到经过处理过后的图像
![]()
![]()
![]()
![]()
![]()
![]()
![]()
![]()
![]()
![]()
![]()
![]()
![]()
![]()
![]()
![]()
![]()
![]()
![]()
以及对应的掩模图像:


 6568
6568

 被折叠的 条评论
为什么被折叠?
被折叠的 条评论
为什么被折叠?
 到【灌水乐园】发言


