


安装Git、Python和Repo,通过repo下载SDK
SDK下载地址:
repo init --repo-url ssh://git@www.rockchip.com.cn/repo/rk/tools/repo \-u ssh://git@www.rockchip.com.cn/linux/rockchip/platform/manifests \-b linux -m rv1126_rv1109_linux_release.xml
 .repo/repo/repo sync -c -j4
SDK软件同步命令
.repo/repo/repo sync -c -j4查看SDK版本:
realpath .repo/manifests/rv1126_rv1109_linux_release.xml
 #
例如:打印的版本号为
v1.3.1
 #
更新时间为
2020-09-21
 # /home/rv1109-
SDK/.repo/manifests/rv1126_rv1109_linux/rv1126_rv1109_linux_v1.3.1_20200921.xml
设置DNS支持kgithub.com
sudo sed -i '$a 43.154.68.204\tkgithub.com' /etc/hosts
sudo sed -i '$a 43.155.83.75\traw.kgithub.com' /etc/hosts
sudo sed -i '$a 43.155.83.75\tobjects.githubusercontent.kgithub.com' /etc/hosts
为每个工程创建default分支
.repo/repo/repo start default --all
 repo: warning: Python 2 is no longer supported; Please upgrade to Python 3.6+.
 repo: warning: Python 2 is no longer supported; Please upgrade to Python 3.6+.
 Starting default: 100% (71/71), done.
关于交叉工具链,在SDK包中提供了2个,分别用于"文件系统和上层应用编译 "与"U-Boot和Linux内核编译"
文件系统和上层应用编译:
sdk/prebuilts/gcc/linux-x86/arm/gcc-arm-8.3-2019.03-x86_64-arm-linux gnueabihf
U-Boot和Linux内核编译
sdk/prebuilts/gcc/linux-x86/arm/gcc-linaro-6.3.1-2017.05-x86_64_arm-linux gnueabihf
按照官方SDK文档,在编译sdk之前,需要安装依赖的软件包
Ubuntu 16.04 系统: 编译环境搭建所依赖的软件包以及安装命令如下:
sudo apt-get install repo device-tree-compiler \ git-core u-boot-tools mtools \ parted libudev-dev libusb-1.0-0-dev \ python-linaro-image-tools linaro-image-tools \ autoconf autotools-dev libsigsegv2 m4 \ intltool libdrm-dev curl sed make binutils \ build-essential gcc g++ bash patch gzip gawk \ bzip2 perl tar cpio python unzip rsync \ file bc wget libncurses5 libqt4-dev libglib2.0-dev \ libgtk2.0-dev libglade2-dev cvs git \ mercurial openssh-client subversion asciidoc w3m \ dblatex graphviz python-matplotlib \ libc6:i386 libssl-dev expect fakeroot cmake flex \ bison liblz4-tool libtool keychain Ubuntu 17.04 及以上系统: 除了上述软件包外还需如下依赖包:
sudo apt-get install lib32gcc-7-dev g++-7 libstdc++-7-dev 注意:
CMake版本需≥3.8
Python版本需要≥3.6
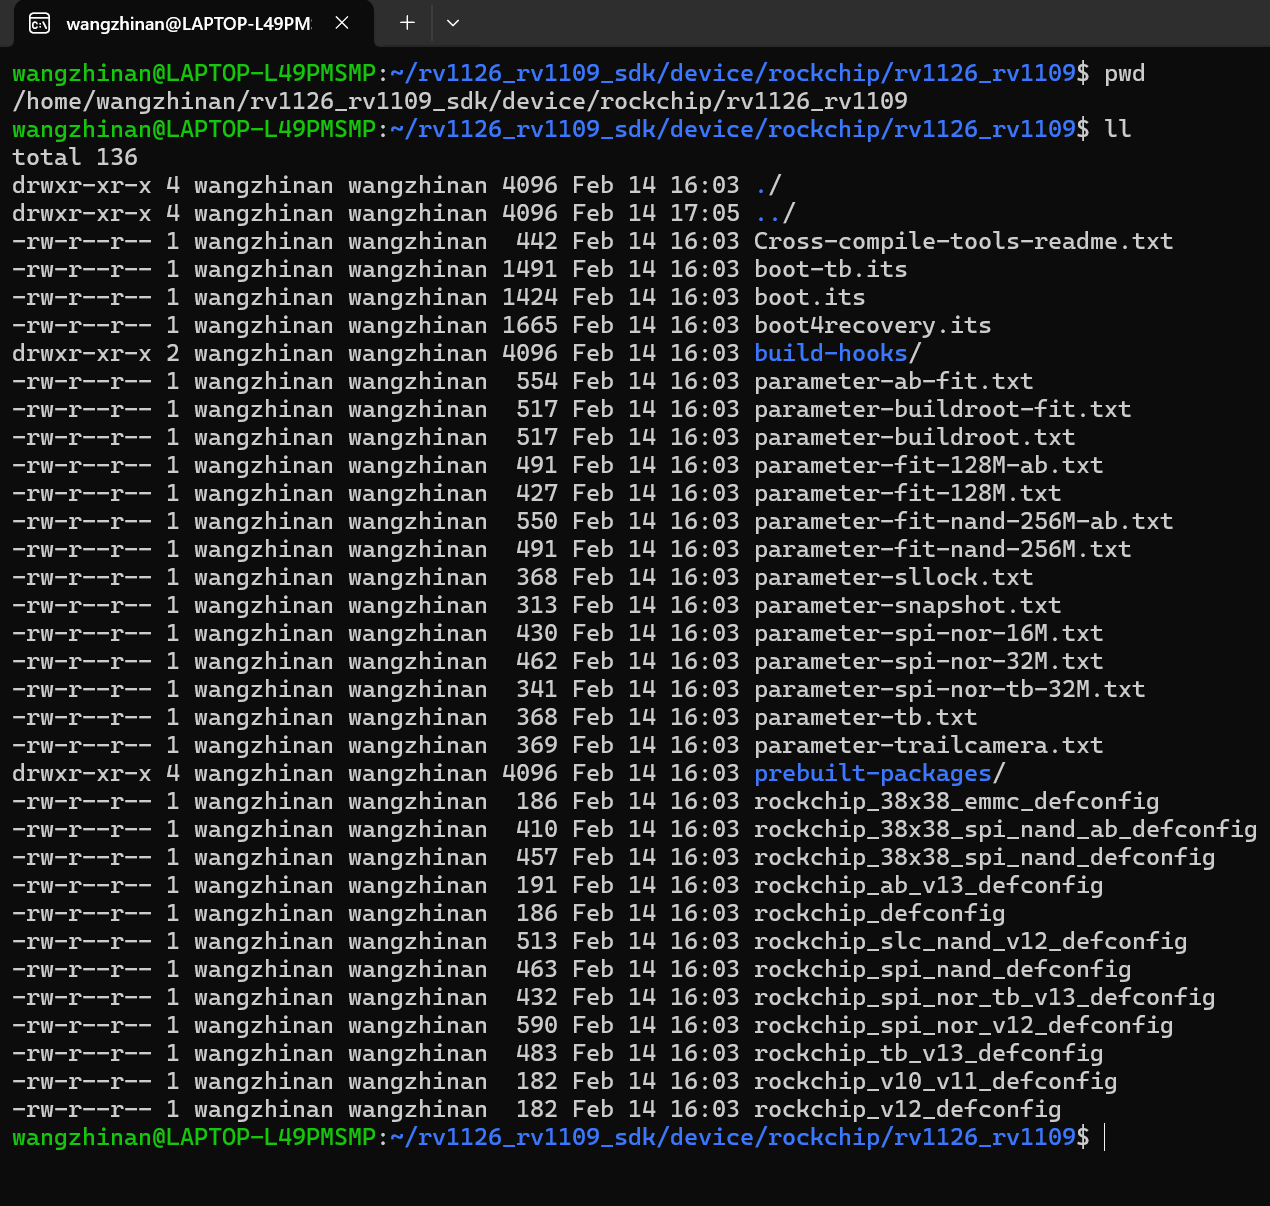
板级配置的目录在device/rockchip/rv1126_1109下
切换板级配置命令
方法 1 ./build.sh 后⾯加上板级配置⽂件 , 例如:
选择通⽤ IPC 类产品的板级配置
./build.sh device/rockchip/rv1126_rv1109/rockchip_defconfig 选择门锁、门铃、猫眼等带电池产品的板级配置 , 对应 EVB 板 RV1126_RV1109_EVB_DDR3P216SD6_V13_20200630LXF
./build.sh device/rockchip/rv1126_rv1109/rockchip_tb_v13_defconfig 方法2
./build.sh lunch之后根据列表选择对应的板级配置,再进行编译
编译可以各模块分开编译,也可以全自动编译,这里我用全自动编译
./build.sh all
#只编译模块代码(u-boot\kernel\rootfs\recovery)
#执行完后需要在执行./mkfirmware.sh进行固件打包

./build.sh
#在build.sh all的基础上
#1.增加固件打包 ./mkfirmware.sh
#2.update.img打包
#3.复制rockkdev目录下的固件到output/在编译的时候,可能会报一个#include_next的错,原因是交叉编译时指定了sysroot导致include_next时找不到stdlib.h,解决方法参考:#include_next 导致 cstdlib:fatal error:stdlib.h :No such file or directiry_fatal error: cstdlib: no such file or directory-优快云博客


 3126
3126

 被折叠的 条评论
为什么被折叠?
被折叠的 条评论
为什么被折叠?
 到【灌水乐园】发言


