


OpenSSH升级:大致步骤
(0) 创建新用户
useradd -m developer
echo "密码" | passwd --stdin developer
(1)telnet-server 安装,通过telnet连接telnet-server,登录服务器
(2)ssh备份
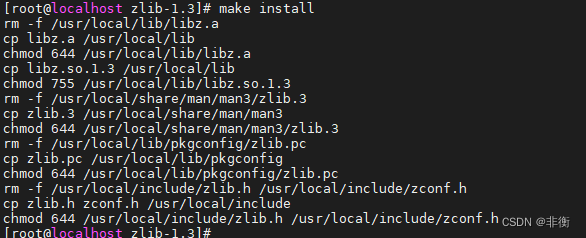
(3)安装 Zlib
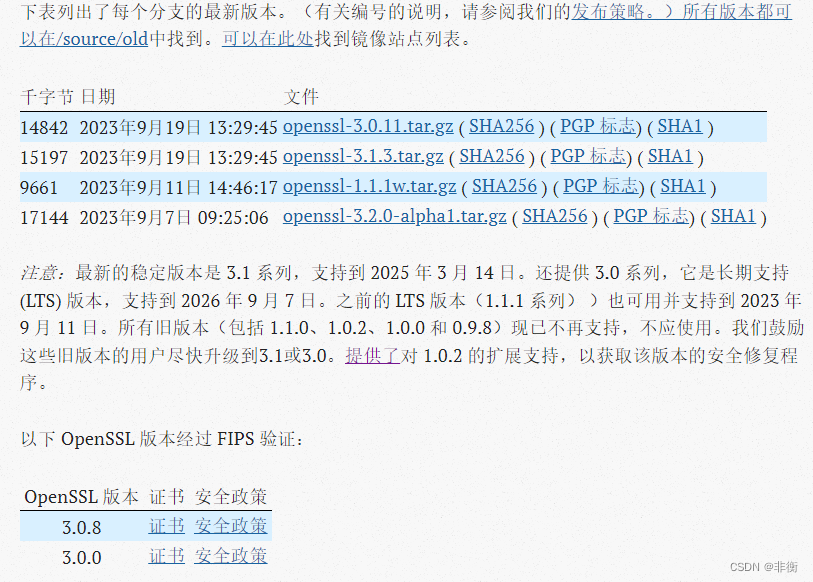
(4) 升级 openSSL
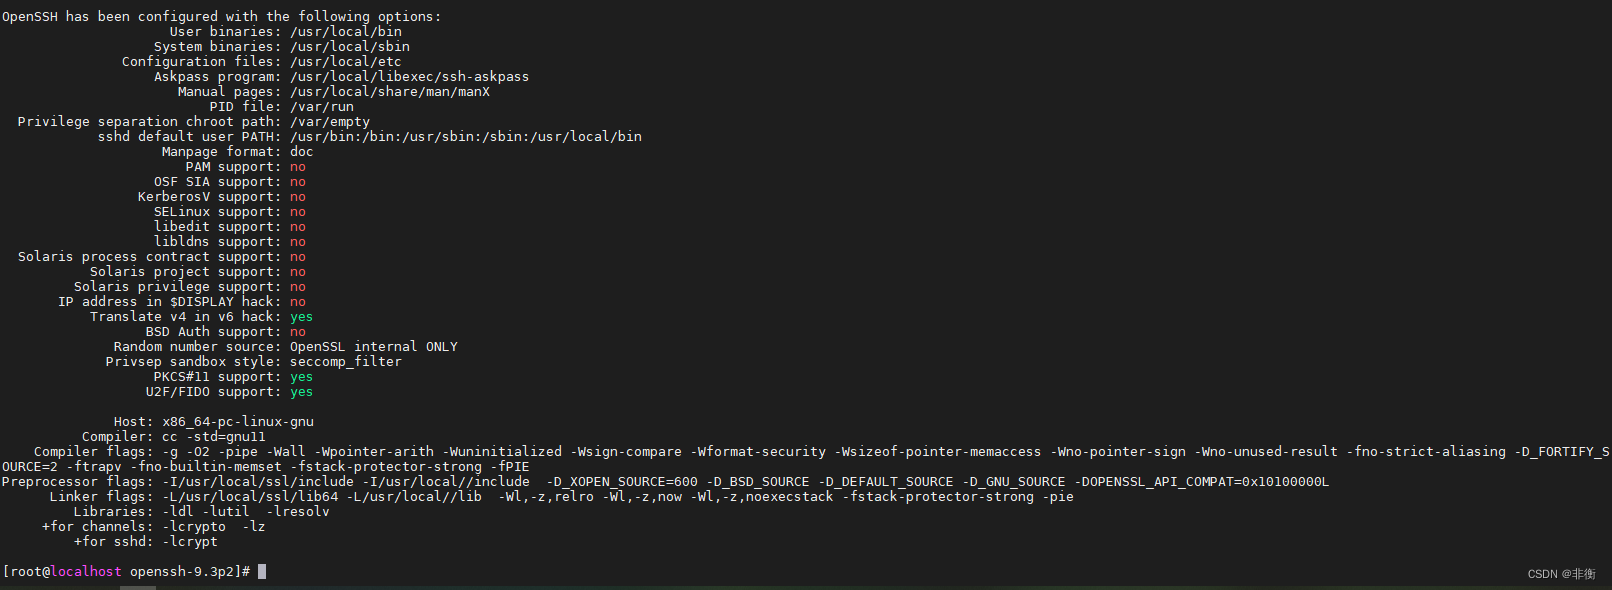
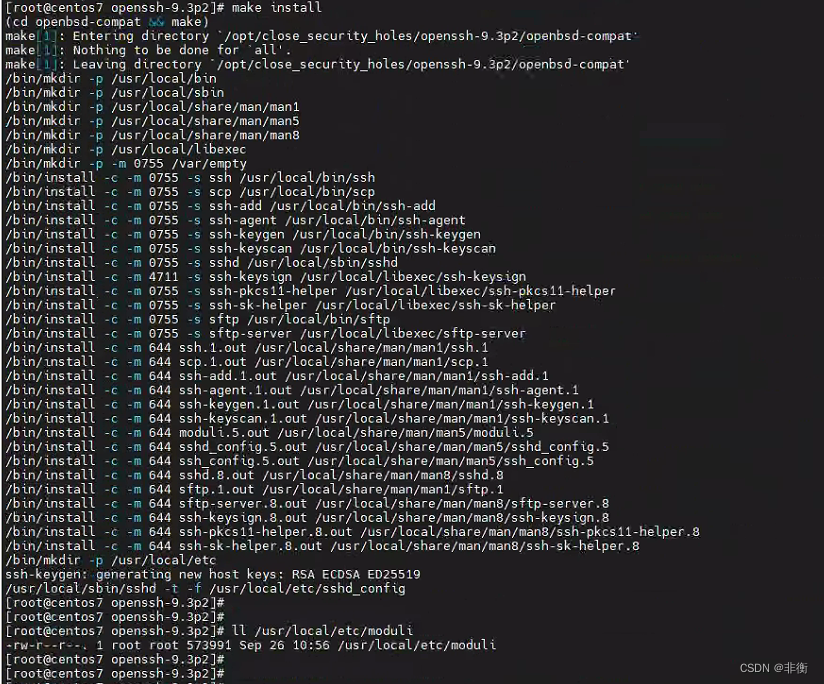
(5) 升级 openSSH
(6) 测试 确认结果 (修改ssh端口号)
(7) 移除telnet-server xinetd
(8) 删除用户 userdel developer
参考文档:
安全加固,浅谈OpenSSL和OpenSSH | CHENSIR
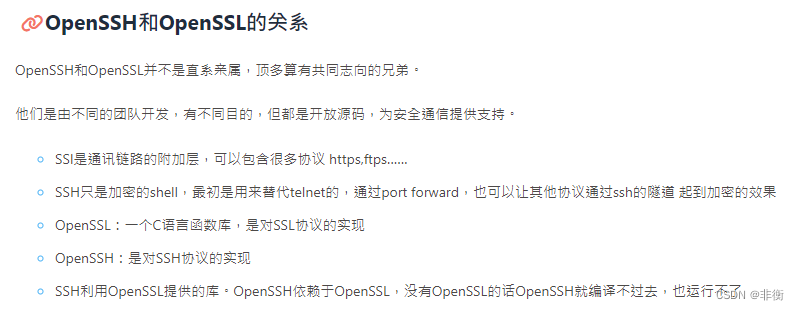
ssh & openssh
Secure Shell Protocol,简称SSH)是一种加密的网络传输协议,可在不安全的网络中为网络服务提供安全的传输环境。SSH通过在网络中建立安全隧道来实现SSH客户端与服务器之间的连接[2]。SSH最常见的用途是远程登录系统,人们通常利用SSH来传输命令行界面和远程执行命令
openssh 开源的ssh协议实现
openssh官网提供的国内镜像URL:提供安装包以及说明文档
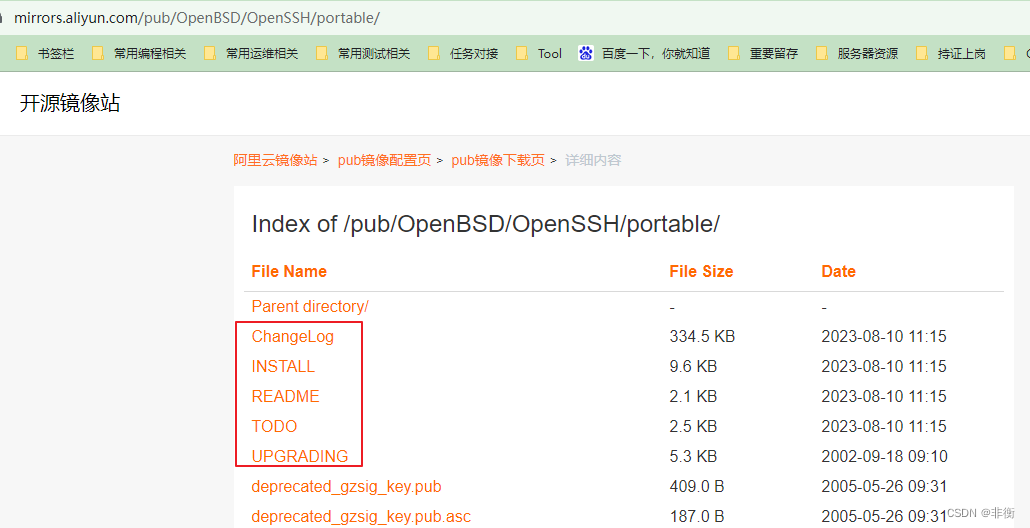
文档内容摘录:
| 文件名称 | 摘录信息1 | 摘录信息2 |
| install | 前提准备 | C编译器 其他可选项: (0. 安装telnet server,用telnet远程服务器,防止连接中断)
- LibreSSL (https://www.libressl.org/) 3.1.0 or greater - OpenSSL (https://www.openssl.org) 1.1.1 or greater LibreSSL/OpenSSL应该被编译为一个位置无关的库,否则OpenSSH不会能够与之联系。如果必须使用非位置无关的libcrypto,那么你可能需要配置OpenSSH --without-pie。 如果你从源代码构建,强烈建议运行OpenSSL的自测试(“make tests”)或LibreSSL的等价工具(“make check”),并确保所有测试都通过。 |
| 构建/安装 | ./configure make make install 这将把OpenSSH二进制文件安装在/usr/local/bin中,配置文件安装在/usr/local/etc中,服务器安装在/usr/local/sbin中,等等。 要指定不同的安装前缀,可以使用 --prefix选项来配置: 例如: ./configure --prefix=/opt make make install 将安装OpenSSH到/opt/{bin,etc,lib,sbin}。 或者 你也可以覆盖特定的路径,例如: ./configure --prefix=/opt --sysconfdir=/etc/ssh make make install 这将把二进制文件安装在/opt/{bin,lib,sbin}中,但将配置文件放在/etc/ssh中。令: | |
| 其他配置见(同级目录install文档) |
./config
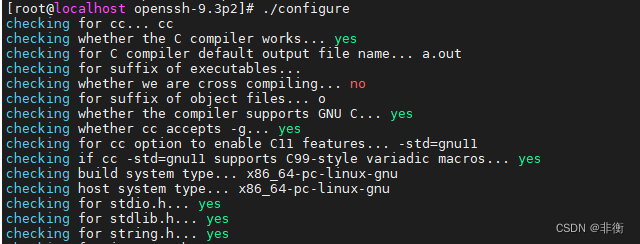
--snip--

没配置新安装的zlib
./configure --with-zlib=/usr/local/zlib 再来,还是上面的错
查看zlib版本
find /usr/ -name zlib.pc
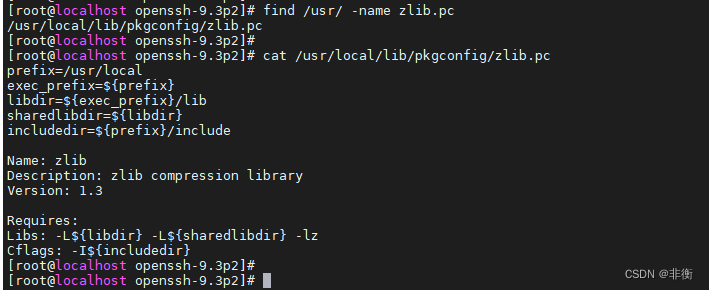
安装zlib时,没有执行下面的命令 (执行后,后面还报未通过zlib版本检查错误)
echo '/usr/local/lib' >> /etc/ld.so.conf
在执行./configure --with-zlib=/usr/local/ --with-ssl-dir=/usr/local/ssl --without-zlib-version-check
make
make tests

make install
重启sshd
systemctl restart sshd
telnet (client) & telnet Server
目的:为防止升级过程中升级失败,配置telnet协议连接Linux,
参考文档:CentOS7 下安装telnet服务-阿里云开发者社区
安装 telnet-server
yum install -y telnet-server
yum install -y xinetd
注释:xinetd - the extended Internet services daemon
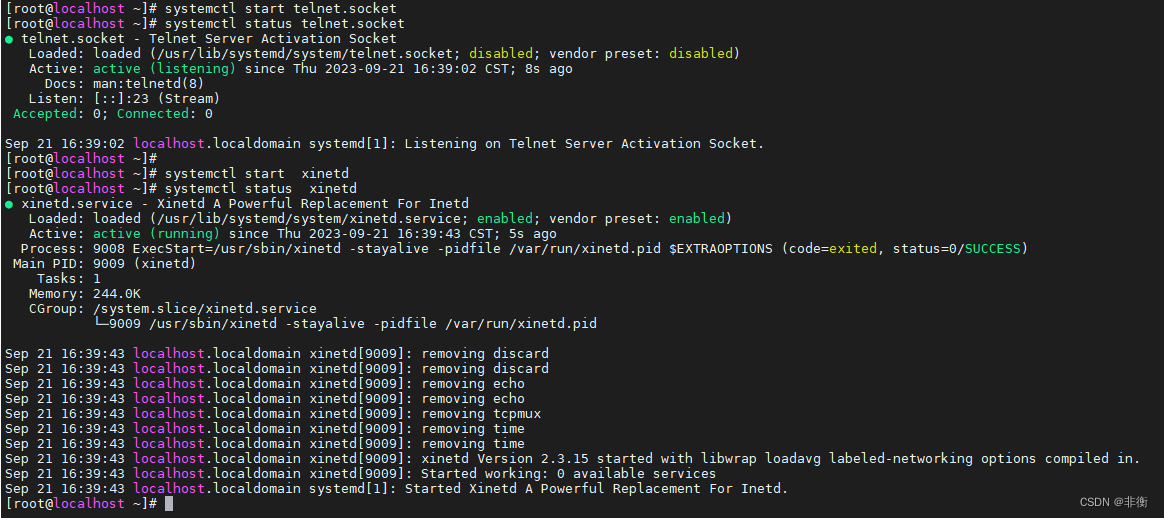
重启telnet 服务
systemctl restart xinetd telnet.socket
开启服务自启,防止openssh升级过程中,服务器重启
systemctl enable xinetd
systemctl enable telnet.socket
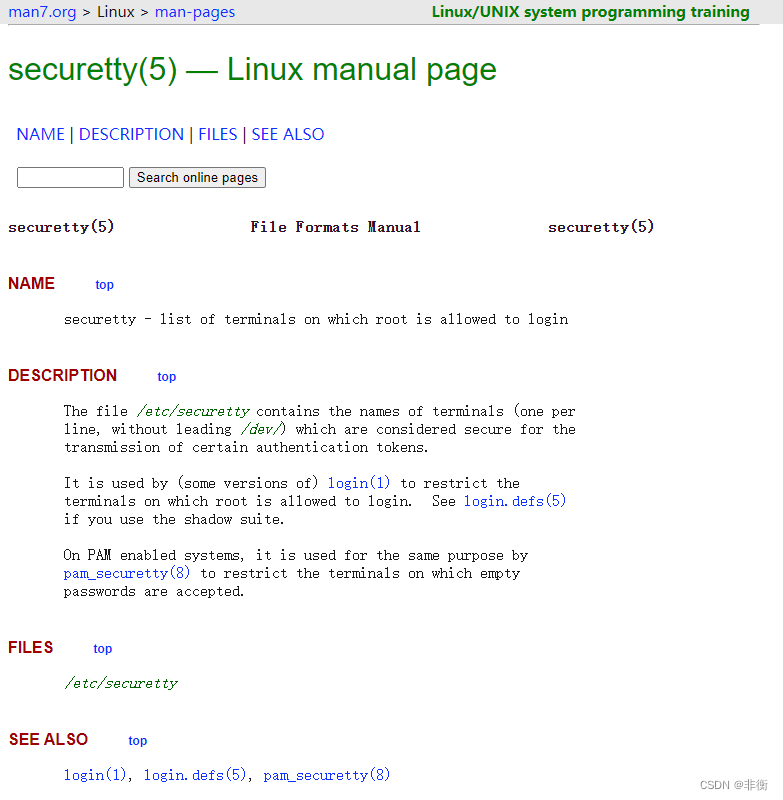
默认情况下,centos系统是不允许root用户通过telnet方式远程登录系统的。 要么根据最顶端的信息配置/etc/securetty或者 用非root登录后切换到root用户上
securetty
卸载并关闭telnet
yum remove -y telnet-server xinetd
Zlib
Zlib——开源的无损数据压缩库,几乎可以在任何计算机硬件和操作系统上使用。zlib数据格式本身可以跨平台移植。
与Unix compress(1)和GIF图像格式中使用的LZW压缩方法不同,zlib中目前使用的压缩方法基本上不会扩展数据。
(在极端情况下,LZW可以将文件大小增加两到三倍)zlib的内存占用与输入数据无关,如果有必要,可以通过压缩来减少内存占用

| README |
| To compile all files and run the test program, follow the instructions given at the top of Makefile.in. In short "./configure; make test", and if that goes well, "make install" should work for most flavors of Unix. For Windows, use one of the special makefiles in win32/ or contrib/vstudio/ . For VMS, use make_vms.com. |
| Makefile.in. |
| # To compile and test, type: # ./configure; make test # Normally configure builds both a static and a shared library. # If you want to build just a static library, use: ./configure --static # To install /usr/local/lib/libz.* and /usr/local/include/zlib.h, type: # make install # To install in $HOME instead of /usr/local, use: # make install prefix=$HOME |
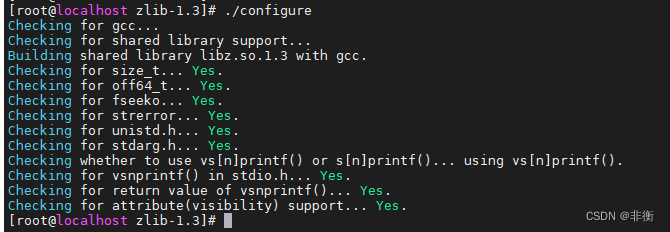
./configure

报错安装:yum install gcc

重新执行./configure
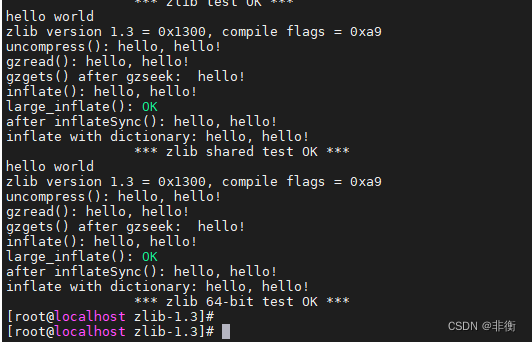
make test
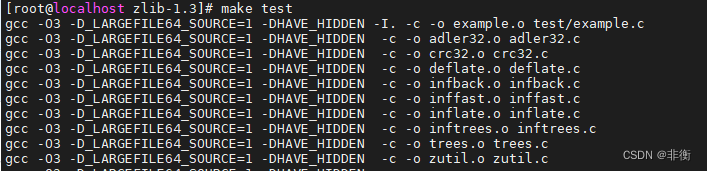
--snip--
make install
openssl
官方文档:
| OpenSSL使用编译器链接程序和共享库 |
| OpenSSL生成的Makefile使用C编译器命令行来链接程序、共享库和动态加载的共享对象。因此,提供给配置脚本的任何链接选项都必须采用编译器可以接受的形式。这在不同的系统中有所不同,一些系统的编译器直接接受链接标志,而另一些系统则以`-Wl `形式接受它们。你需要阅读编译器文档来确定哪些是可接受的,`ld(1)`来确定有哪些链接器选项可用。 |
| 非默认位置上的共享库和安装 |
| 每个Unix系统都有自己的一组共享库的默认位置,例如`/lib`、`/usr/lib`或可能的`/usr/local/lib`。如果库安装在非默认位置,动态链接的二进制文件将无法找到它们,因此无法运行,除非它们从定义的运行时共享库搜索路径中获得一些帮助。对于OpenSSL的应用程序(` OpenSSL `命令),我们的配置脚本通常不会为你设置运行时共享库的搜索路径。因此,建议在配置时明确设置它,除非你知道库安装在默认列表中的目录中。 -Wl,-rpath,/whatever/path # Linux, *BSD, etc. OpenSSL的配置脚本可以识别所有这些选项,并将它们传递给它们构建的Makefile。 ./Configure --prefix=/usr/local/ssl --openssldir=/usr/local/ssl |
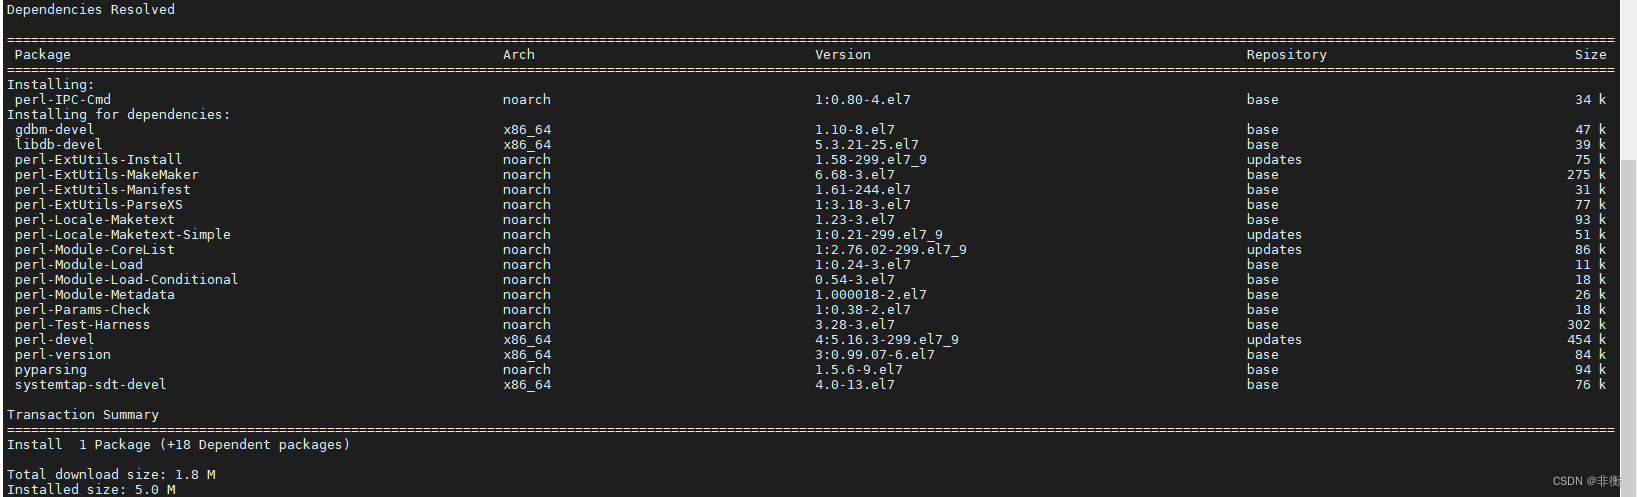
执行 ./Configure --prefix=/usr/local/ssl --openssldir=/usr/local/ssl 报错

解决:yum install perl-IPC-Cmd (如下图)
在执行configure命令:

摘录:https://github.com/openssl/openssl/issues
make

--snip--
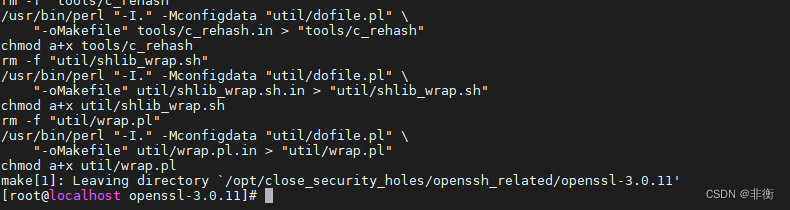
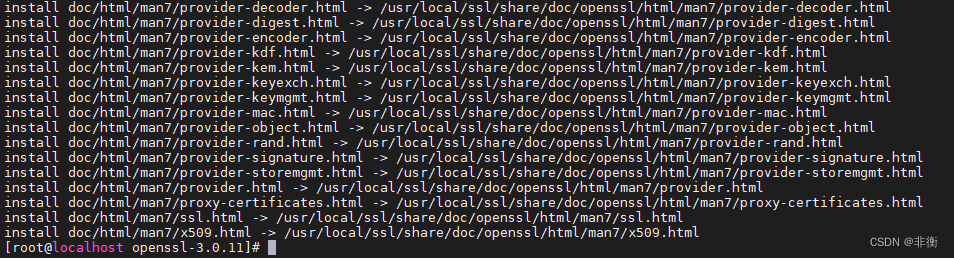
make install
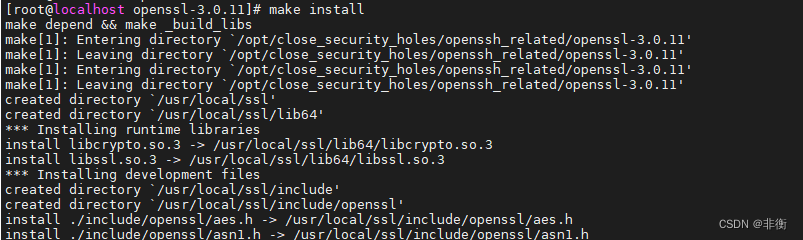
--snip--
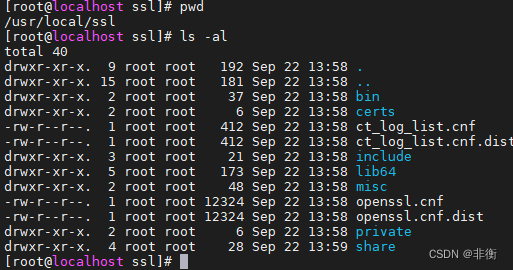
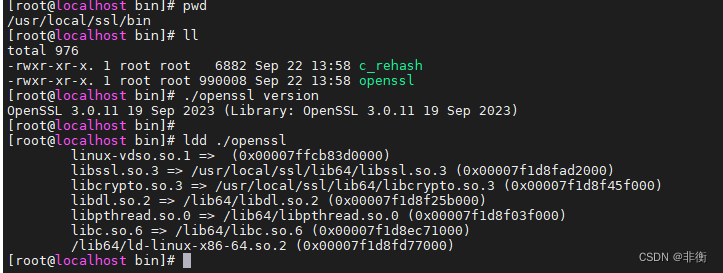
已经安装完了,现在问题是如何引用新安装的openssl
/usr/local/ssl目录下内容
echo '/usr/local/ssl/lib64' >> /etc/ld.so.conf

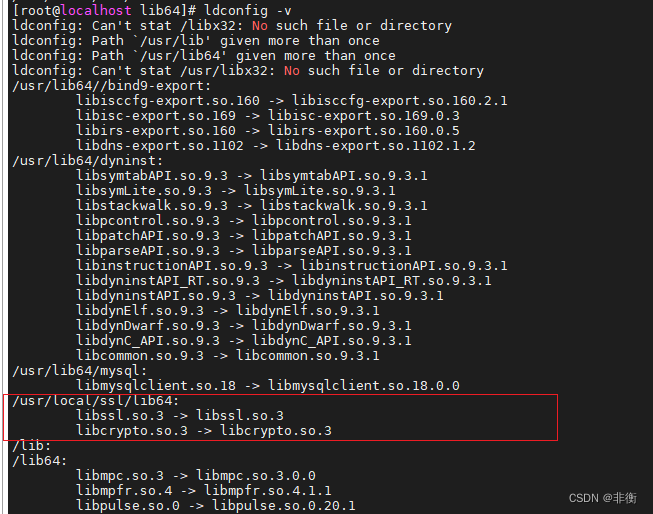
再次检查:
排查服务器中现有的openssl文件(模糊处理的是和本次无关的)
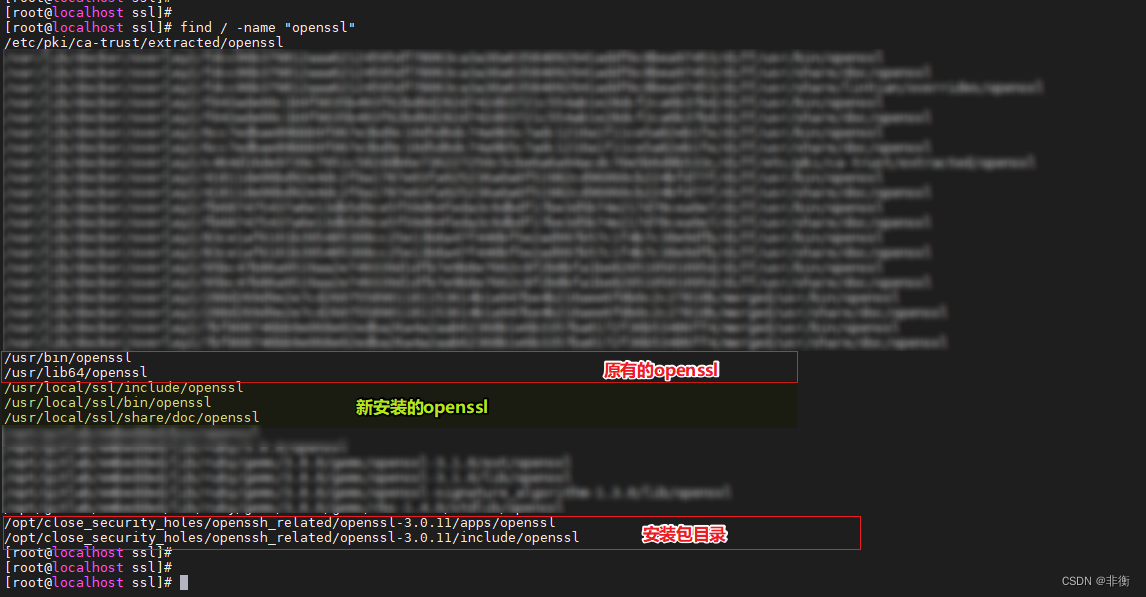

现在 执行openssl version 显示的还是老版本:


看网上是直接/usr/bin/openssl备份,给/usr/local/ssl/bin/openssl创建软连接:
相关参考文档:
OpenSSL的升级_51CTO博客_linux openssl升级
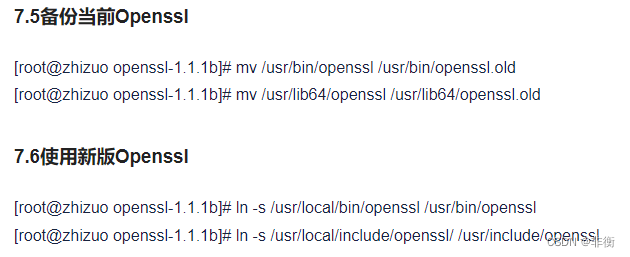
实际操作:
mv /usr/bin/openssl /usr/bin/openssl.bak
ln -s /usr/local/ssl/bin/openssl /usr/bin/openssl

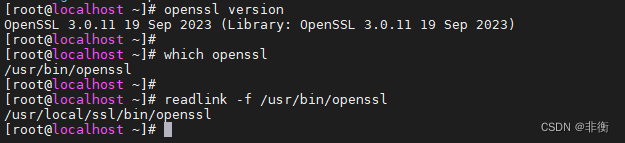
引用新openssl,设置完毕
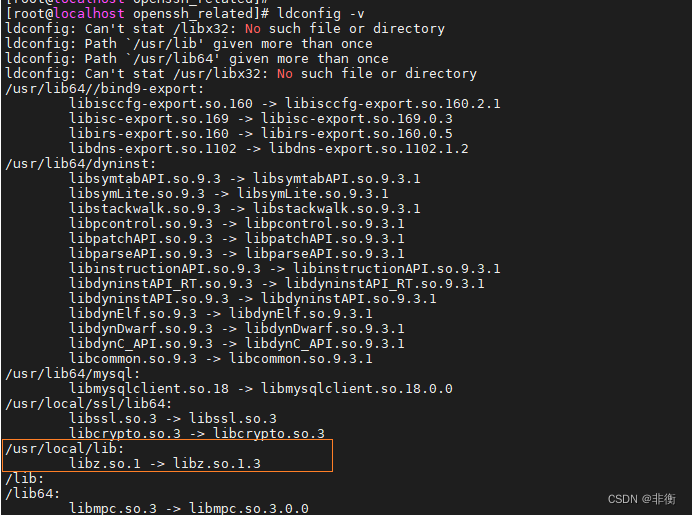
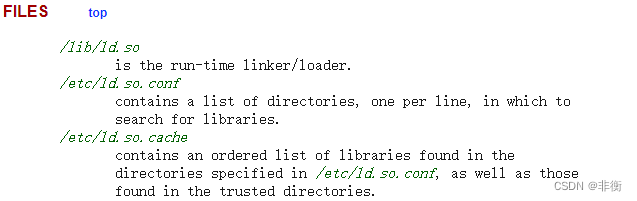
关于:/etc/ld.so.conf
/etc/ld.so.conf详解_51CTO博客_/etc/ld.so.conf
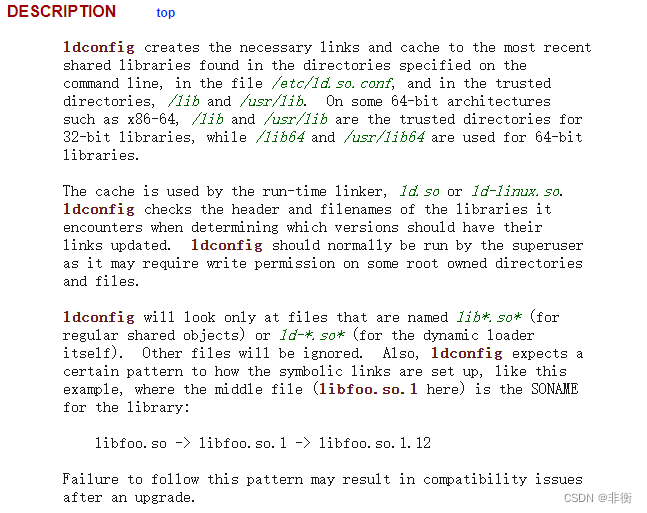
ldconfig
- configure dynamic linker run-time bindings
ldconfig(8) - Linux manual page
ldd
- print shared object dependencies
sshd_config
参考文档:sshd_config(5) - Linux manual page
sshd_config — OpenSSH daemon configuration file
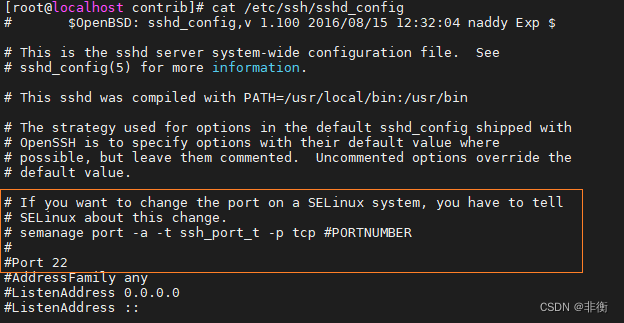
服务器上sshd_config 文件内容摘录:
This is the sshd server system-wide configuration file
semanage-port(8) - Linux manual page

semanage
参考文档:semanage(8) - Linux manual page
semanage - SELinux Policy Management tool
修改sshd端口
由22 ---> 12023
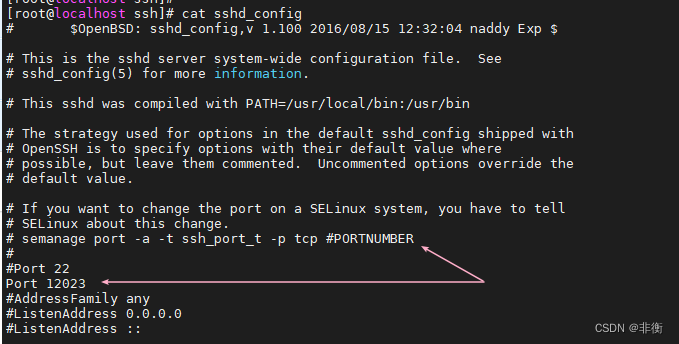
修改sshd_config后,执行下列命令
semanage port -a -t ssh_port_t -p tcp 12023
并设置防火墙放通12023端口
firewall-cmd --zone=public --add-port=12023/tcp --permanent
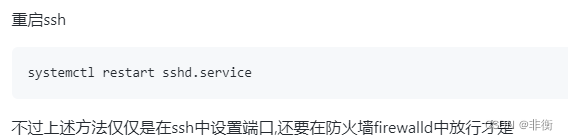
最后重启 sshd
systemctl restart sshd
验证:登录测试

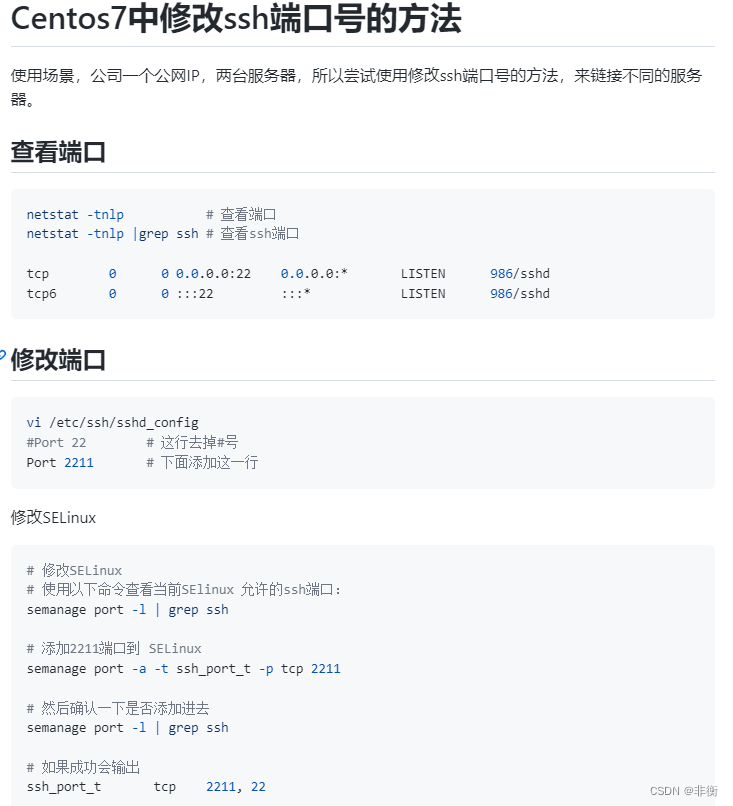
其他参考文档:Centos7中修改ssh端口号的方法 handbook
大致内容如下:
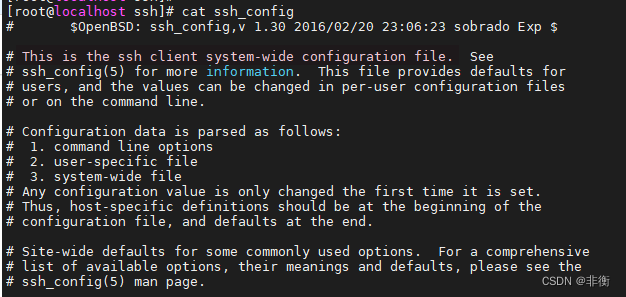
ssh_config
This is the ssh client system-wide configuration file.
参考文档:ssh_config(5) - Linux manual page


 8866
8866

 被折叠的 条评论
为什么被折叠?
被折叠的 条评论
为什么被折叠?
 到【灌水乐园】发言


