


 本文详细介绍了如何使用nginx、MariaDB和PHP在CentOS上搭建Discuz论坛,包括安装配置nginx、设置MariaDB数据库、调整nginx配置、测试LNMP环境以及部署Discuz论坛的全过程。
一、nginx+mariadb+php搭建Dz论坛
1. YUM方式进行安装and配置nginx
1.1设置nginx YUM源
官方yum源:http://nginx.org/en/linux_packages.html#RHEL-CentOS
$ yum install -y vim wget
$ yum install yum-utils -y
$ vim /etc/yum.repos.d/nginx.repo
[nginx-stable]
name=nginx stable repo
baseurl=http://nginx.org/packages/centos/$releasever/$basearch/
gpgcheck=1
enabled=1
gpgkey=https://nginx.org/keys/nginx_signing.key
module_hotfixes=true

[nginx-mainline]
name=nginx mainline repo
baseurl=http://nginx.org/packages/mainline/centos/$releasever/$basearch/
gpgcheck=1
enabled=0
gpgkey=https://nginx.org/keys/nginx_signing.key
module_hotfixes=true
1.2 安装nginx服务,会安装1.18.0版本
$ yum install nginx -y
1.3 设置nginx开机启动
$ systemctl enable nginx.service
$ systemctl start nginx.service
$ systemctl status nginx.service
● nginx.service - nginx - high performance web server
   Loaded: loaded (/usr/lib/systemd/system/nginx.service; enabled; vendor preset: disabled)
   Active: active (running) since Mon 2020-04-13 10:59:12 EDT; 14s ago
     Docs: http://nginx.org/en/docs/
  Process: 20145 ExecStart=/usr/sbin/nginx -c /etc/nginx/nginx.conf (code=exited, status=0/SUCCESS)
 Main PID: 20146 (nginx)
   CGroup: /system.slice/nginx.service
           ├─20146 nginx: master process /usr/sbin/nginx -c /etc/nginx/nginx....
           └─20147 nginx: worker process

Apr 13 10:59:12 localhost.localdomain systemd[1]: Starting nginx - high perfo...
Apr 13 10:59:12 localhost.localdomain systemd[1]: Started nginx - high perfor...
Hint: Some lines were ellipsized, use -l to show in full.
1.4 防火墙放行htpp服务
$ firewall-cmd --add-service=http --permanent
$ firewall-cmd --reload
$ firewall-cmd --list-all

$ setenforce 0
$ getenforce
Permissive
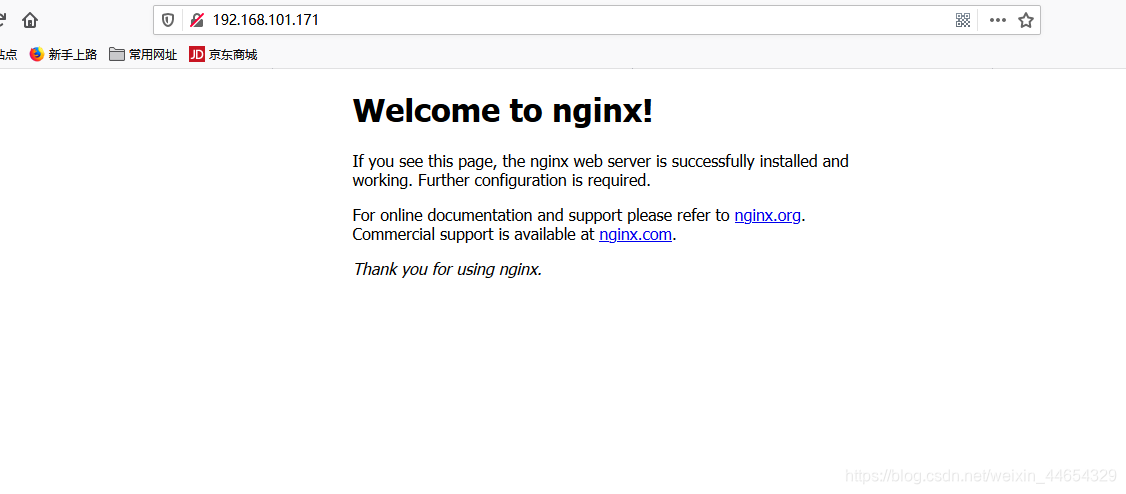
1.5 测试是否可以访问nginx
$ curl http://192.168.101.171
1.6 调整nginx配置文件
(文件夹有default.conf和nginx.conf)
$ vim /etc/nginx/nginx.conf
user  nginx;
worker_processes  auto;
worker_cpu_affinity auto;

# worker_processes 4;
# worker_cpu_affinity 00000001 00000010 00000100 00001000;
worker_rlimit_nofile 65535;

error_log  /var/log/nginx/error.log warn;
pid        /var/run/nginx.pid;


events {
    use epoll;
    worker_connections  10240;
}


http {
    include       /etc/nginx/mime.types;
    default_type  application/octet-stream;
    server_names_hash_bucket_size 128;
    client_header_buffer_size 2k;
    large_client_header_buffers 4 4k;
    client_max_body_size 8m;

    log_format  main  '$remote_addr - $remote_user [$time_local] "$request" '
                      '$status $body_bytes_sent "$http_referer" '
                      '"$http_user_agent" "$http_x_forwarded_for"';

    access_log  /var/log/nginx/access.log  main;

    sendfile        on;
    tcp_nopush     on;
    tcp_nodelay on;
    keepalive_timeout  65;
    fastcgi_cache_path /etc/nginx/fastcgi_cache levels=1:2 keys_zone=TEST:10m inactive=5m;
    fastcgi_cache_key http://$host$request_uri;
    fastcgi_connect_timeout 300;
    fastcgi_send_timeout 300;
    fastcgi_read_timeout 300;
    fastcgi_buffer_size 4k;
    fastcgi_buffers 8 4k;
    fastcgi_busy_buffers_size 8k;
    fastcgi_temp_file_write_size 8k;
    fastcgi_cache TEST;
    fastcgi_cache_valid 200 302 1h;
    fastcgi_cache_valid 301 1d;
    fastcgi_cache_valid any 1m;
    fastcgi_cache_min_uses 1;
    fastcgi_cache_use_stale error timeout invalid_header http_500;
    open_file_cache max=204800 inactive=20s;
    open_file_cache_min_uses 1;
    open_file_cache_valid 30s;

    gzip  on;
    gzip_min_length 1k;
    gzip_buffers 4 16k;
    gzip_http_version 1.0;
    gzip_comp_level 2;
    gzip_types text/plain application/x-javascript text/css application/xml;
    gzip_vary on;

    include /etc/nginx/conf.d/*.conf;
}
$ vim /etc/nginx/conf.d/default.conf
server {
    listen       80;
    server_name  test.cn;

    #charset koi8-r;
    #access_log  /var/log/nginx/host.access.log  main;

    location / {
        root   /opt/nginx/html;
        index  index.html index.htm;
    }
    # 加入
    location /status
    {
        stub_status on;
    }

    #error_page  404              /404.html;

    # redirect server error pages to the static page /50x.html
    #
    error_page   500 502 503 504  /50x.html;
    location = /50x.html {
        root   /opt/nginx/html;
    }
    location ~ .*/.(gif|jpg|gpeg|png|bmp|swf|js|css)$
    {
        expires 1d;
    }

    # proxy the PHP scripts to Apache listening on 127.0.0.1:80
    #
    #location ~ \.php$ {
    #    proxy_pass   http://127.0.0.1;
    #}

    # pass the PHP scripts to FastCGI server listening on 127.0.0.1:9000
    #
    #location ~ \.php$ {
    #    root           html;
    #    fastcgi_pass   127.0.0.1:9000;
    #    fastcgi_index  index.php;
    #    fastcgi_param  SCRIPT_FILENAME  /scripts$fastcgi_script_name;
    #    include        fastcgi_params;
    #}

    # deny access to .htaccess files, if Apache's document root
    # concurs with nginx's one
    #
    #location ~ /\.ht {
    #    deny  all;
    #}
}
-
由于更改了根目录,所以需要创建新的根目录
$ mkdir /opt/nginx/html -p $ cp /usr/share/nginx/html/* /opt/nginx/html/ $ ll /opt/nginx/html/ total 8 -rw-r--r--. 1 root root 494 Apr 14 12:48 50x.html -rw-r--r--. 1 root root 612 Apr 14 12:48 index.html -
改变了服务配置文件,所以需要重新启动服务
$ nginx -t #检测配置文件语法是否有错误 $ systemctl restart nginx $ systemctl status nginx -
访问nginx

2. 安装配置必要软件
- 执行以下命令,安装必要软件(MariaDB、PHP、Git):
$ yum install php php-fpm php-mysql mariadb mariadb-server git -y
- 依次执行以下命令,启动服务。
$ systemctl start mariadb
$ systemctl start php-fpm
$ systemctl enable mariadb
$ systemctl enable php-fpm
- 执行以下命令,设定 root 帐户密码及基础配置,使 root 用户可以访问数据库。
# 注意:
# 针对首次登录 MariaDB 前执行以下命令进入用户密码及基础设置。
# 首次提示输入 root 密码后按 Enter 直接进入 root 密码设置步骤,设置 root 密码时界面默认不显示,并再次输入确认。通过界面上的提示完成基础配置。

$ mysql_secure_installation

NOTE: RUNNING ALL PARTS OF THIS SCRIPT IS RECOMMENDED FOR ALL MariaDB
      SERVERS IN PRODUCTION USE!  PLEASE READ EACH STEP CAREFULLY!

In order to log into MariaDB to secure it, we'll need the current
password for the root user.  If you've just installed MariaDB, and
you haven't set the root password yet, the password will be blank,
so you should just press enter here.

Enter current password for root (enter for none):
OK, successfully used password, moving on...

Setting the root password ensures that nobody can log into the MariaDB
root user without the proper authorisation.

Set root password? [Y/n]
New password:
Re-enter new password:
Password updated successfully!
Reloading privilege tables..
 ... Success!


By default, a MariaDB installation has an anonymous user, allowing anyone
to log into MariaDB without having to have a user account created for
them.  This is intended only for testing, and to make the installation
go a bit smoother.  You should remove them before moving into a
production environment.

Remove anonymous users? [Y/n]
 ... Success!

Normally, root should only be allowed to connect from 'localhost'.  This
ensures that someone cannot guess at the root password from the network.

Disallow root login remotely? [Y/n]
 ... Success!

By default, MariaDB comes with a database named 'test' that anyone can
access.  This is also intended only for testing, and should be removed
before moving into a production environment.

Remove test database and access to it? [Y/n]
 - Dropping test database...
 ... Success!
 - Removing privileges on test database...
 ... Success!

Reloading the privilege tables will ensure that all changes made so far
will take effect immediately.

Reload privilege tables now? [Y/n]
 ... Success!

Cleaning up...

All done!  If you've completed all of the above steps, your MariaDB
installation should now be secure.

Thanks for using MariaDB!
- 执行以下命令,登录 MariaDB,并输入 步骤3 设置的密码,按 “Enter”。
$ mysql -u root -p
# 若输入刚设定的密码可以登录到 MariaDB 中,则说明配置正确

# 创建数据库
$ create database Discuz;

> show databases;
+--------------------+
| Database           |
+--------------------+
| information_schema |
| Discuz             |
| mysql              |
| performance_schema |
+--------------------+
4 rows in set (0.00 sec)

$ \q	# 退出mariadb数据库
5.5 调整nginx配置文件
$ vi /etc/nginx/conf.d/default.conf
location / {
        root   /opt/nginx/html;
        index  index.php index.html index.htm;
     }
    # pass the PHP scripts to FastCGI server listening on 127.0.0.1:9000
    #
# 开启
    location ~ \.php$ {
        root           /opt/nginx/html;
        fastcgi_pass   127.0.0.1:9000;
        fastcgi_index  index.php;
    #   fastcgi_param  SCRIPT_FILENAME  /scripts$fastcgi_script_name;
    	fastcgi_param  SCRIPT_FILENAME  $document_root$fastcgi_script_name;
        include        fastcgi_params;
    fastcgi_cache TEST;
    fastcgi_cache_valid 300 302 1h;
    fastcgi_cache_valid 301 1d;
    fastcgi_cache_valid any 1m;
    }
修改nginx配置文件需重启nginx
$ nginx -t #检测配置文件语法是否有错误
nginx: the configuration file /etc/nginx/nginx.conf syntax is ok
nginx: configuration file /etc/nginx/nginx.conf test is successful
$ systemctl restart nginx
$ systemctl status nginx
● nginx.service - nginx - high performance web server
   Loaded: loaded (/usr/lib/systemd/system/nginx.service; enabled; vendor preset: disabled)
   Active: active (running) since Tue 2020-06-30 06:25:33 EDT; 11s ago
     Docs: http://nginx.org/en/docs/
  Process: 10252 ExecStop=/bin/kill -s TERM $MAINPID (code=exited, status=0/SUCCESS)
  Process: 10255 ExecStart=/usr/sbin/nginx -c /etc/nginx/nginx.conf (code=exited, status=0/SUCCESS)
 Main PID: 9711 (code=exited, status=0/SUCCESS)
   CGroup: /system.slice/nginx.service
           ├─10256 nginx: master process /usr/sbin/nginx -c /etc/nginx/nginx.conf
           ├─10257 nginx: worker process
           ├─10258 nginx: worker process
           ├─10259 nginx: worker process
           ├─10260 nginx: worker process
           ├─10261 nginx: cache manager process
           └─10262 nginx: cache loader process

Jun 30 06:25:33 bogon systemd[1]: Starting nginx - high performance web server...
Jun 30 06:25:33 bogon systemd[1]: Can't open PID file /var/run/nginx.pid (yet?) after start: No suc...ctory
Jun 30 06:25:33 bogon systemd[1]: Started nginx - high performance web server.
Hint: Some lines were ellipsized, use -l to show in full.
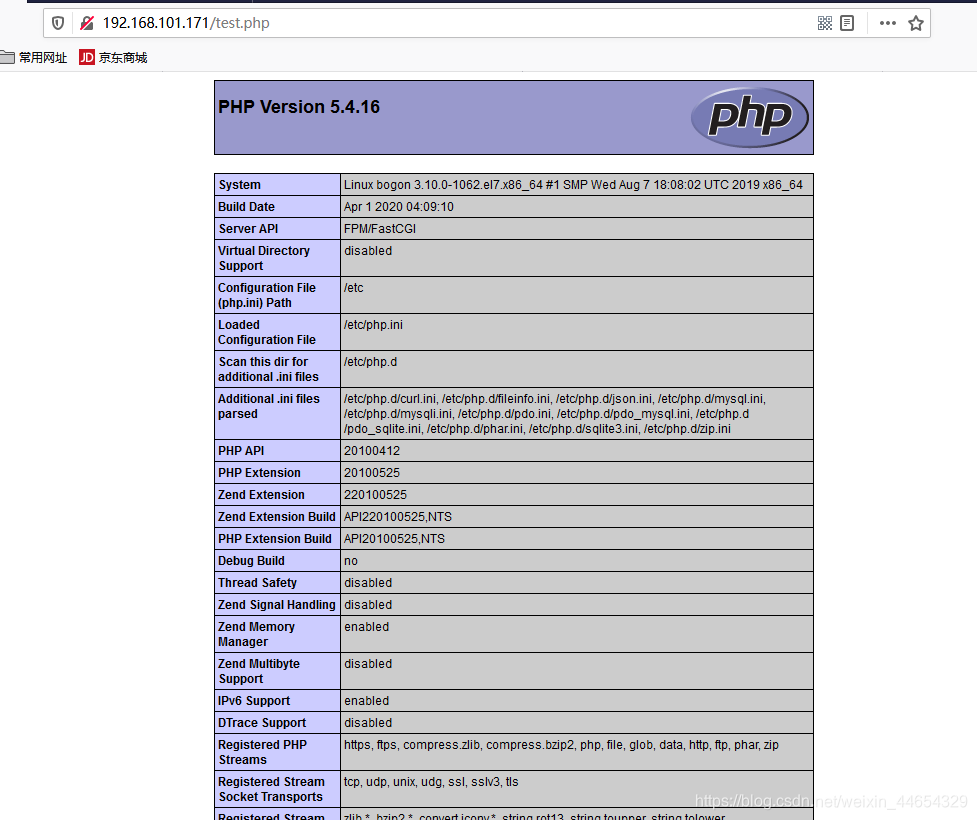
3.LNMP环境测试
3.1 测试LNMP环境
$ cat test.php
<?php
phpinfo();
?>
- 在客户端访问 http://192.168.101.171/test.php
4. 部署开源论坛Discuz
4.1 下载Discuz论坛文件
# 执行以下命令,下载安装包。
$ git clone https://gitee.com/ComsenzDiscuz/DiscuzX.git
42 安装准备工作
-
执行以下命令,进入下载好的安装目录。
$ cd DiscuzX -
执行以下命令,将 “upload” 文件夹下的所有文件复制到
/opt/nginx/html。$ cp -r upload/* /opt/nginx/html/ -
执行以下命令,将写权限赋予给其他用户。
$ chmod -R 777 /opt/nginx/html
4.3安装 Discuz!
- 访问http://192.168.101.171/install/
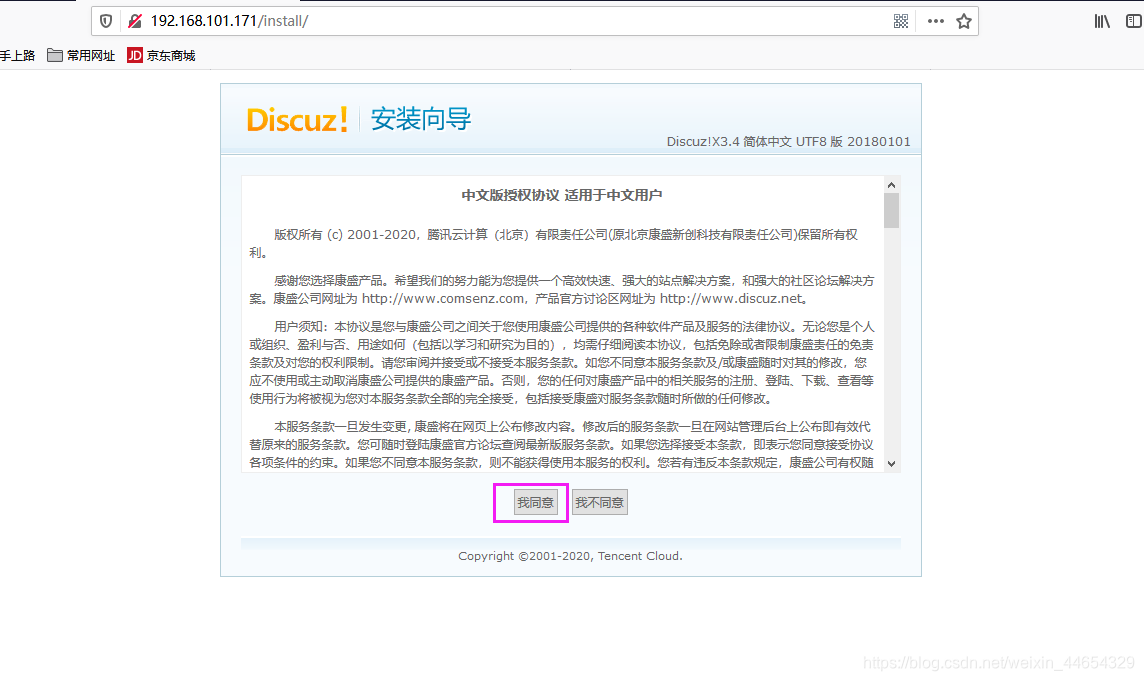
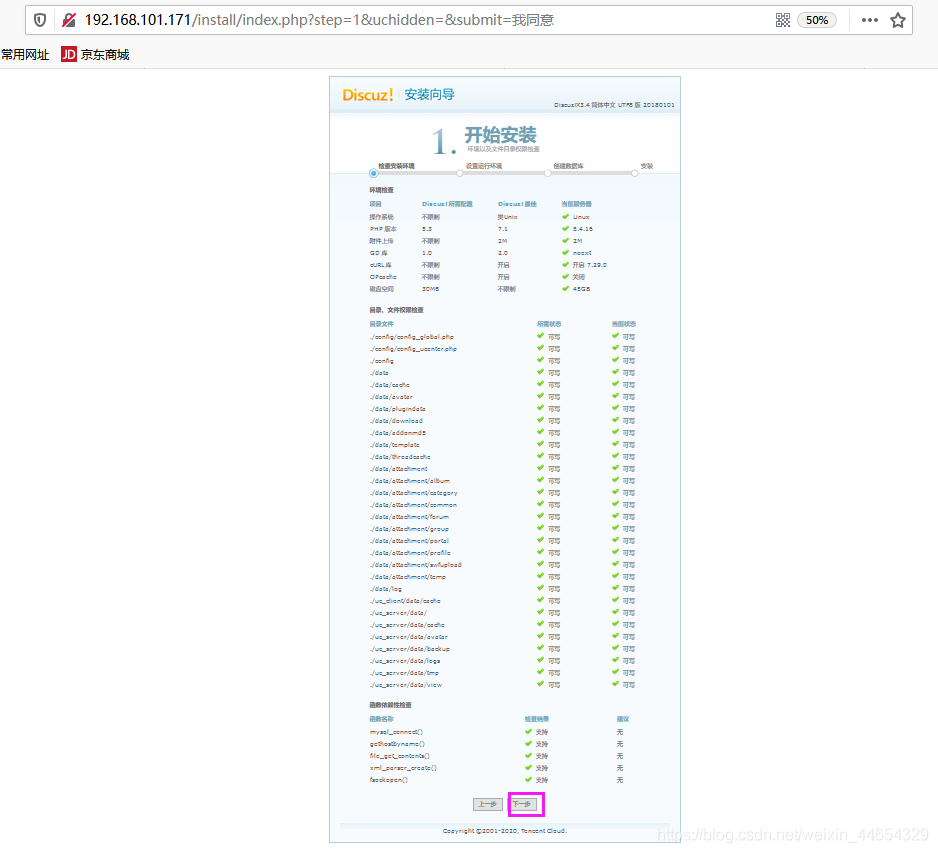
- 点击我同意→进入检查安装环境页面→确定当前状态→点击下一步
- 进入创建数据库界面→输入数据库名→数据库用户名→数据库密码→系统信箱→管理员账号→管理员密码→管理员Email→点击下一步(根据自己配置)
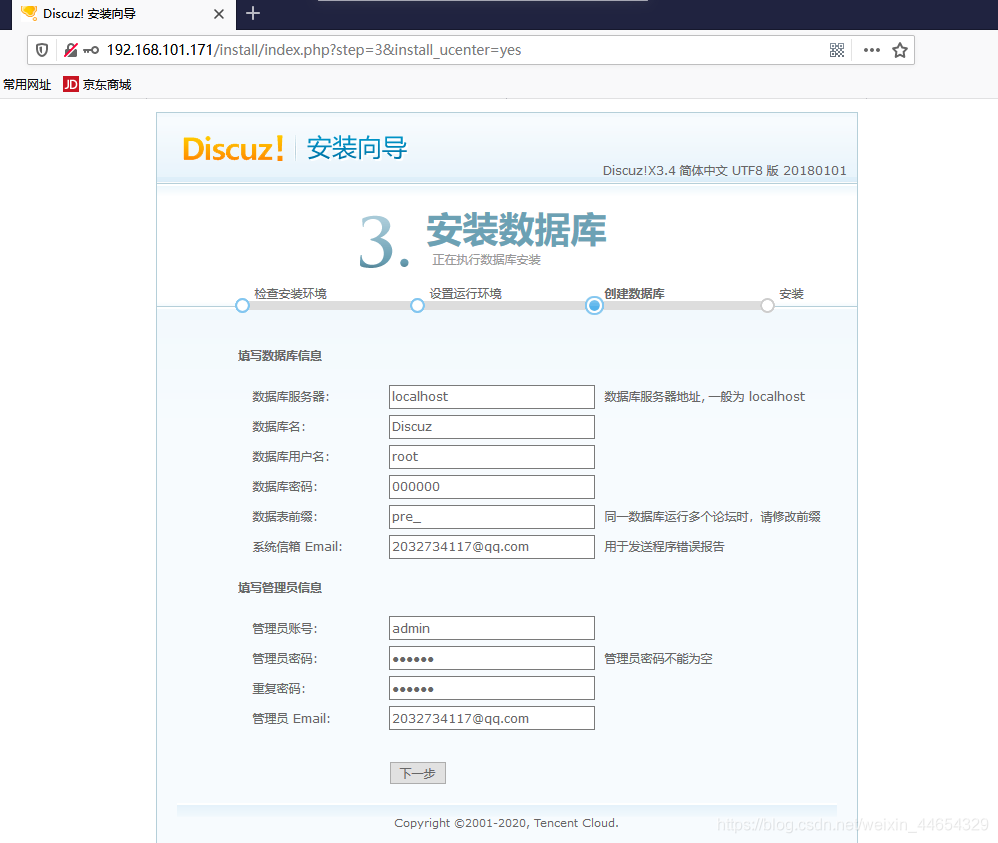
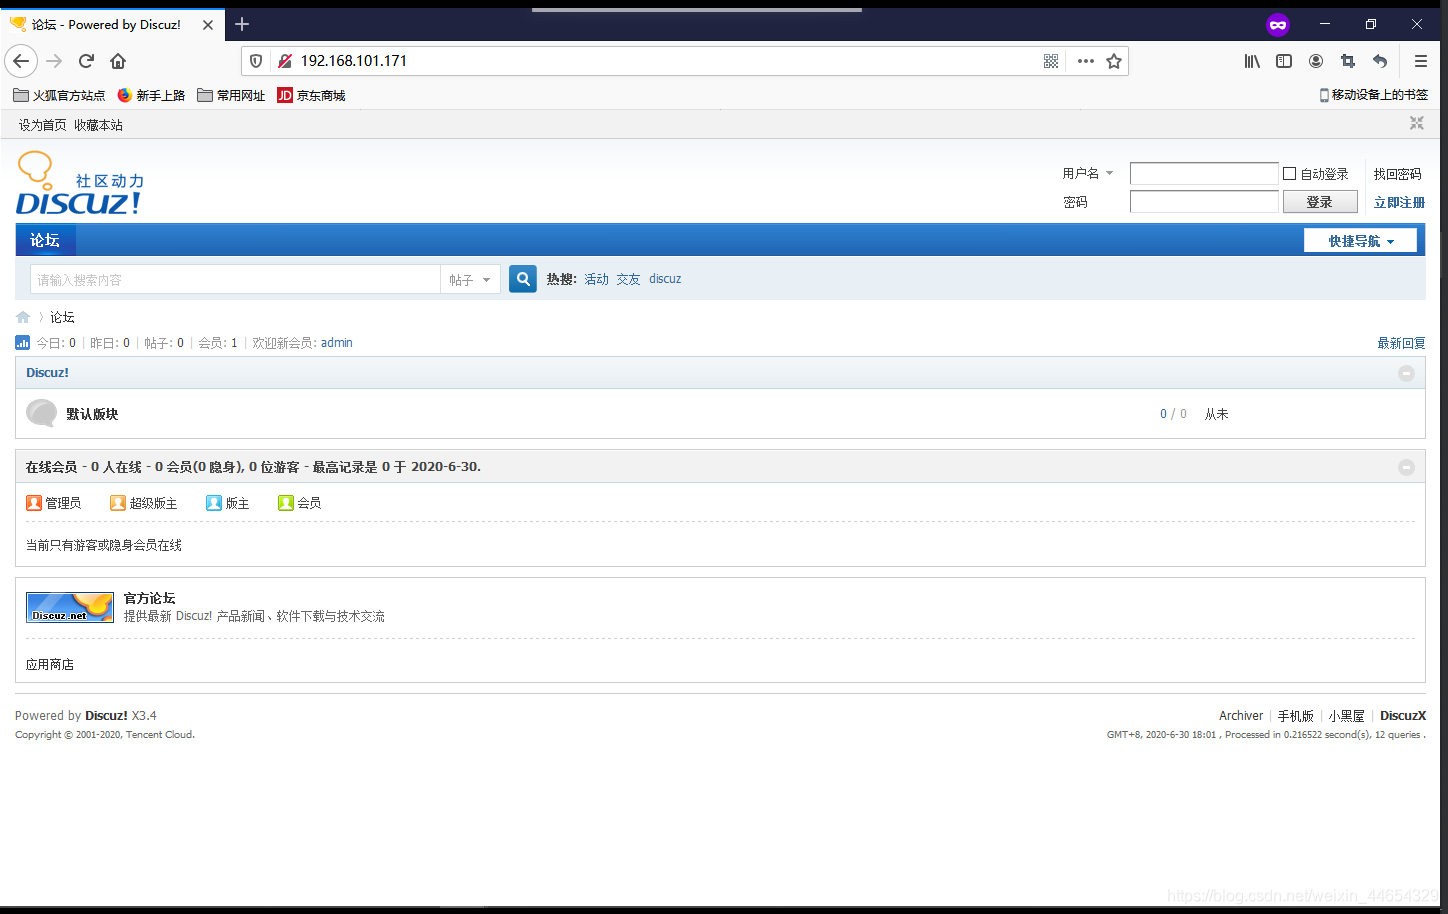
- 安装完成后单击您的论坛已完成安装,点此访问,即可访问论坛

- 进入DZ论坛就此搭建完毕
$ chmod -R 777 /opt/nginx/html
- 进入DZ论坛就此搭建完毕


 824
824

 被折叠的 条评论
为什么被折叠?
被折叠的 条评论
为什么被折叠?
 到【灌水乐园】发言


