


 本文详细介绍Nginx的两种安装方法:YUM方式和编译安装,包括设置YUM源、防火墙配置、第三方模块集成及systemd服务管理。
Nginx安装
1. YUM方式进行安装
1.1设置nginx YUM源
官方yum源:http://nginx.org/en/linux_packages.html#RHEL-CentOS
$ yum install yum-utils -y
$ vim /etc/yum.repos.d/nginx.repo
[nginx-stable]
name=nginx stable repo
baseurl=http://nginx.org/packages/centos/$releasever/$basearch/
gpgcheck=1
enabled=1
gpgkey=https://nginx.org/keys/nginx_signing.key
module_hotfixes=true

[nginx-mainline]
name=nginx mainline repo
baseurl=http://nginx.org/packages/mainline/centos/$releasever/$basearch/
gpgcheck=1
enabled=0
gpgkey=https://nginx.org/keys/nginx_signing.key
module_hotfixes=true
1.2 安装nginx服务,会安装1.16.0版本
$ yum install nginx
1.3 设置nginx开机启动
$ systemctl enable nginx.service
$ systemctl start nginx.service
$ systemctl status nginx.service
● nginx.service - nginx - high performance web server
   Loaded: loaded (/usr/lib/systemd/system/nginx.service; enabled; vendor preset: disabled)
   Active: active (running) since Mon 2020-04-13 10:59:12 EDT; 14s ago
     Docs: http://nginx.org/en/docs/
  Process: 20145 ExecStart=/usr/sbin/nginx -c /etc/nginx/nginx.conf (code=exited, status=0/SUCCESS)
 Main PID: 20146 (nginx)
   CGroup: /system.slice/nginx.service
           ├─20146 nginx: master process /usr/sbin/nginx -c /etc/nginx/nginx....
           └─20147 nginx: worker process

Apr 13 10:59:12 localhost.localdomain systemd[1]: Starting nginx - high perfo...
Apr 13 10:59:12 localhost.localdomain systemd[1]: Started nginx - high perfor...
Hint: Some lines were ellipsized, use -l to show in full.
1.4 防火墙放行htpp服务
$ firewall-cmd --add-service=http --permanent
$ firewall-cmd --reload
$ firewall-cmd --list-all
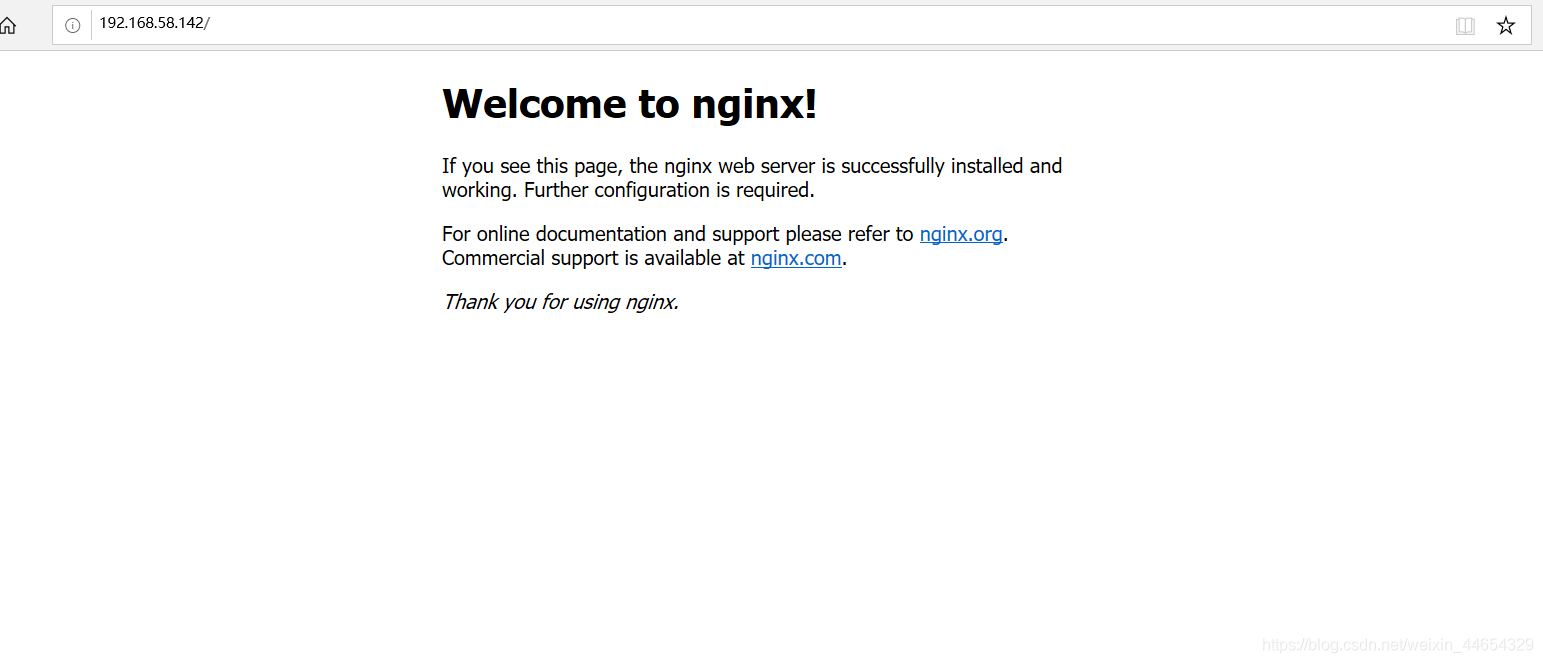
1.5 测试是否可以访问nginx
$ curl http://192.168.58.142
2. 编译安装Nginx
Nginx官网提供了三个类型的版本:
- Mainline version:nginx的主力版本,为开发版
- Stable version:稳定版,在实际生产过程中选择此版本进行安装
- Legacy version:历史版本
2.1 准备工作
- 关闭selinux
$ setenforce 0
$ sed -i  's/SELINUX=enforcing/SELINUX=disable/g' /etc/selinux/config
- 创建用户和组
$ groupadd www
$ useradd -M -g www -s /sbin/nologin www
$ id www
uid=1000(www) gid=1000(www) groups=1000(www)
- 安装一些依赖库
首先下载gcc编译器以及nginx一些模块的依赖库,通常有pcre库 (支持rewrite模块),zlib(支持gzip模块)库,openssl (支持ssl模块)库等。这些库可以编译安装,也可以yum安装,这里选择yum安装。
$ yum install gcc gcc-c++ pcre pcre-devel zlib zlib-devel openssl openssl-devel -y
- 下载源码包并解压
$ wget http://nginx.org/download/nginx-1.16.0.tar.gz
$ tar zxvf nginx-1.16.0.tar.gz -C /usr/src/
-
安装2个第三方模块
使用nginx-sticky-module扩展模块实现Cookie会话黏贴(保持会话)
使用ngx_cache_purge 实现更强大的缓存清除功能
$ wget https://github.com/FRiCKLE/ngx_cache_purge/archive/master.zip
$ unzip master.zip
$ mv ngx_cache_purge-master/ /usr/src/
$ wget -c https://bitbucket.org/nginx-goodies/nginx-sticky-module-ng/get/08a395c66e42.zip
$ unzip 08a395c66e42.zip -d /usr/src/
2.2 编译并安装
- 使用configure脚本自动生成Makefile文件
$ cd /usr/src/nginx-1.16.0/
$ ./configure --prefix=/usr/local/nginx1.16 --user=www --group=www \
> --with-http_stub_status_module \
> --with-http_realip_module \
> --with-http_ssl_module \
> --with-http_gzip_static_module \
> --http-client-body-temp-path=/var/tmp/nginx/client \
> --http-proxy-temp-path=/var/tmp/nginx/proxy \
> --http-fastcgi-temp-path=/var/tmp/nginx/fcgi \
> --with-pcre \
> --with-http_flv_module \
> --add-module=../ngx_cache_purge-master \
> --add-module=../nginx-goodies-nginx-sticky-module-ng-08a395c66e42
- 编译并安装
 $ make
 $ make install
- 完成后优化
$ ln -s /usr/local/nginx1.16/sbin/nginx /usr/local/sbin/
$ nginx -t
$ mkdir /var/tmp/nginx/client -p
$ chown -R www:www /var/tmp/nginx/
$ nginx -t
nginx: the configuration file /usr/local/nginx1.16/conf/nginx.conf syntax is ok
nginx: configuration file /usr/local/nginx1.16/conf/nginx.conf test is successful
$ nginx   #启动服务
$ netstat -antp | grep nginx
tcp        0      0 0.0.0.0:80              0.0.0.0:*               LISTEN      16830/nginx: master
$ nginx -s reload    #重启服务
$ nginx -s stop      #停止服务
- 生成systemed启动脚本
$ vim /usr/lib/systemd/system/nginx.service
[Unit]
# 对服务的说明
Description=nginx - high performance web server
# 文档
Documentation=http://nginx.org/en/docs/
# 如果该字段指定的 Unit 也要启动,那么必须在当前 Unit 之前启动
After=network-online.target remote-fs.target nss-lookup.target
# 与当前 Unit 配合的其他 Unit,如果它们没有运行,当前 Unit 不会启动失败
Wants=network-online.target

[Service]
# 启动方式
Type=forking
#PID文件的路径
PIDFile=/usr/local/nginx1.16/logs/nginx.pid
#启动命令
ExecStart=/usr/local/sbin/nginx -c /usr/local/nginx1.16/conf/nginx.conf
#重启命令
ExecReload=/bin/kill -s HUP $MAINPID
#停止命令
ExecStop=/bin/kill -s TERM $MAINPID
#启动模式
[Install]
# WantedBy的值是一个或多个 Target,当前 Unit 激活时(enable)符号链接会放入/etc/systemd/system目录下面以 Target 名 + .wants后缀构成的子目录中
WantedBy=multi-user.target

$ systemctl daemon-reload
$ systemctl enable nginx.service
$ systemctl restart nginx.service
$ systemctl status nginx.service
● nginx.service - nginx - high performance web server
   Loaded: loaded (/usr/lib/systemd/system/nginx.service; enabled; vendor preset: disabled)
   Active: active (running) since 二 2020-04-14 18:07:38 CST; 21s ago
     Docs: http://nginx.org/en/docs/
  Process: 16967 ExecStart=/usr/local/sbin/nginx -c /usr/local/nginx1.16/conf/nginx.conf (code=exited, status=0/SUCCESS)
 Main PID: 16968 (nginx)
   CGroup: /system.slice/nginx.service
           ├─16968 nginx: master process /usr/local/sbin/nginx -c /usr/local/...
           └─16969 nginx: worker process

4月 14 18:07:38 localhost.localdomain systemd[1]: Starting nginx - high perf...
4月 14 18:07:38 localhost.localdomain systemd[1]: Can't open PID file /usr/l...
4月 14 18:07:38 localhost.localdomain systemd[1]: Started nginx - high perfo...
Hint: Some lines were ellipsized, use -l to show in full.
注:
如果你想在已经安装好的nginx上添加第三方模块,依然需要重新编译,但为了不覆盖你原有的配置,请不要 make install,而是直接拷贝可执行文件:
查看原有的编译配置
$ nginx -V
重新编译
$ ./configure --add-module=....     #第三方模块

$ make            #make 后不要make install ,改为手动拷贝,先备份

$ cp /usr/local/nginx1.16/sbin/nginx /usr/local/nginx1.16/sbin/nginx.bak

$ cp objs/nginx /usr/local/nginx1.16/sbin/nginx


 455
455

 被折叠的 条评论
为什么被折叠?
被折叠的 条评论
为什么被折叠?
 到【灌水乐园】发言


