


切记cmake版本最好是3.24及以上,我原来就是3.16的版本,后面看到CMakeLists.txt里面明确写着需要3.24,cmake版本不够高,最后换成3.24才行。
就是正常的操作流程:
1.获取源码
git clone https://github.com/isl-org/Open3D.git
cd Open3D
2.依赖安装和Cmake
util/install_deps_ubuntu.sh
安装依赖这里,我出现下面提示:
The following information may help to resolve the situation:

The following packages have unmet dependencies:
 libosmesa6-dev : Depends: libosmesa6 (= 20.0.4-2ubuntu1) but it is not going to be installed
 libsdl2-dev : Depends: libibus-1.0-dev but it is not going to be installed
               Depends: libpulse-dev but it is not going to be installed
 libudev-dev : Depends: libudev1 (= 245.4-4ubuntu3) but 245.4-4ubuntu3.23 is to be installed
 xorg-dev : Depends: libxaw7-dev but it is not going to be installed
            Depends: libxpm-dev but it is not going to be installed
            Depends: xserver-xorg-dev but it is not going to be installed
E: Unable to correct problems, you have held broken packages.所以这里我一直想着单个包安装,但疯狂出现版本对应不上的问题,后面经过多次尝试其他办法。我发现了,ubuntu的aptitude 提供了更多的控制和灵活性,特别是在遇到依赖问题时,用户可以更轻松地找到解决问题的办法。因此,在处理复杂的依赖问题时,建议使用 aptitude 作为 apt-get 的替代方案。
具体代码实现也很简单:
sudo apt-get install aptitude
sudo aptitude install xorg-dev  libosmesa6-dev libsdl2-dev libudev-dev
Cmake可能遇到的坑!
然后可能会遇到python版本不对的情况,我一开始改动了-DPython3_EXECUTABLE=/usr/bin/python3.8 ,改这个就好了,或者通过修改-DBUILD_PYTHON_MODULE=OFF,不配置Python。反正可以根据自己需求,灵活修改配置。
mkdir build && cd build

cmake   -DCMAKE_INSTALL_PREFIX=/usr/local/open3d   -DBUILD_EIGEN3=ON -DBUILD_GLEW=ON -DBUILD_GLFW=ON -DBUILD_JSONCPP=ON -DBUILD_PNG=ON -DENABLE_GUI=ON -DBUILD_FILAMENT=ON -DBUILD_PYTHON_MODULE=OFF ..
===
-- Configuring done (7.5s)
-- Generating done (0.7s)
CMake Warning:
Manually-specified variables were not used by the project:
BUILD_EIGEN3
BUILD_FILAMENT
BUILD_GLEW
BUILD_GLFW
BUILD_JSONCPP
BUILD_PNG
ENABLE_GUI
3.编译和安装
make过程会有点久,请耐心等待!
make -j8

make install
最后就是在build/bin/里面随便打开一个程序试试水,不报错就行啦,可以部署到自己项目了,open3D的测试结果如下: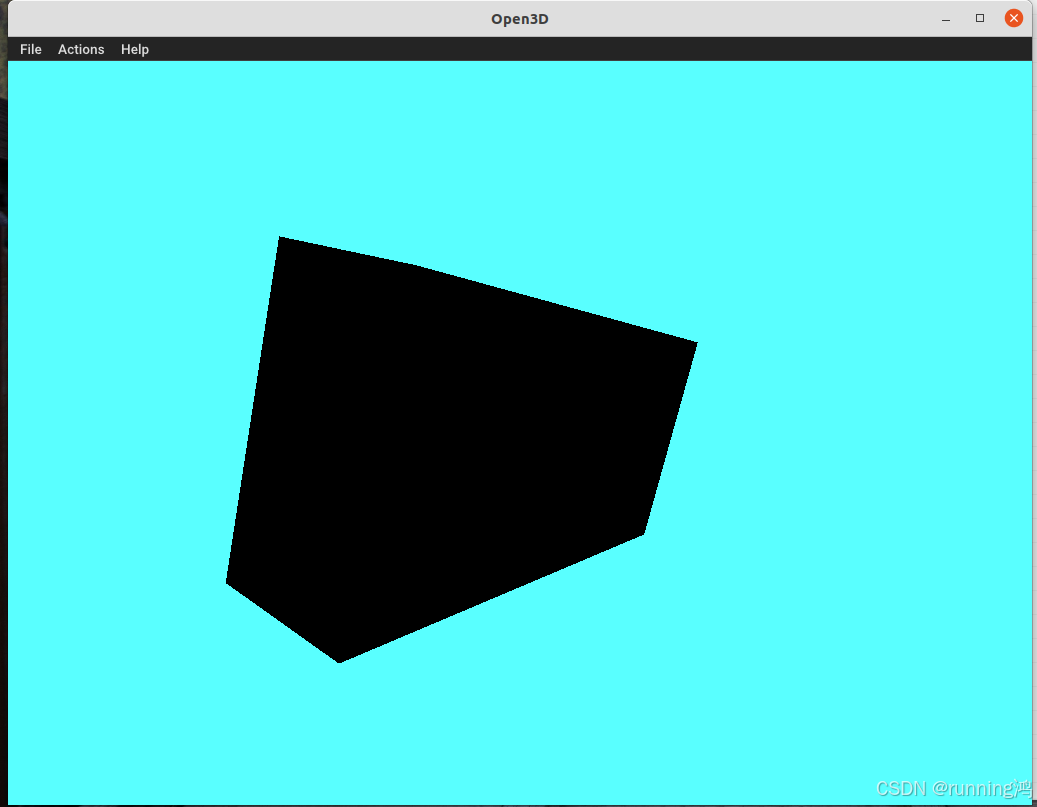


 974
974

 被折叠的 条评论
为什么被折叠?
被折叠的 条评论
为什么被折叠?
 到【灌水乐园】发言


