


毕设Day12
前言
第六天啦!!!加油加油加油!!!
一、使用Swiper轮播图
1.安装低版本的Swiper
网址:https://github.com/surmon-china/vue-awesome-swiper
安装命令:
npm install swiper@5.x vue-awesome-swiper --save
全局引入
import Vue from 'vue'
import VueAwesomeSwiper from 'vue-awesome-swiper'

//import style (<= Swiper 5.x)
import 'swiper/css/swiper.css'

Vue.use(VueAwesomeSwiper, /* { default options with global component } */)
2.使用模板
<template>
  <div class="mySwiper">
    <!-- options配置项 -->
    <swiper ref="mySwiper" :options="swiperOptions">
      <swiper-slide>Slide 1</swiper-slide>
      <swiper-slide>Slide 2</swiper-slide>
      <swiper-slide>Slide 3</swiper-slide>
      <swiper-slide>Slide 4</swiper-slide>
      <swiper-slide>Slide 5</swiper-slide>
      <div class="swiper-pagination" slot="pagination"></div>
    </swiper>
  </div>
</template>

<script>
// 这里可以导入其他文件(比如:组件,工具js,第三方插件js,json文件,图片文件等等)

export default {
  name: "CovidSwiper",
  data() {
    return {
      arr: ["111", "222", "333"],
      swiperOptions: {
        //配置swiper设置,比如自动轮播等
        pagination: {
          el: ".swiper-pagination",
        },
        autoplay: true,
        speed: 600,
        // Some Swiper option/callback...
      },
    };
  },
  computed: {
    swiper() {
      return this.$refs.mySwiper.$swiper;
    },
  },
  mounted() {
    console.log("Current Swiper instance object", this.swiper);
    this.swiper.slideTo(3, 1000, false);
  },
};
</script>
二、增加轮播图标识
1.增加标识卡
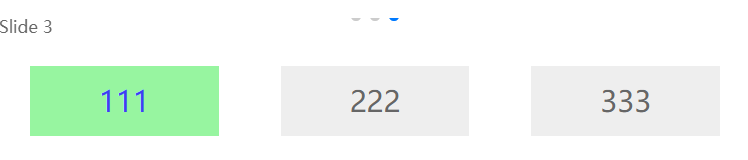
    <!-- 轮播图标识 -->
    <div class="wrapper">
      <div
        class="item"
        :class="{ active: index == 0 }"
        v-for="(item, index) in arr"
        :key="index"
        @click="changeSwiper(index)"
      >
        {{ item }}
      </div>
    </div>
2.轮播图绑定标识卡,实现点击标识卡,切换对应轮播图
绑定点击事件@click="changeSwiper(index)"
将下标传给轮播图的slideTo函数
  methods: {
    changeSwiper(index) {
      //   console.log("-----index", index);
      //   切换swiper显示---去哪里
      this.swiper.slideTo(index, 1000, false);
      // 点击高亮
      this.activeIndex = index;
    },
  },
3.实现点击轮播图,切换对应标识卡
使用swiper的事件,this.activeIndex为swiper自带的activeIndex,
所以我们这里保存的activeIndex使用的是that
// Some Swiper option/callback...
        on: {
          slideChangeTransitionStart: function () {
            console.log(this.activeIndex);
            that.activeIndex = this.activeIndex;
          },
        },
三、疫情曲线图
1.在base.js中添加疫情曲线图api
//疫情曲线图
covidImage: 'http://iwenwiki.com/wapicovid19/ncovimg.php'
2.在index.js中封装请求折线图函数covidImage()
//疫情折线图
covidImage() {
    return axios.get(base.covidImage)
}
3.在CovidSwiper中请求数据
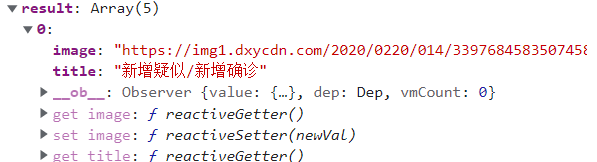
  mounted() {
    //请求折线图数据
    this.$api.covidImage().then((res) => {
      console.log("=======", res.data);
      if (res.data.status === 200) {
        this.covidArr = res.data.result;
      }
    });
  },
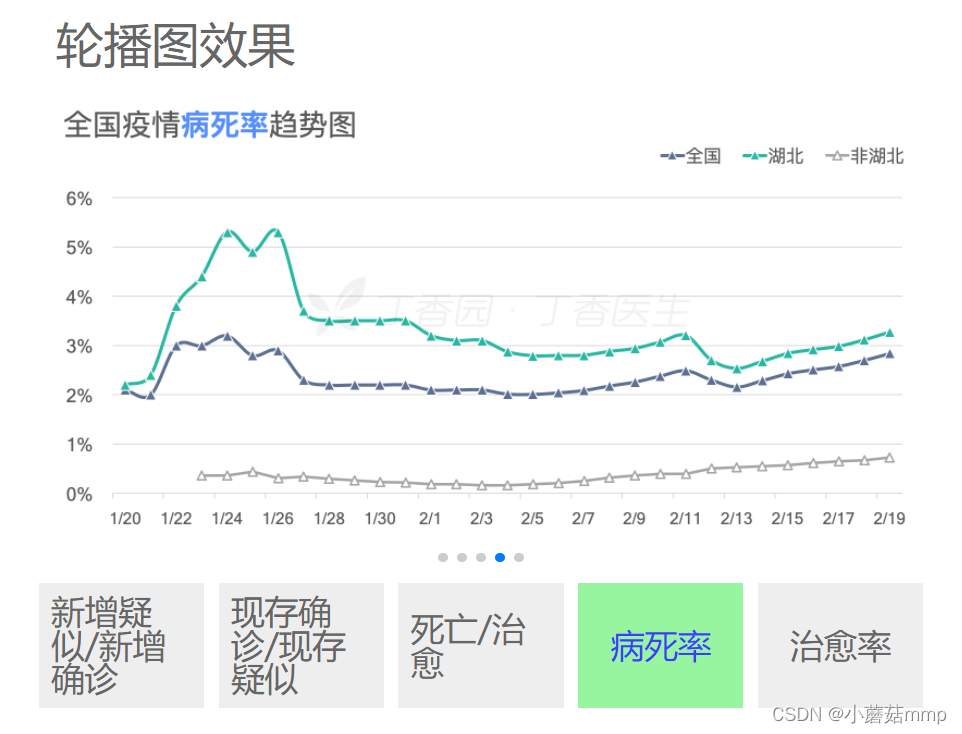
使用图片数据(item.image、item.title)进行轮播
  <div class="mySwiper">
    <!-- options配置项 -->
    <swiper ref="mySwiper" :options="swiperOptions">
      <swiper-slide v-for="(item, index) in covidArr" :key="index">
        <img :src="item.image" alt="" />
      </swiper-slide>
      <div class="swiper-pagination" slot="pagination"></div>
    </swiper>
    <!-- 轮播图标识 -->
    <div class="wrapper">
      <div
        class="item"
        :class="{ active: index == activeIndex }"
        v-for="(item, index) in covidArr"
        :key="index"
        @click="changeSwiper(index)"
      >
        {{ item.title }}
      </div>
    </div>
  </div>
最终效果:轮播图和标识卡实现点击切换交互。


 1566
1566

 被折叠的 条评论
为什么被折叠?
被折叠的 条评论
为什么被折叠?
 到【灌水乐园】发言


